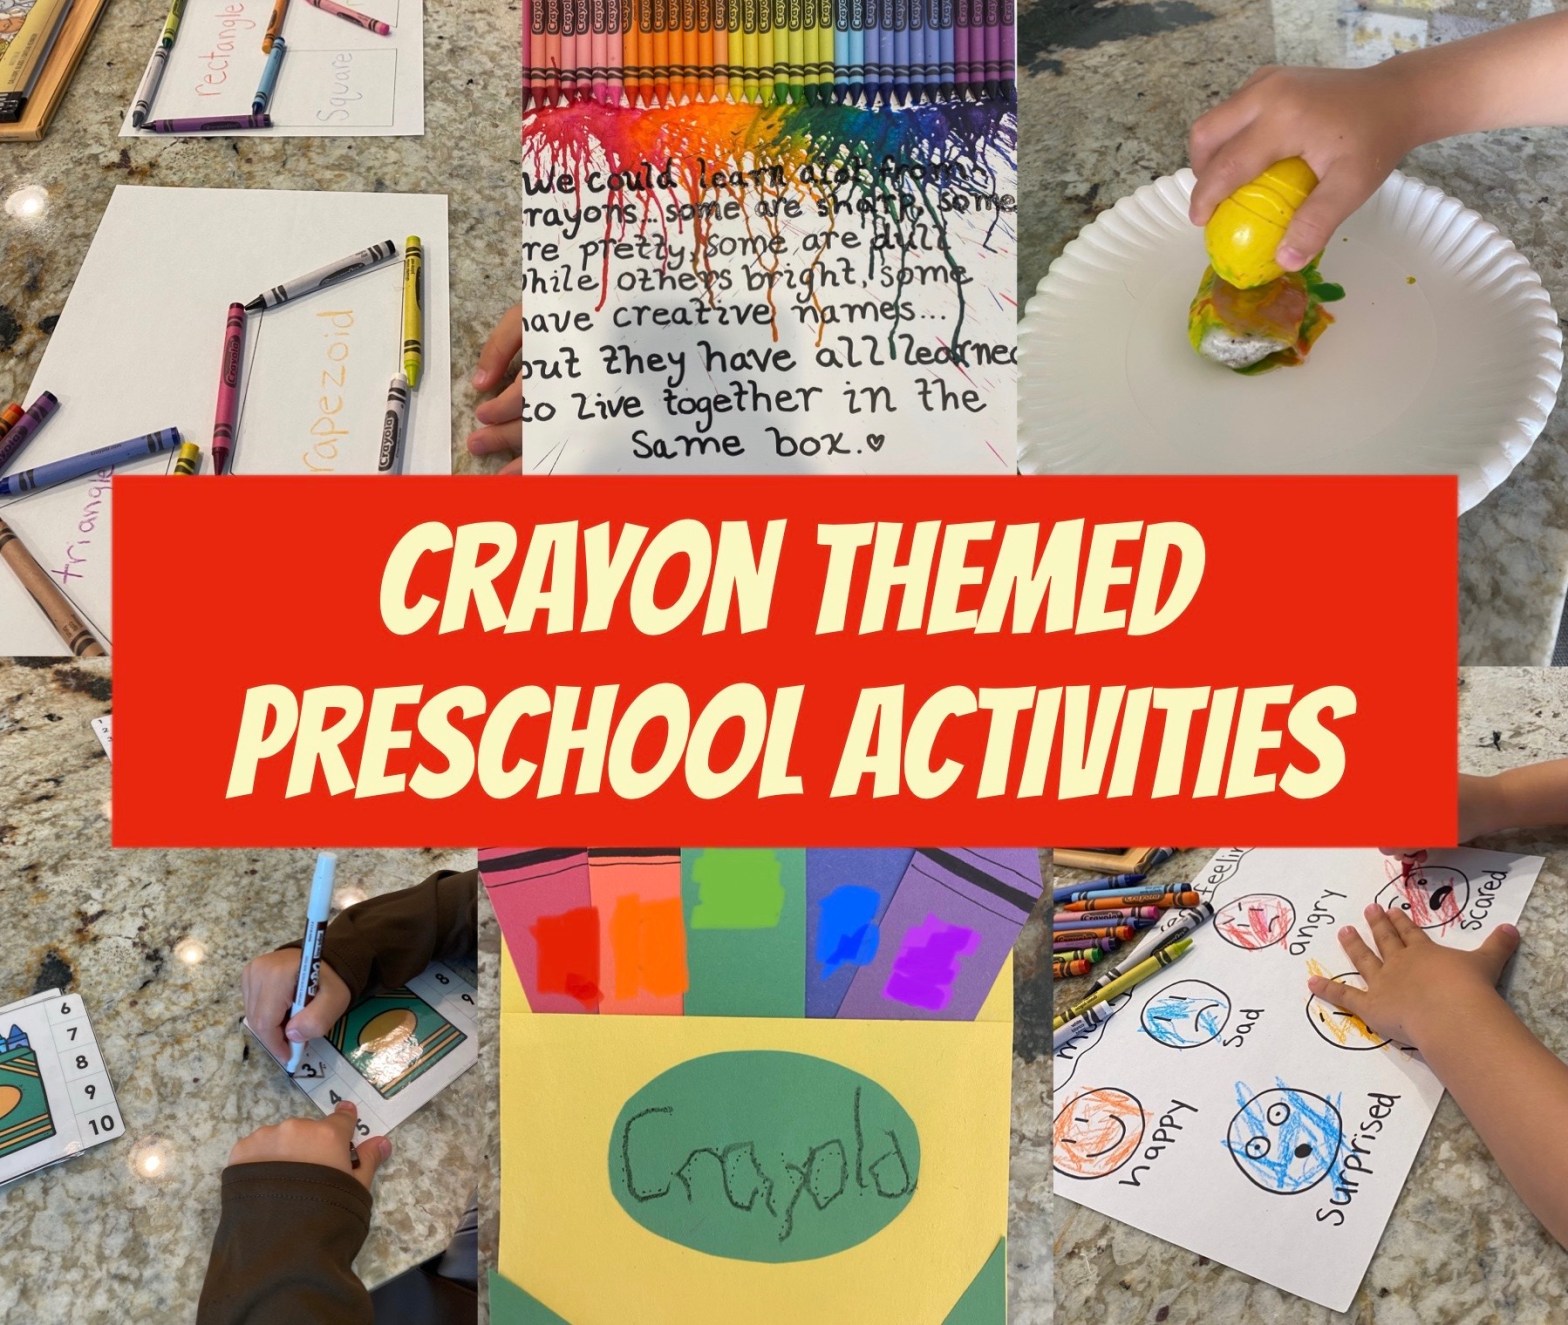
There’s just something about a nice, fresh box of sharp crayons waiting to be opened and used to create- so this week I decided to make those cute little coloring sticks the theme for our learning! Because they easily melt, there are SO many fun activities you can do with crayons other than just coloring (even though we’ll be doing that too!). Don’t forget to pop over to the toddler post “A World of Color” for more fun crayon themed art activities like coloring on sandpaper and making crayon box hand print art!
–Literacy:
-Crayon box name craft: This activity was so cute, we had to give it a try. You take a rectangle piece of construction paper (I trimmed about 3 inches off of a sheet long ways first), fold it up so the bottom half is about an inch from the top, then glue the sides down to make a “box”. Cut out a green oval and two green triangles to decorate the front. Write “Crayola” on the oval in dot letters for your little to trace. Cut out a crayon for each letter in your little’s name in various colors. Then have your little glue the pieces of the box on, trace the word “Crayola” in the oval, and use the crayons to spell their name by putting them in the box in the correct order. I cut everything out for my little, but if you want to add in some scissor practice, you could have them cut out the pieces and even trace the letters in their name on each crayon by themselves. I got this idea from Teachers Pay Teachers, but I just cut everything out myself using construction paper!

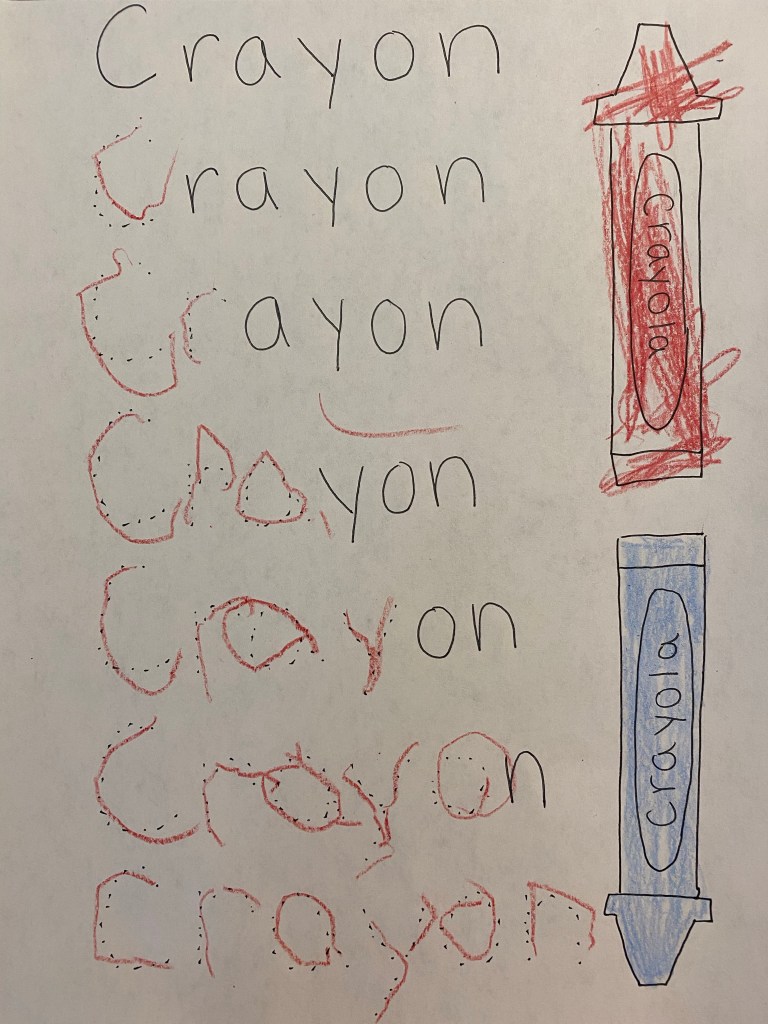
-Crayon name practice: We did this with the word “crayon” but also with my little’s first and last name- you write the word adding another dotted letter each time until they’ve written their whole name or the whole word! My friend Alysha gave me this idea and I thought it was a fun way to practice name writing and go over some letters. And of course I had him write in crayon!
-C is for crayon: My little used this page to practice writing the letter “C” and making it’s sounds (hard and soft c…like K and S respectively).

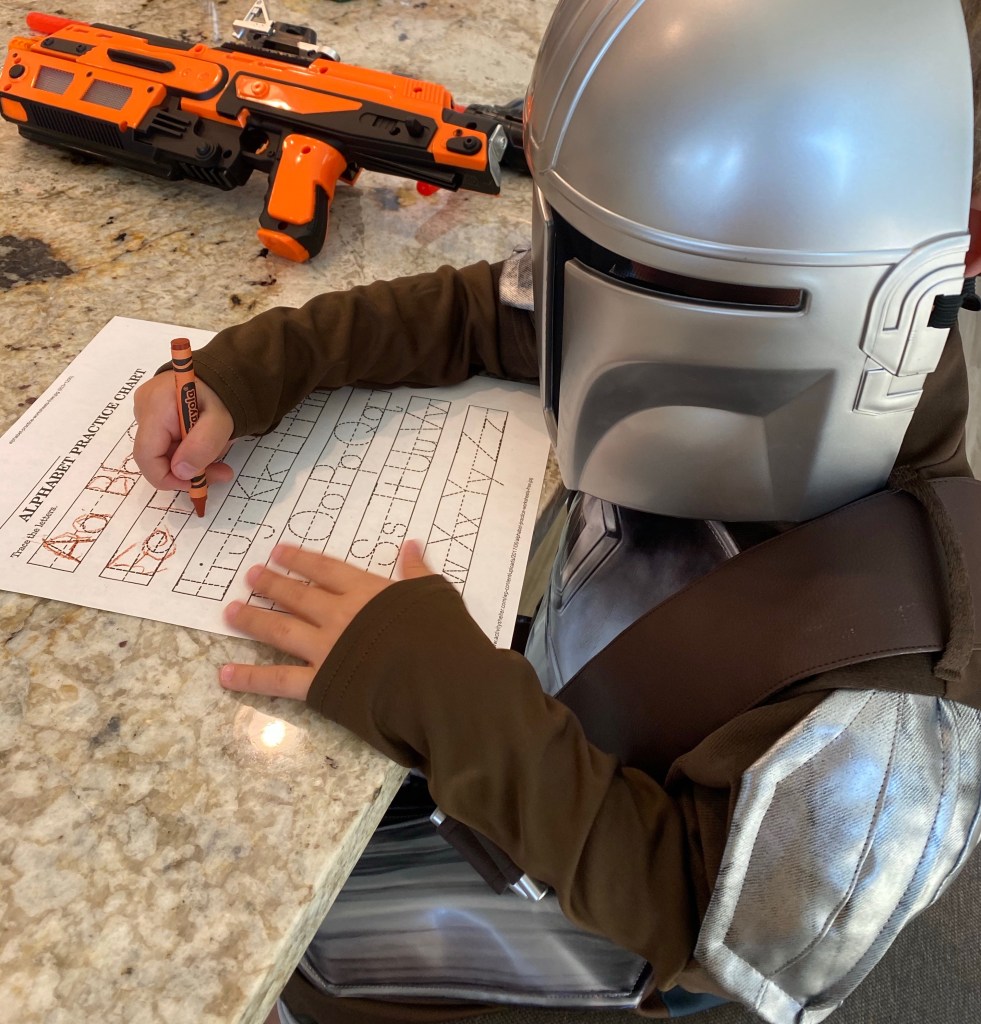
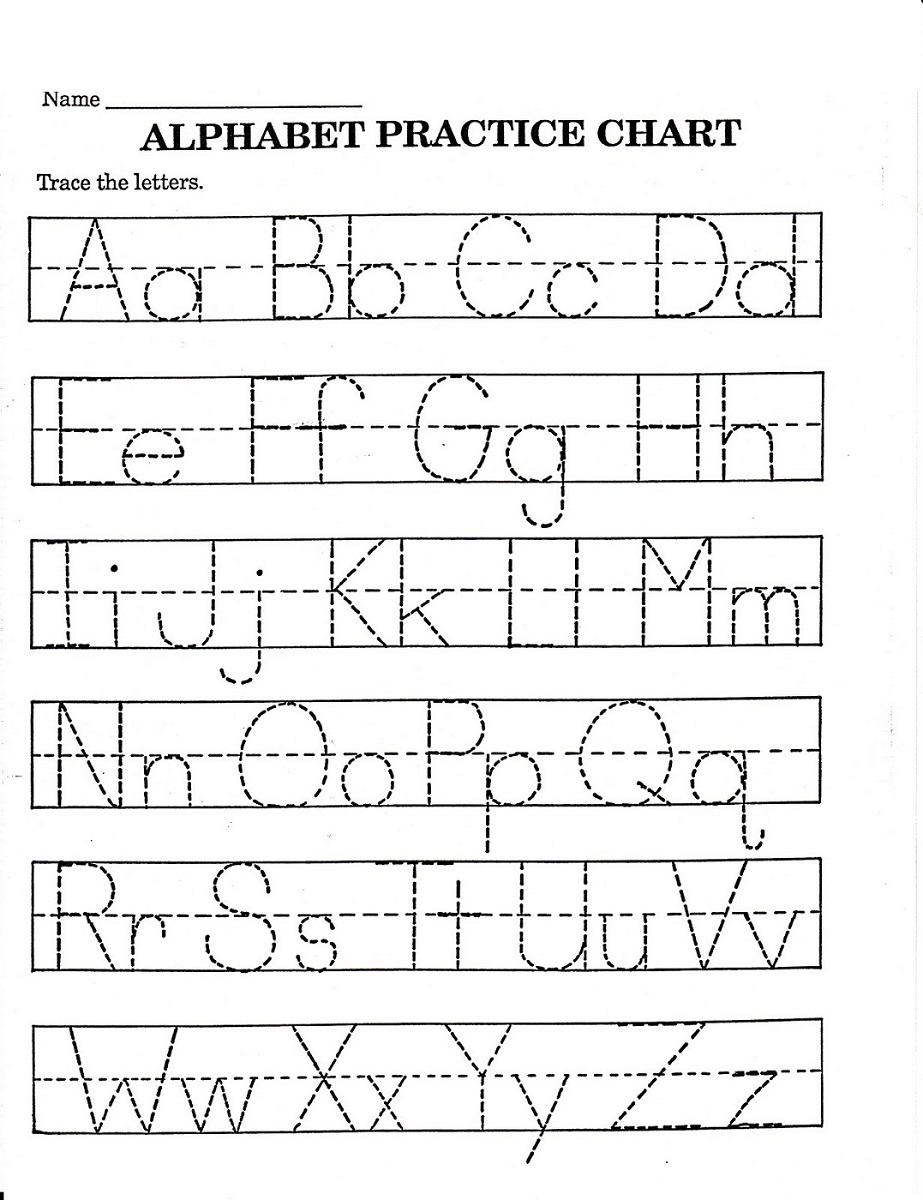
-Rainbow write the ABCs: I gave my little a box of crayons and had him practice writing all the capital and lowercase letters in the alphabet! He used brown the whole time to match his Mandalorian costume, but you can have your little switch colors each letter or line if they want to, to make it more of a rainbow! LoL We went over the letter names as he was writing them. I printed the page from here!
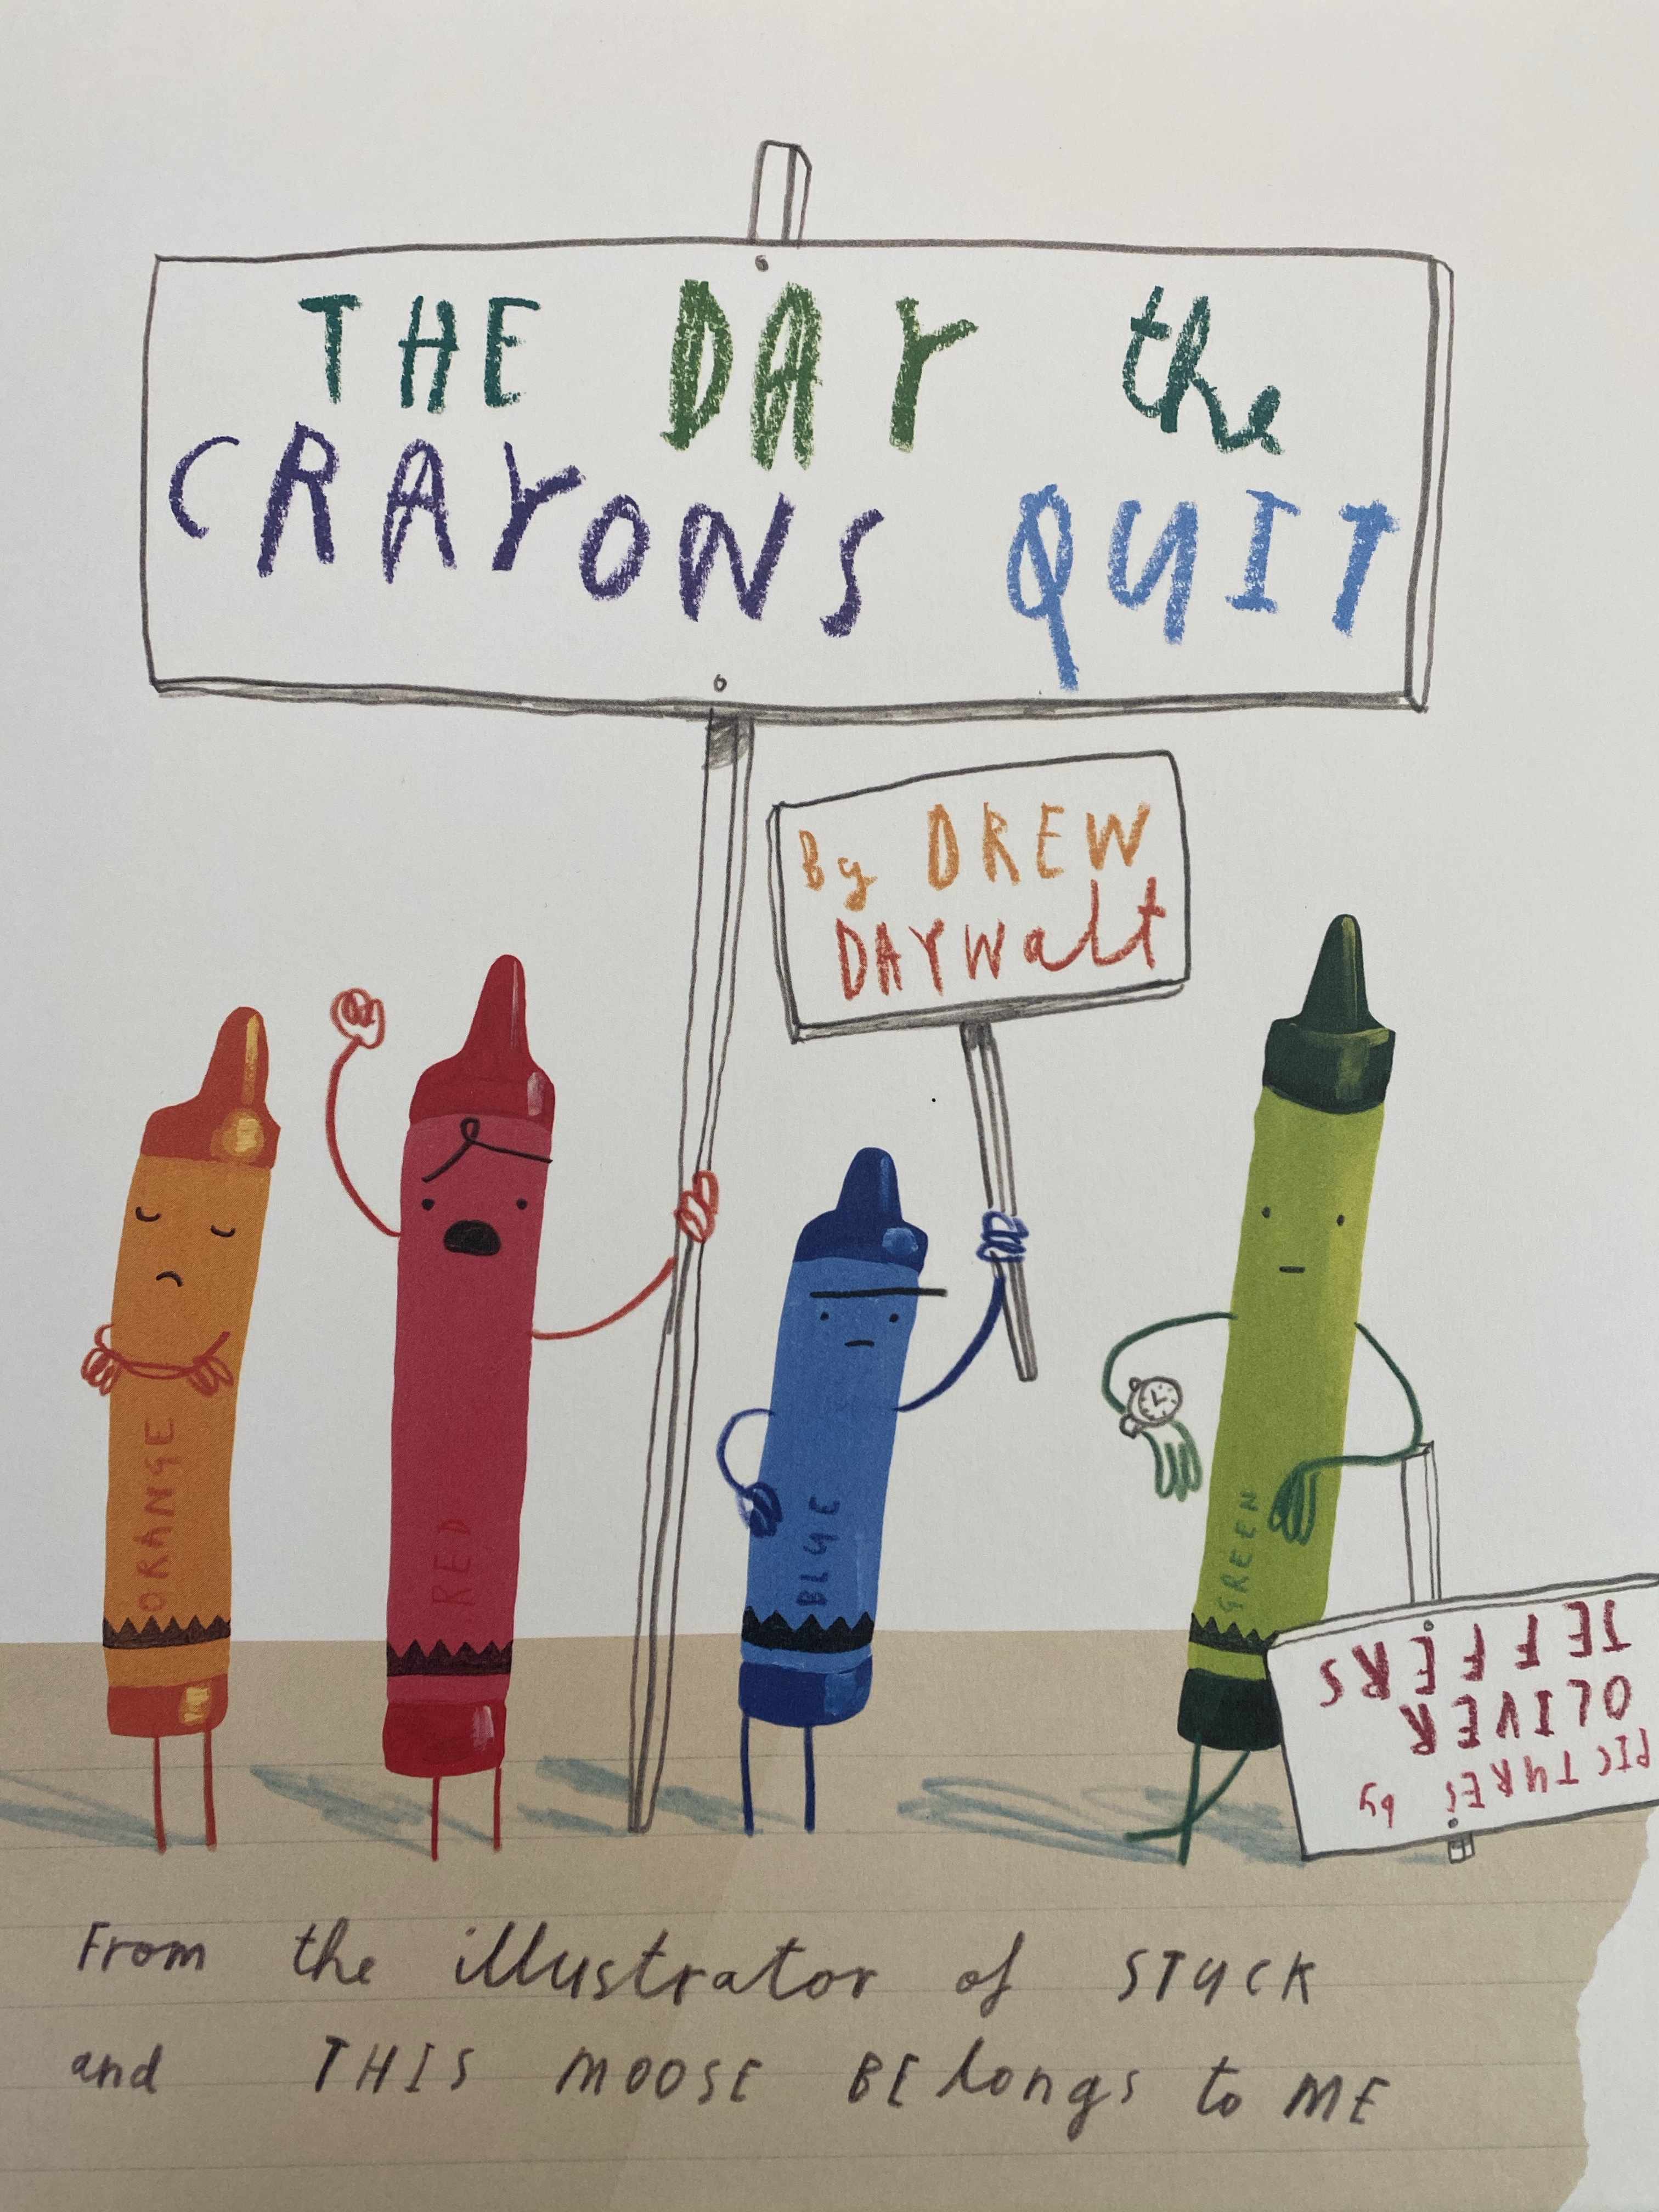
-“The Day The Crayons Quit” cause and effect: I introduced my little to cause and effect for the first time, telling him that an effect is just something that happens and the cause is why it happened. I gave him a few real life examples (ie. I tripped because I didn’t tie my shoes- tripping was the effect, the cause was not tying my shoes). Then we read “The Day The Crayons Quit” and after each page we talked about why that color quit (ie. what was the cause of them quitting) and wrote it on a graphic organizer (I prepped it by writing “Red quit because…” for each color in the same order the story went). This was a perfect intro book for this comprehension skill!

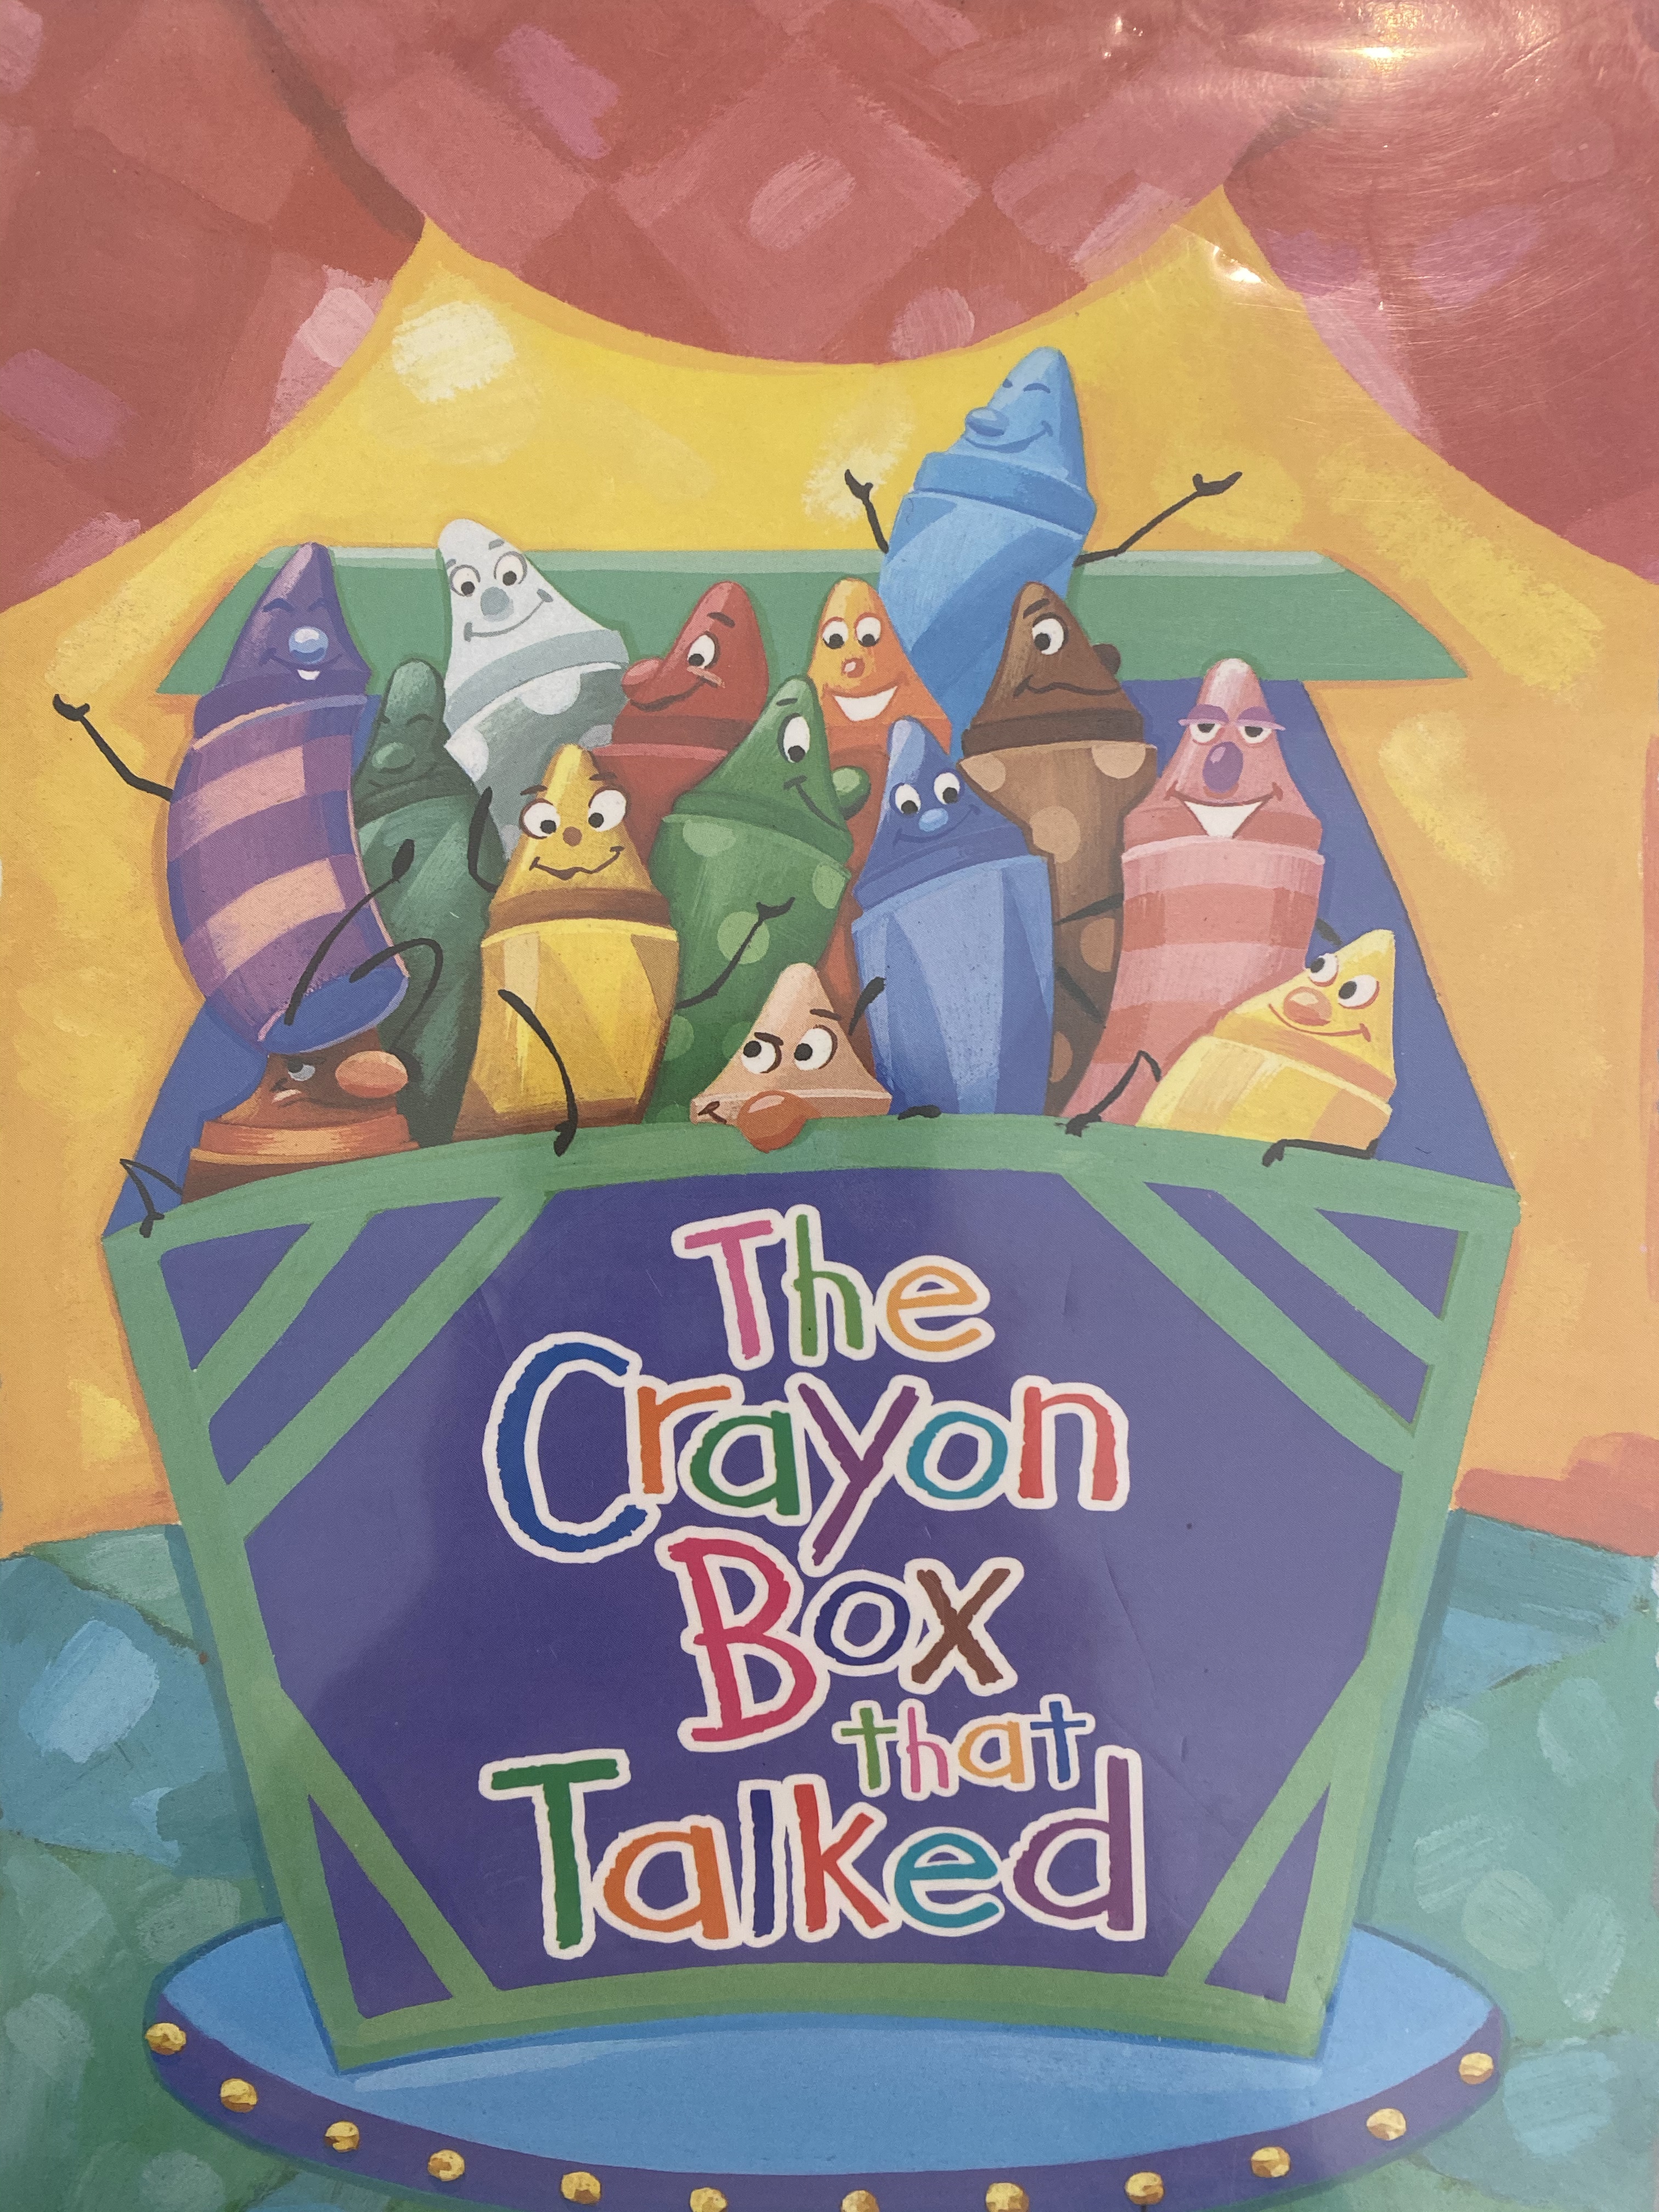
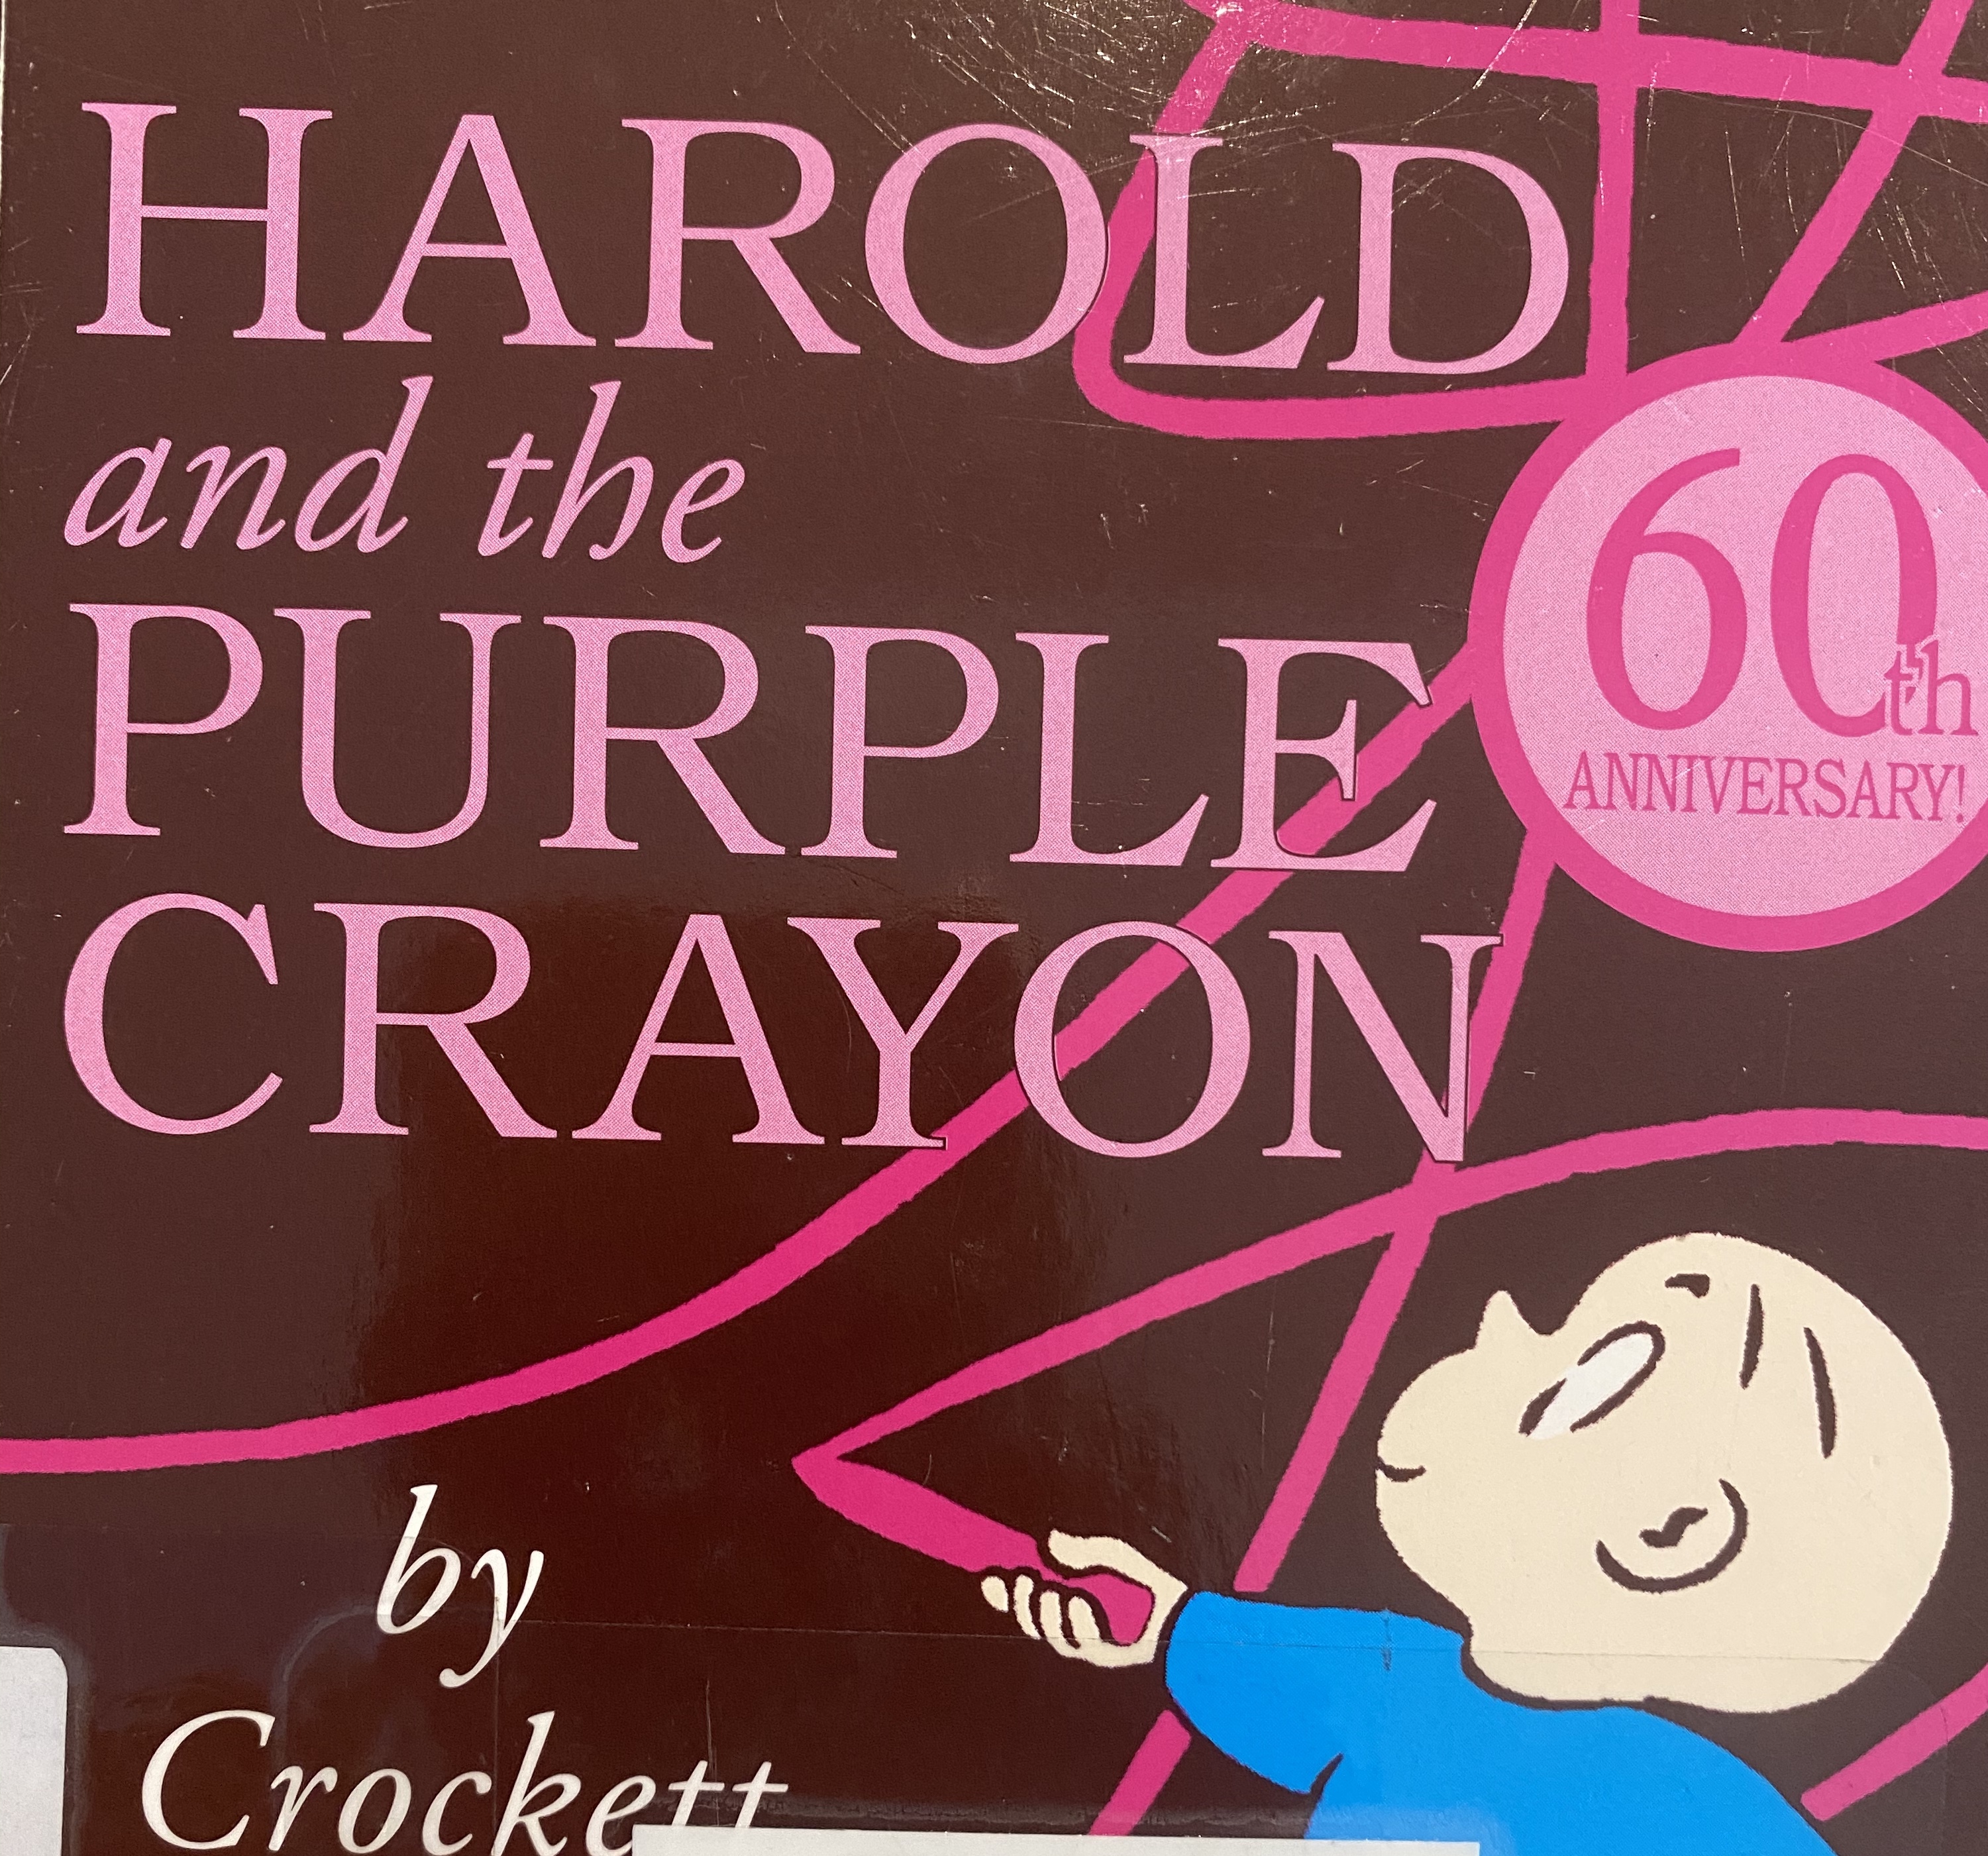
-Book list: Here are the crayon themed books we picked up from the library this week- “The Crayon Man” was my favorite- it tells the true story of the invention of Crayola crayons in a super kid-friendly way that both of my boys were interested in! I never knew they add clay to the wax to thicken the texture! You learn something new everyday right!?
–


–Math:
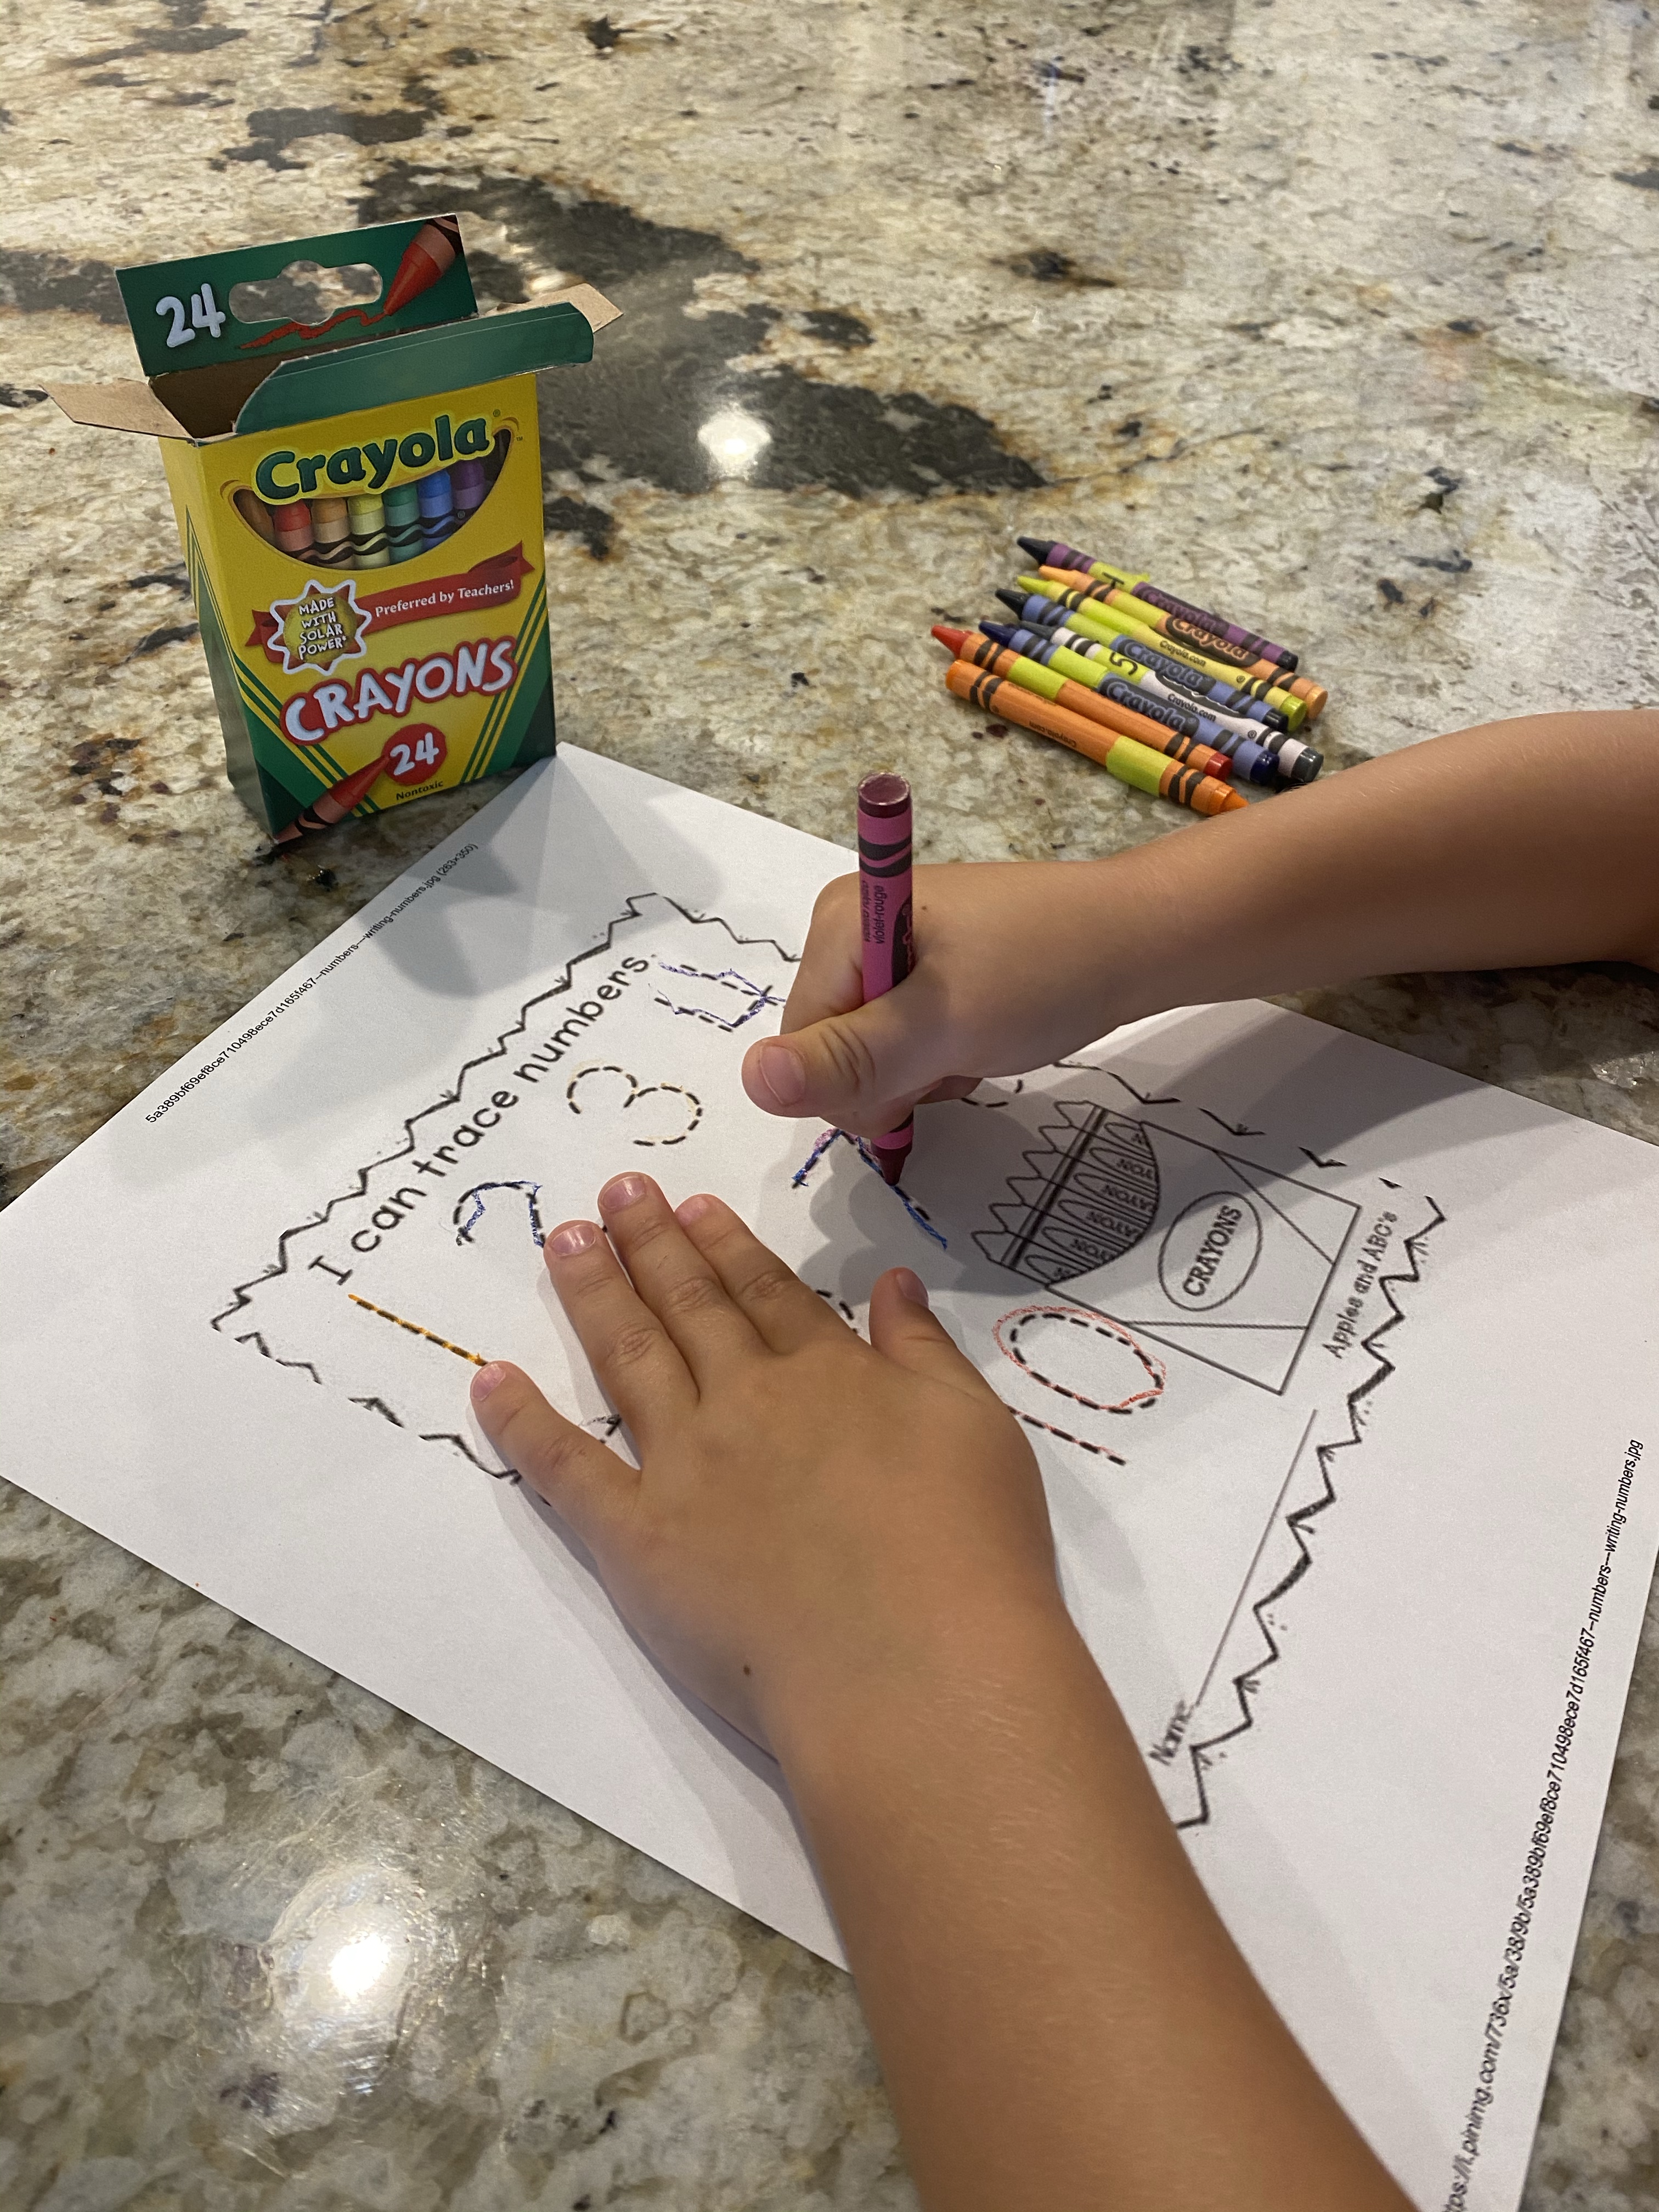
-Crayon number surprise: This was SO fun and actually kept my little engaged through the whole box of crayons! I stuck some washi tape around each crayon then wrote the numbers 1-10 on them- one number per crayon- and popped them back in the box. Then I had my little pull them out one at a time, identify the number, find it on a tracing page, and trace the number with that color! He thought it was really funny that there was more than one crayon for each number! LoL Here’s the tracing page we used, just make sure to print it so it fills the whole page!
-Crayon more or less: You guys. I am SO EXCITED I got a new printer AND laminator so now my homeschool office space is rockin! Let me tell you, printing out stuff is so much quicker than making everything by hand! Anyway, I used my printer to print out some crayon counting practice activities from Teachers Pay Teachers and used one set to make these crayon box more or less pages. I just glued two boxes with different numbers of crayons in them to a green half sheet of construction paper, laminated them, then had my little identify which box had more by clipping a clothespin under it!


-Crayon count and find: I printed this activity from the same Teachers Pay Teachers lesson as the one above, then laminated it so we can use it again. My little counted the number of crayons in each box, found the matching number for each one and circled it with a dry erase marker. If you don’t have a laminator, you can just have your little point to the matching number or mark it with a mini marshmallow or M&M.

-Crayon roll, write and count: I typed a page up with “roll”, “write” “count” on it, printed a crayon box to stick on the bottom, then laminated it (you could also use a page protector). I had my little roll a 20 sided dice (6 or 10 would work too!), write the number he rolled with a dry erase marker, then put that many crayons in the box by counting them out. I got this idea from Little Over Cs.

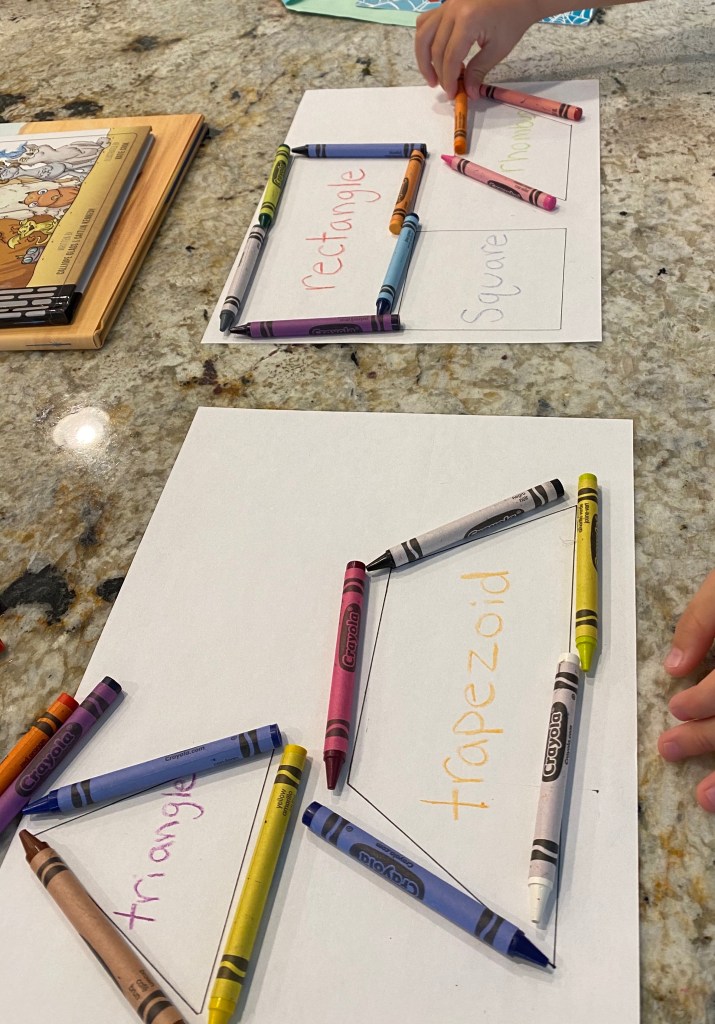
-Crayon shapes: I made a shape tracing page using crayon-sized sides (one crayon is 3.5 inches, two are 7 if you’re measuring the sides as you draw). Then I had my little build each shape with crayons as we reviewed it’s name! I got this idea from Toddler Approved.
–Science/Social studies:
-Crayon melting experiment/art: WARNING! This activity does splatter melted wax everywhere! Make sure you put down an sheet of newspaper or other protective item first or you’ll be scraping bits of wax off your surface when you finish! Ok, now that that’s out of the way- this was SO FUN! I had my little sort the crayons for me by color, then I hot glued them to the top of a wooden canvas I’d painted white (you can have your little paint it, but I wanted it smooth so I could write on it afterwards). Then we talked about how melting means when you add heat to a solid and it turns into a liquid. Next I used a hair drier to melt the crayons onto the canvas- boy were my littles impressed! LoL We continued to talk about melting as we heated all the crayons. After they had dried I added a little saying to the canvas and it’s now hanging in our playroom/school room! We got the saying from Mrs. Carroll’s Crayons and the melting experiment from First Grade Circle.


-STEM crayon tower building: This one is a little bit tricky because crayons ROLL, but my little still enjoyed giving it a try! I gave him the challenge to build the tallest tower he could out of crayons. It was fun to watch him engineer a way to keep the tower more sturdy by using more crayons to build a bigger base! I also let him build on a washcloth so they didn’t roll quite so much! I got this idea from Teachers Pay Teachers, but didn’t print out the worksheets that went with them- we just played!

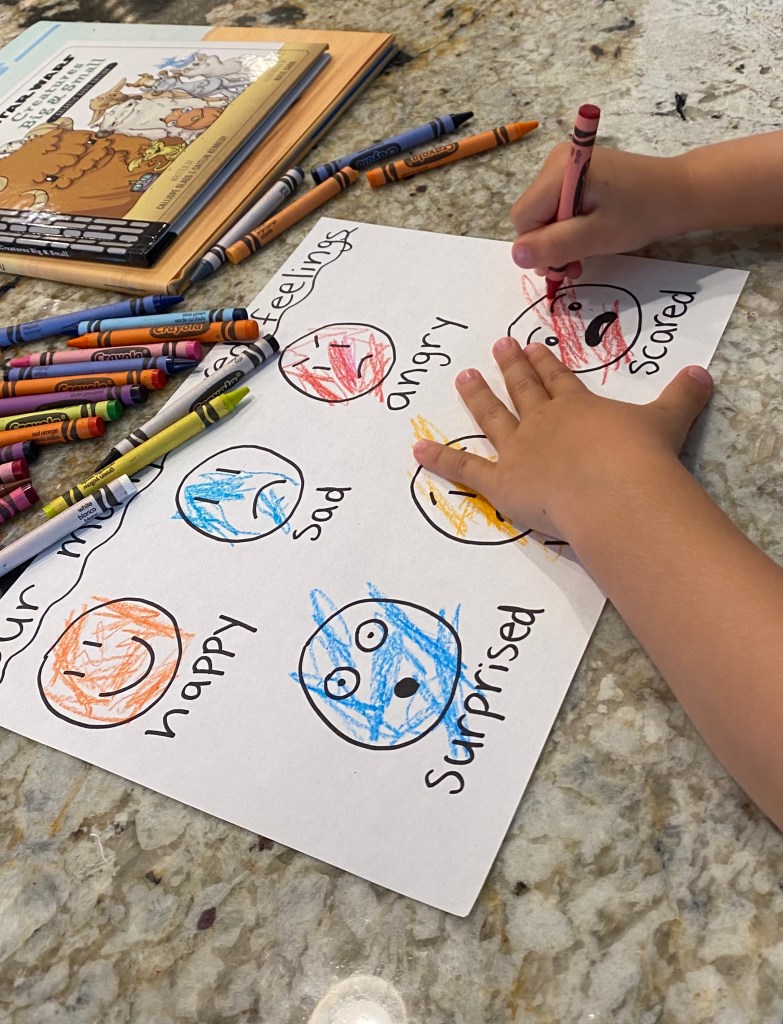
-Our many colored feelings: For this social studies activity we talked about different feelings and how sometimes people think of colors when they’re feeling certain things. I didn’t tell my little what colors to pick, but had him imagine what color he felt for each feeling on the page (which I just drew really quick) and then had him color the face to match. I got this idea from Mosswood Connections.
-Address review: I had my little rainbow write his address with crayons to review it from last week! We’ve also added practicing it to our daily calendar time along with a few other things (reviewing our street, city, state, country and continent, practicing our phone number, reviewing the digits 0-9 and a continent song- I’ll add them to my calendar post soon!)
–Art:
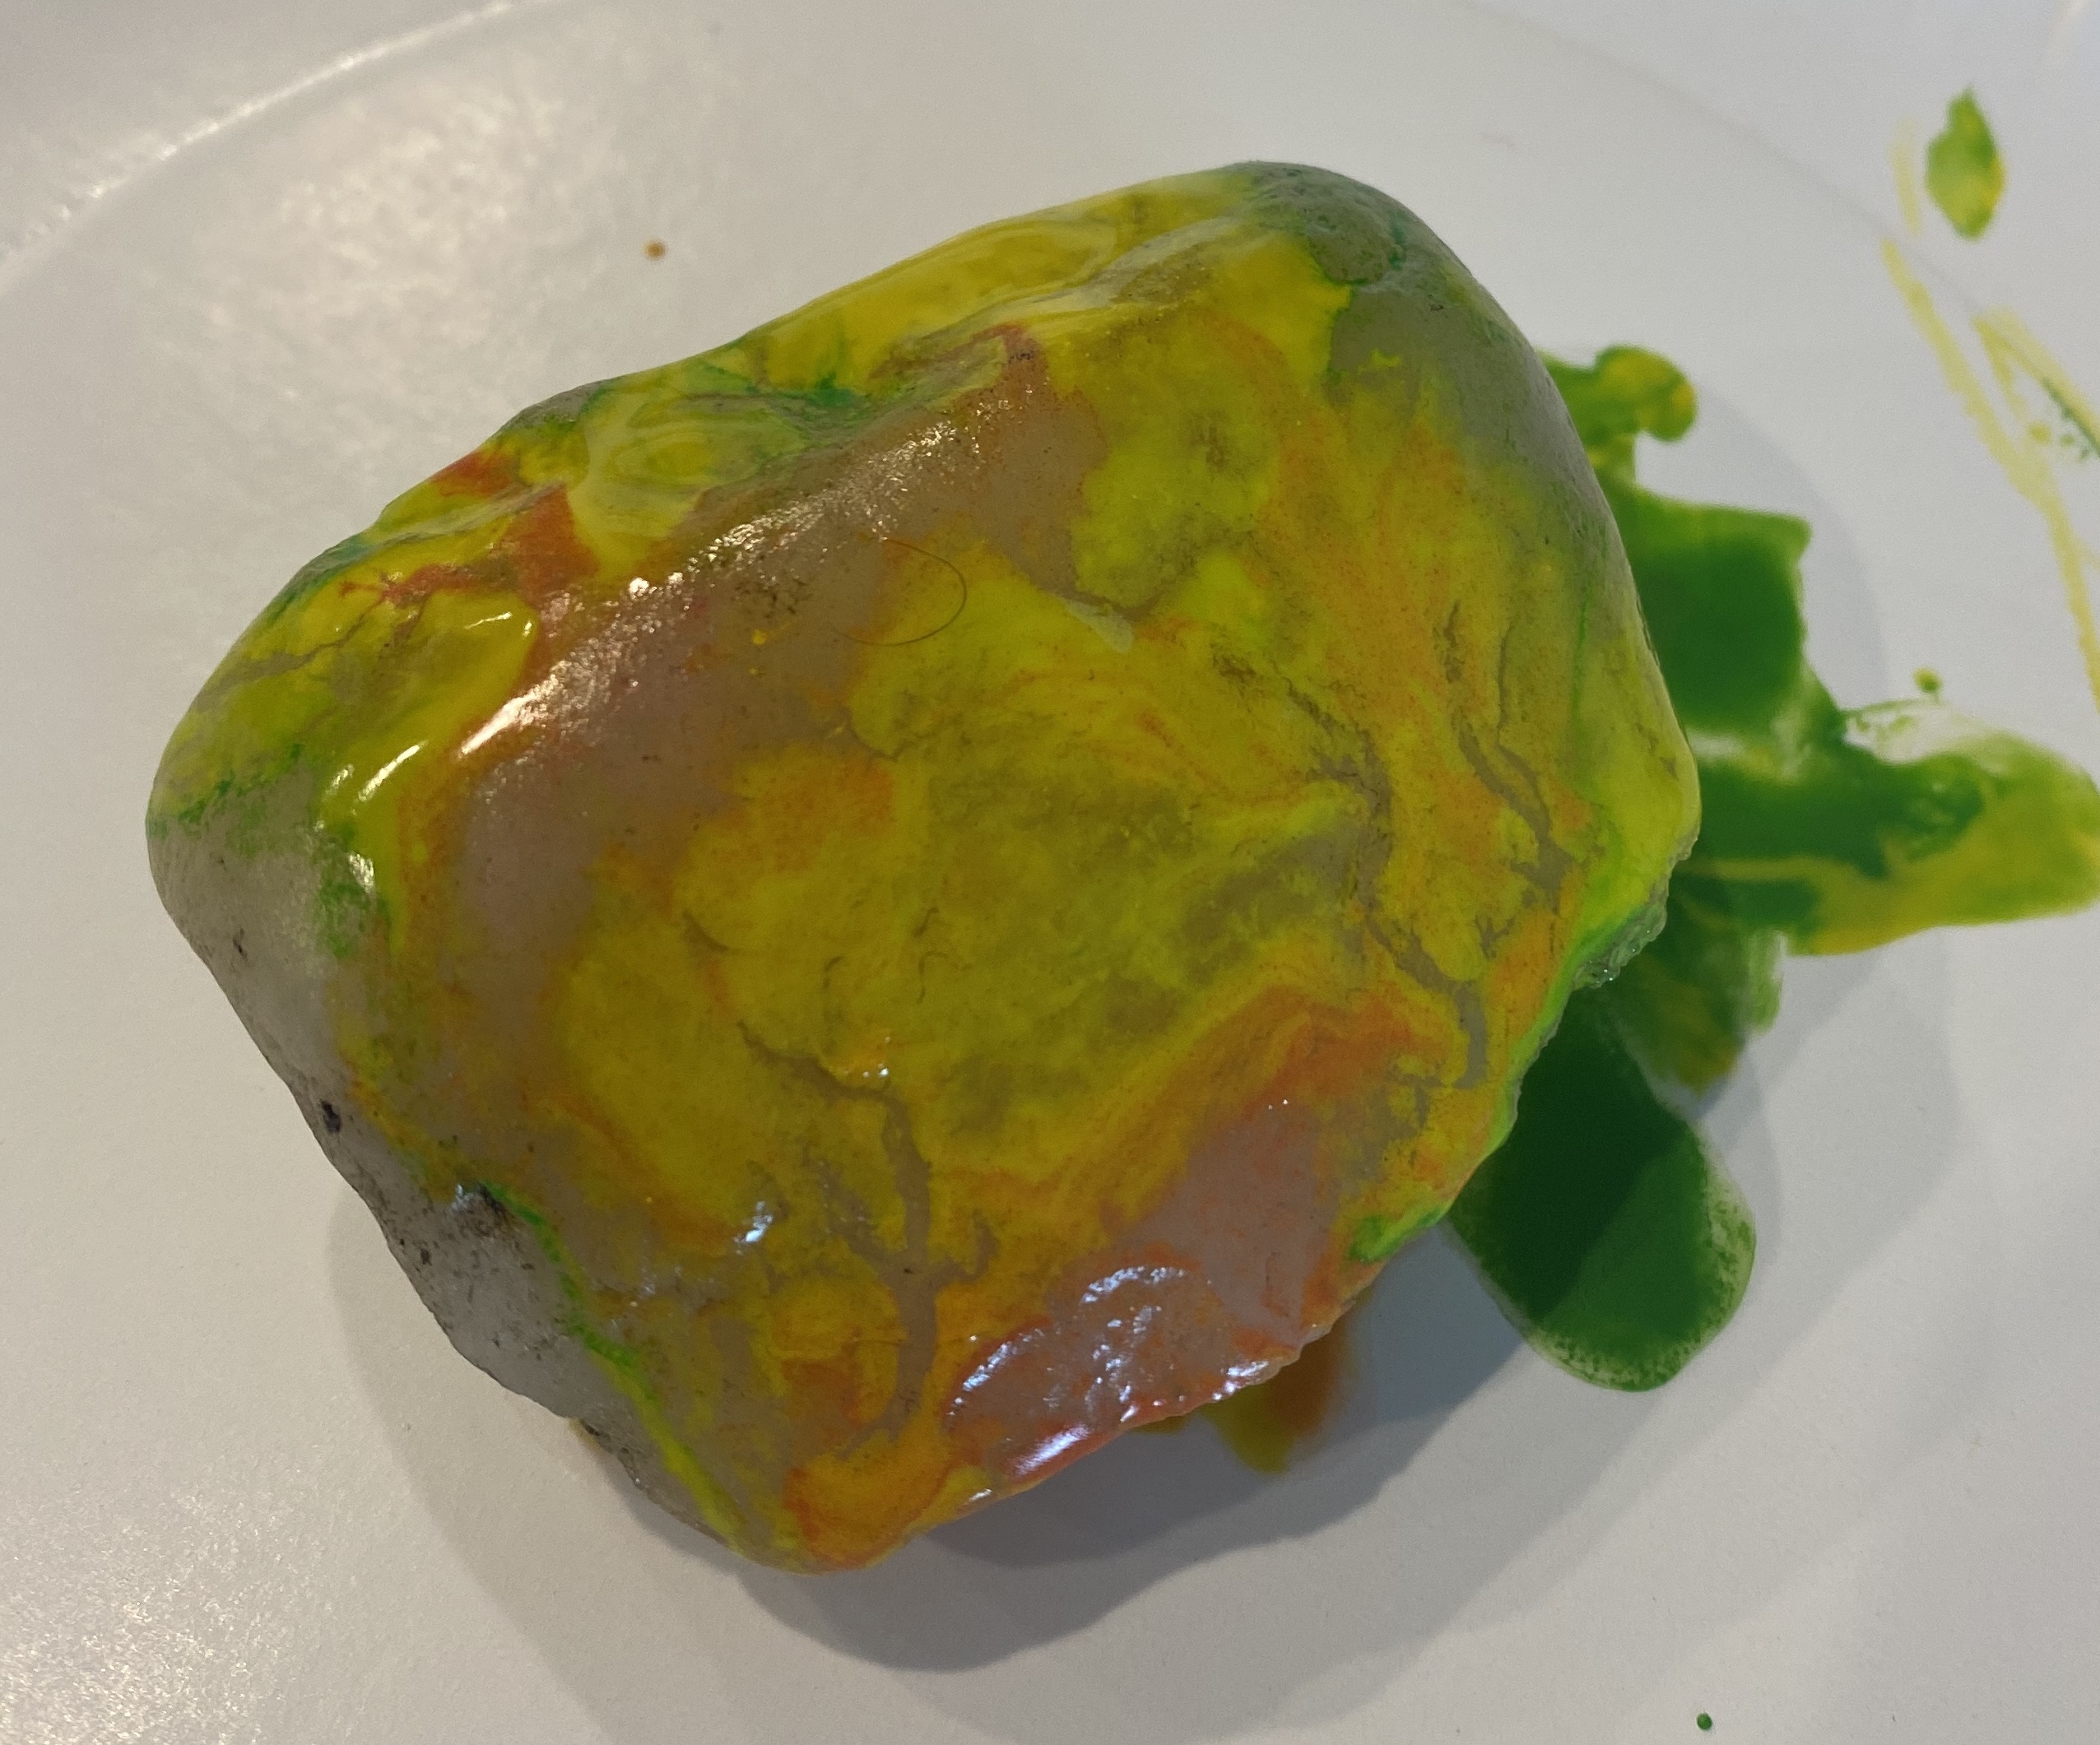
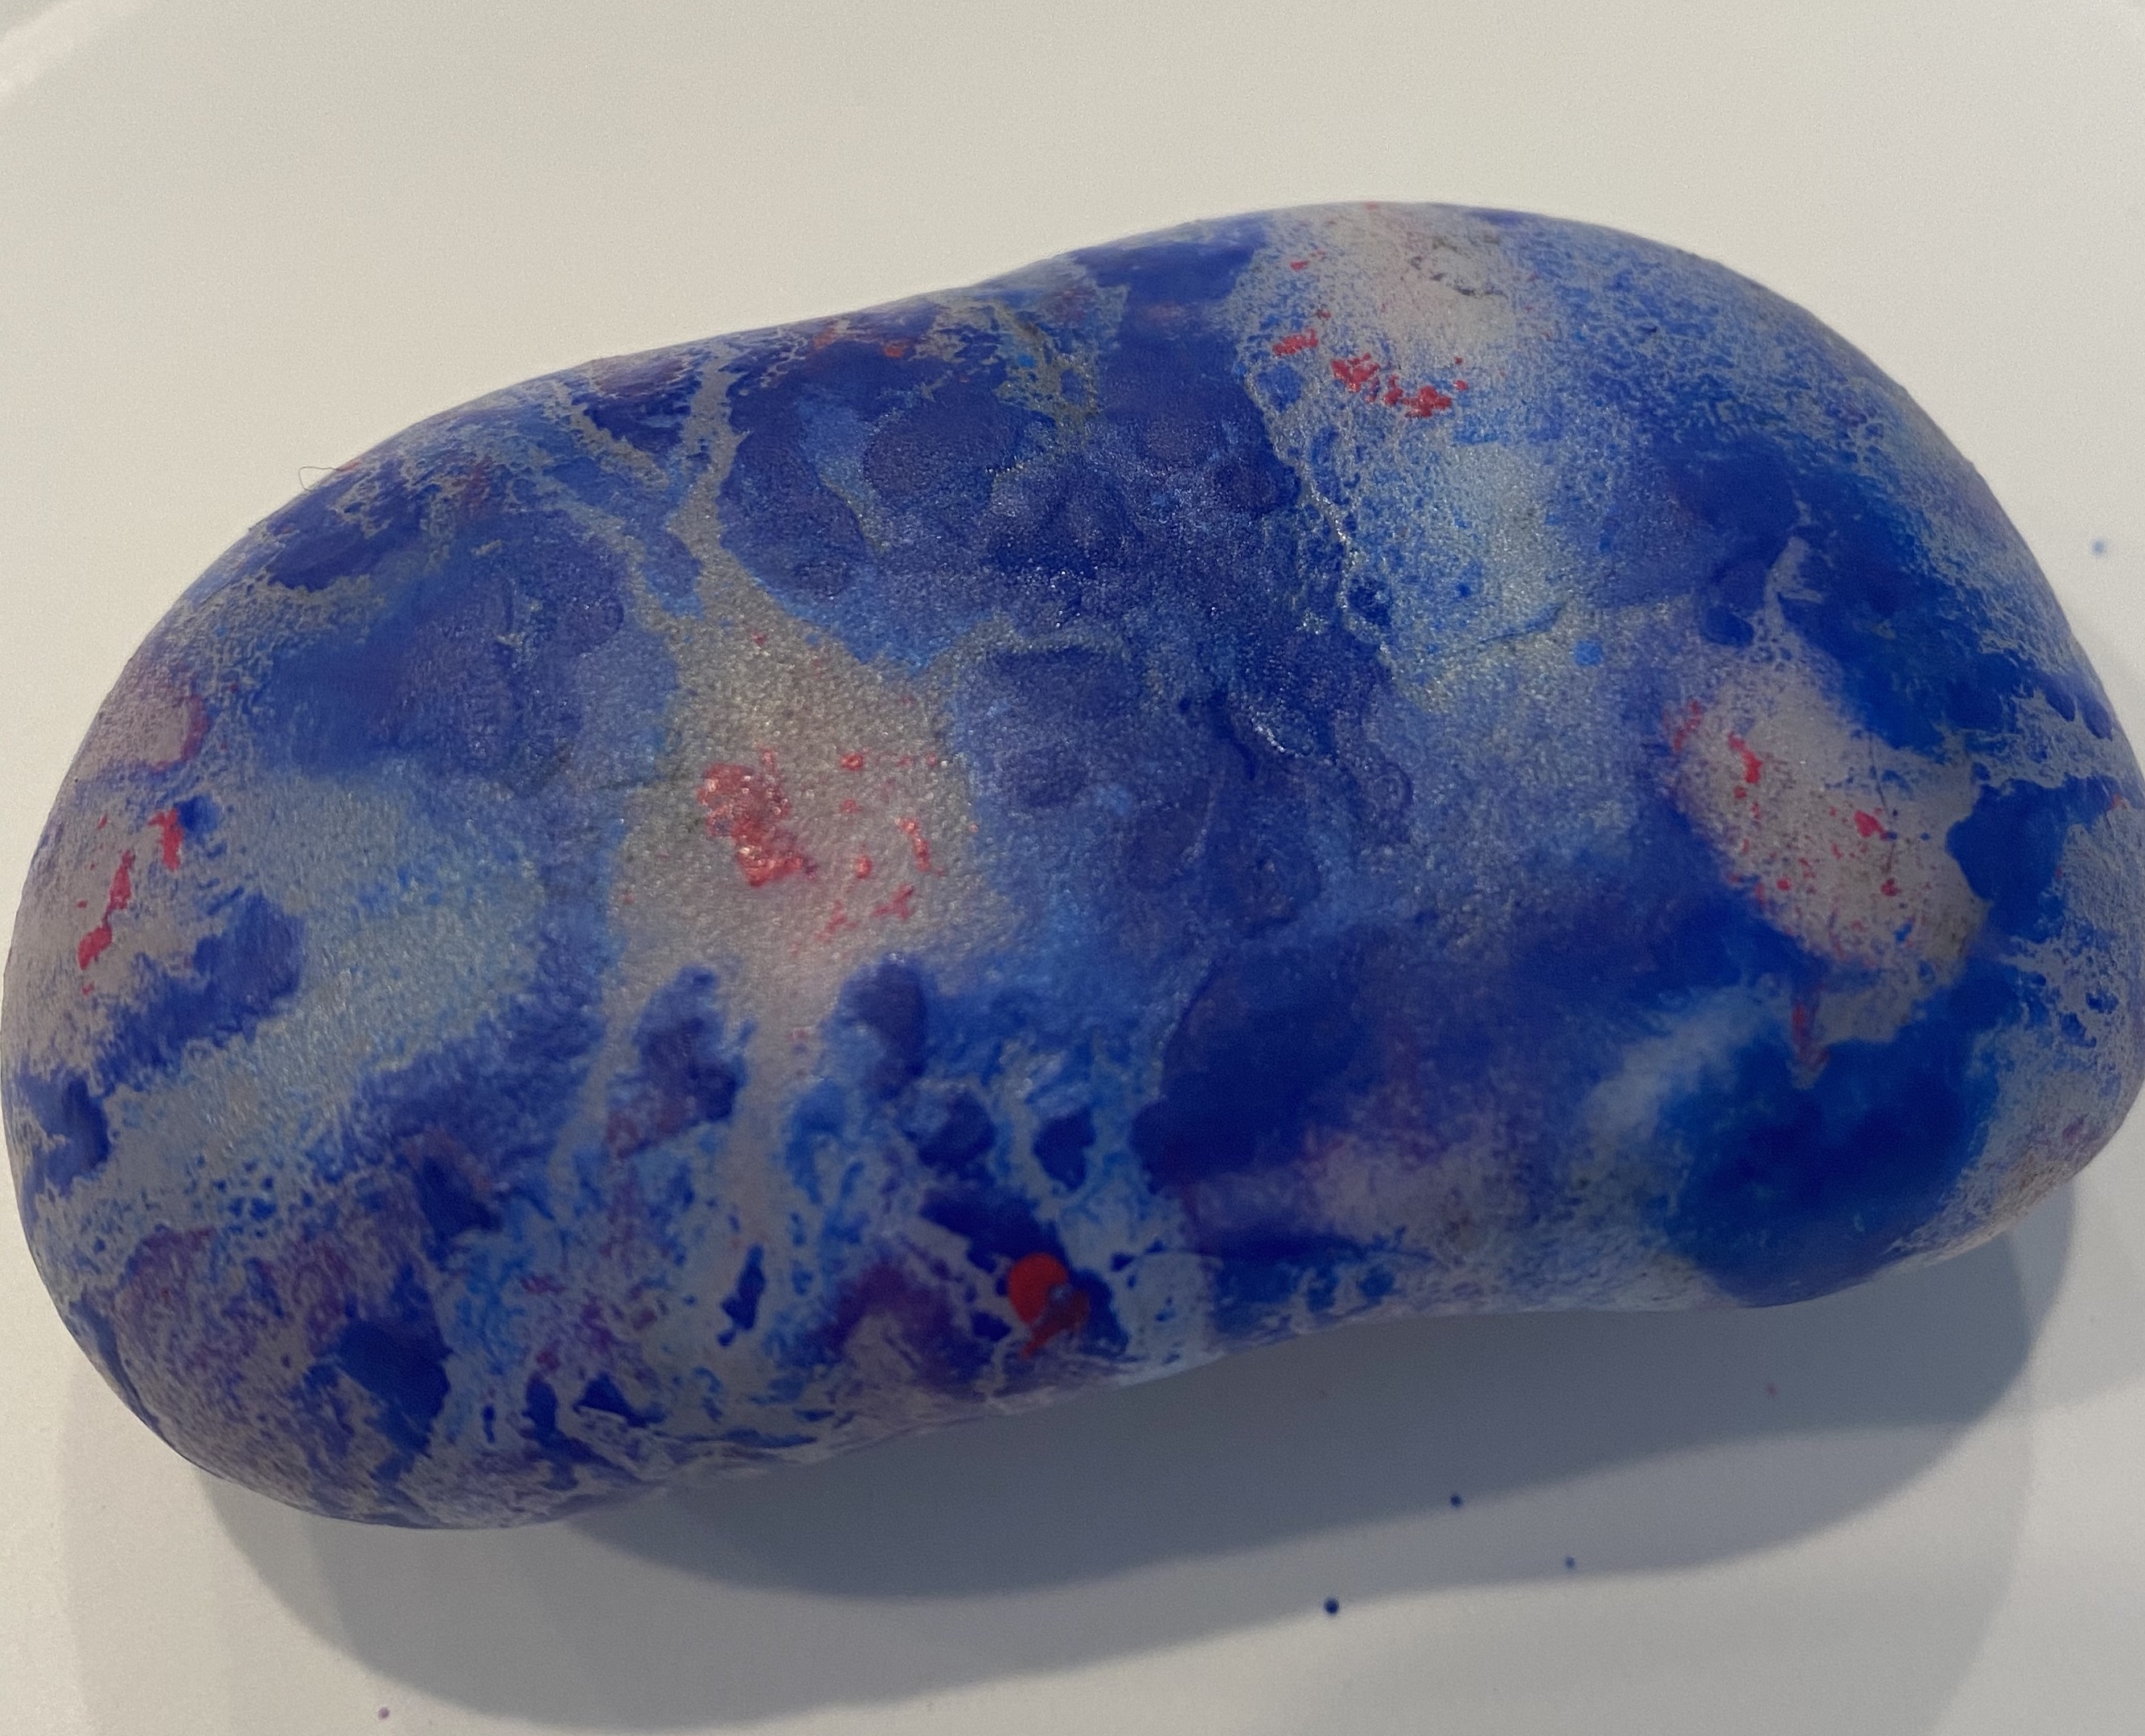
-Hot rock coloring: This activity was SO fun, I had to get in on it too (my rock is the blue one below)! hahaha You find a few smooth rocks, wash them off and pop them in the oven at 350 for 10 minutes. While you wait, peel several old crayons so the wrappers are completely off. Take the rocks out, place them on paper plates and let your little press the crayons on the hot rocks so the color melts all over them. Review what melting is and why the crayon is melting on the rock. Make sure to tell them not to touch the rocks with their hands- only the crayon (or have them wear mittens or gloves like I did!) because they are HOT. When they dry/cool off they’re so smooth and pretty looking! I got this idea from The Relaxed Homeschool. TIP: We found that Crayola crayons worked better than Crazy Art- there was more colorful pigment in them, rather than clear wax, that transferred to the rock.

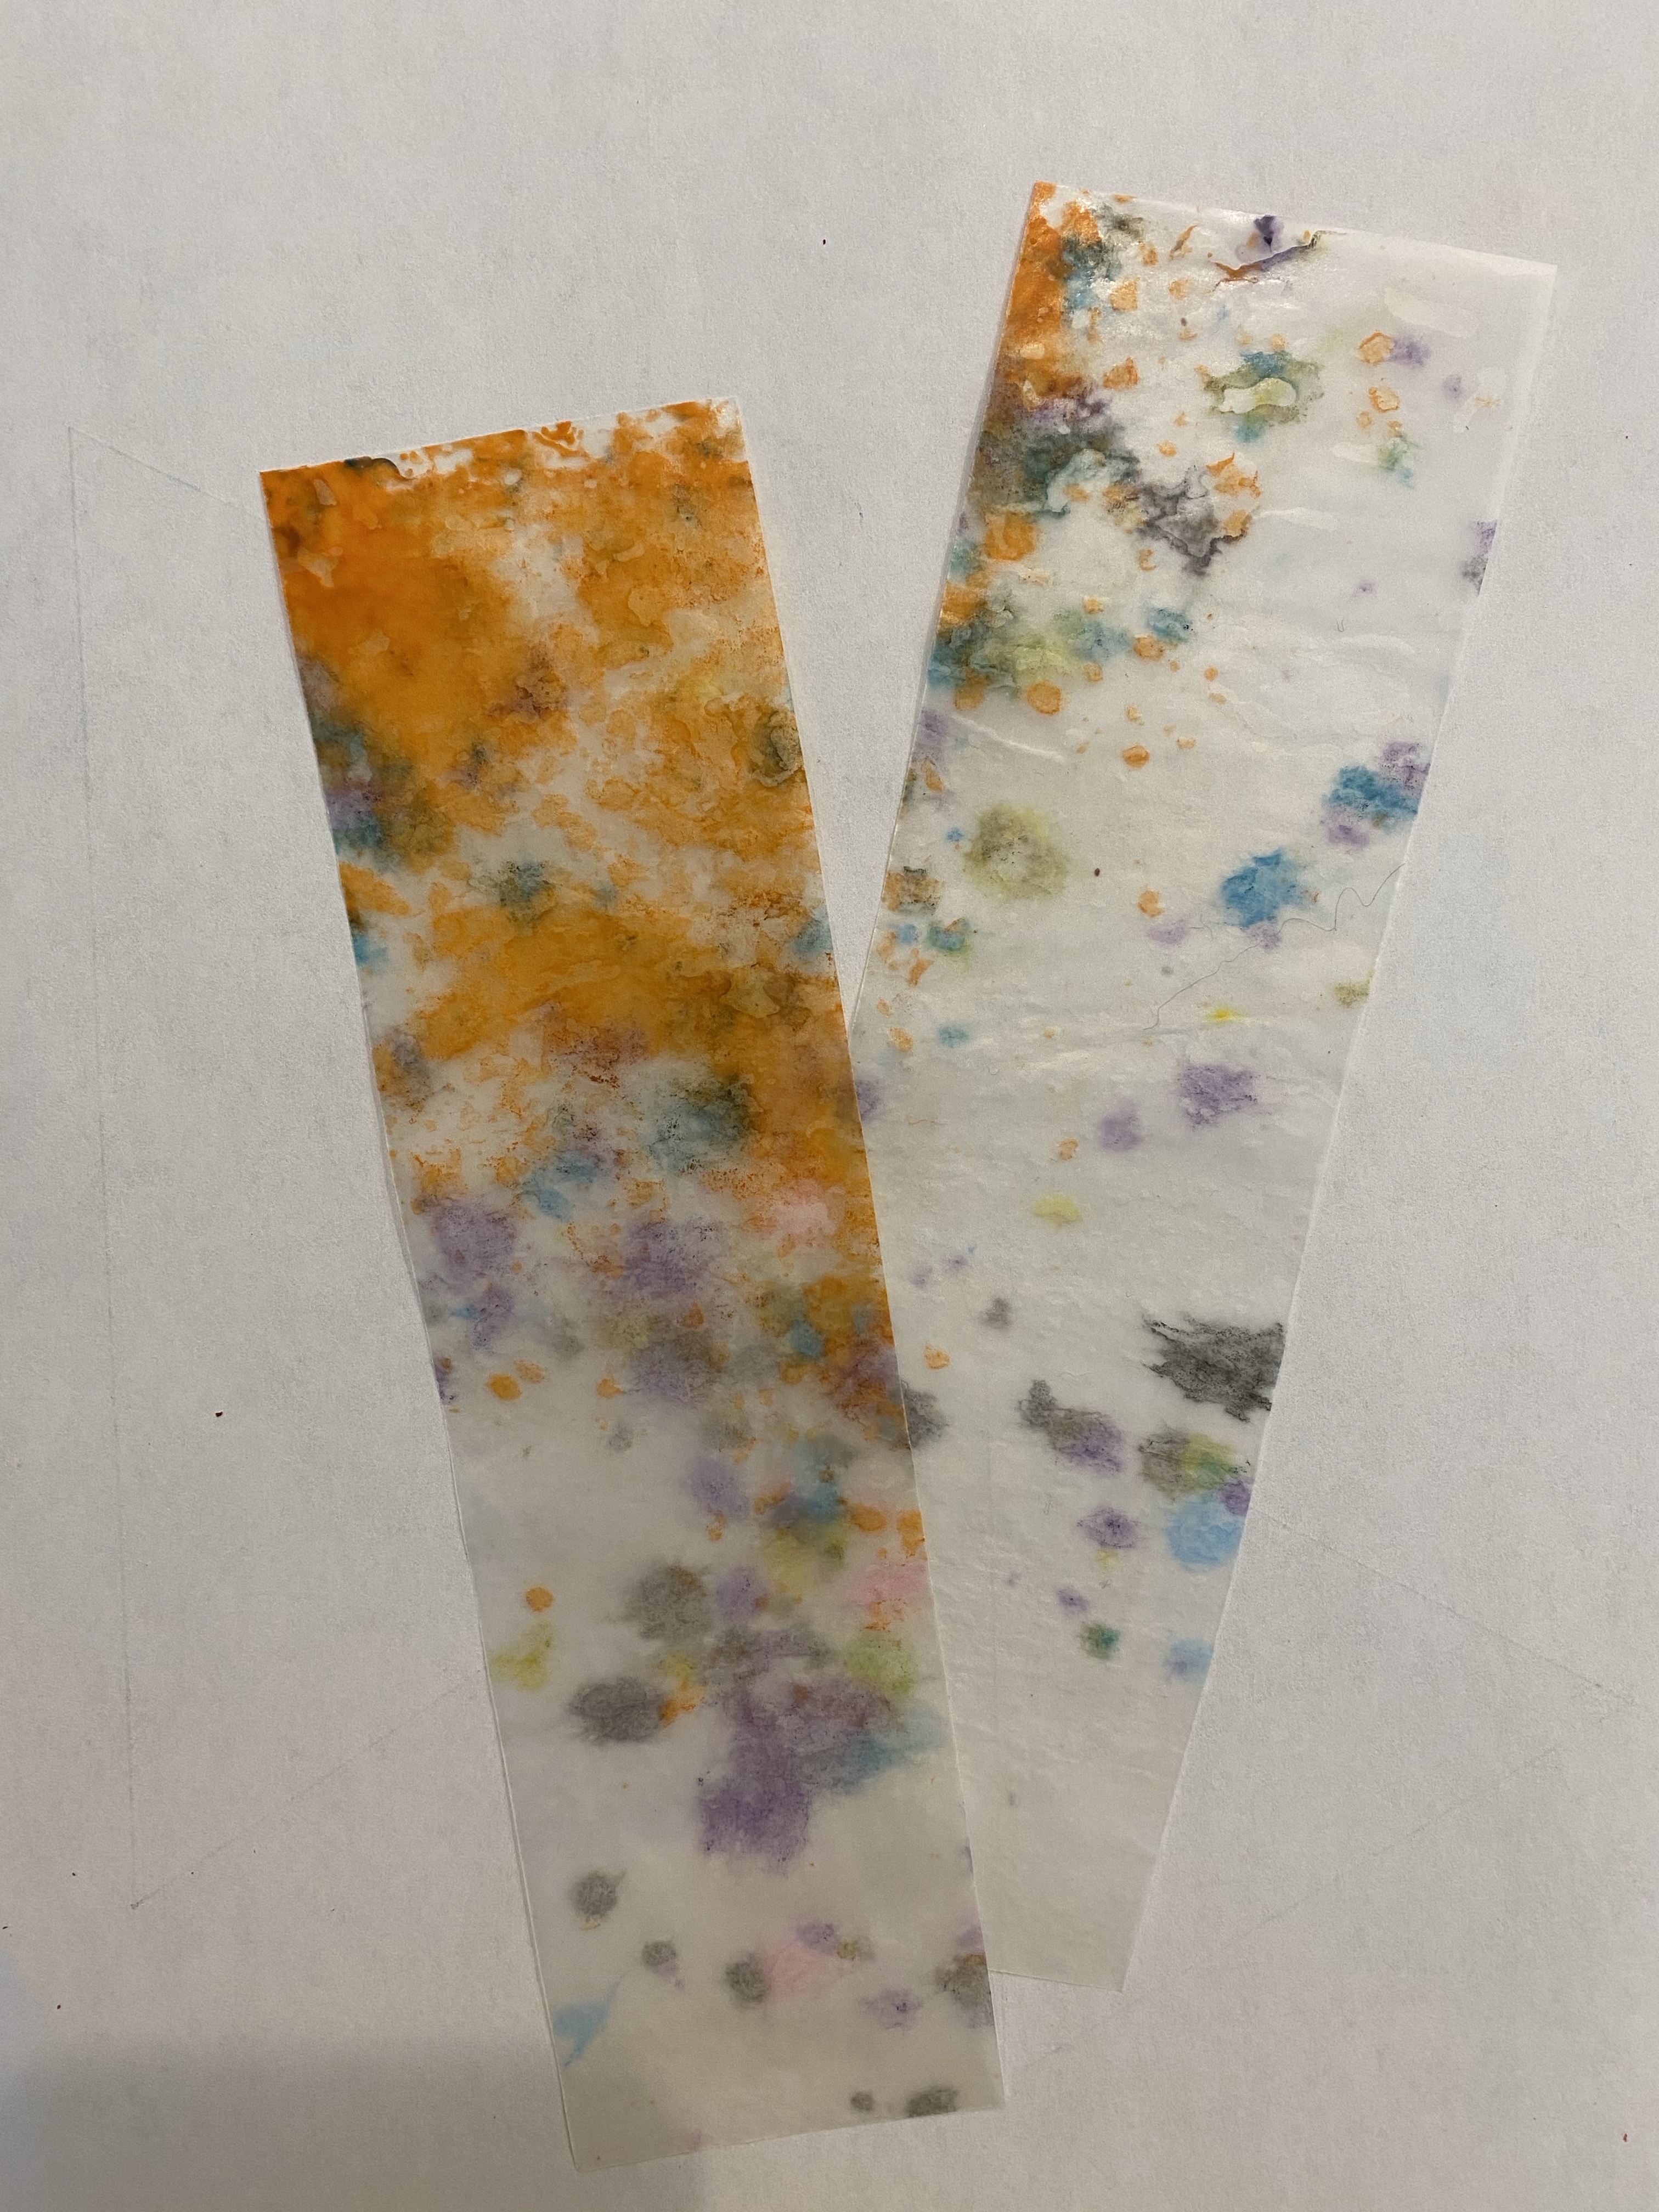
-Shaved crayon bookmarks: My mom used to do this activity with me as a kid and I thought it was SO cool, so I busted it back out this week with my little! You shave peeled crayons using a butter knife so the crumbs land on a piece of wax paper (my little was SO excited to do this and kept at it for a good 15 minutes!) While you’re shaving your crayons, heat up your iron to a low setting. Then, place another sheet of wax paper on top, gently tap it with your iron a few times so the crayon shavings melt and the paper sticks together, let it cool and cut out bookmarks from your new colorful wax paper!

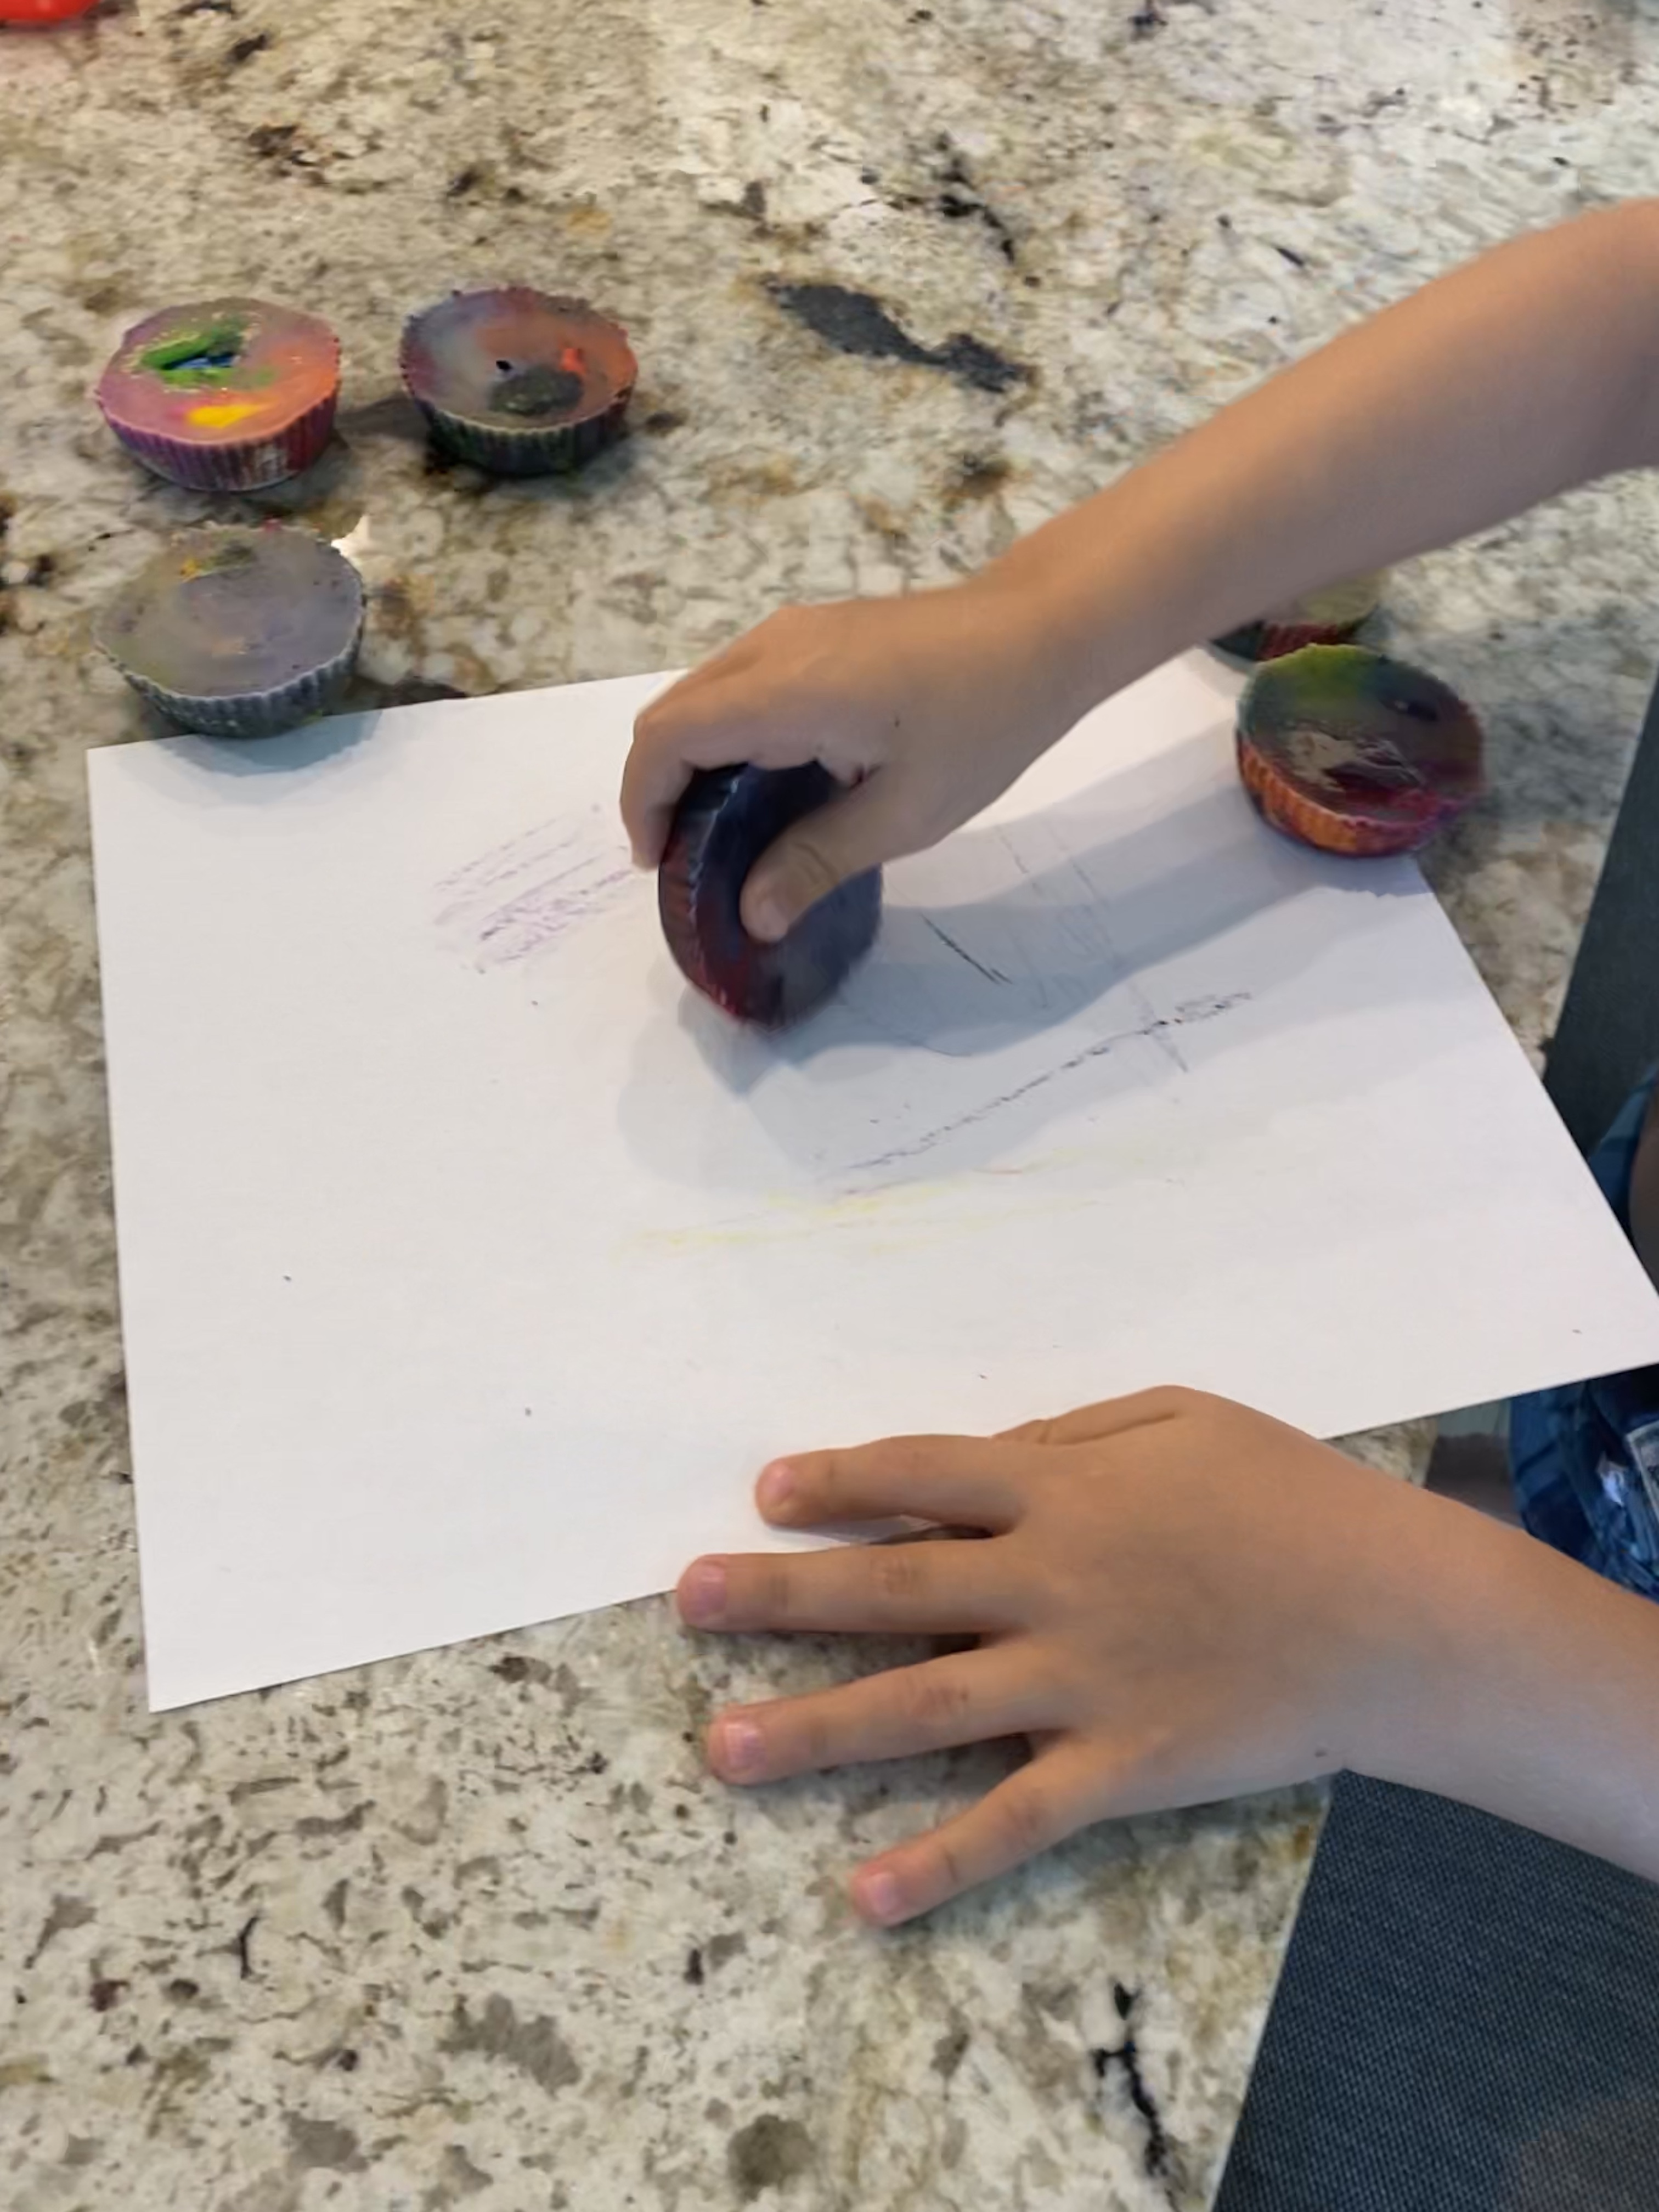
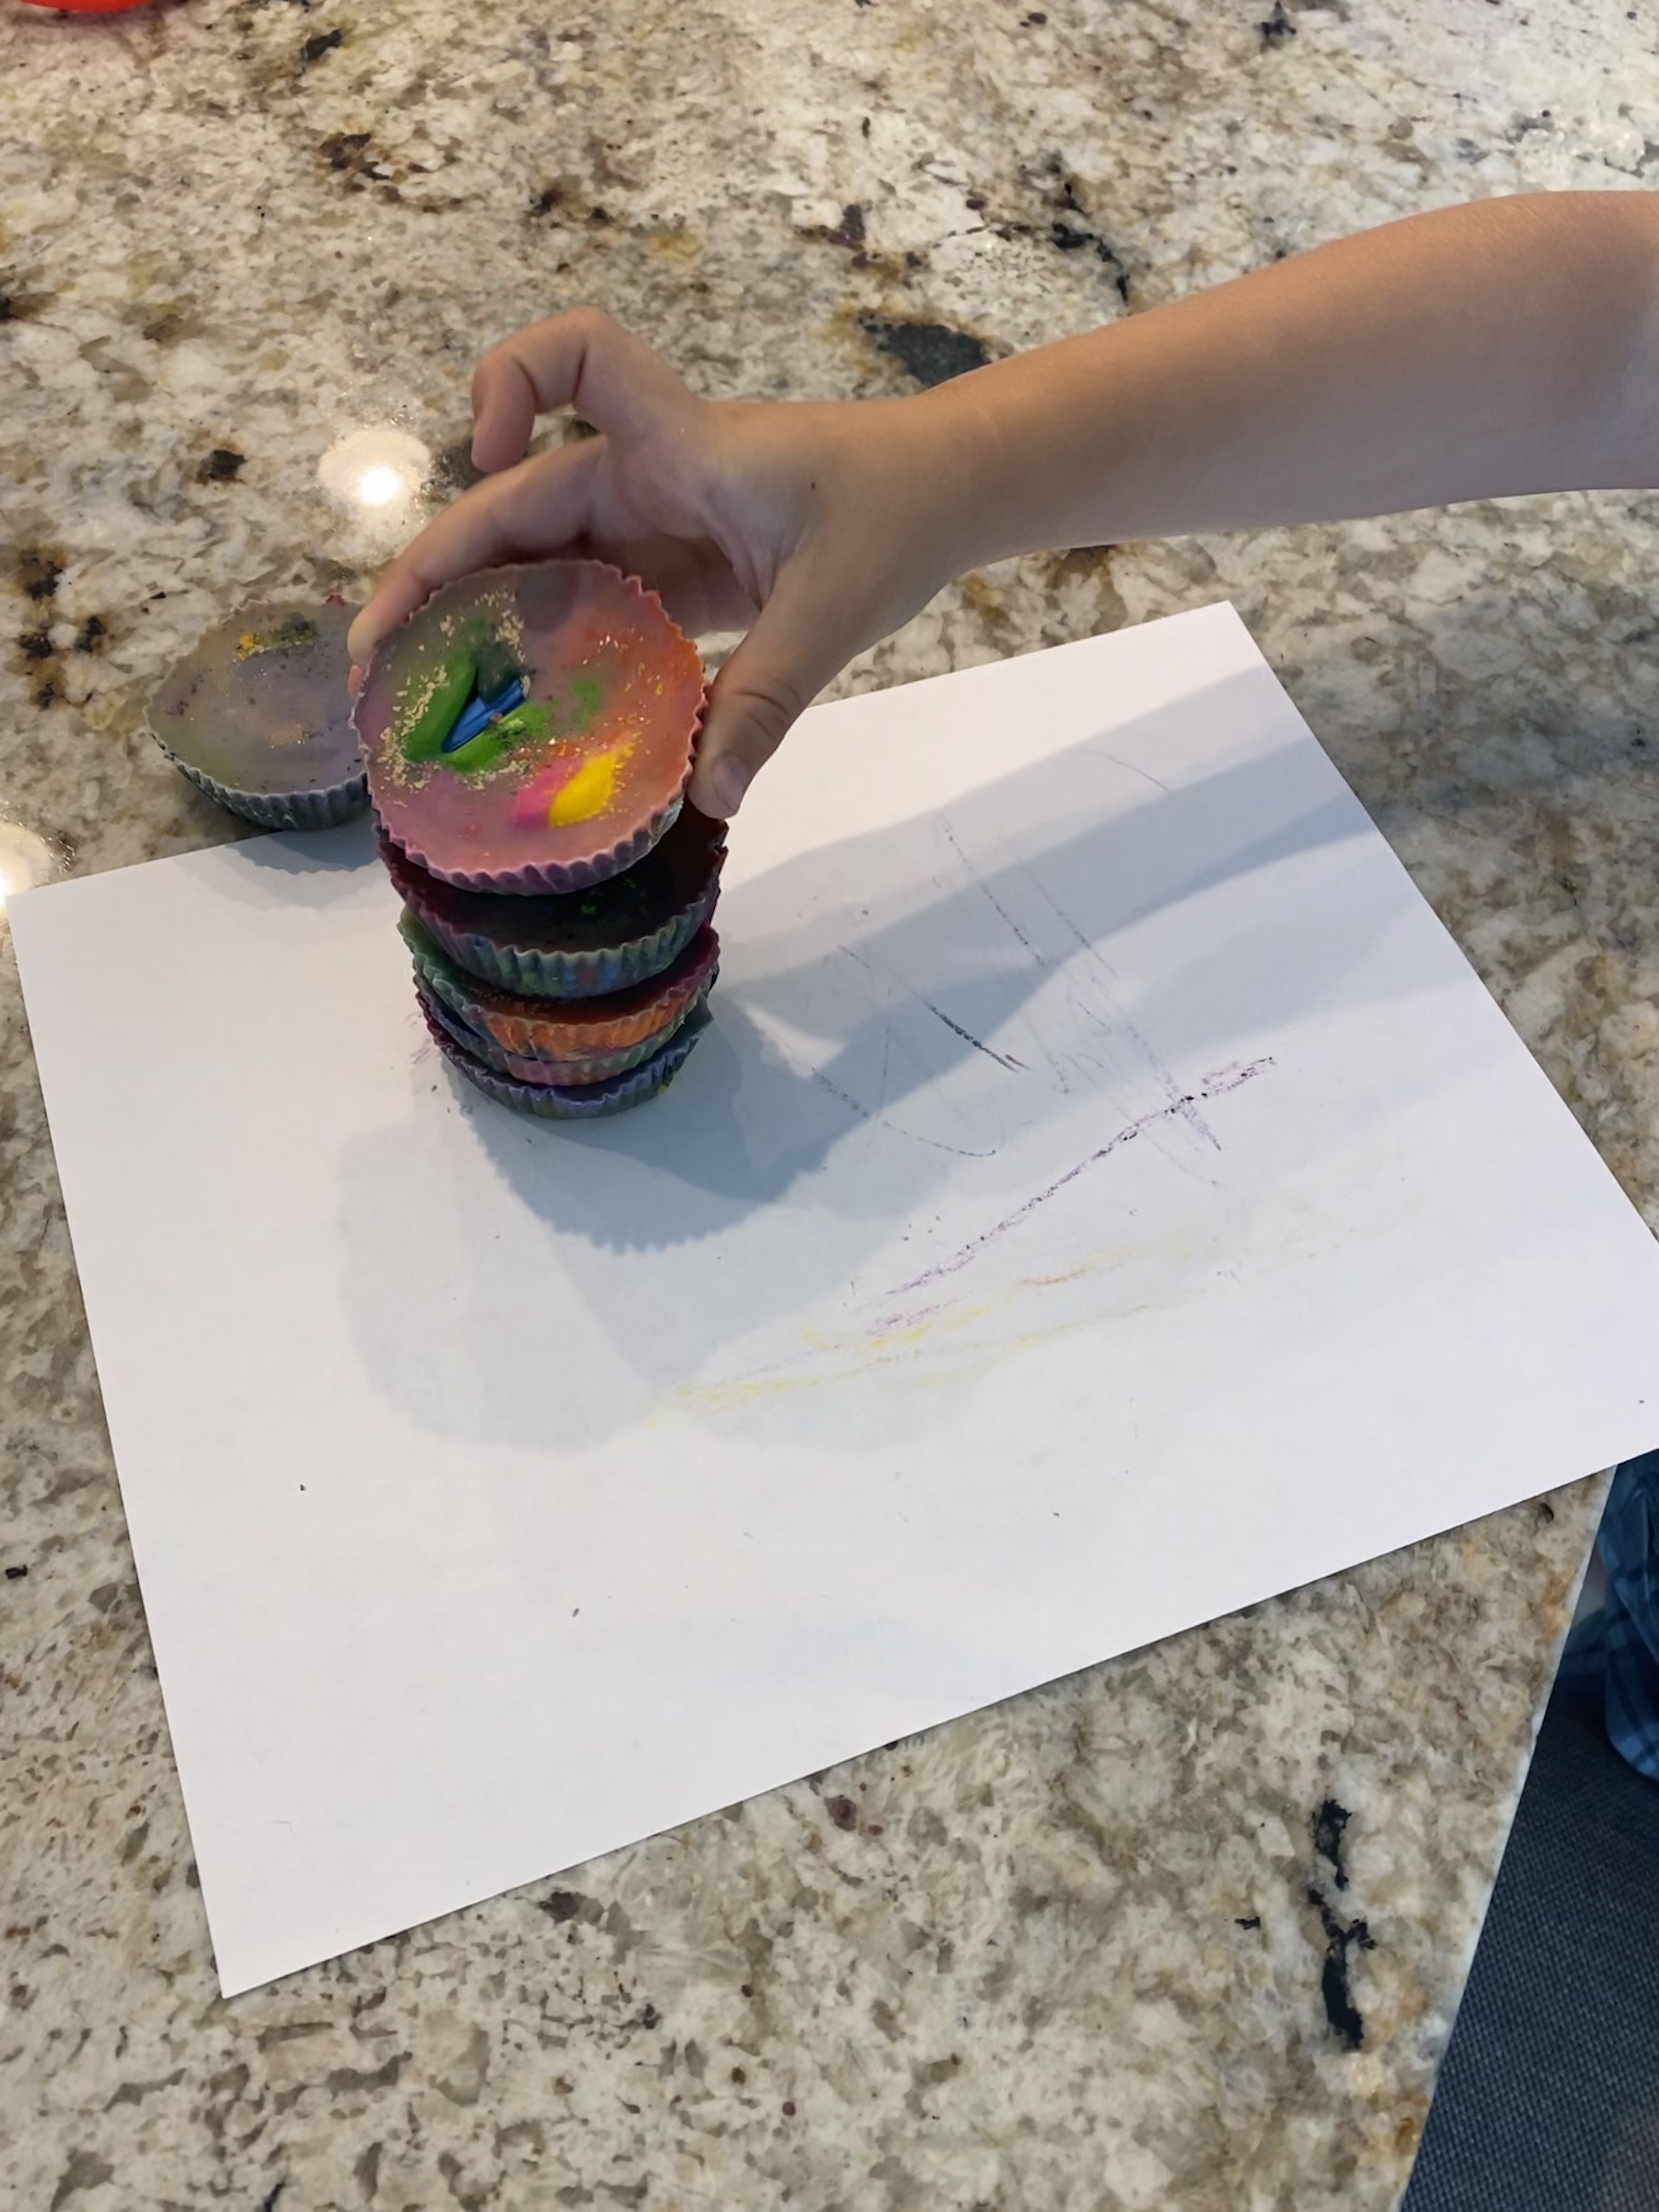
-Recycled crayons: I used to do this as part of our economics unit when I taught elementary school- we would make recycled crayons (a want), sell them to our school community to earn money, then donate the money to water aid- a nonprofit corporation that provides wells (a need) to people in developing nations. This week we just made them for fun! We peeled a bunch of old crayons, then I had my little break them and place the pieces in tinfoil muffin wrappers. We baked them in the oven at 250 for about 15 minutes until the crayons completely melted- another great opportunity to discuss what “melting” is. Then we let them cool, took the wrappers off, and colored with our new “tie dye” crayons (the boys also enjoyed stacking them up)!


–Supply/shopping list:
- the book “The Day the Crayons Quit”
- wax paper
- old crayons
- 2 boxes of new crayons
- 10 sided dice
- rocks
- tin foil muffin wrappers
- cookie sheet
