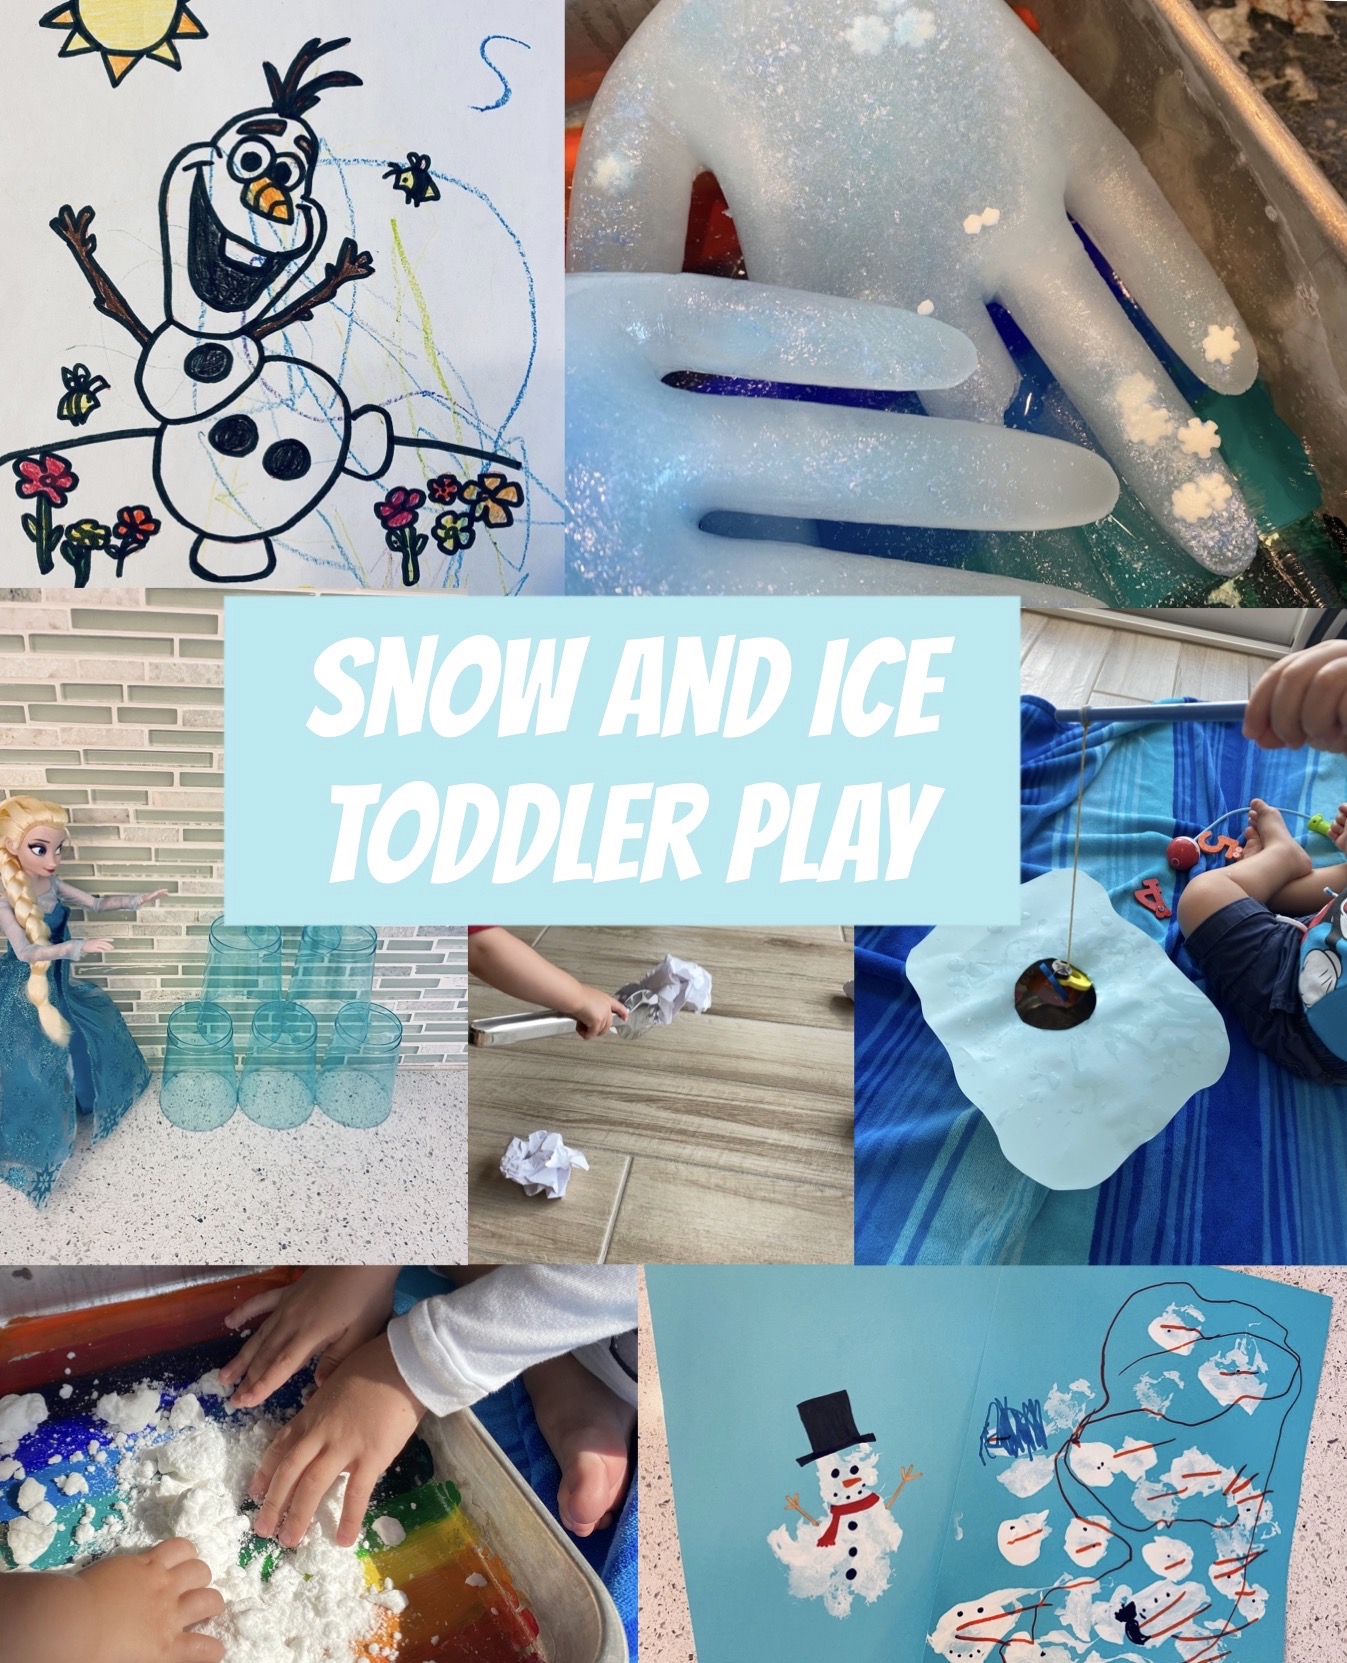
The weather is hot, but this week we’re choosing to “let it go” and dive into some Frozen inspired sensory play and art! My toddler hasn’t seen Frozen yet, but he loves listening to the story book we have featuring Anna, Elsa and their crew of do-gooders. For the first time in forever, we had a blast playing with aaaall the cold things!
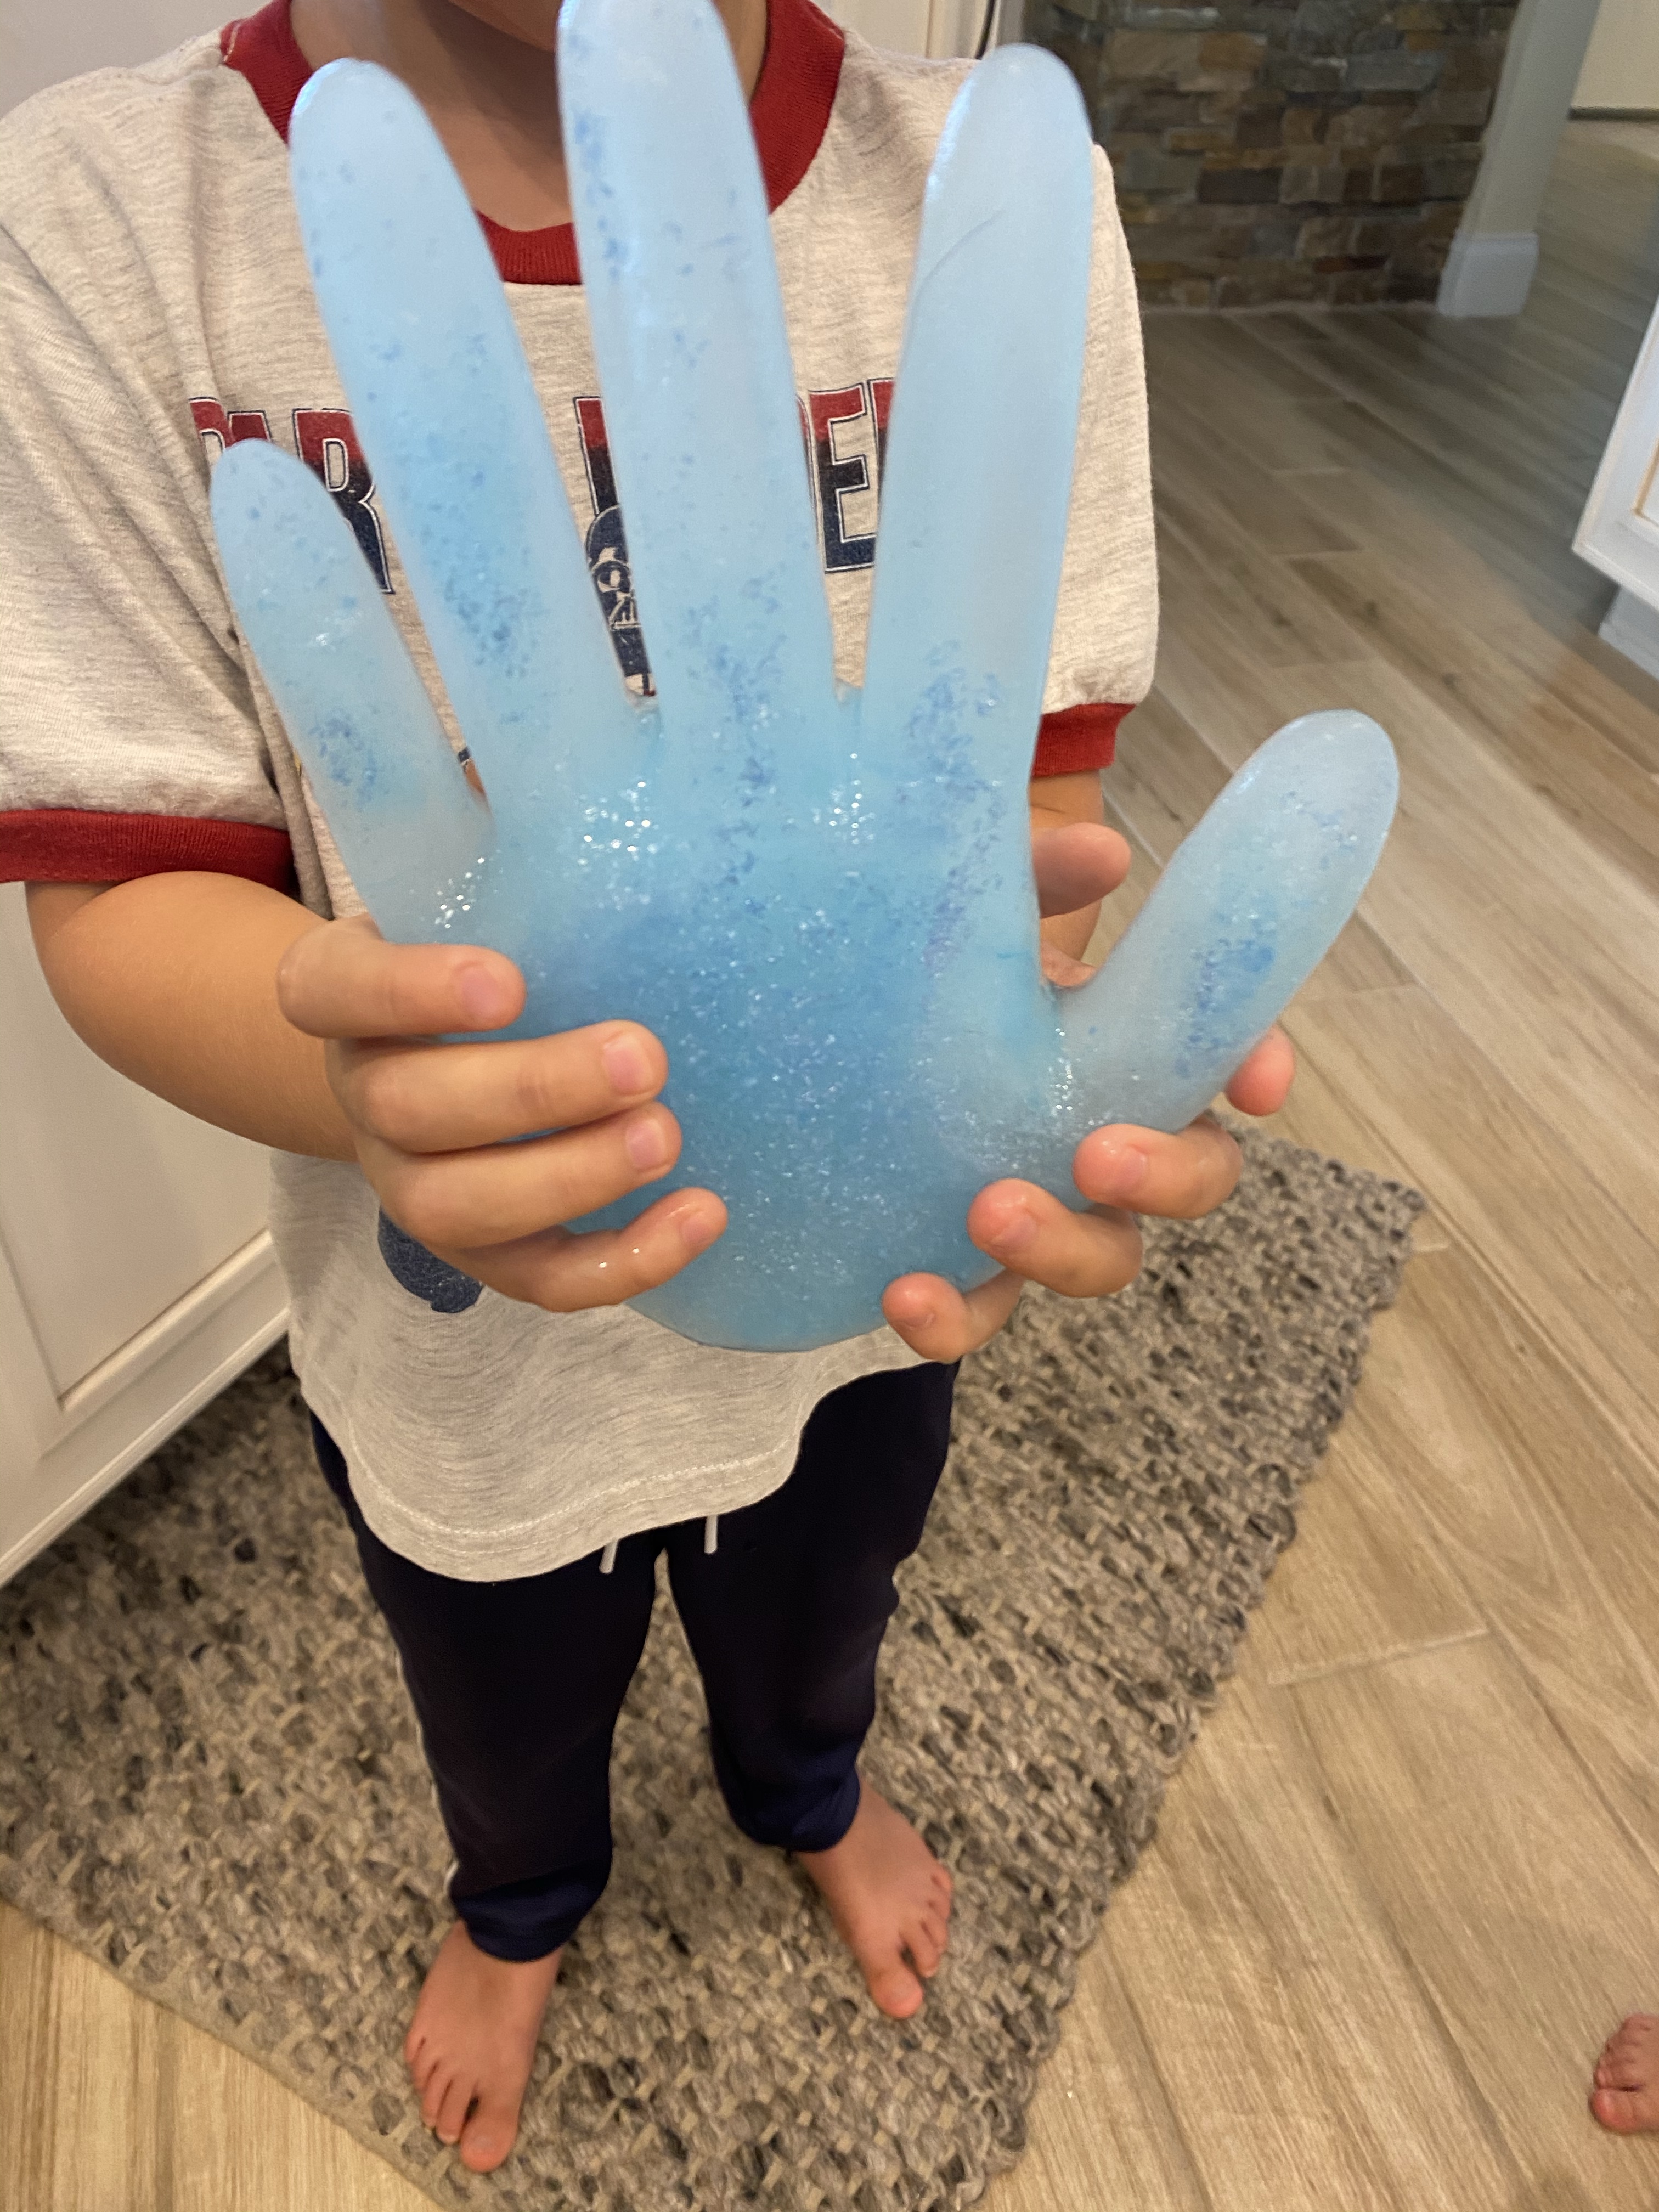
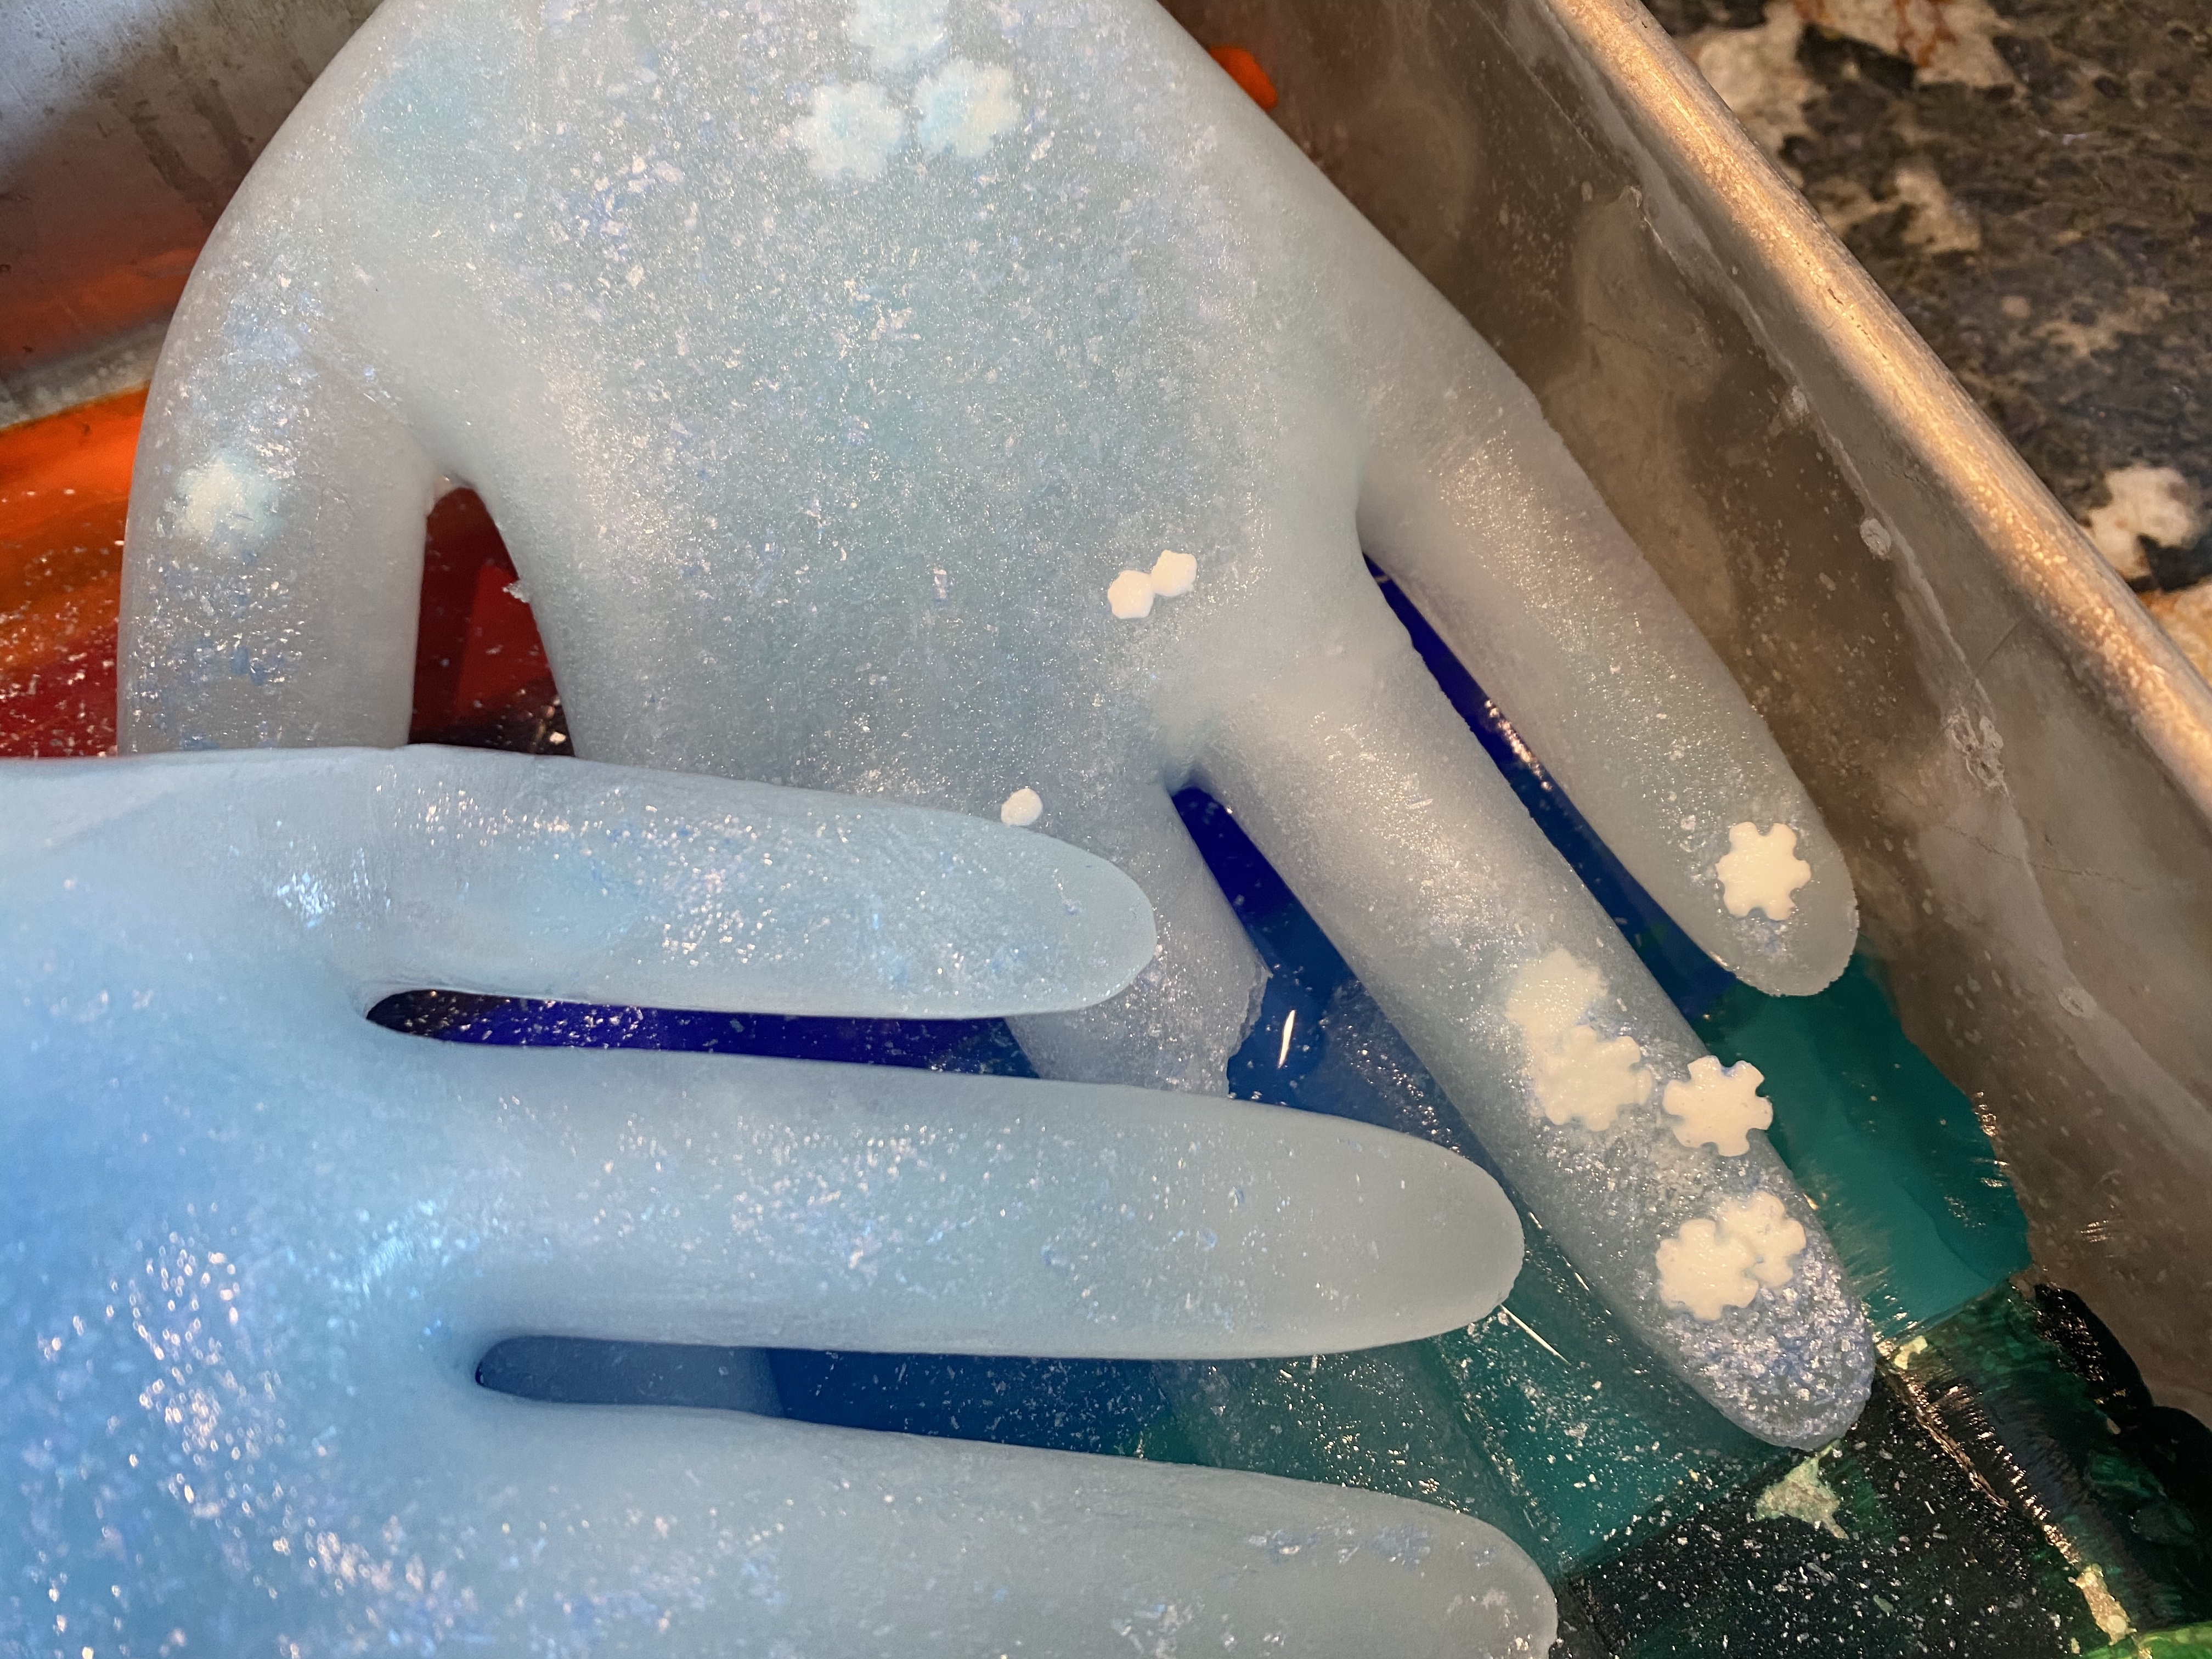
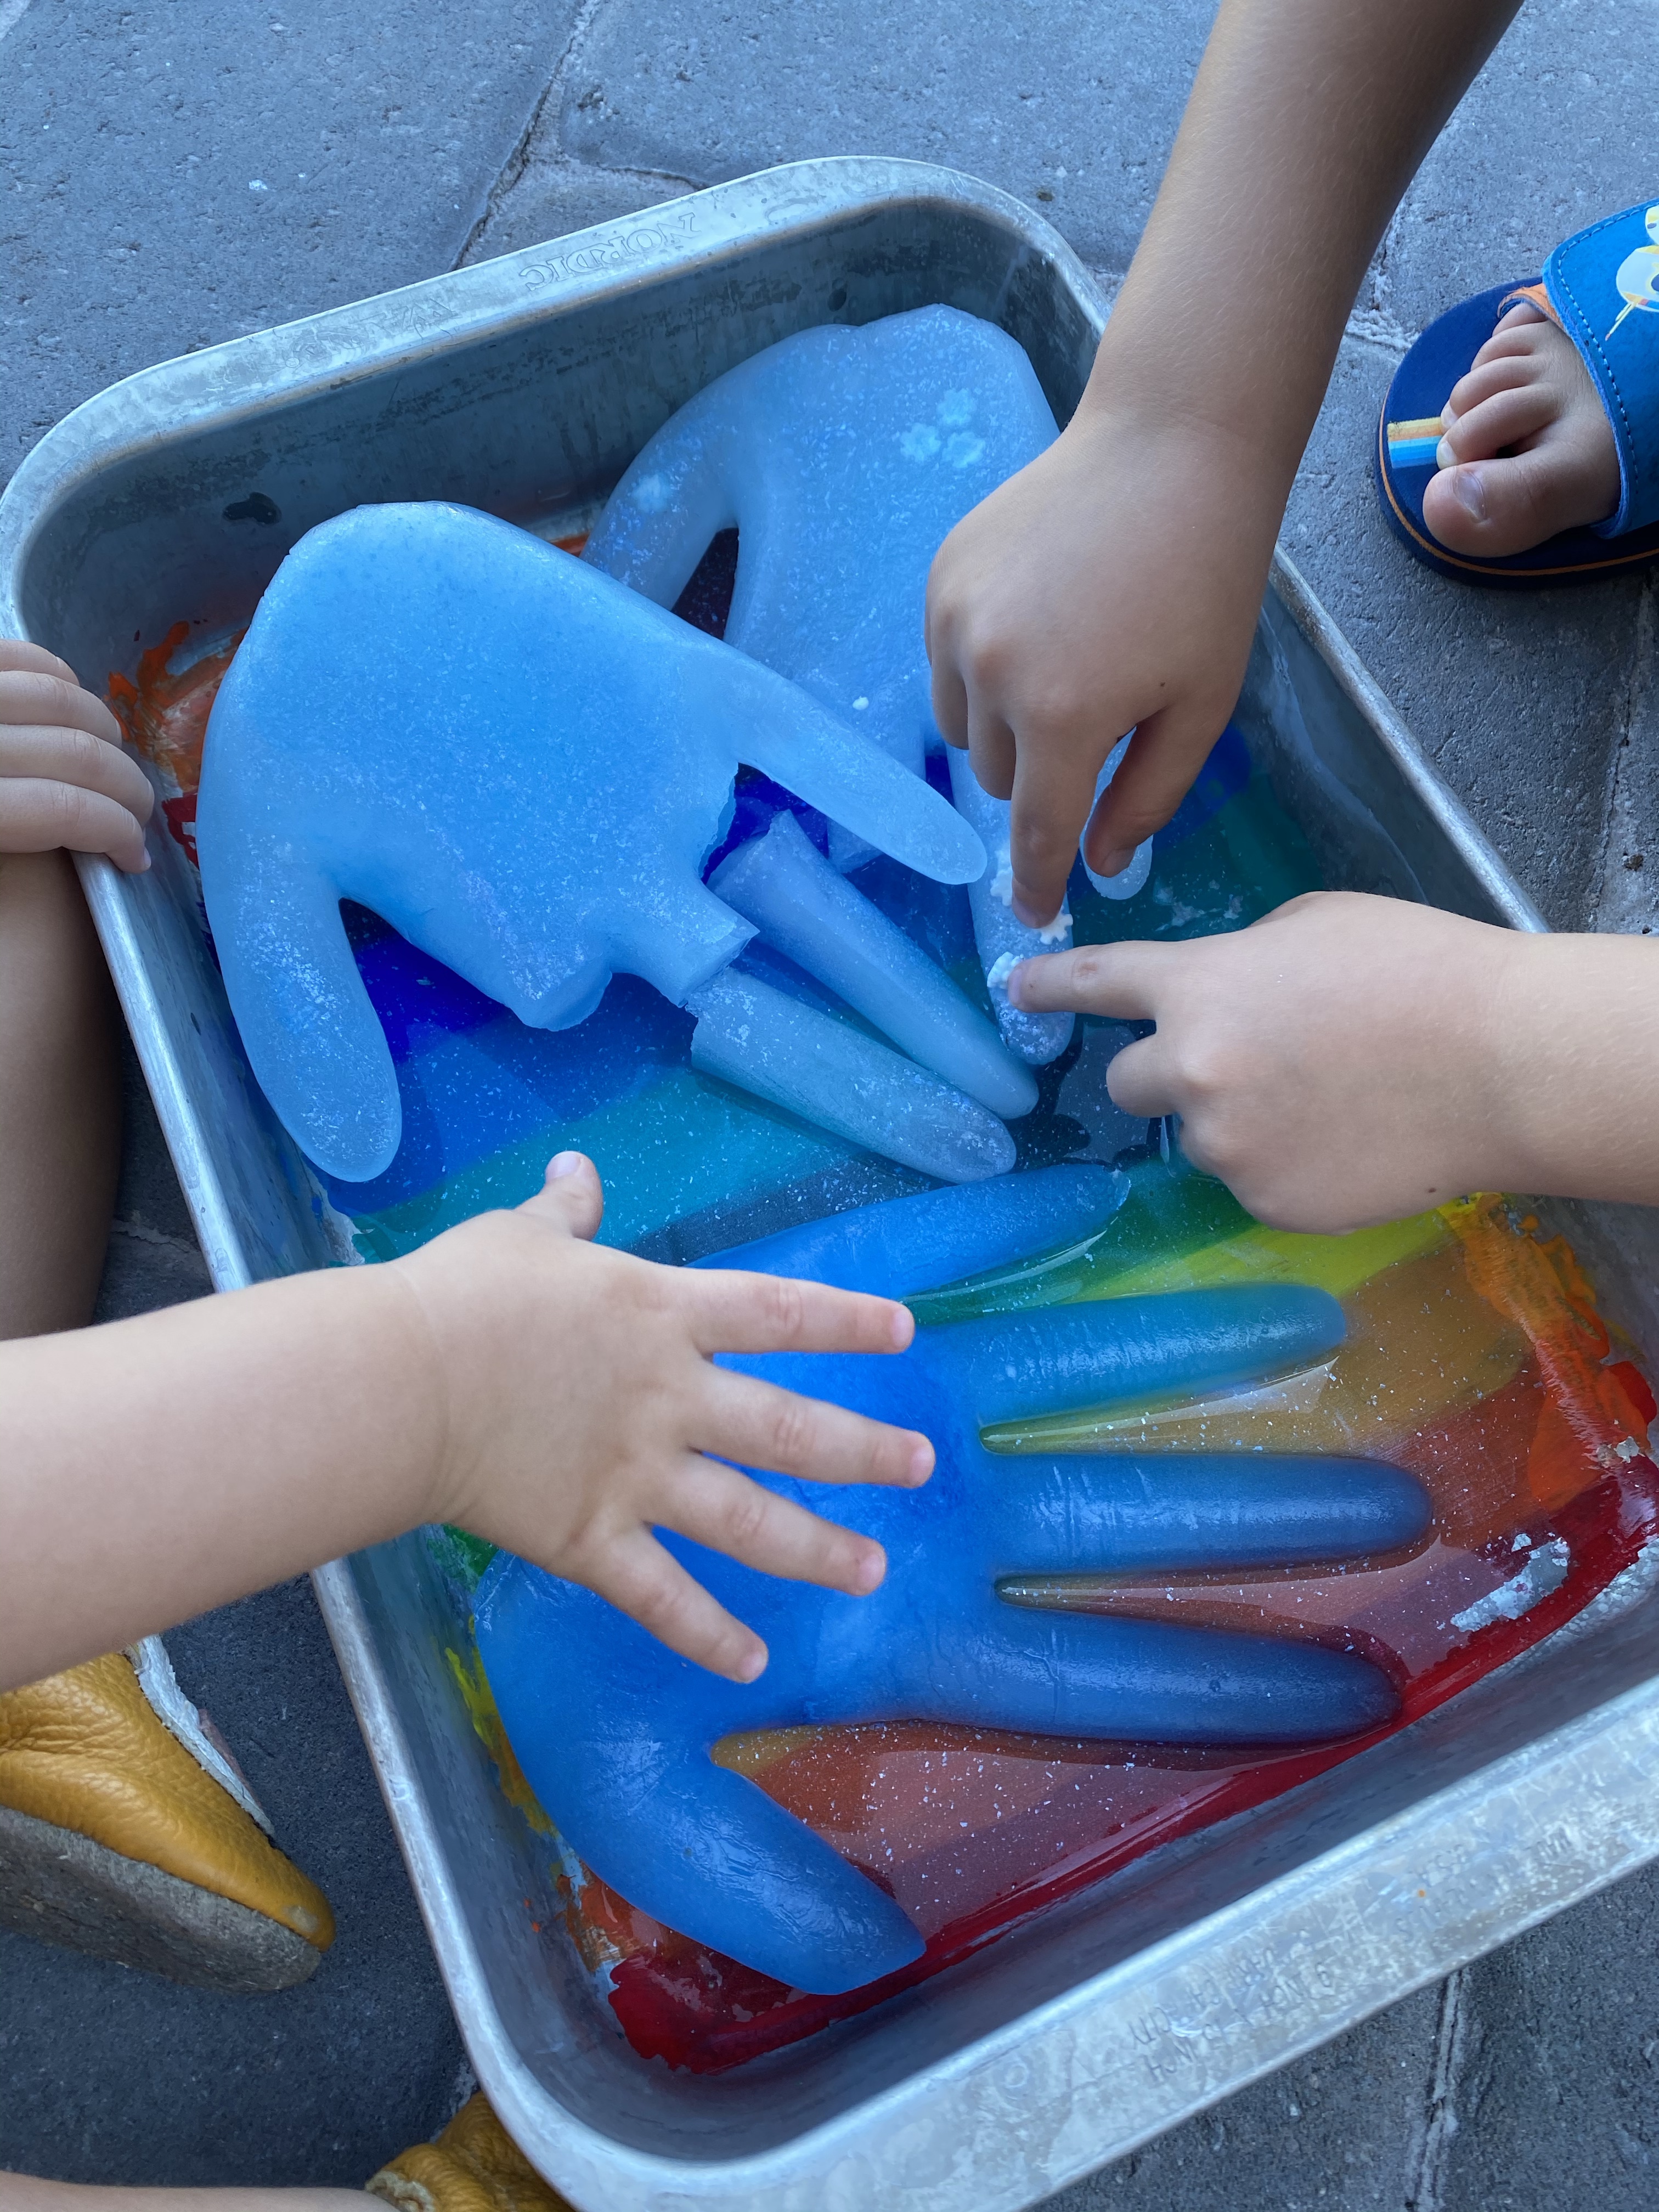
–Melt Elsa’s frozen hands: I got this cute idea from Pinterest, and being huge fans of any sort of ice or water play, my boys both had a blast with it- plus it was a fun way to cool off on a hot summer morning! (I modified the activity and made it taste safe since my boys both love to lick ice.) Place water in some plastic gloves. Add blue and silver sprinkles (and snowflake sprinkles if you have them on hand or can find them this time of year!). Tie the top off, or twist it and clip it with a chip clip. Freeze overnight, take your hands out of the freezer and let them sit for 5 minutes, then carefully cut the gloves off (the fingers are pretty delicate and prone to breakage!) and let your littles play! After the fingers were all broken off and melted, my littles decided to be Kristoff and “harvest the ice” with hammers- which was great fine motor practice too!

–Play snow: This play snow recipe is great because it doesn’t melt but can be molded and formed like real snow! And if you pop it in the freezer for 30 minutes after you make it, it’s even cold like snow! You simply mix 2 1/2 cups of baking soda with 1/2 a cup of white conditioner! If it’s too dry, add a little more conditioner until you get the consistency of wet snow. Put it in a cake pan and throw down a towel for easy clean up and let your little play! (If you have some small Frozen figurines they would be fun to add- my boys grabbed some toy cars to play with after building with their snow for awhile!) I got the idea from The Purposeful Nest!

–Elsa’s ice powers: This activity is seriously so cool! Both of my boys loved it so much we did it almost every day this week! Get a few bottles of room temperature purified water and pop them in the freezer (I also used refrigerator temperature water and just set the timer for one hour and it worked fine!). Set a timer for 2 hours- the goal is to “super cool” them, but not freeze them. When the timer goes off, slowly and carefully take the bottles from the freezer- the reaction can be activated by grabbing the bottle too hard or pouring the water too fast- both of which happened to me more than once! Sloooowly pour the water into a cake pan and give your little an ice cube. Let them touch the water with the ice cube and watch in amazement as it instantly freezes over! Then let your little play with the frozen water. If you accidently freeze it before they can, just try again another day- I promise they’ll still have a blast playing with the ice and snow! I got this idea from For Every Mom.

–Elsa’s snowstorm: This activity is super cool and easy to set up. Have your little put some snowflake confetti in a clear glass. Pour in some water so the glass is about 1/3 full. Fill it up to 2/3 full with baby oil. Then have your little drop in an Alka-Seltzer and watch the blizzard begin! You can also do it by putting paint in the bottom of the glass, then water, then baby oil- the paint also makes for a really cool blizzard! I got the idea from One Little Project at a Time!
–Ice fishing for colors: I originally put this together as a number recognition activity for my preschooler, but my toddler saw it and wanted to play too! First, make a fishing pole with a pencil, some string and a magnet. Then, cut out an ice fishing hole from card stock. Hot glue the hole to a bowl, then fill the bowl with water and colorful magnets. Have your little fish for the magnets and identify the color of each one (or do it for them) when they catch them! This is great fine motor practice too! I got the ice fishing idea from Turner Tots, then modified it for toddlers!

–Fine motor snowball pickup: Grab yourself a small storage bin, several pieces of scrap paper and a pair of tongs. Ball the paper up and throw it all over the floor yelling “OH NO! IT’S ELSA’S SNOW STORM!” Then show your little how to pick them up with the tongs (or their hands if they’re closer to 1) and put them in the bin. When the bin is full, you can dump it on their head and say, “Uh oh! It’s snowing again!” or count up the snowballs you collected. This is also great with cotton balls, especially if your little is a bit older and has better developed motor skills.

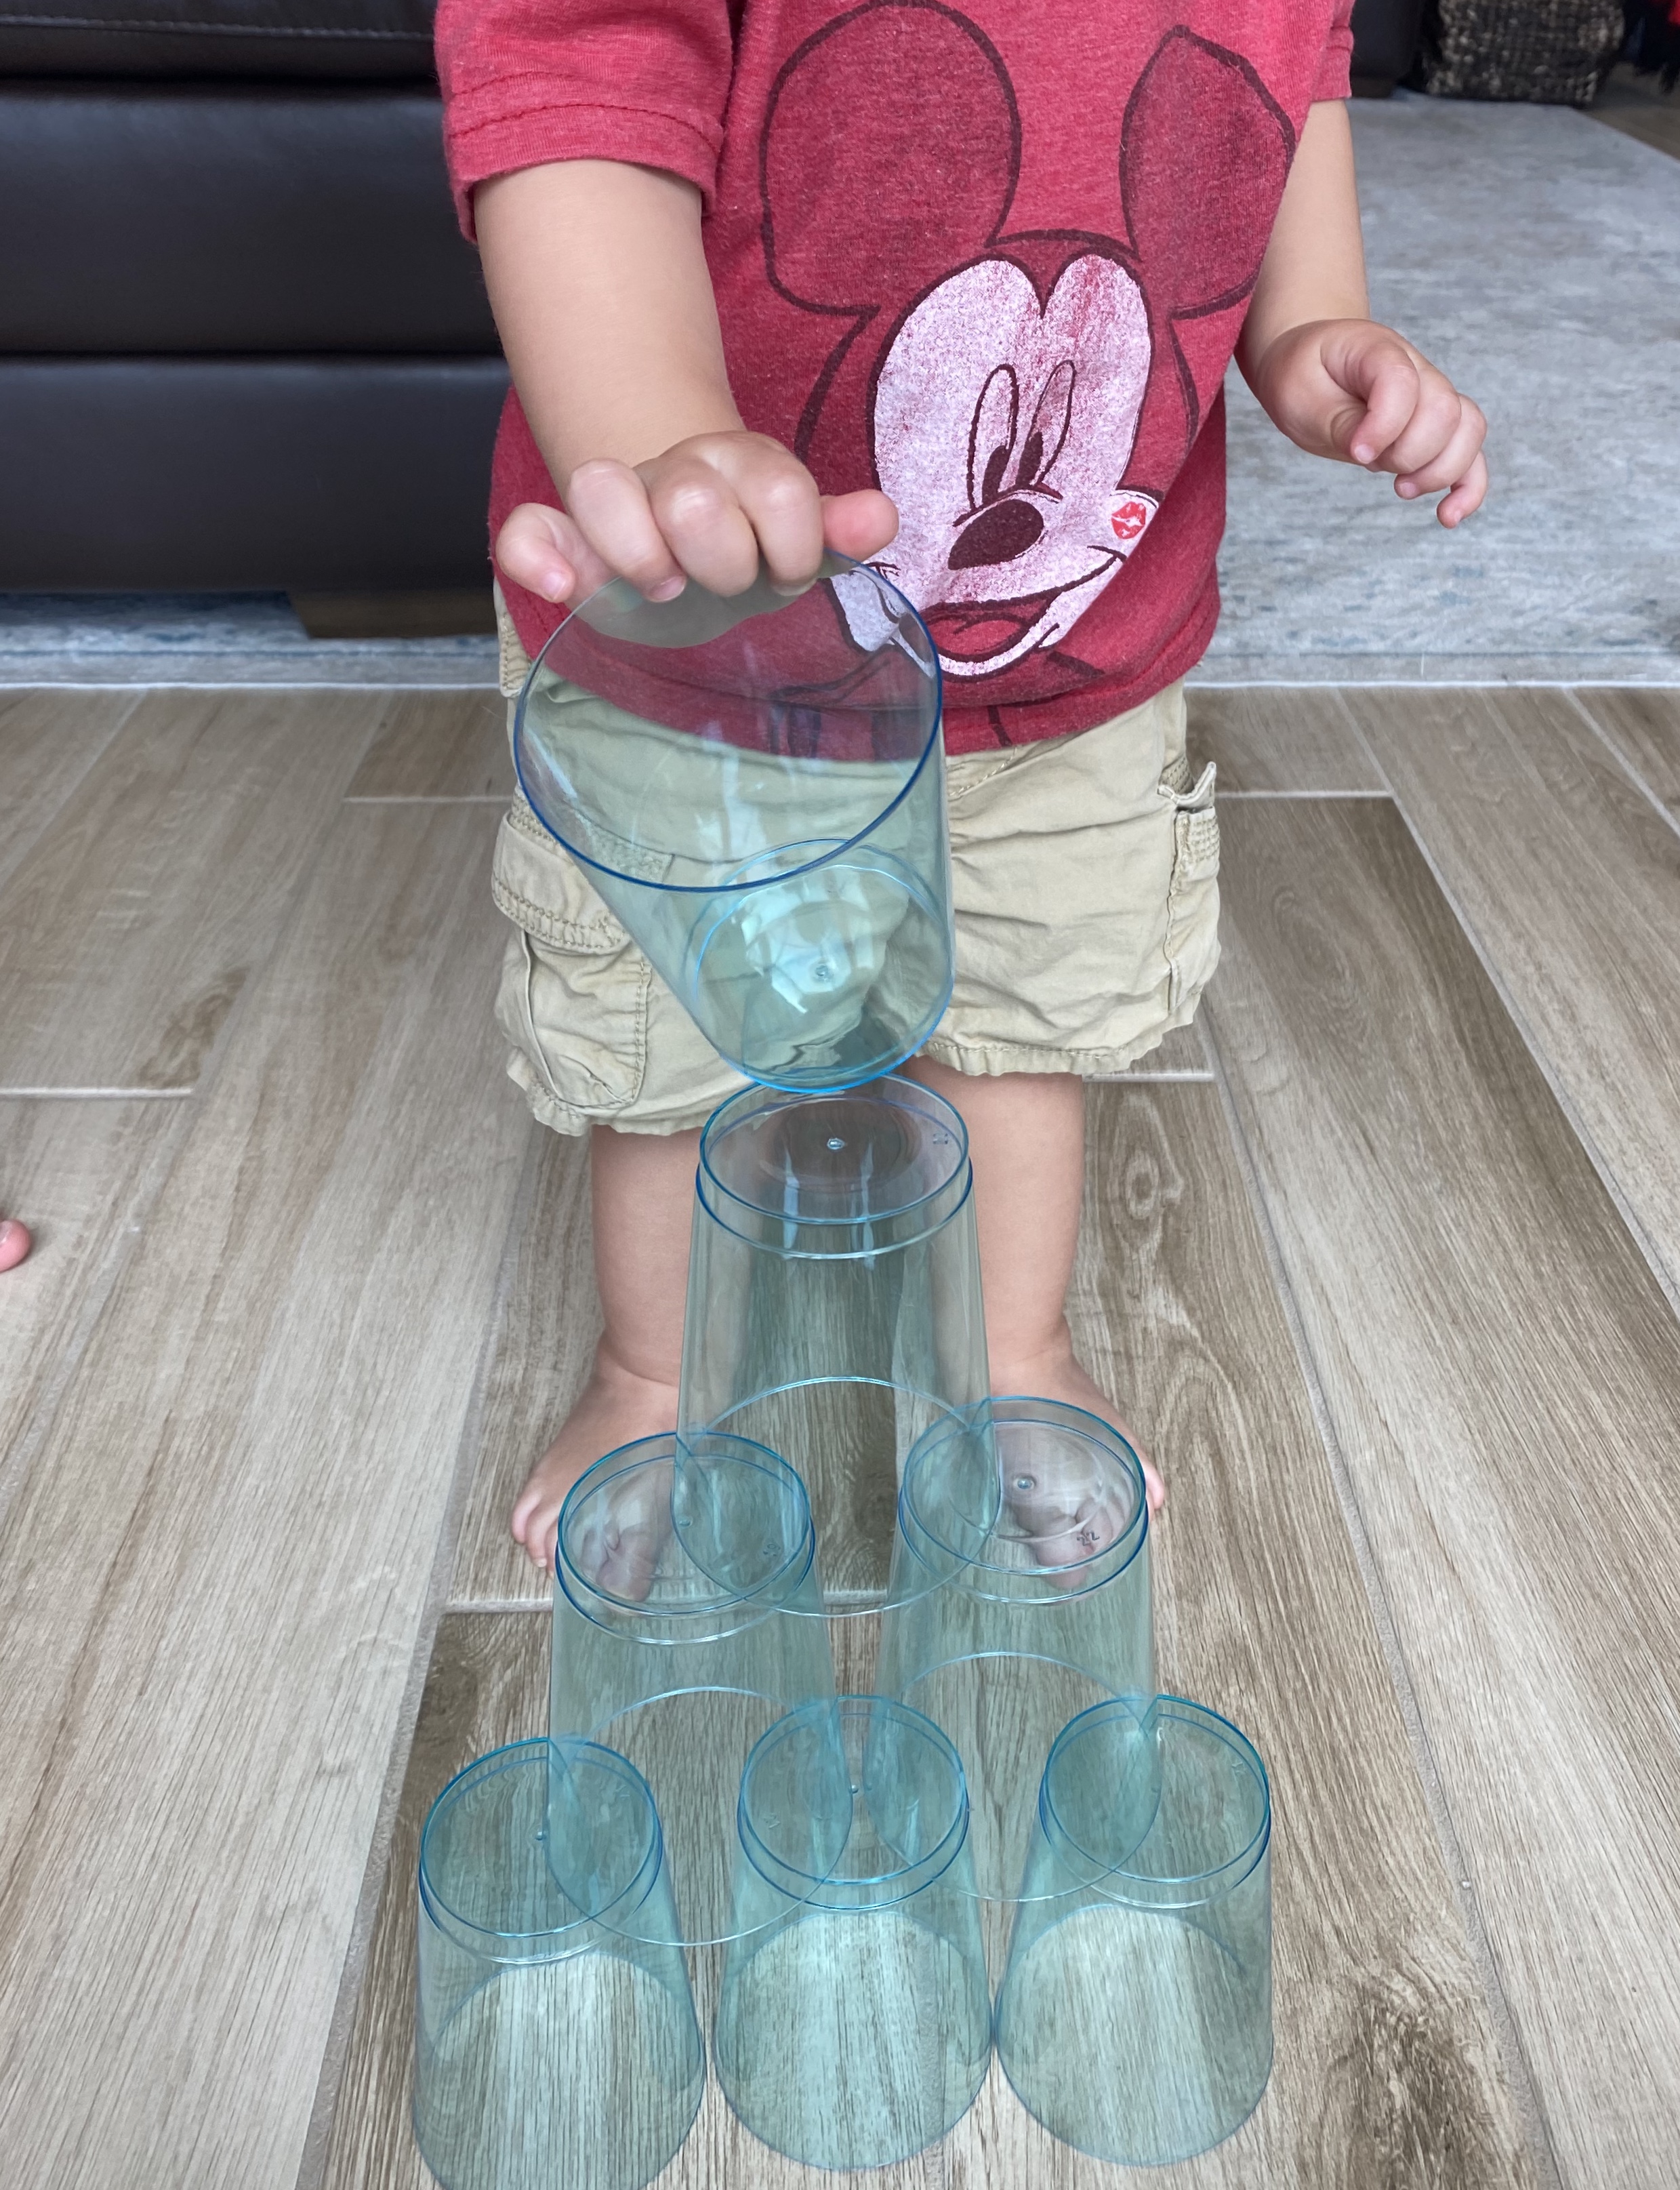
–Elsa’s ice palace: My little loves to play with plastic cups so we built Elsa’s ice castle out of some blue ones. He had fun knocking it down then rebuilding it over and over (so did his older brother for that matter!)

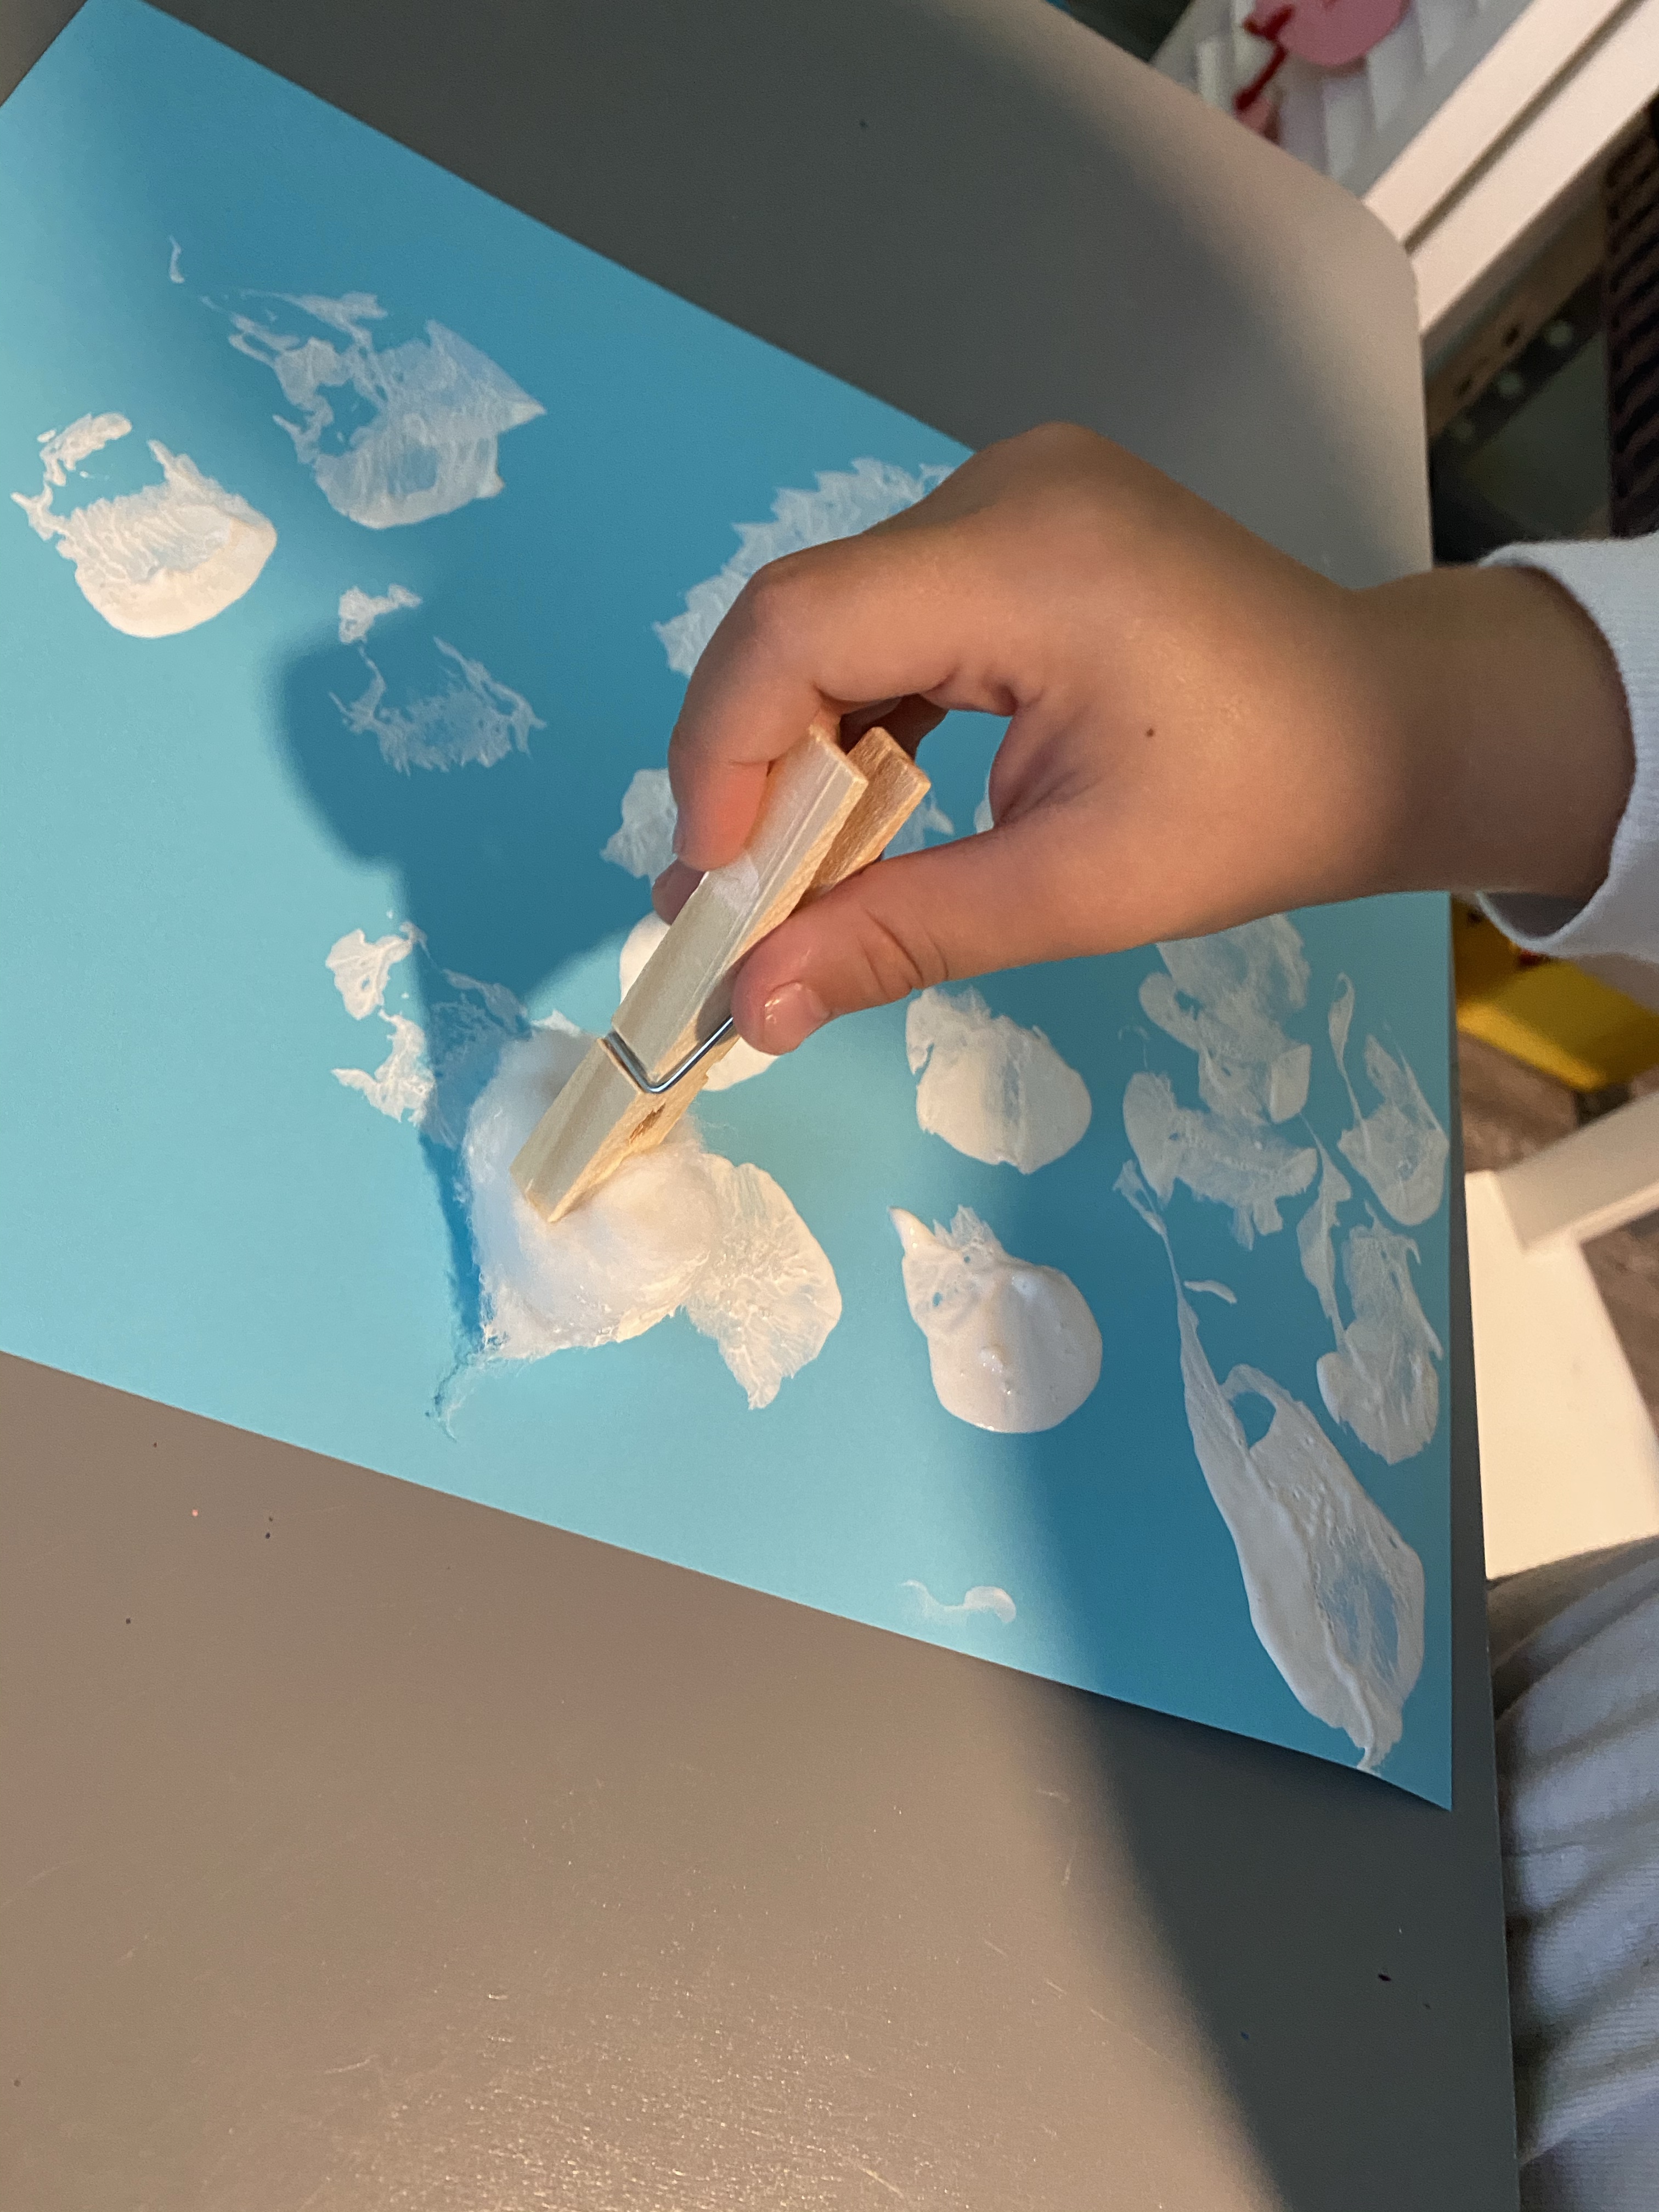
–Do you wanna paint a snowman?: Clip a cotton ball with a clothes pin and use it to paint a snowman. When the paint is dry, decorate the snowman with arms, legs, eyes, etc. using markers. My preschooler decided to make a whole family of snowmen, some with two noses and most with only one eye and to him I say- you run with that creativity kiddo! Preschool art pretty much never looks like how you expect it to look, but don’t stress it! Let your little find joy in creating and being creative- it’s the process, not the outcome that matters most!

–Some people are worth melting for: This melted snowman craft is so perfect for littles who have a tendency to stick the pieces of a craft any which way! First, you make puffy paint by mixing shaving cream and glue- I just kept adding glue to about a cup of shaving cream until it was nice and thick when I stirred it. Then, have your little paint all over a piece of blue paper (folded in half if you want to make it into a card to send to someone- which is what we did!). They can use a brush or their hands. Next, have them add shapes you cut out for eyes, nose, hat etc. Voila- a melted snowman! We put “Some People Are Worth Melting For” inside the cards and I let the littles pick who to send them to! I got this idea from The Yellow Birdhouse who included a writing activity for older kiddos where they write about why their snowman melted.

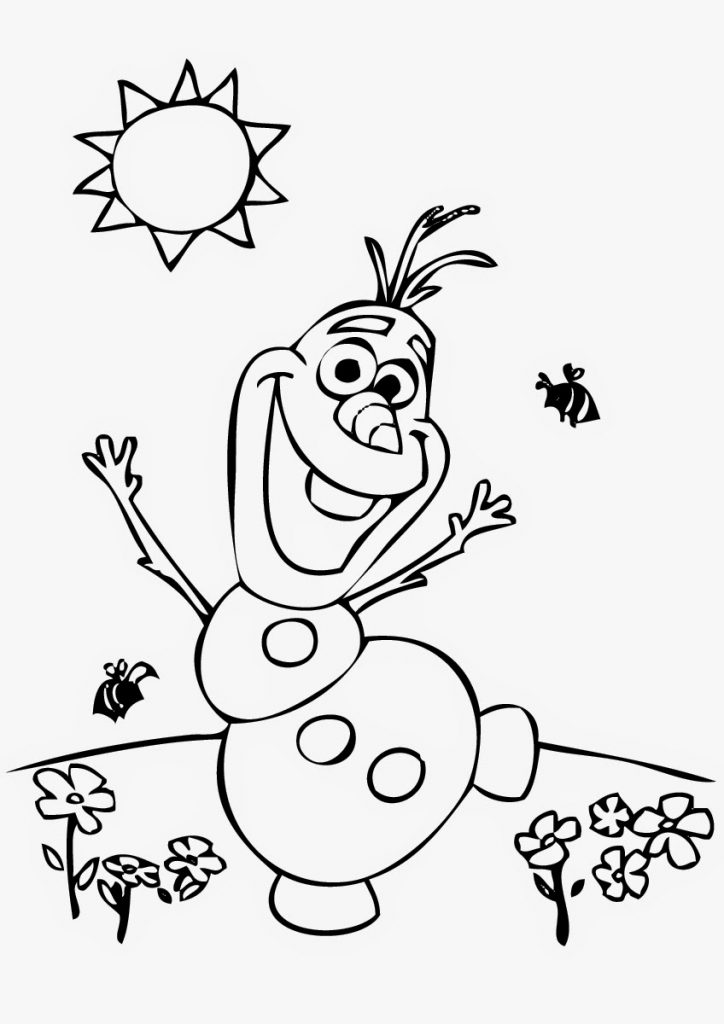
–Olaf coloring page: Toddlers even as young as age 1 are totally ready to begin experimenting with crayons and markers (under supervision of course! Otherwise you may end up with an unwanted mural on your wall!) and giving them a coloring page is a great way to foster that, as well as teach cause and effect (when they move a crayon or marker on the paper, it turns from white to colored)! And yes, I helped him! I like to color too!

–Supply/shopping list:
- plastic gloves
- snowflake sprinkles or confetti
- blue sprinkles
- conditioner
- baking soda
- baby oil
- paint
- clothes pin
- cotton ball
- glitter or snow confetti
- Alka-Seltzer
- scrap paper
- tongs
- small bin, basket or bucket
- clear glass
- 10 plastic or paper cups (like Solo brand)
- pencil
- string
- magnet
- bowl
- hot glue
- colorful magnets (letters or numbers work!)

One thought on “Snow and Ice”