
It’s the smack middle of summer and it is HOT, so what better way to cool off than with some icy cold learning from Frozen! Both Frozen movies are amazing- the music, the animation, the story lines- it’s no wonder that kids (and adults) everywhere love them, so this week I turned to Elsa, Anna, Olaf and Kristoff for our learning inspiration! Don’t forget to trek over to the toddler post, Snow and Ice, for more art and sensory play ideas- like melting Elsa’s frozen hands, DIY fake play snow, and melted snowman painting!
–Literacy:
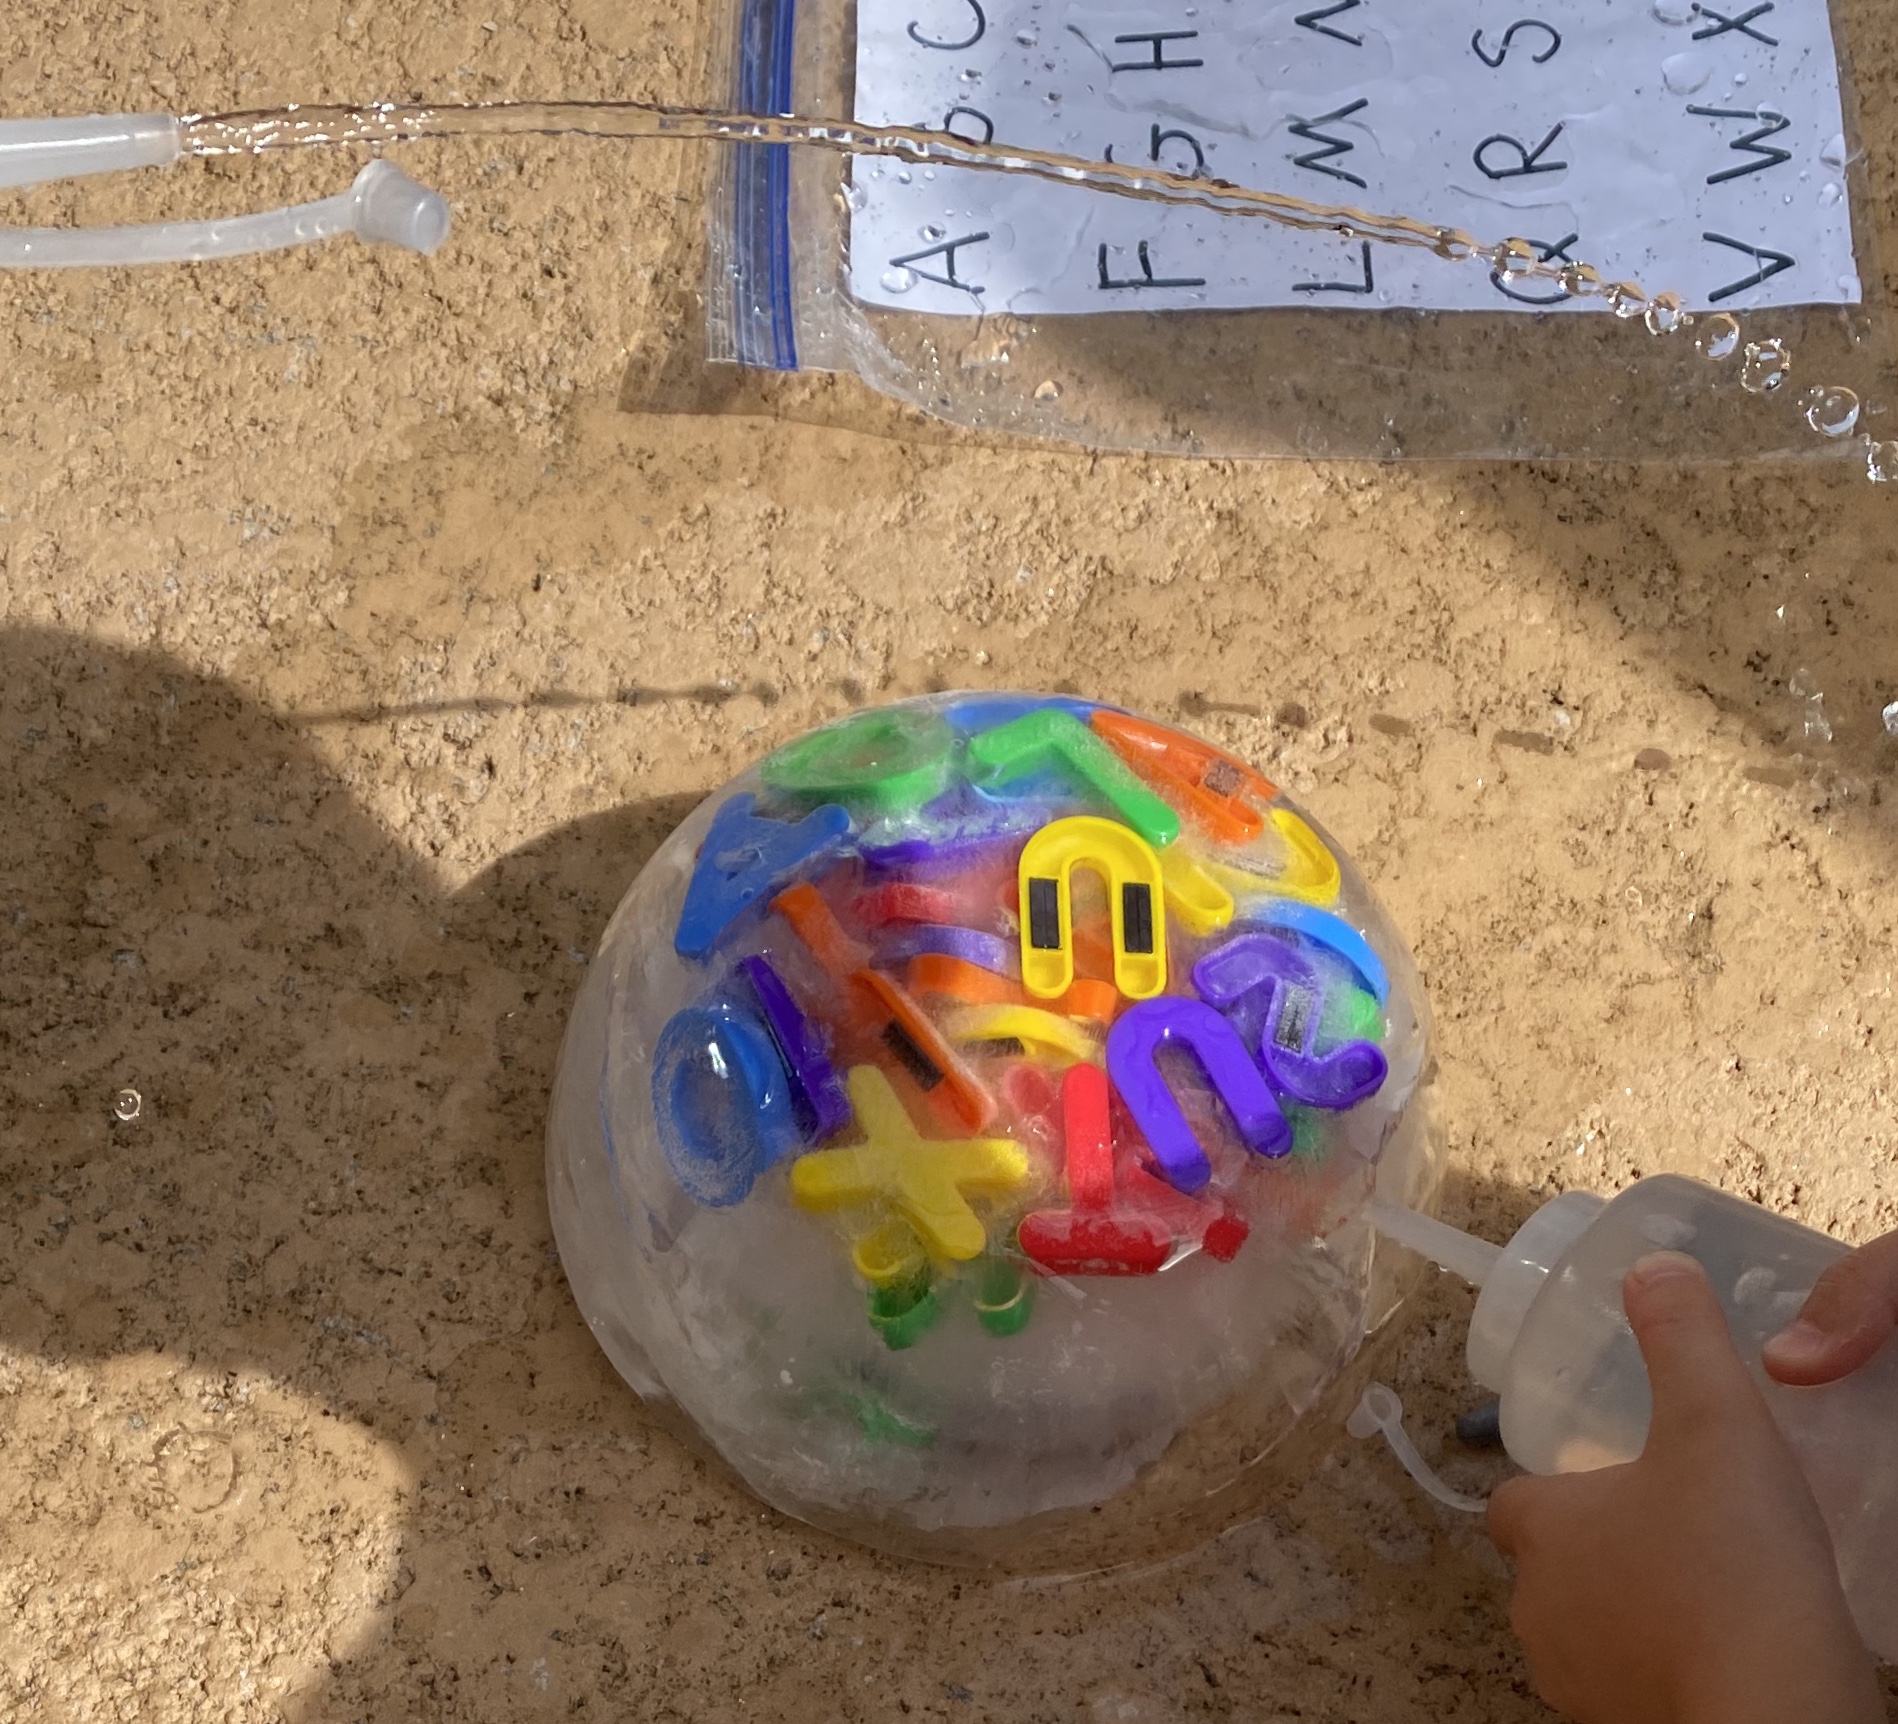
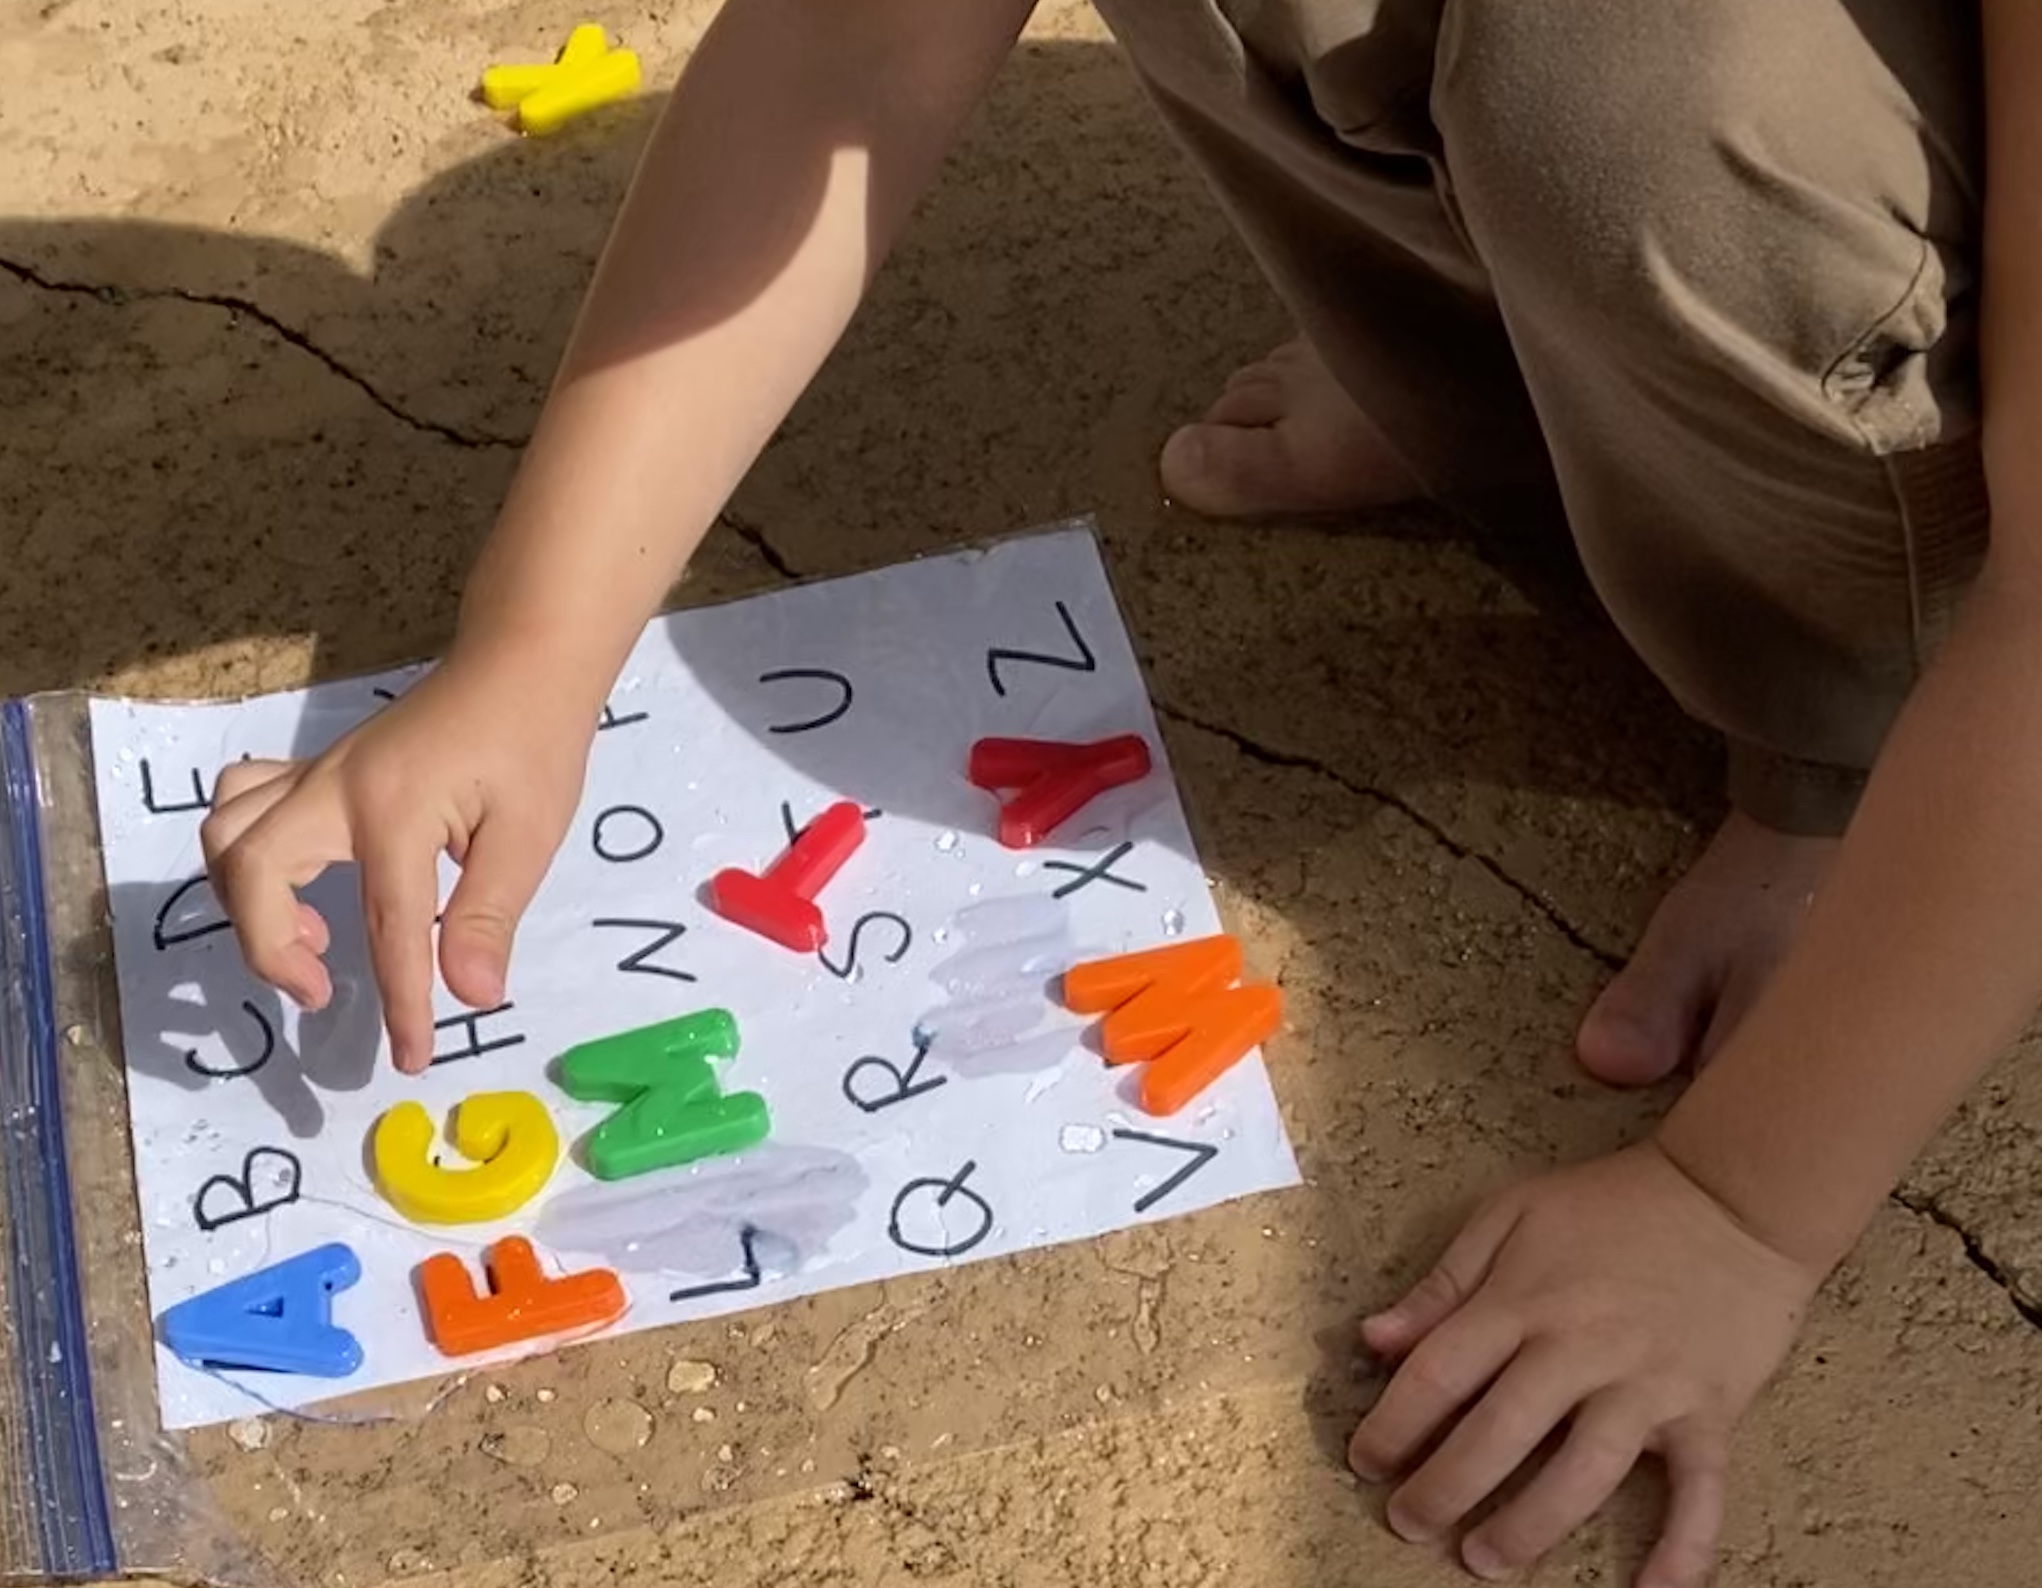
-Frozen ABCs: Throw some plastic ABC magnets (the kind that you usually have all over your fridge!) in a bowl, add some water and pop it in the freezer overnight. When it’s frozen, run some hot water over the bottom of the bowl to release the ice chunk. Give your little a squirt bottle full of warm water to “free” the letters from the ice. When they get one out, have them identify it and match it on a letter page in a Ziplock. (I used upper case for both, but you could also have your little match upper to lower!) I got this idea from Fun Learning for Kids!
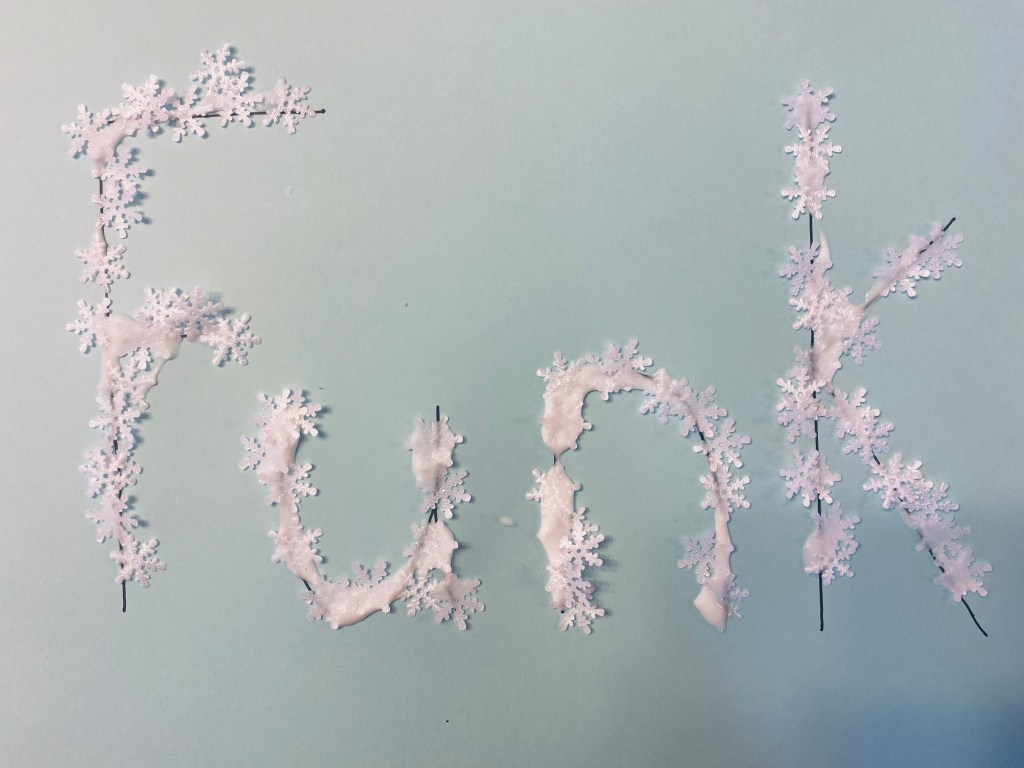
-Snowflake name practice: I wrote my little’s first and last name then had him trace the letters with glue and stick snowflake confetti on it to make the letters. As he worked we reviewed the letter names and sounds.
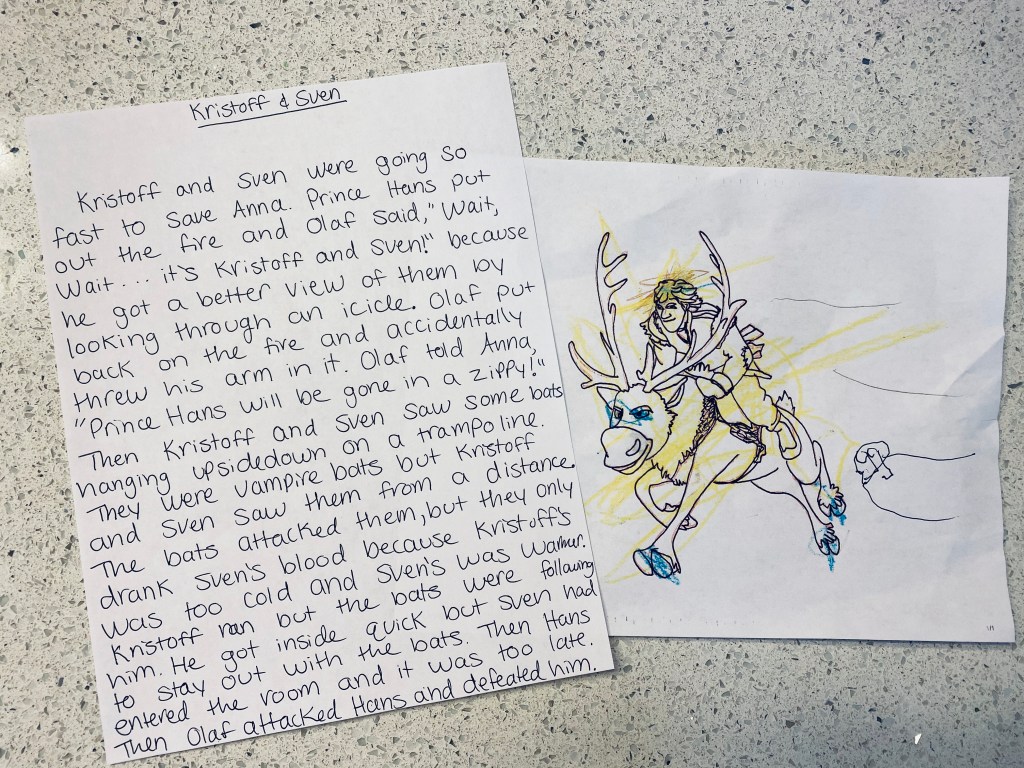
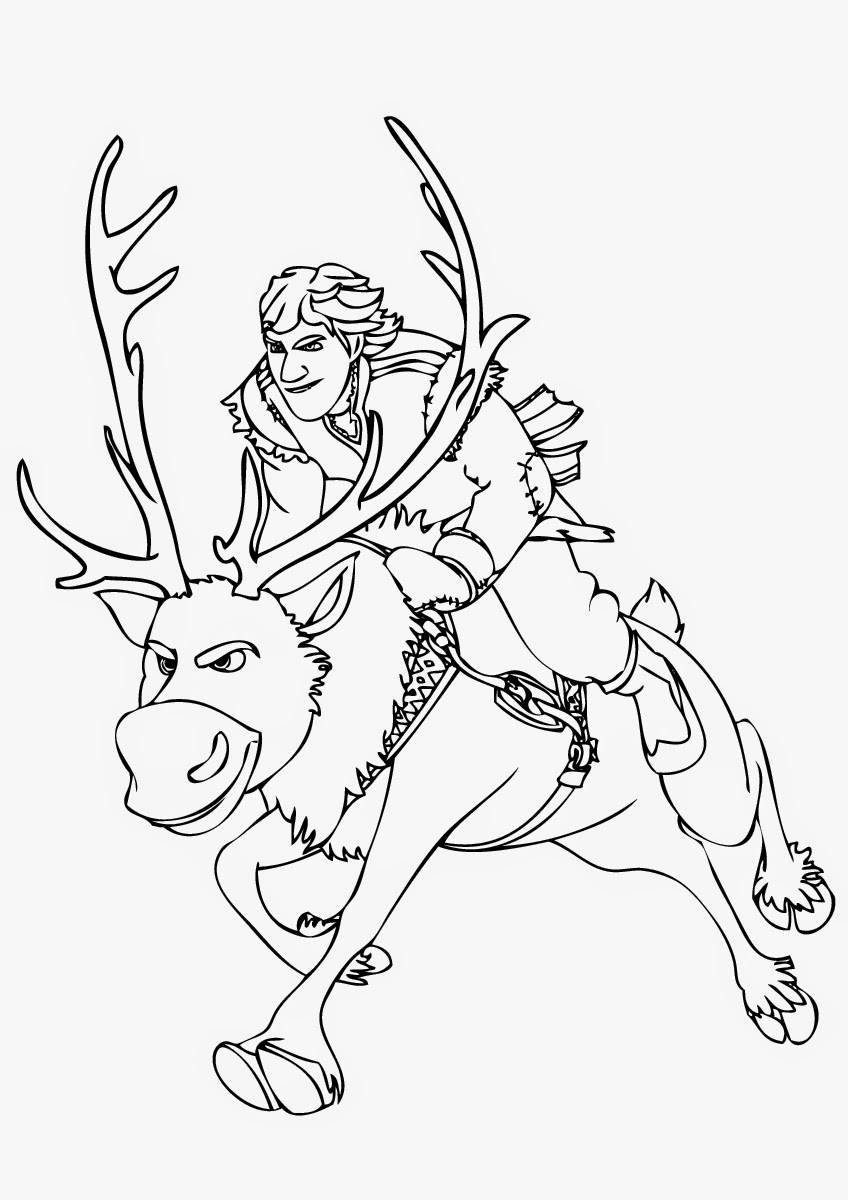
-Frozen story writing: Even pre-writers can create great stories, and oral story telling is wonderful practice for early writers who can’t yet write words themselves, so I had my little color a picture of Kristoff and Sven then tell a story describing why they were riding so fast. He started off retelling the actual ending of “Frozen”…then made a detour involving vampire bats (which he added to his picture)! hahaha I love their little creative minds!
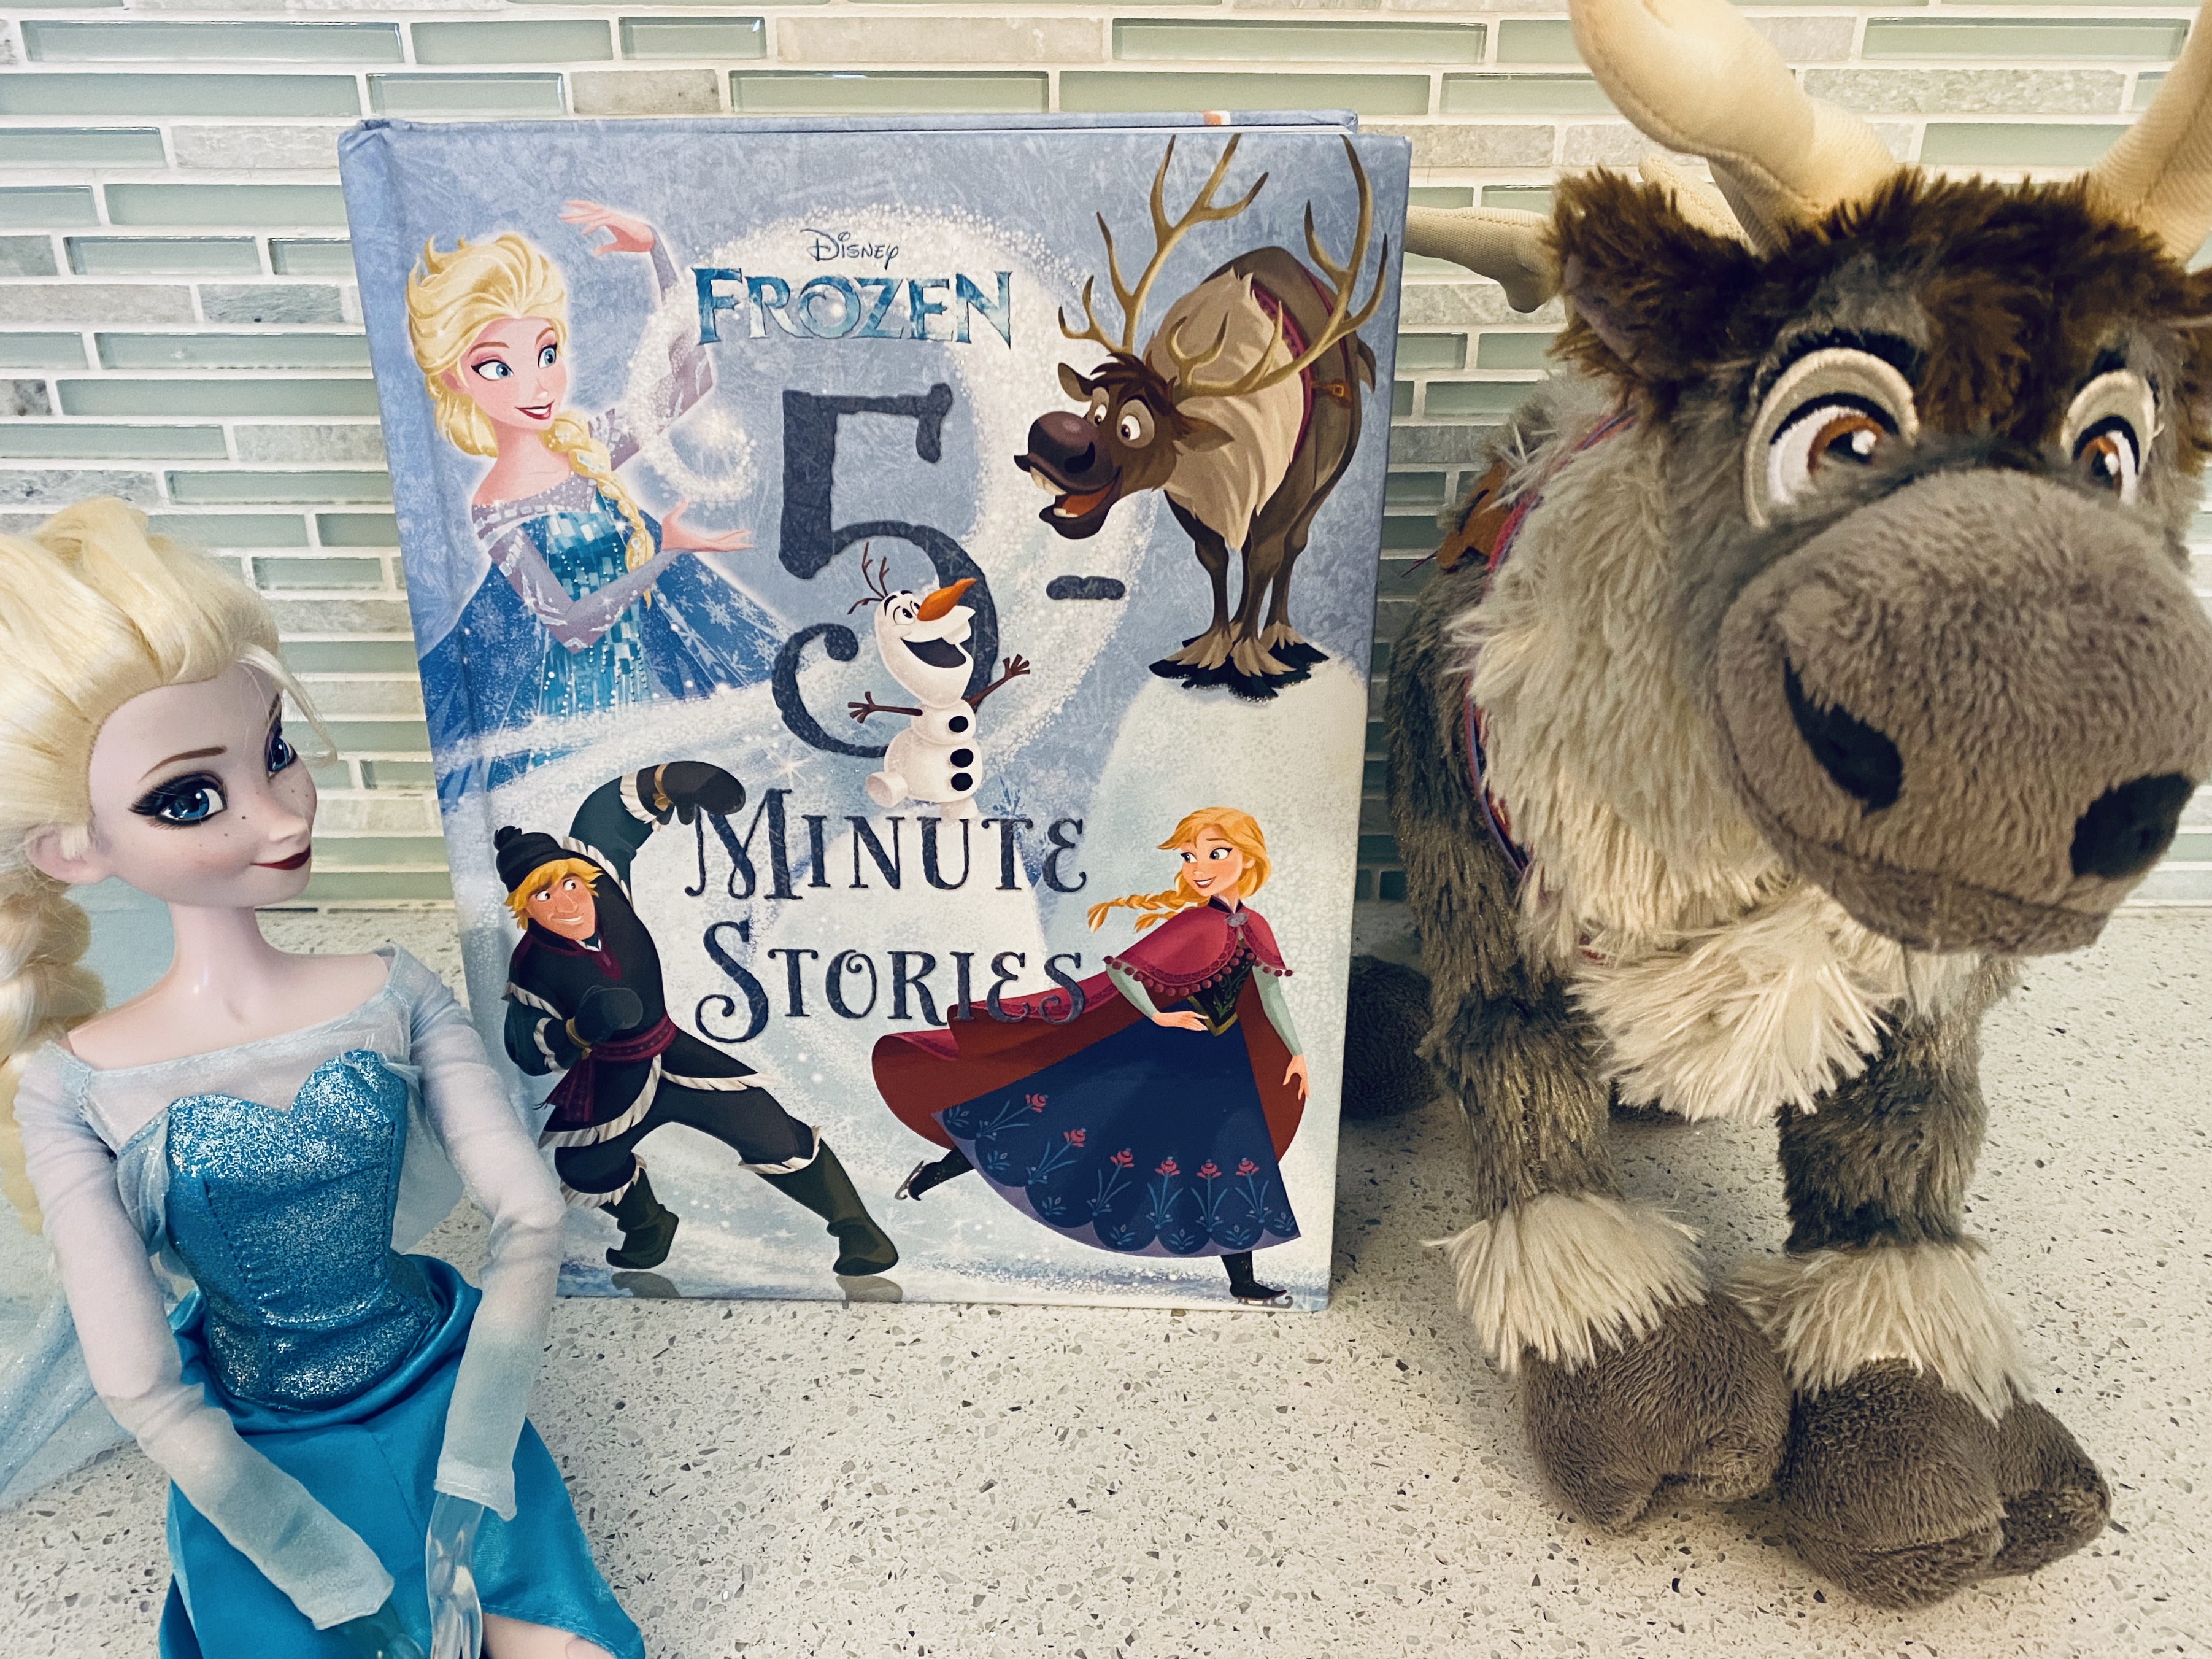
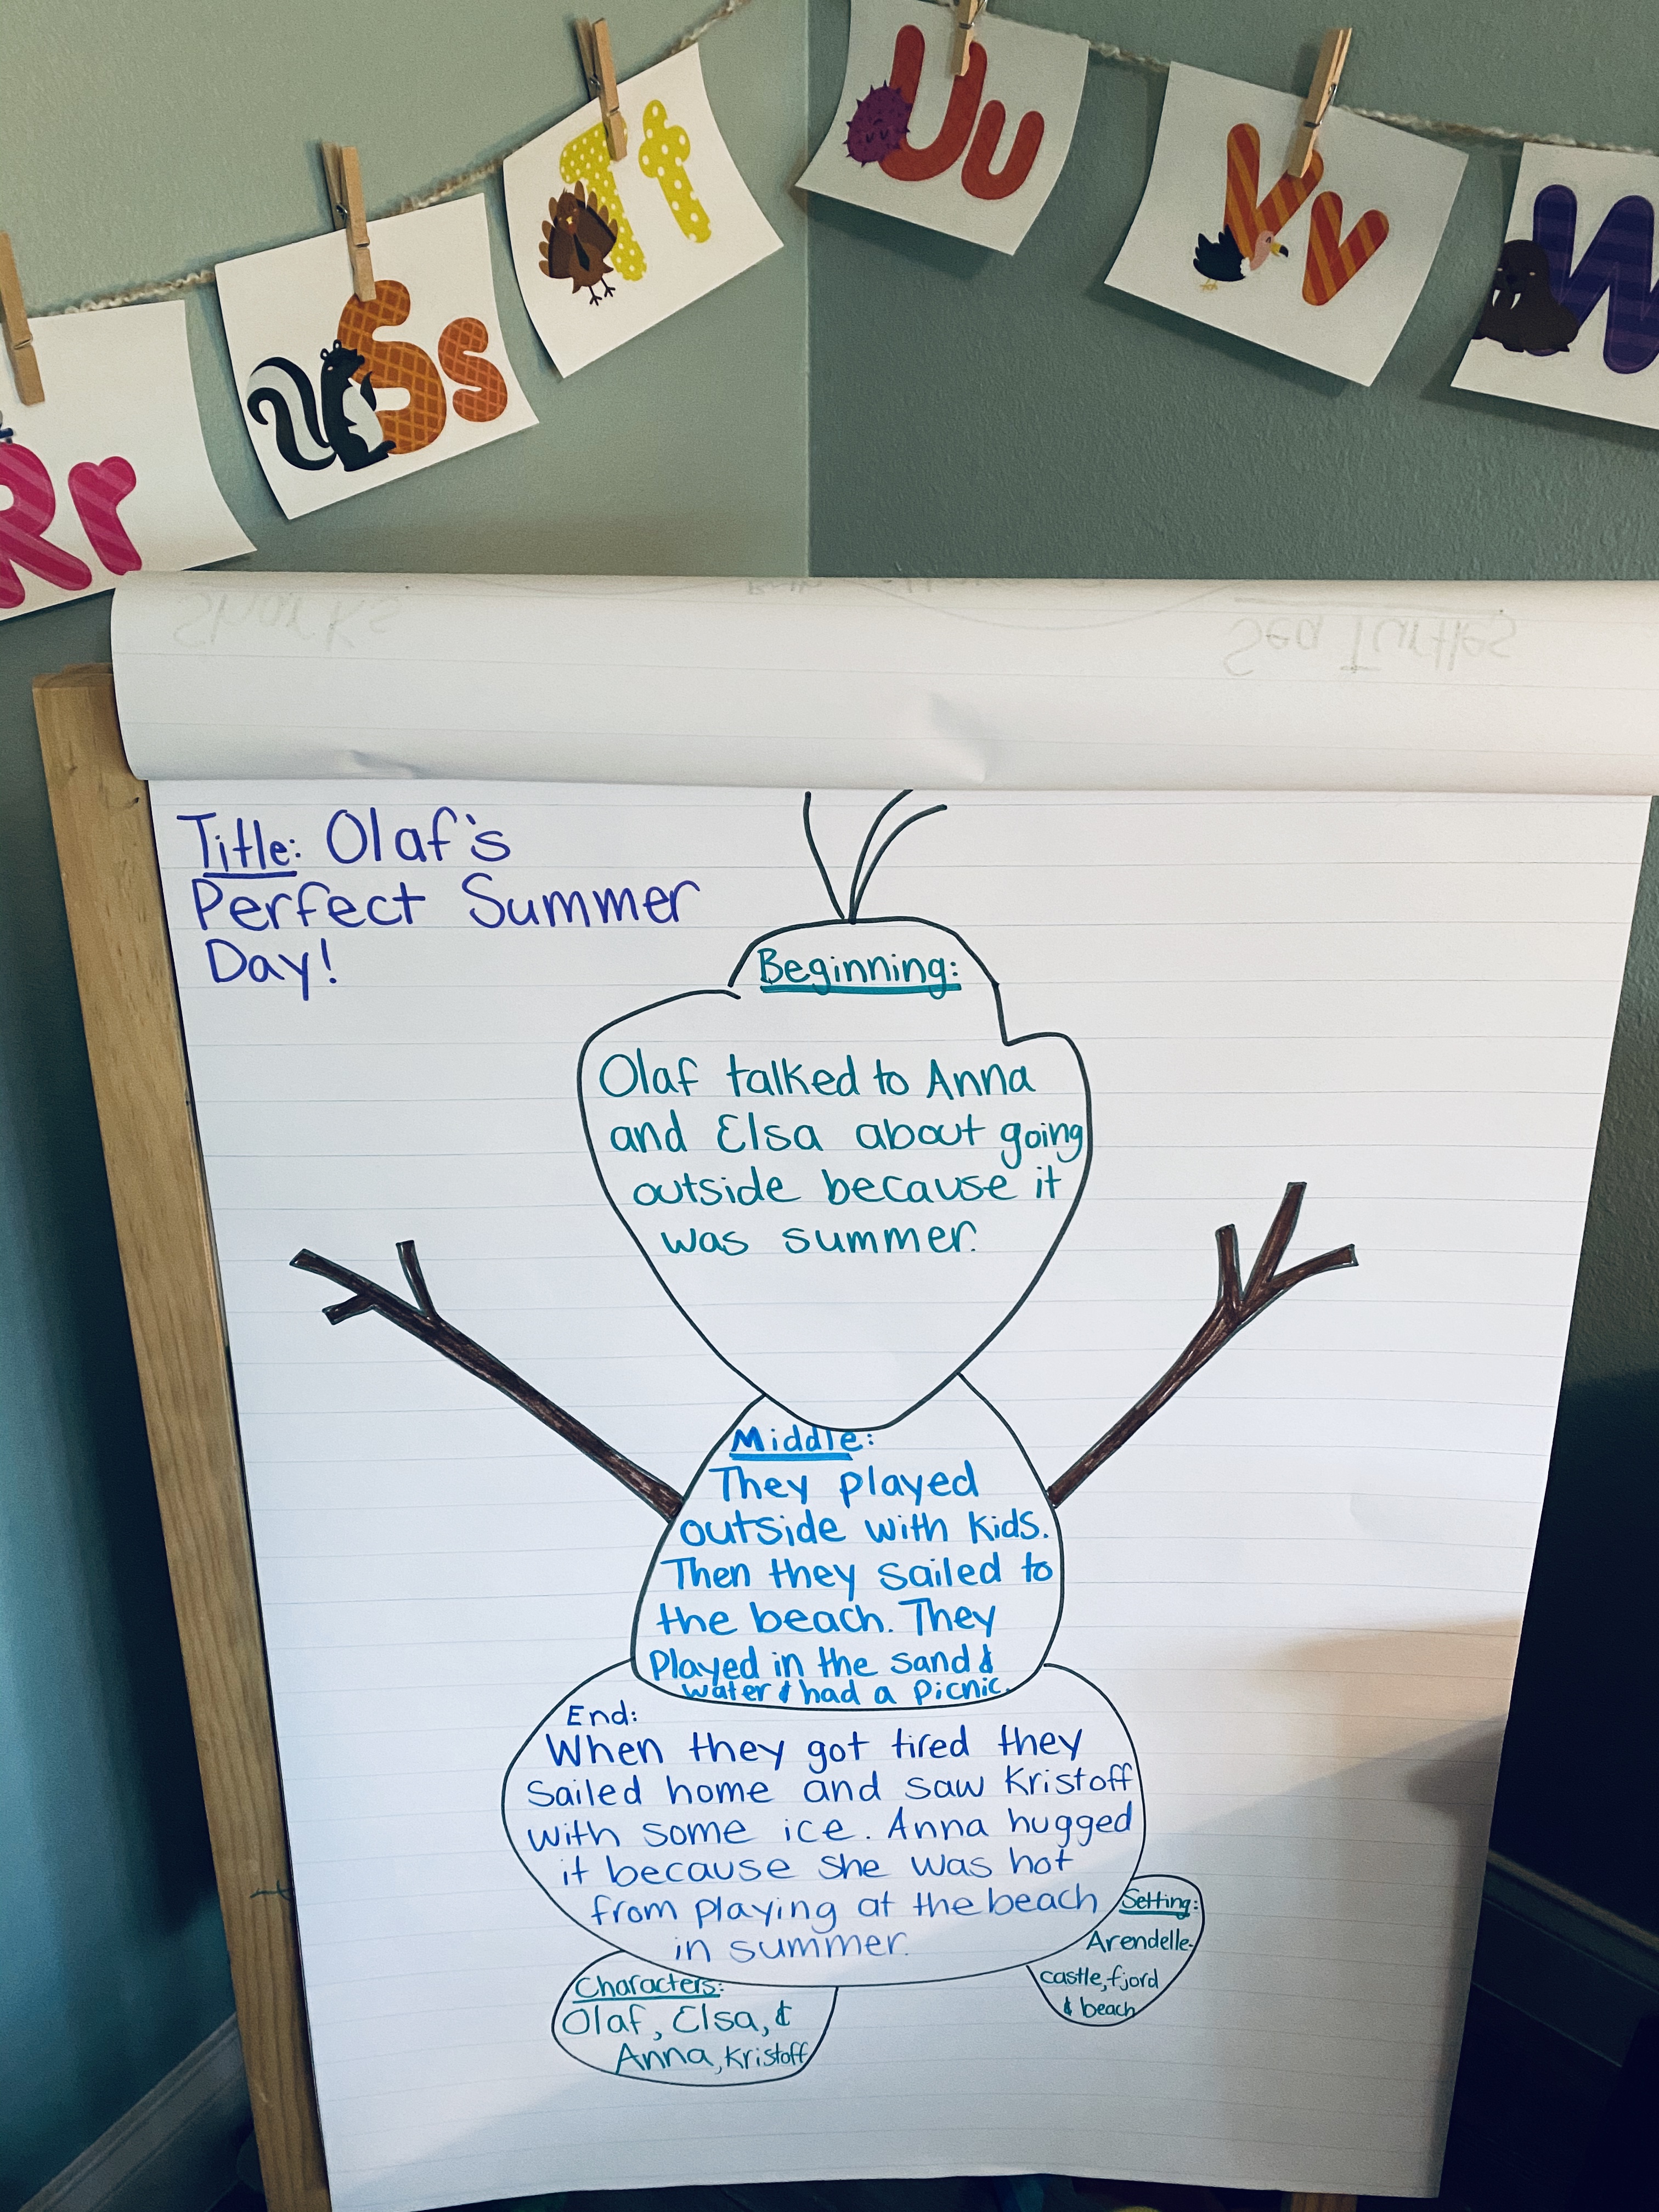
-Olaf story and retelling: We read “Olaf’s Perfect Summer Day” from a Frozen story collection we got a few years ago (I highly recommend it for any little Frozen fan- the stories are cute, short, and engaging with fun and colorful illustrations!). Then my little helped me fill out an Olaf graphic organizer I drew by telling me what happened in the beginning, middle and end of the story.
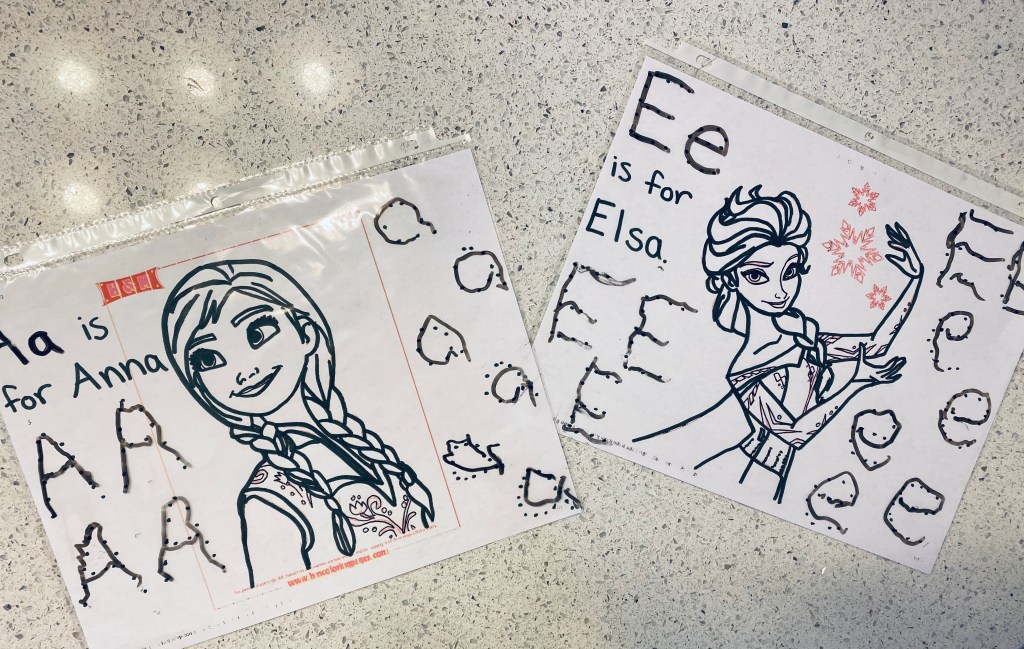
-E is for Elsa, A is for Anna: I printed a picture of Elsa and a picture of Anna in the “landscape” orientation then made capital and lowercase Es and As around them with dots. I tucked them each in a page protector and had my little practice writing the letters with a dry erase marker.
–Math:
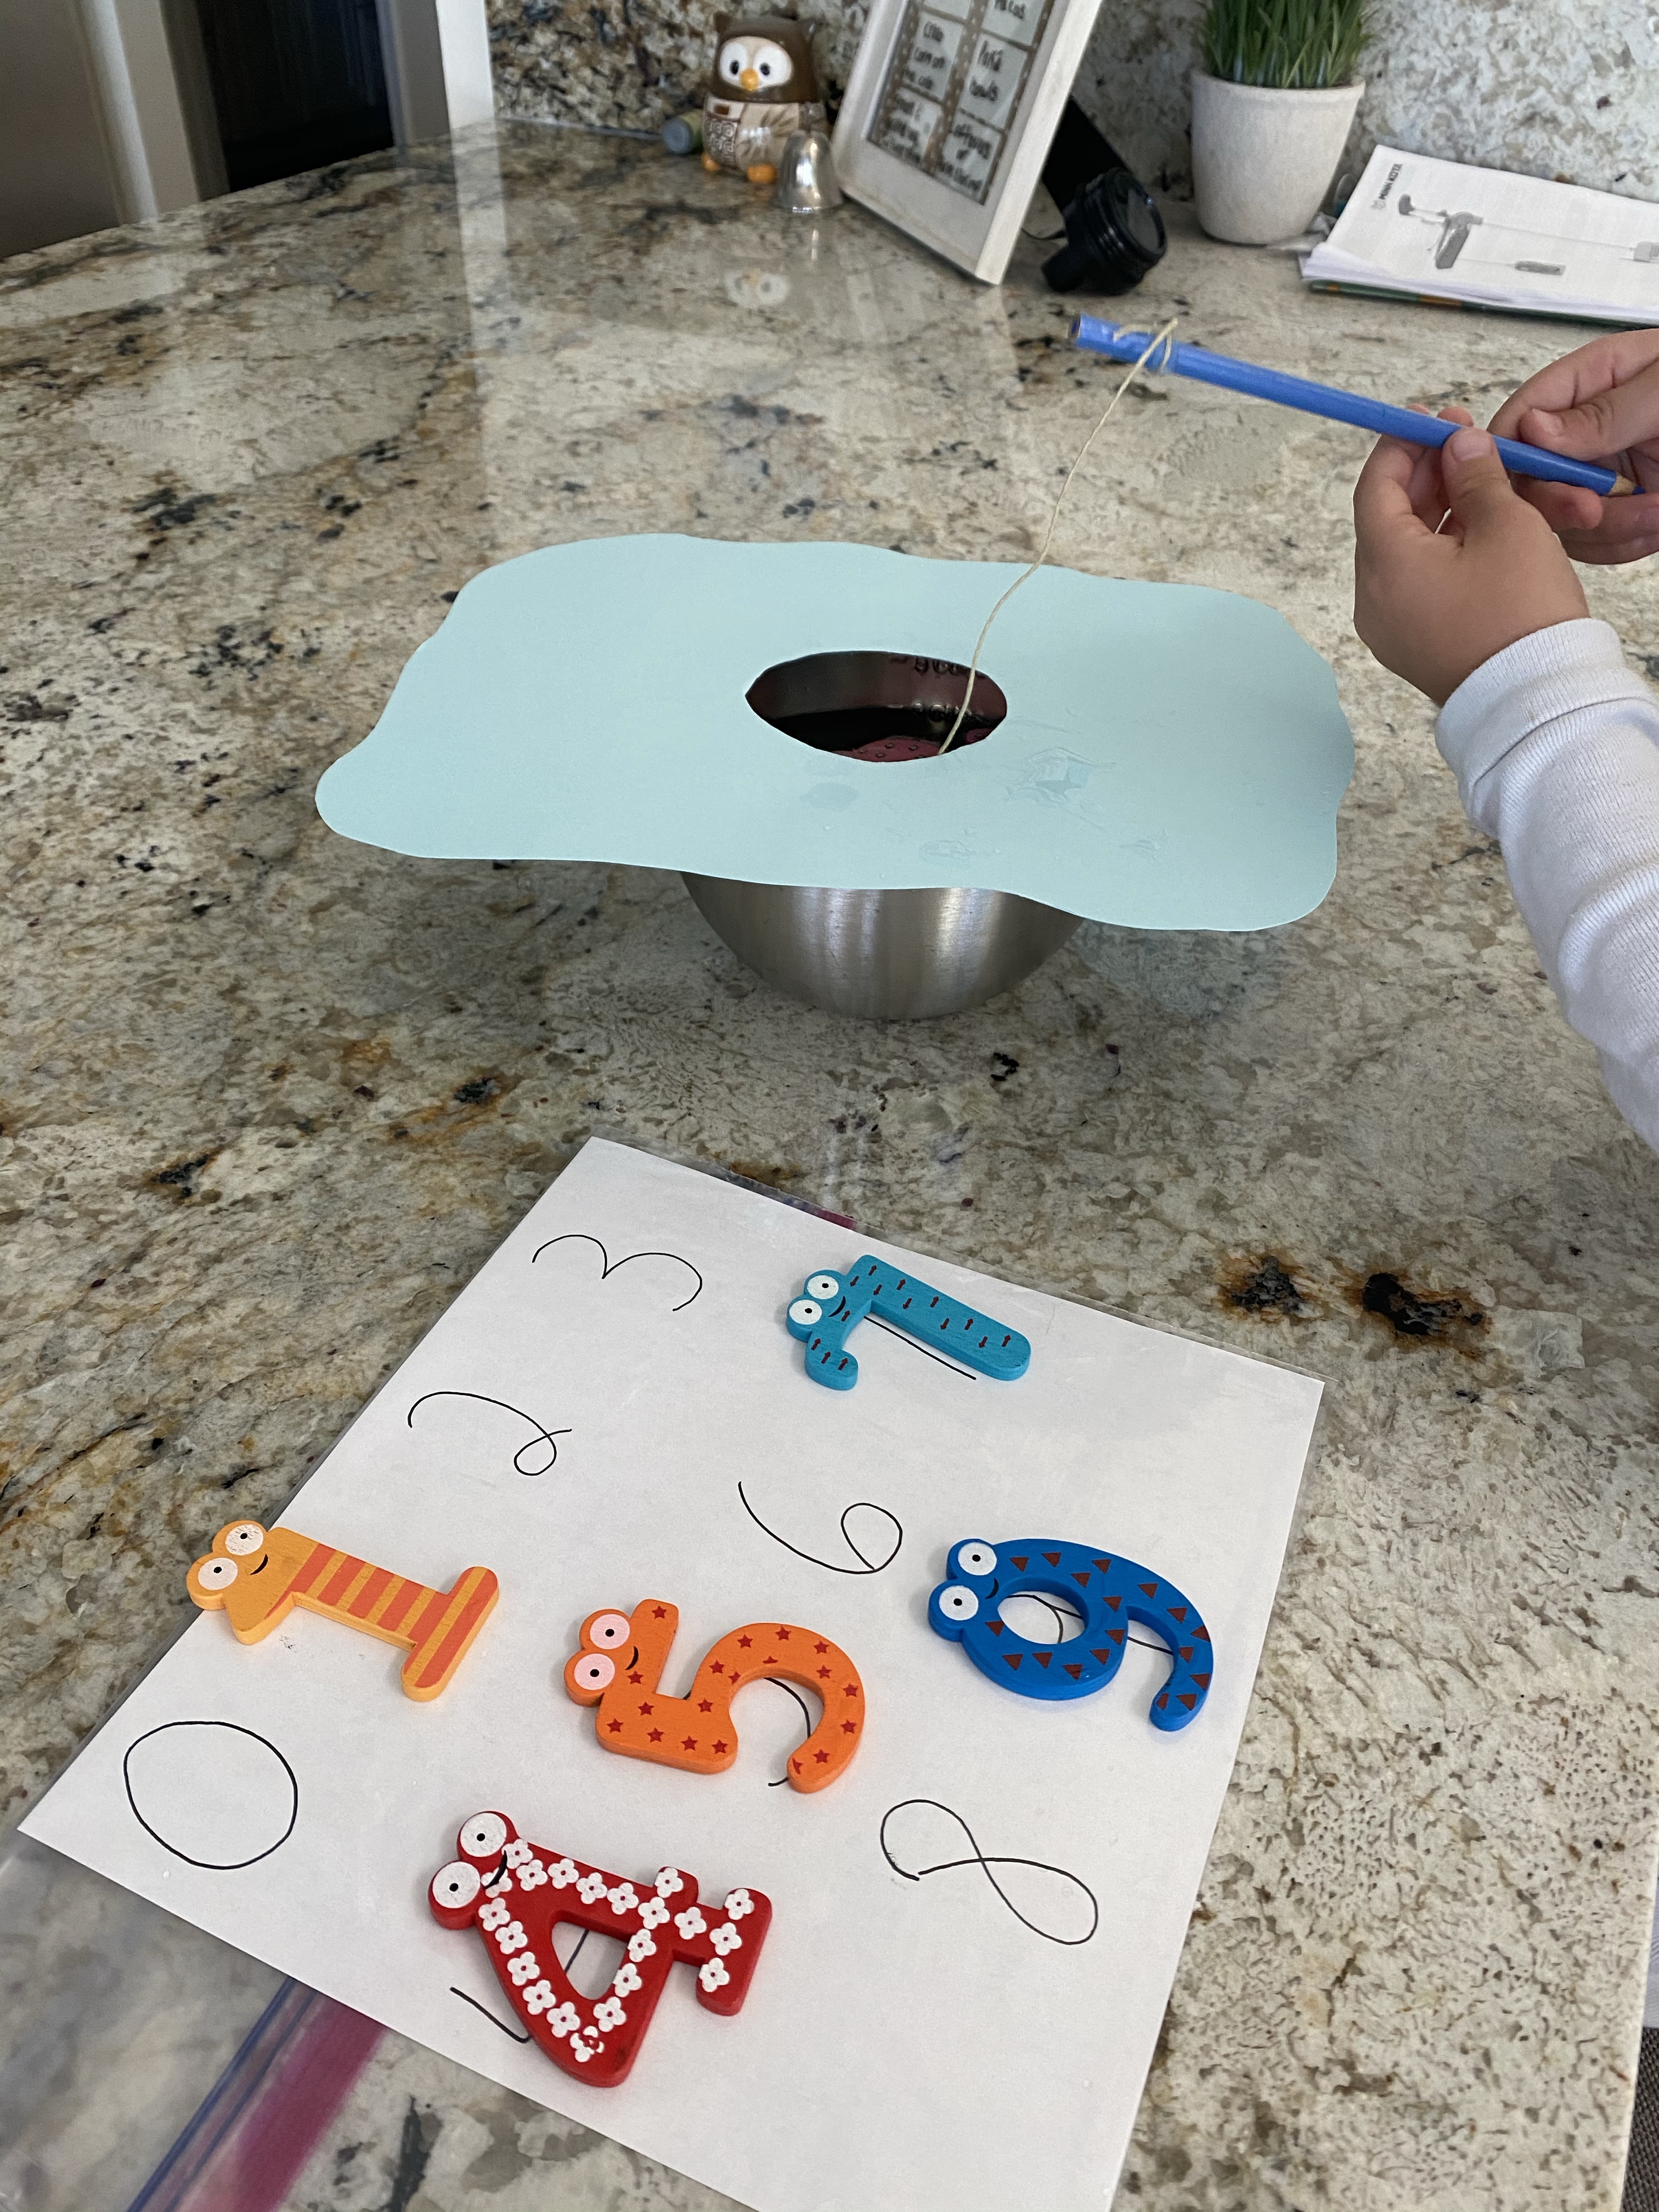
-Ice fishing for numbers: Oh my gosh, my little LOVED this activity! I made a fishing pole out of a colored pencil, some string and a magnet. Then I cut out an “ice fishing hole” from cardstock then hot glued it to one of our mixing bowls. I carefully put water in the bowl and plunked in some magnetic numbers then let him fish the numbers out. When he caught one, I would have him identify it and match it to the same number on a piece of paper I’d popped in a gallon Ziplock bag. When he was finished, he played ice fishing for a good half hour just for fun and asked to do it the next day too! I got this amazing idea from Turner Tots.

-Snowball adding: Have your little roll a 10 sided dice (or a regular one) to get a number. Have them identify the number and write it down for them with a plus sign next to it. Have them show the number with mini marshmallows (aka snowballs!). Then have them roll again for the second number- write it with an equal sign next to it, and have them show it with marshmallows. Have them count up all the marshmallows to get their answer! I also drew the answer with dots and had him write it. We did three equations on the front, and three on the back- then he ate all the marshmallows! LoL

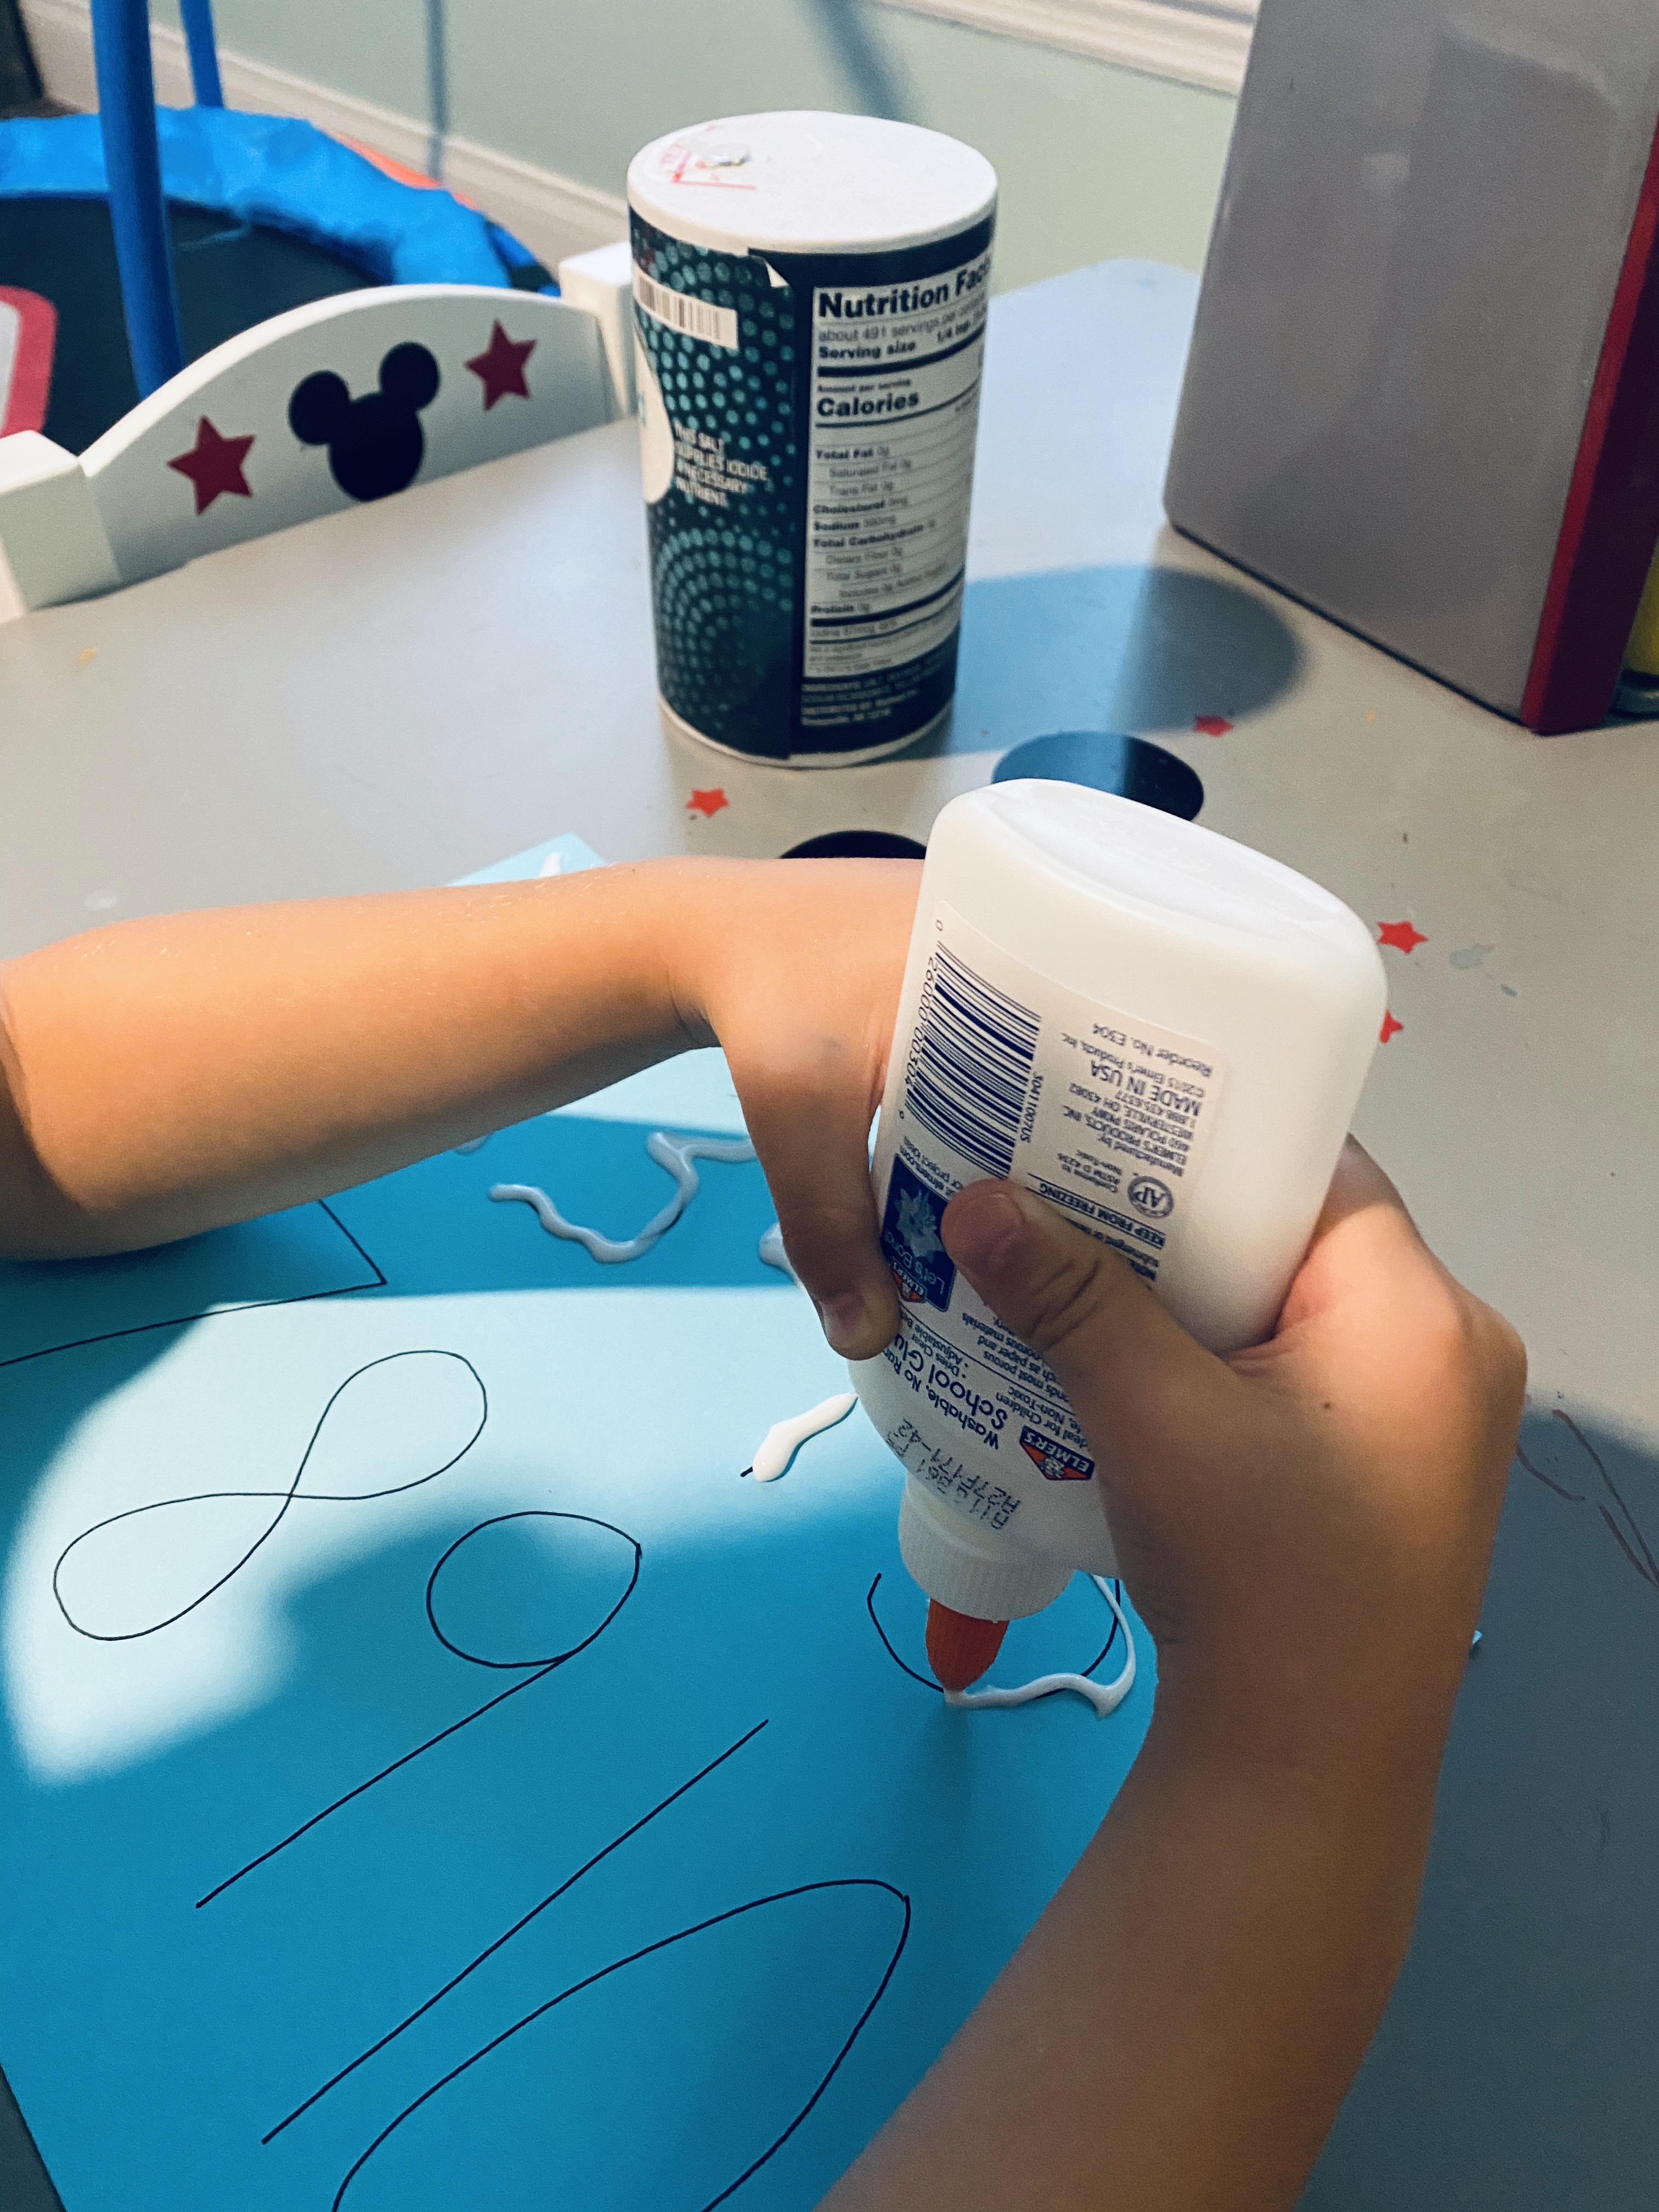
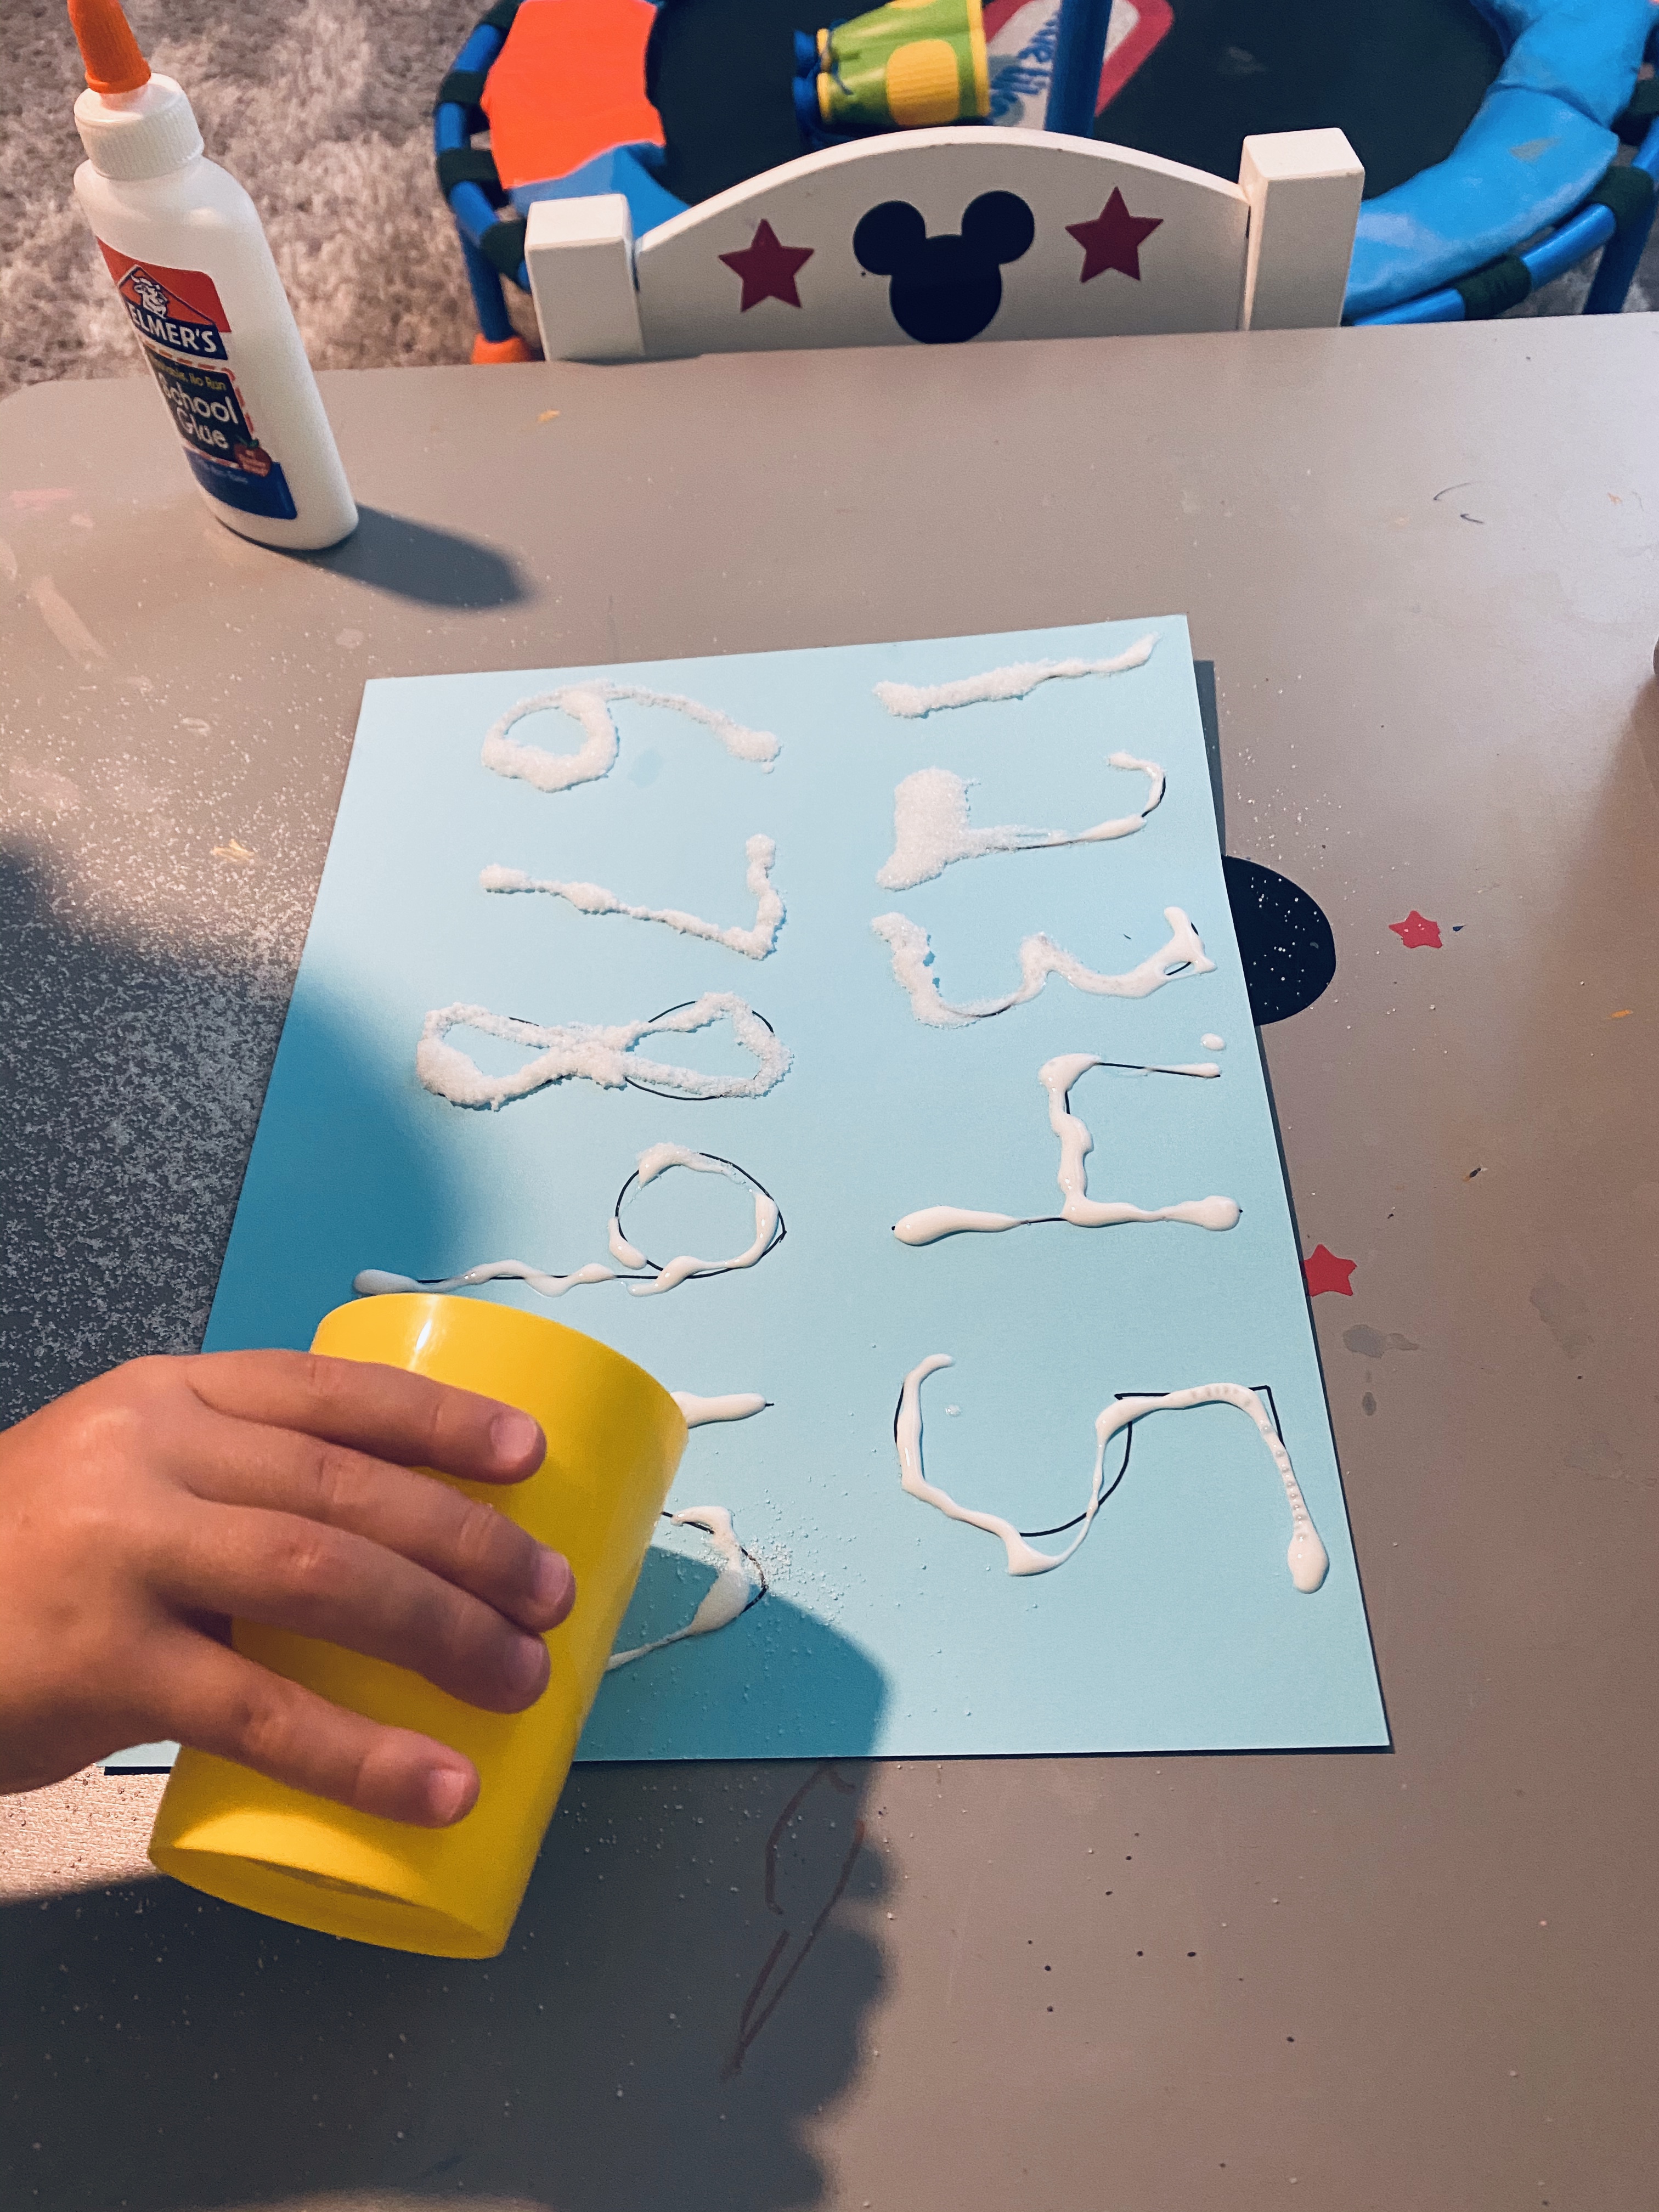
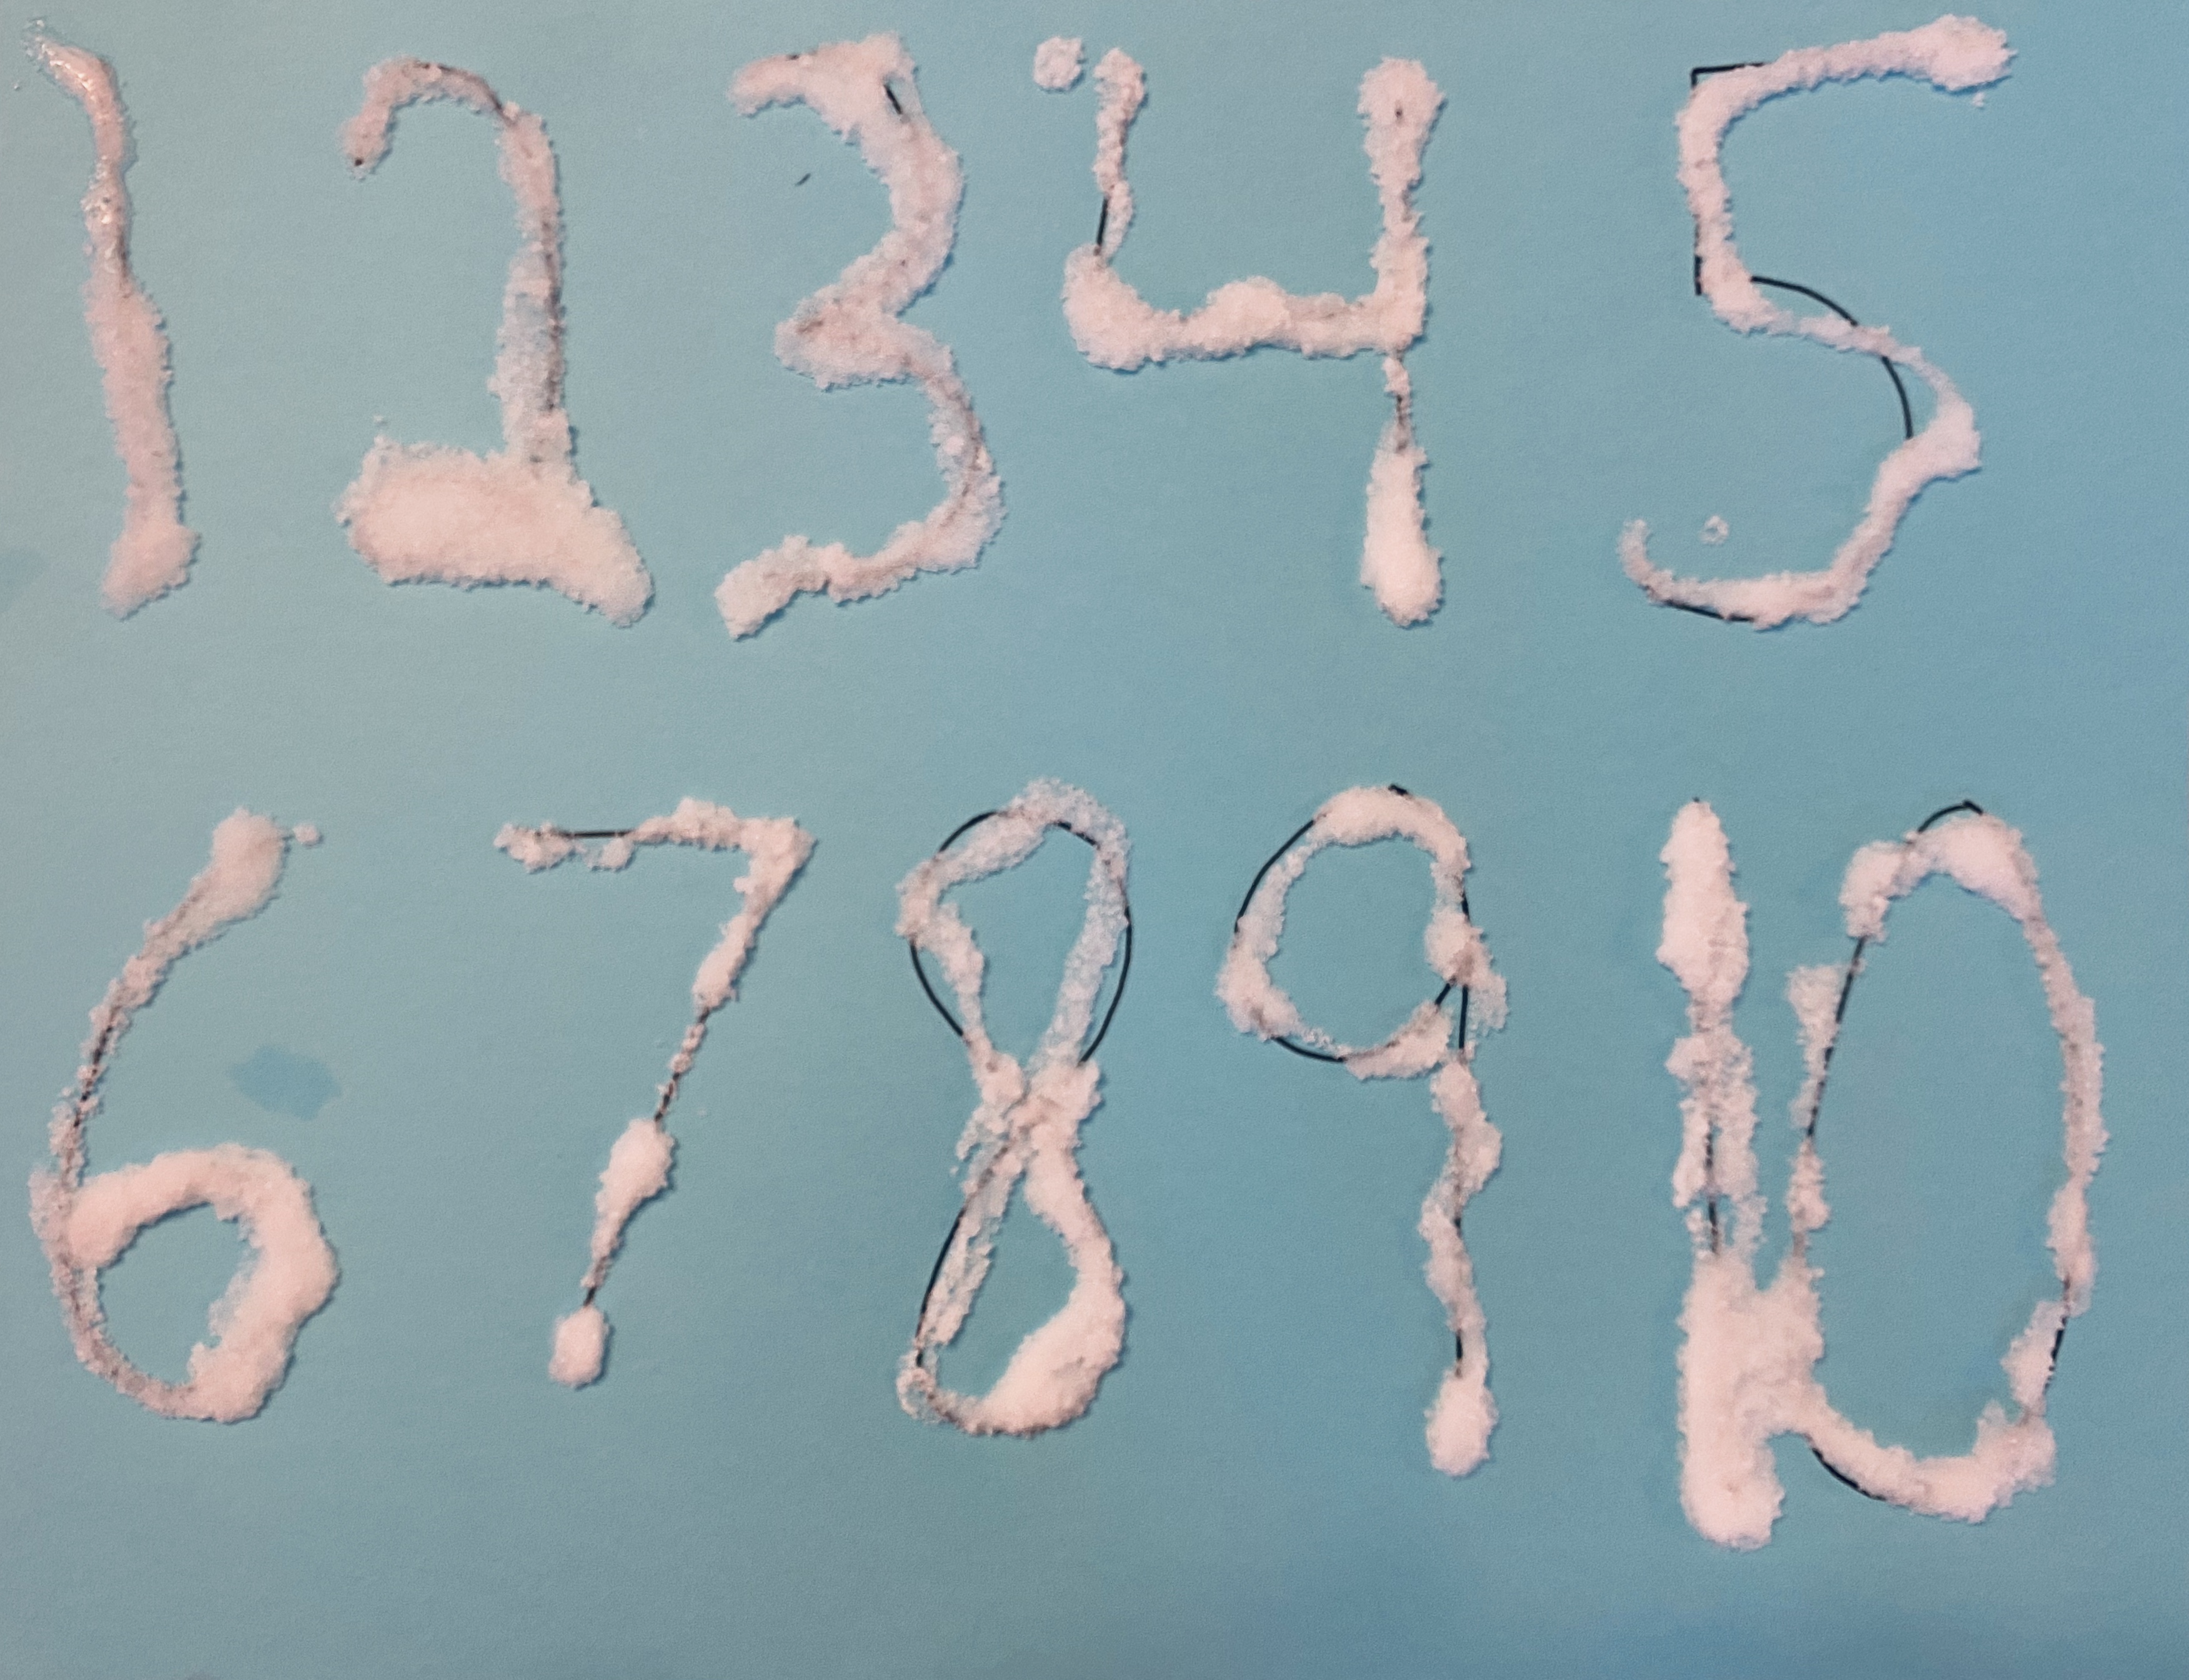
-A sprinkle of snow number practice: Write the numbers 1-10 on a piece of blue paper or cardstock. Have your little carefully trace the numbers with glue (you may need to show them how to do this first- it can be tricky and is different than writing numbers with a pencil) while you talk about their names together. Then sprinkle salt or sugar on them- you can also add in some glitter, but my little just wanted plain salt. Shake the excess salt/sugar off and voila! You have numbers made of snow! I was SO proud of how neatly my little did this- he really took his time and his numbers came out so good!
-Number writing in snow: If you’ve been following me for awhile, you might still have a baggie full of sugar and sprinkles (aka pixie dust) somewhere from the pixie dust sensory play activity I posted in my Disney World toddler blog! If you do- go ahead and grab that to use it again, if not, just sprinkle a VERY thin layer of sugar in a cake pan (tip: I painted an old cake pan rainbow colors then threw a layer of decoupage on top so it looks more fun when we use it as a writing tray!) – you can add sprinkles if you want to, but you don’t have to! Then, write numbers in the “snow” with your finger and have your little tell what they are and then either trace your writing or try it on their own.

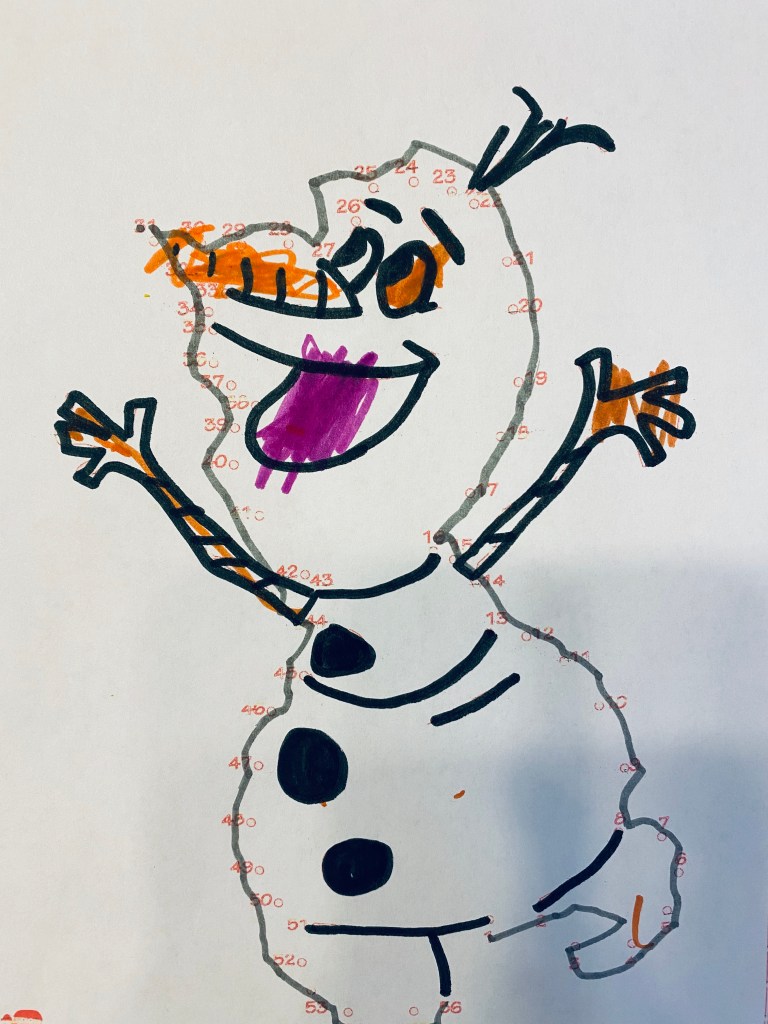
–Connect the dots Olaf: My little connected the dots as I pointed to and counted the numbers for him to work on number recognition and fine motor skills.
–Science:
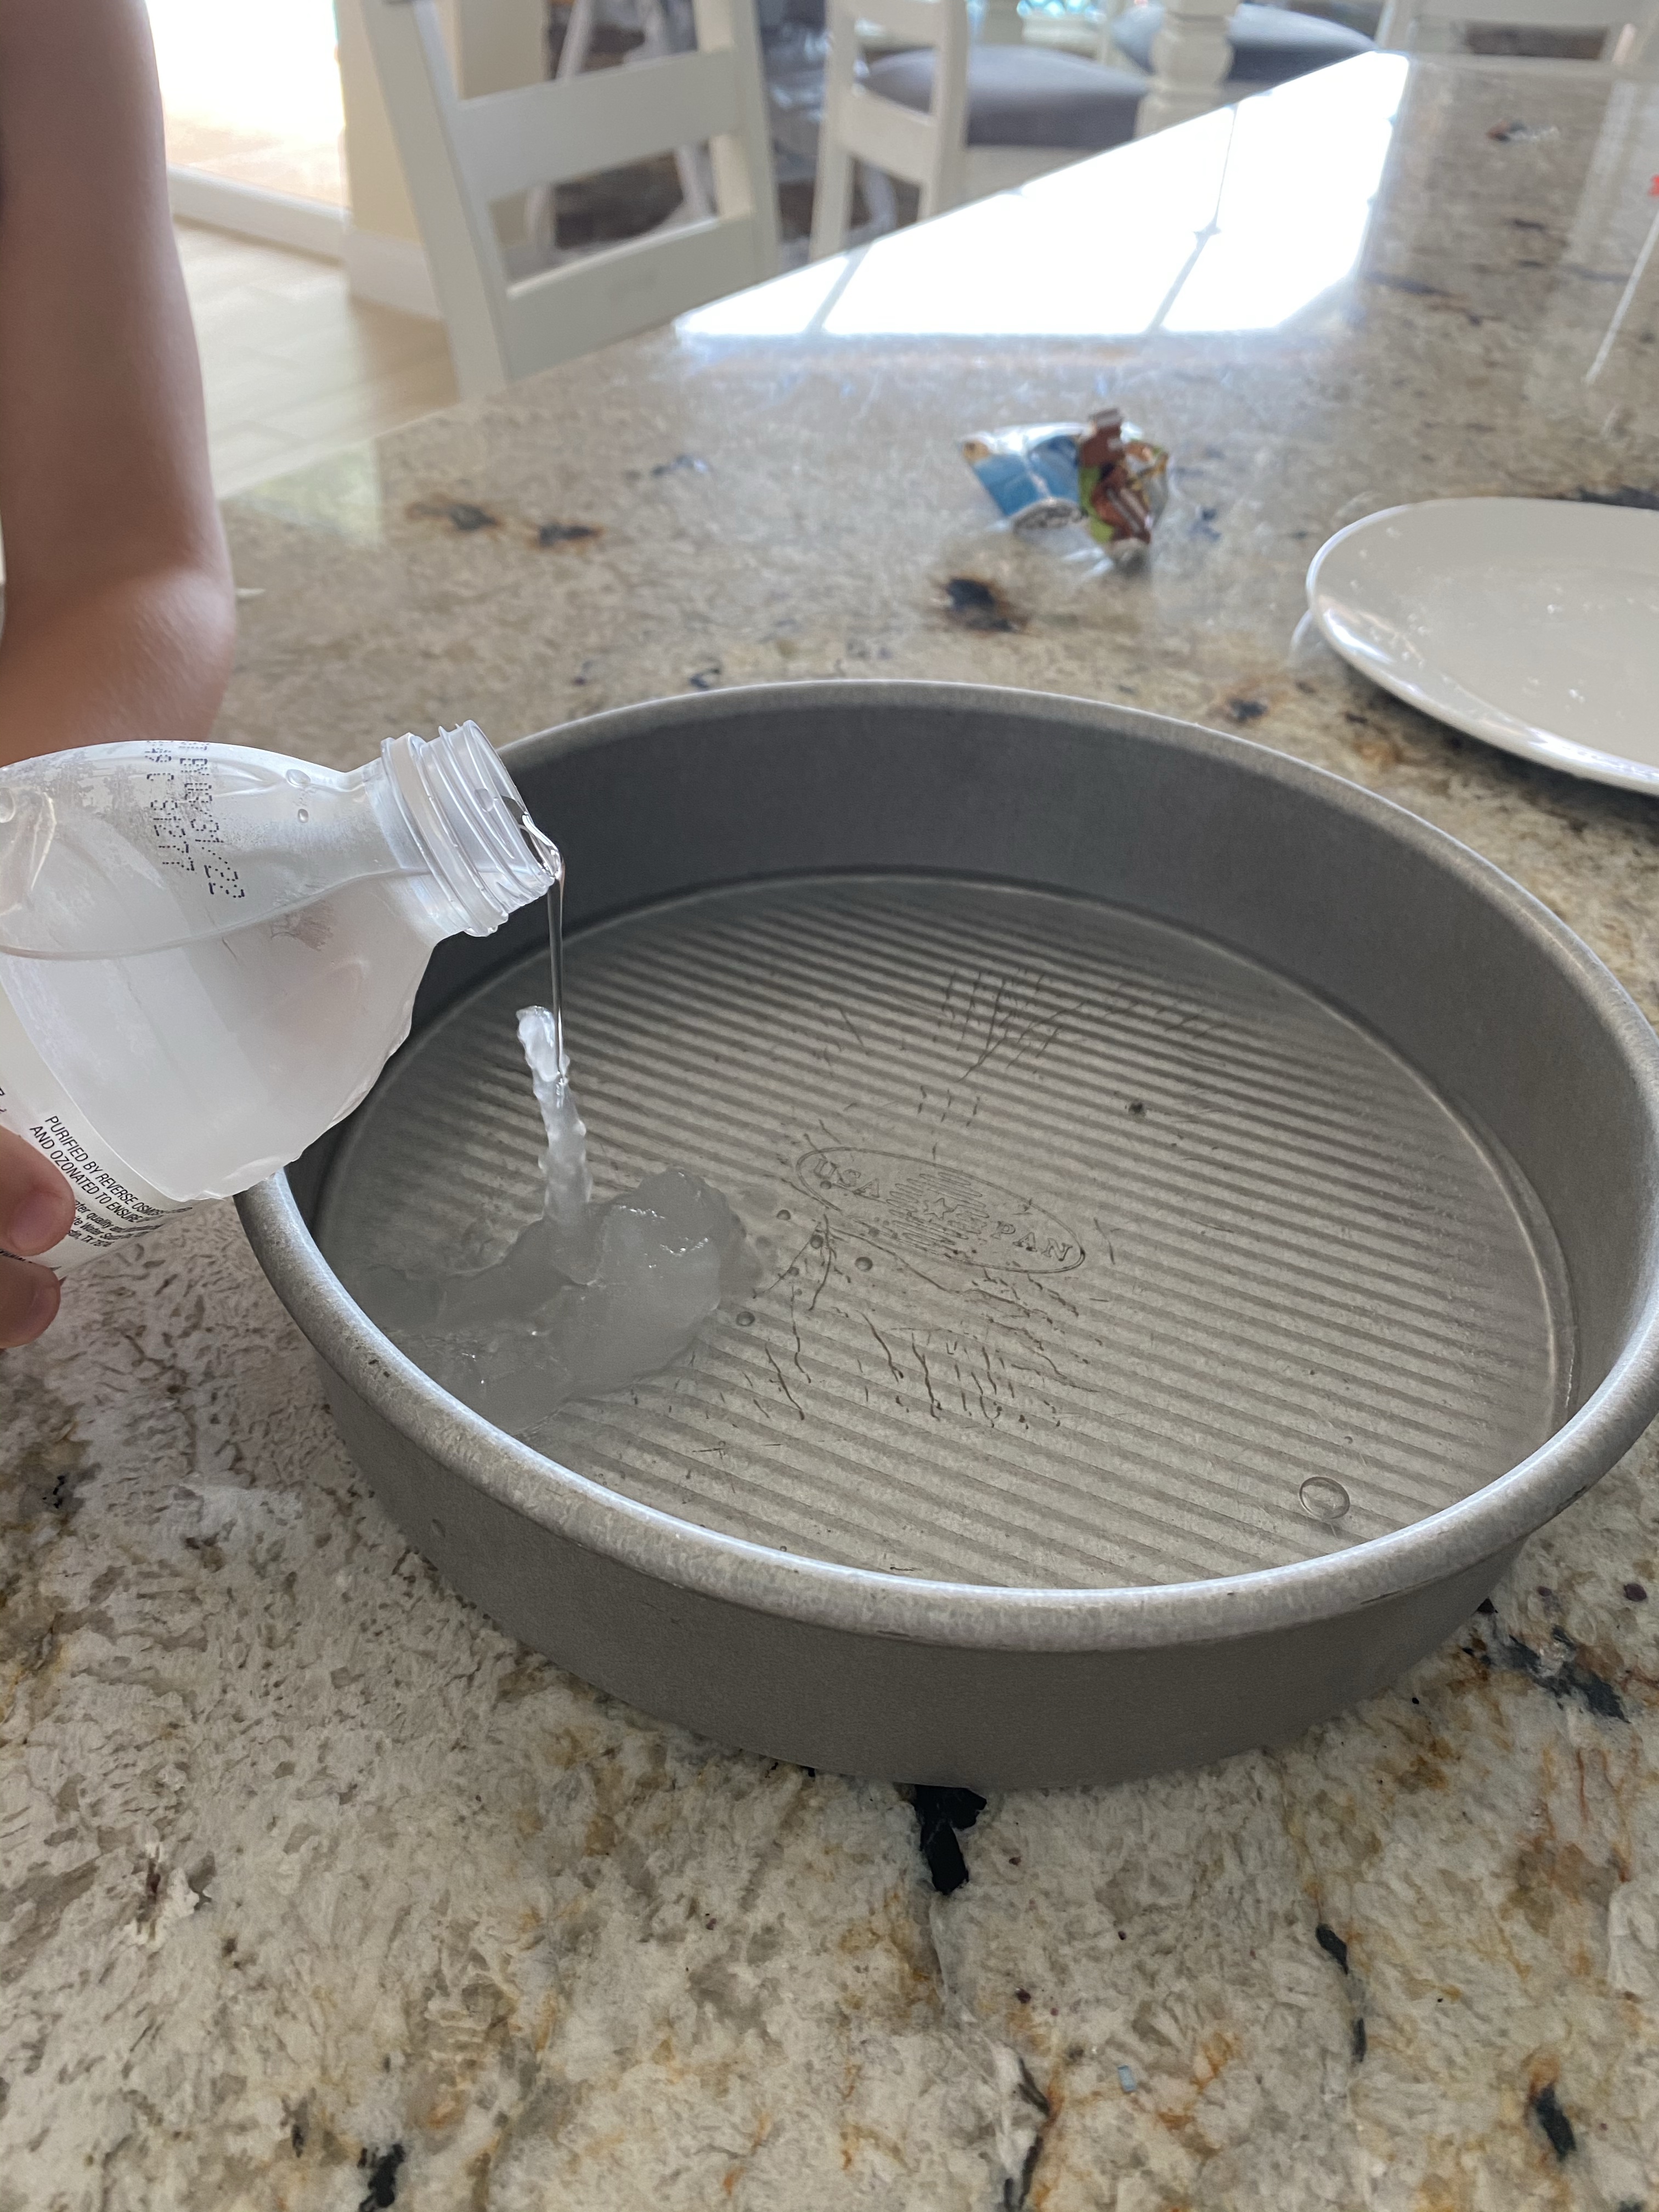
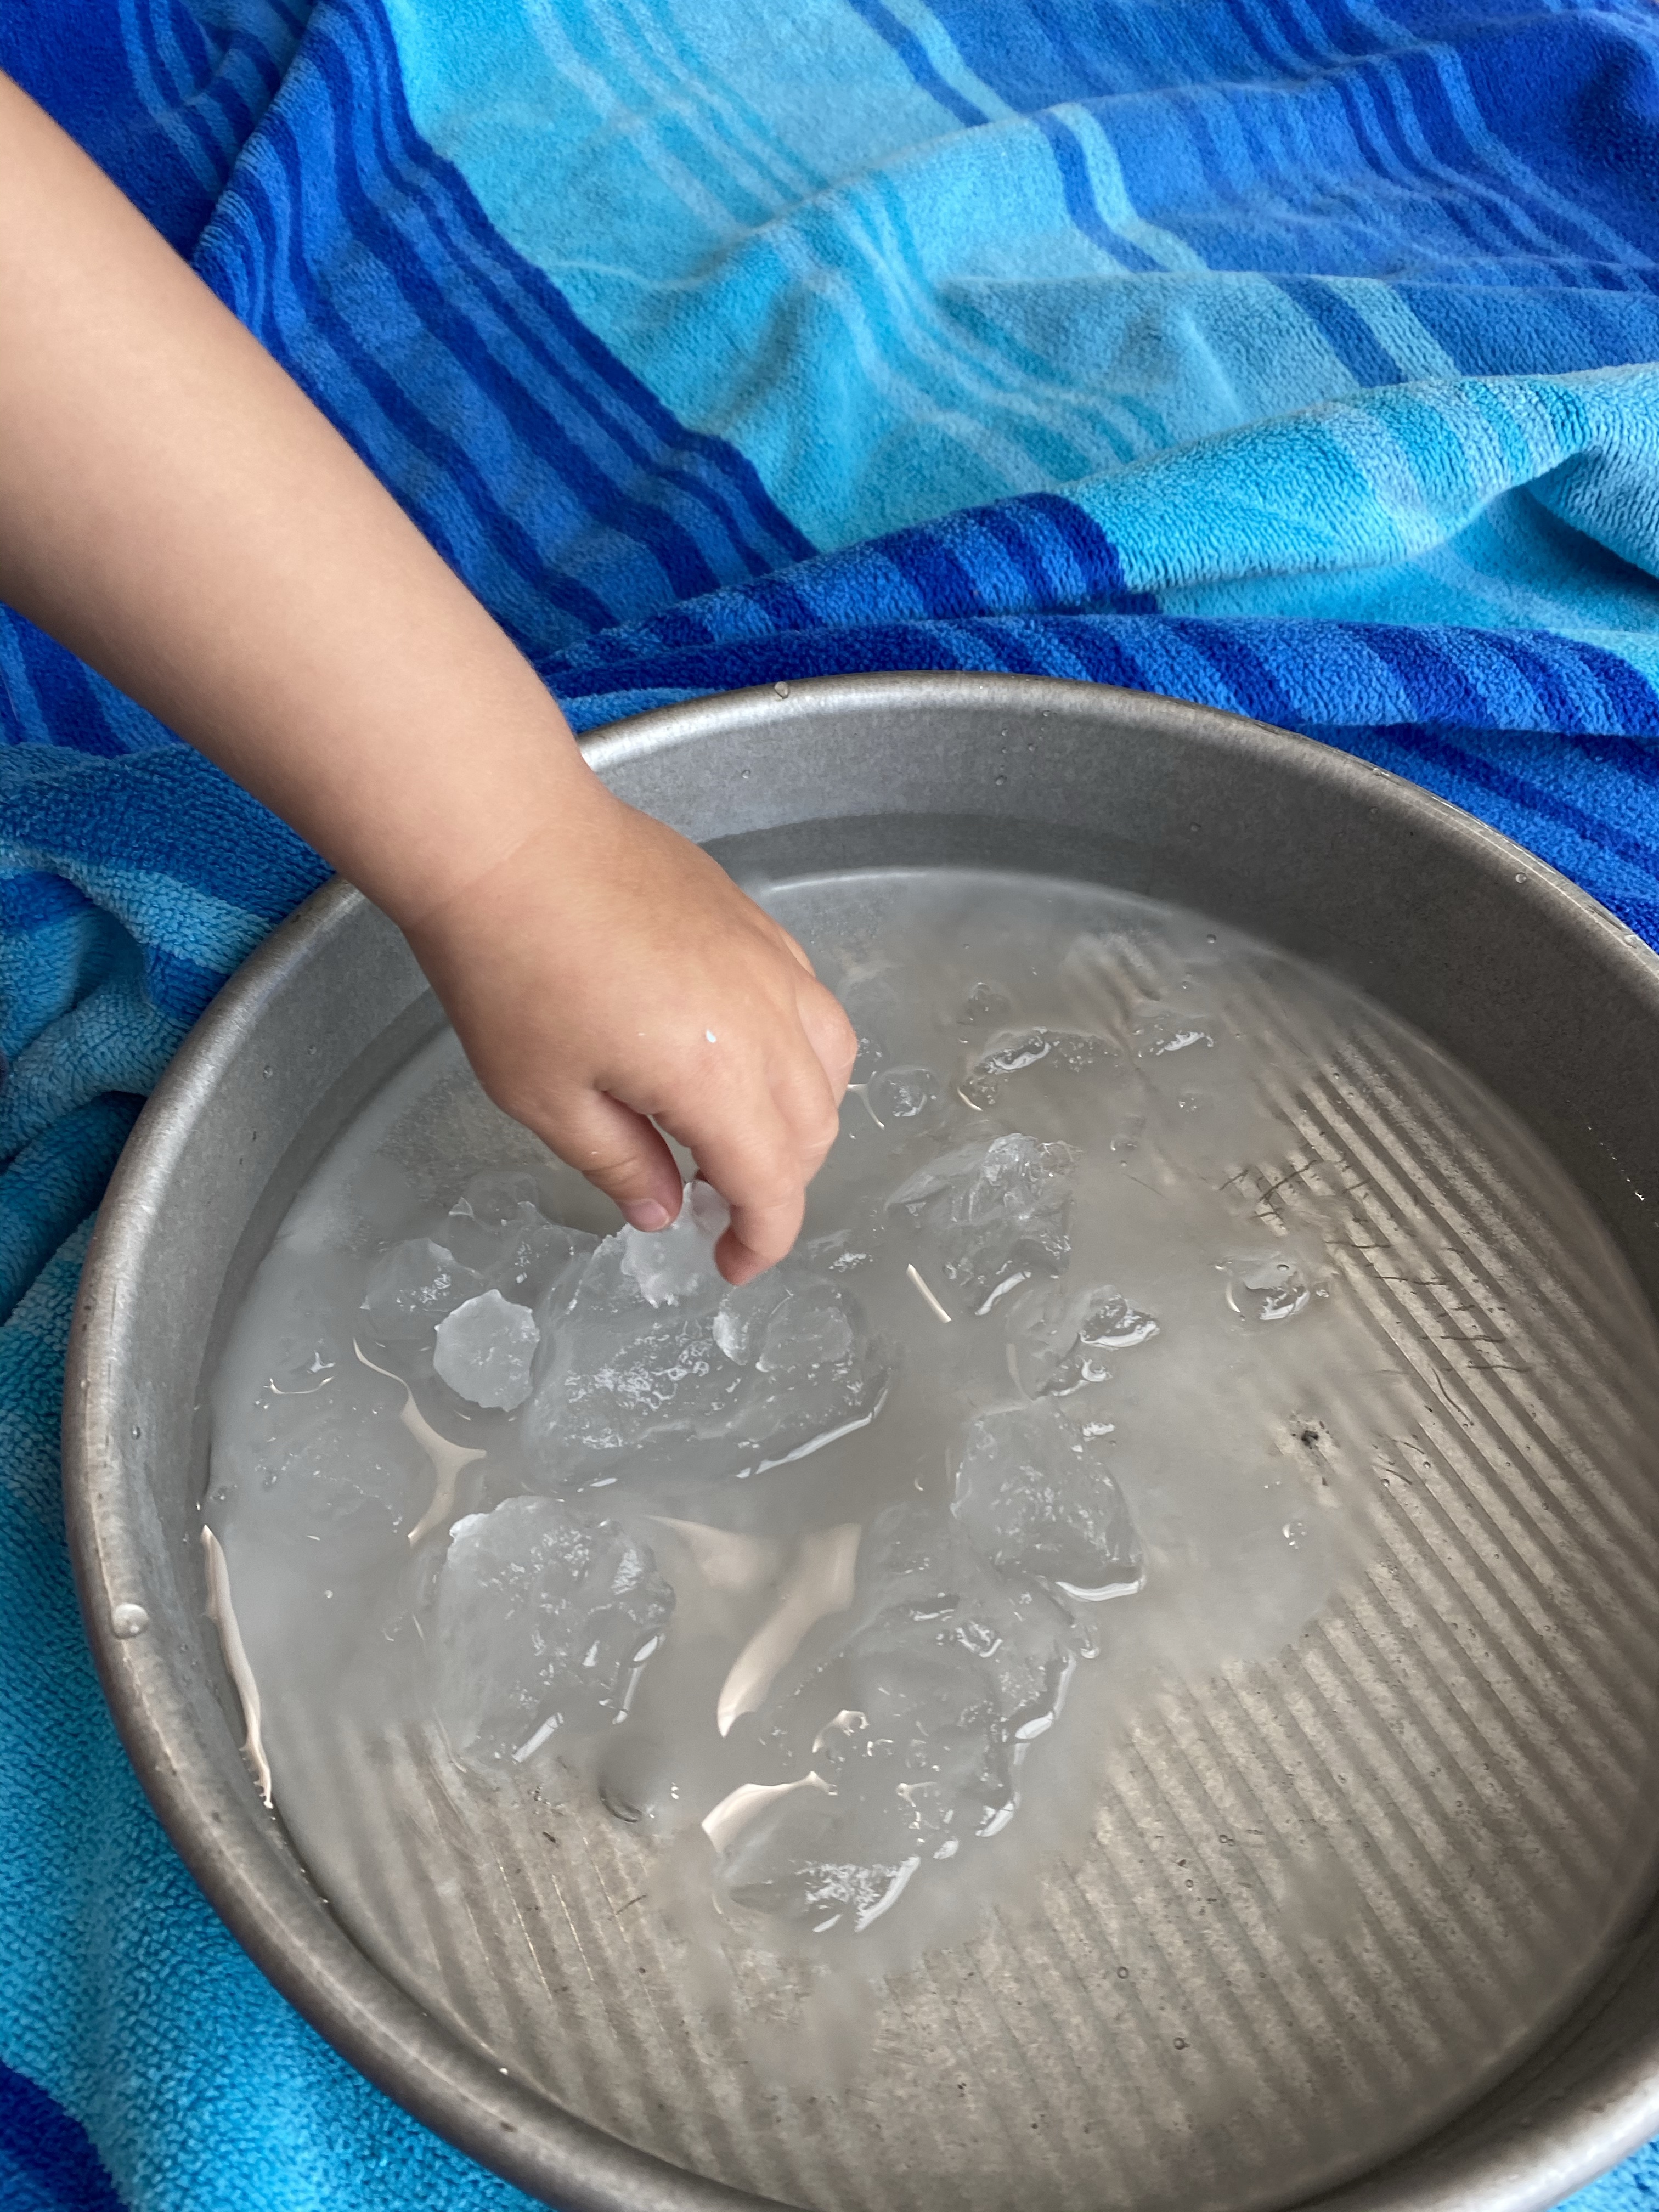
-Elsa’s ice powers: You guys! THIS IS SO COOL! We ended up doing this activity several times during the week because it’s just so darn magical! You pop a few bottles of purified water and a cake pan with about 1/4 inch of water in the bottom in the freezer and set a timer for two hours. The goal is to get it SUPER COLD but not freezing. VERY carefully and slowly take it out of the freezer (I set off the reaction just by grabbing the bottle too hard the first time!) and take the cap off. Give the bottle to your little and have them slowly pour it on the ice in the pan and watch as it magically freezes as it hits the ice! When the whole bottle was poured out, I let the boys play with the ice (which was more like really wet snow!) I got the idea from For Every Mom, who also explains the science behind “super cooling”.

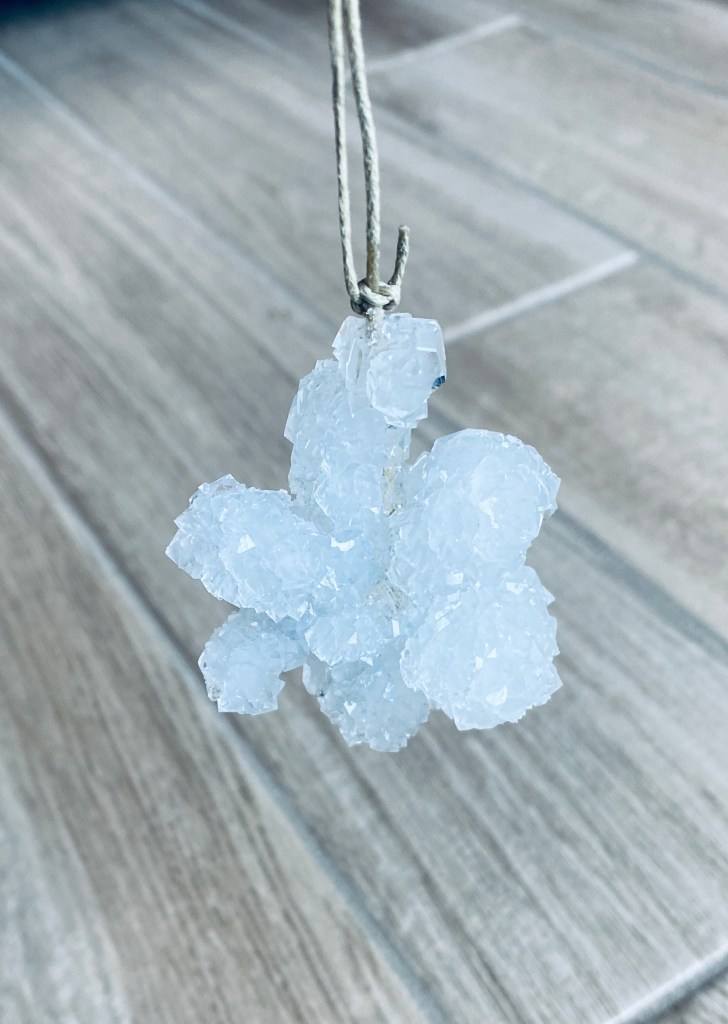
-Grow a snowflake: Borax is a magical mineral that can be used to wash all the things- or to grow amazing crystals (I think you can even make slime with it! LoL)! First, make a snowflake with pieces of a pipe cleaner- it doesn’t have to be fancy, just a 6 lined star will do! Tie a string to the middle of your snowflake, and tie the other end of the string to a pencil. Boil 2 cups of water and stir in 1 cup of Borax until the water turns clear again. Carefully pour the water into a cup (I like to use a mason jar so we can watch the crystals grow). Immediately hang the snowflake in the water and watch as crazy crystals grow in just 5 hours! *Don’t let your little put the crystals in their mouth- they are poisonous to ingest (which is weird because they can be used as dish soap but that’s what I read online!)
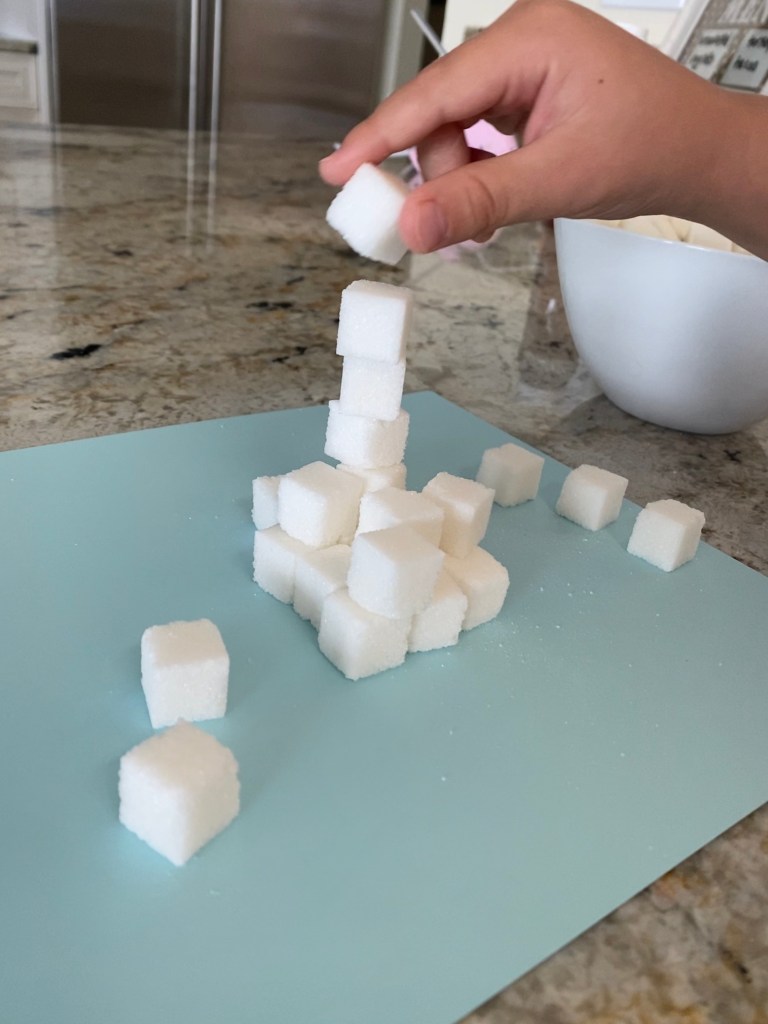
-STEM challenge…build Elsa’s ice castle: Give your little a bowl of sugar cubes (blocks work too!) and have them build Elsa’s ice castle with them! I challenged my little to build the tallest castle he could- giving this specific task made him work more on critical thinking, problem solving skills and engineering skills (in short- if you just stack one cube on top of the other, you can’t build very tall, especially if you stack them crooked! Building a wider base allows your tower to be more sturdy and thus you can make it taller!) I got this idea from Left Brain Craft Brain!
–Art:
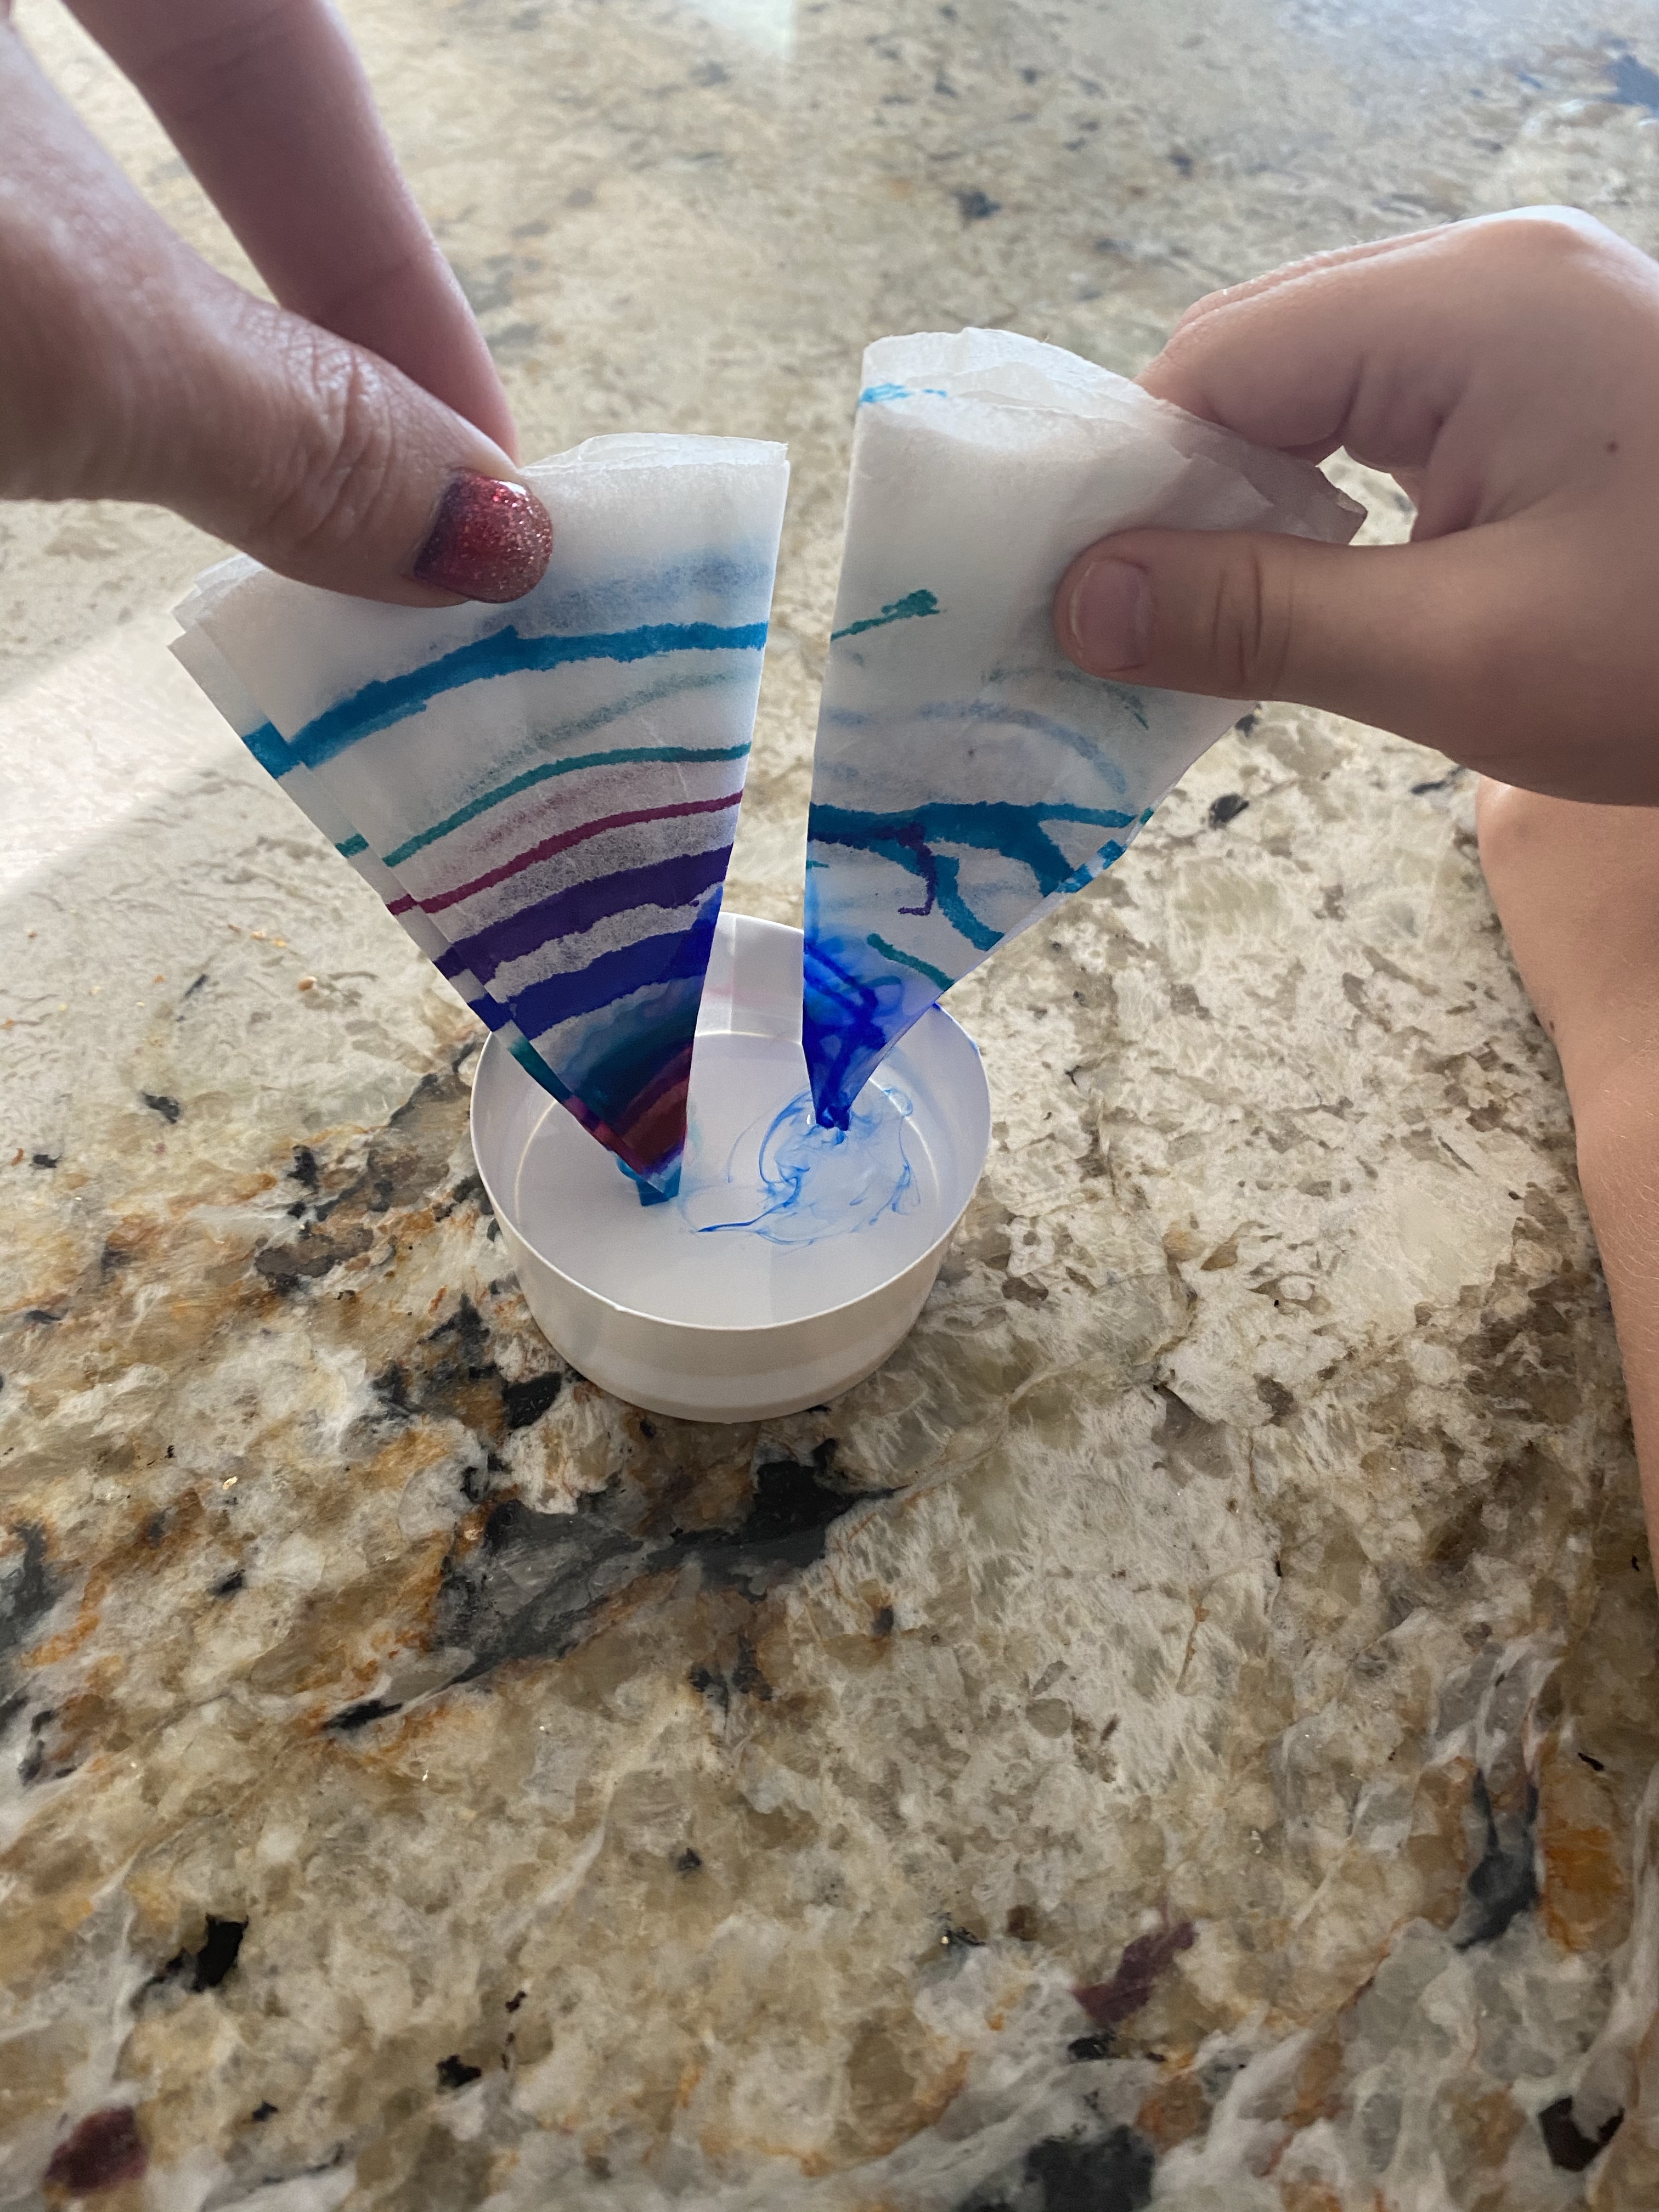
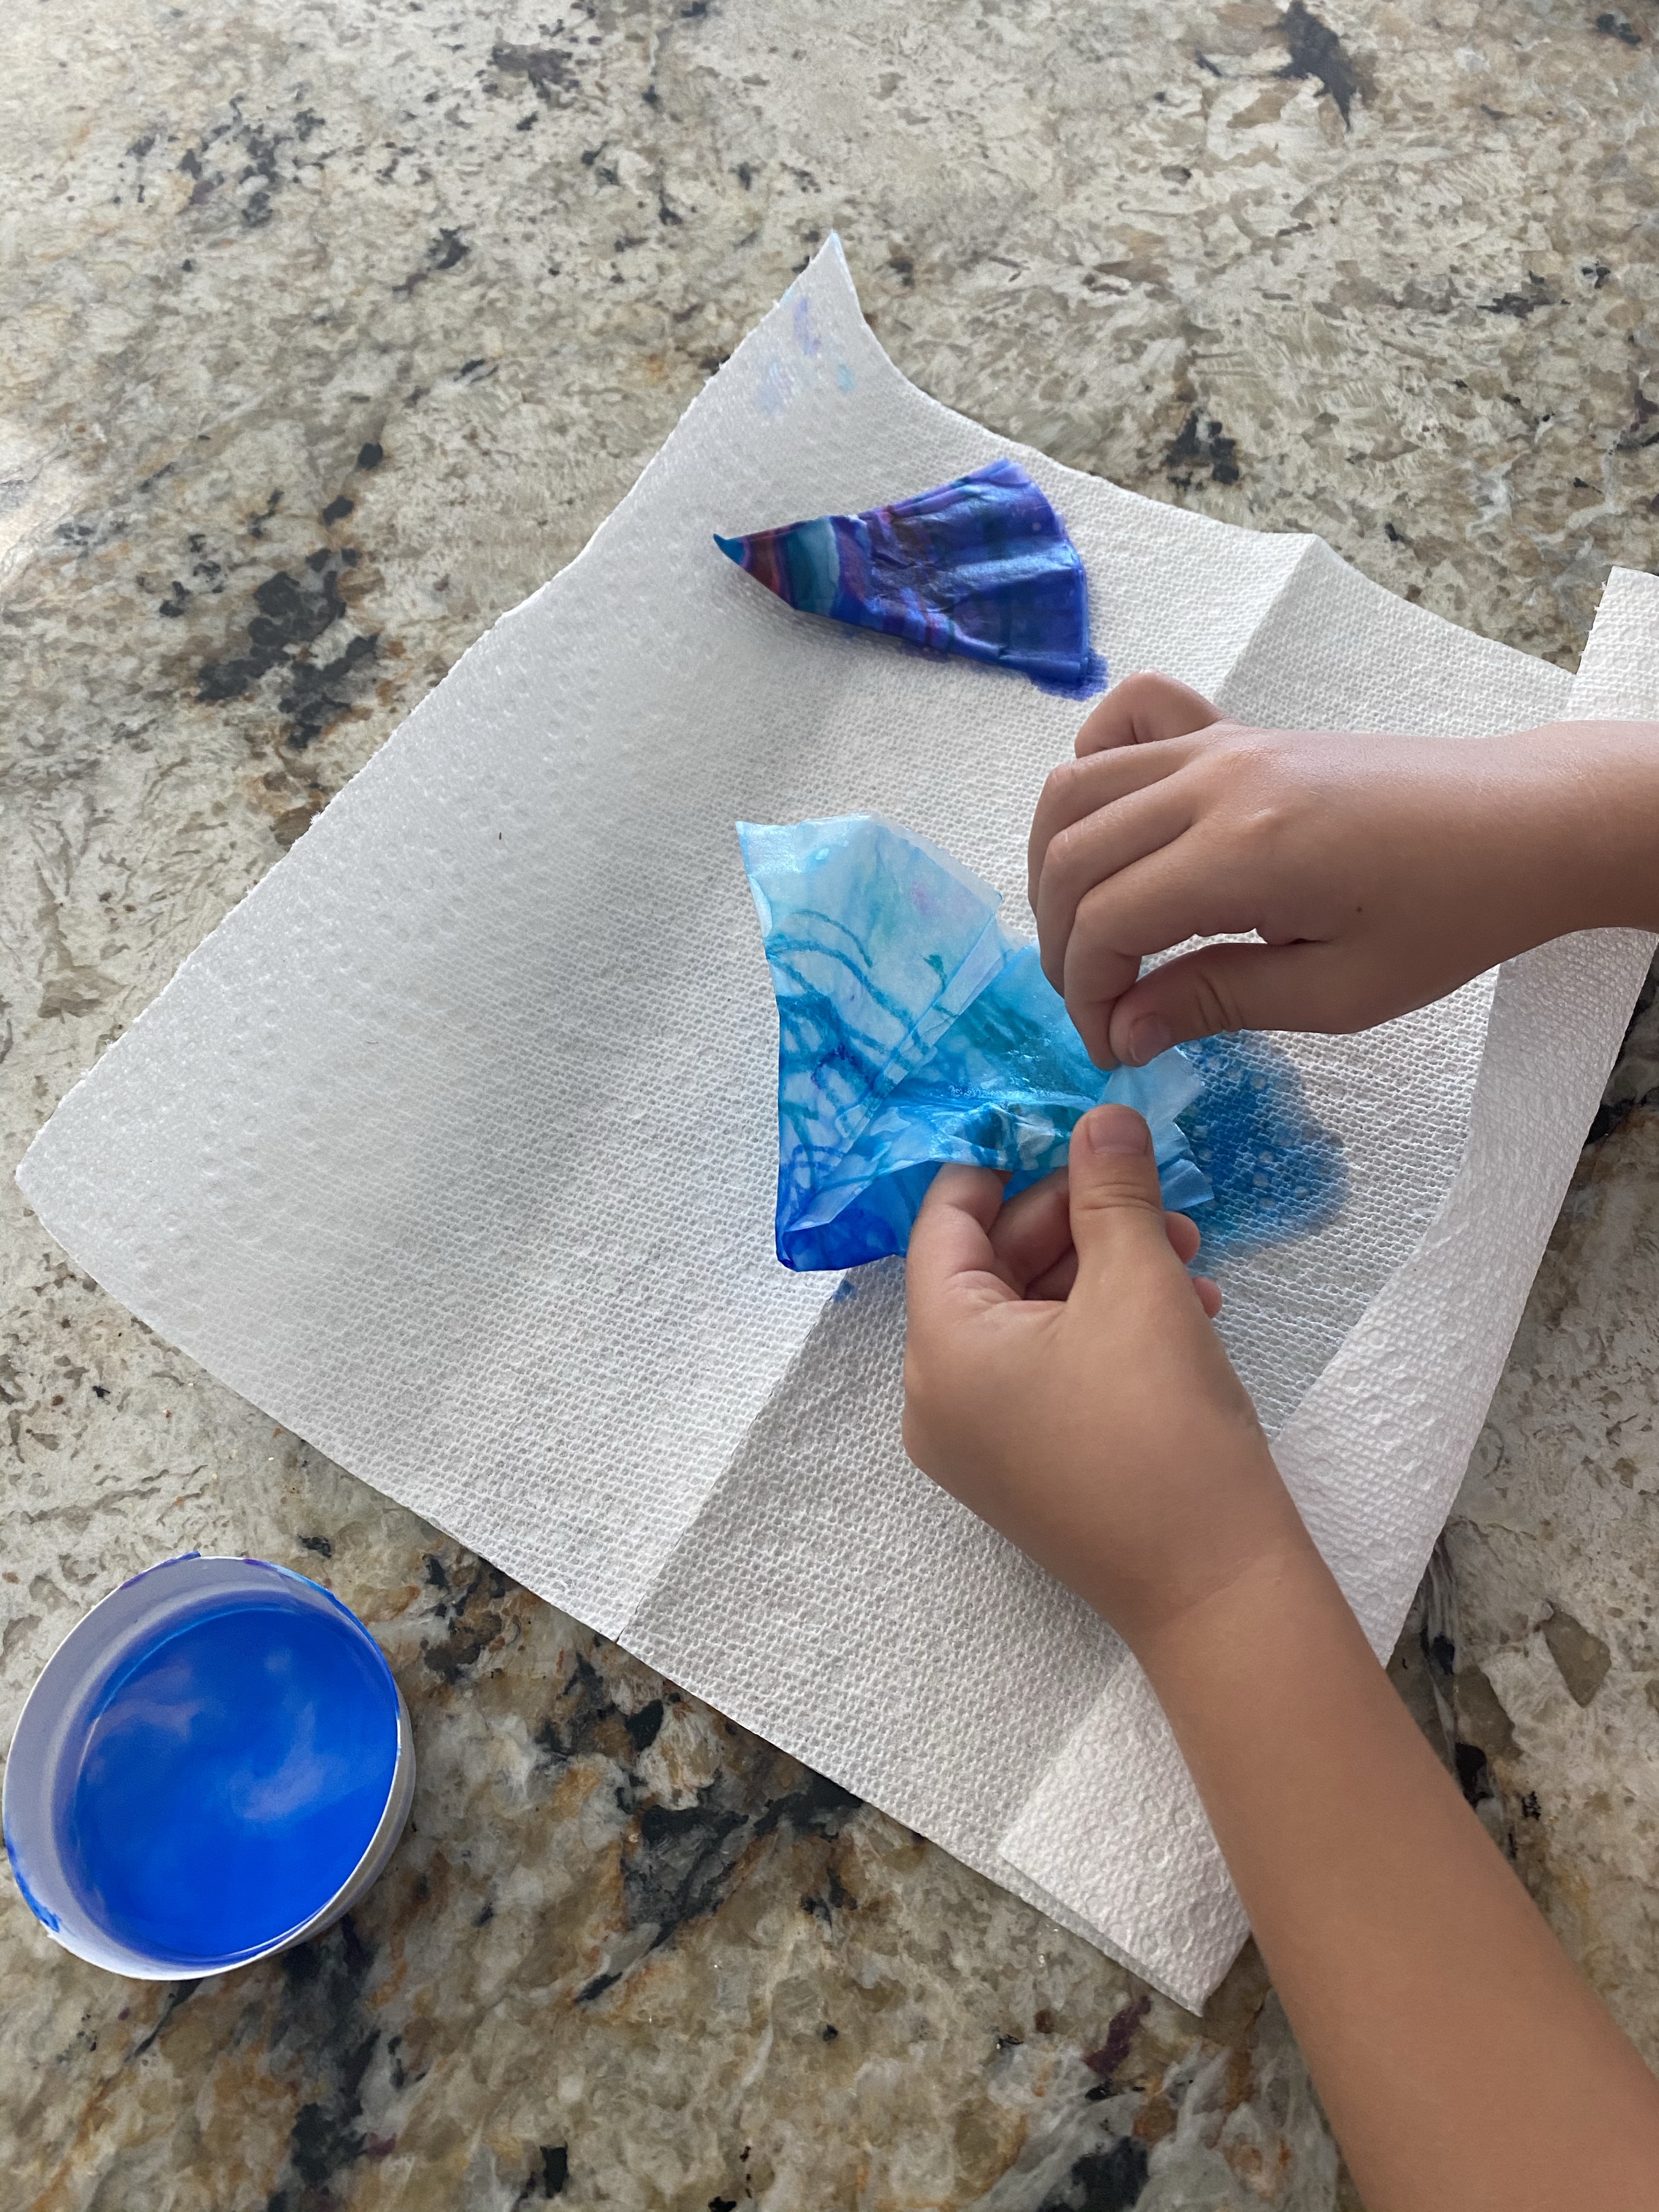
-Tie dye snow flakes: Have your little color a coffee filter with sharpie markers in a circle shape using blues, purples, pinks and teals. Fold the filter in half, then in half again, then once more and dip it in rubbing alcohol so the whole filter is covered (we just slowly dipped the corner in, then took it out and flipped it upside down and that did the trick!) Slowly open the filter and lay it on a paper towel to dry. Once it’s dry, refold it and cut shapes out of the sides to make a snowflake! You might be able to do this with water based markers and then just use water instead of rubbing alcohol, but I haven’t tested it! I got this from Around the Kampfire and added the “turn it into a snowflake” bit!


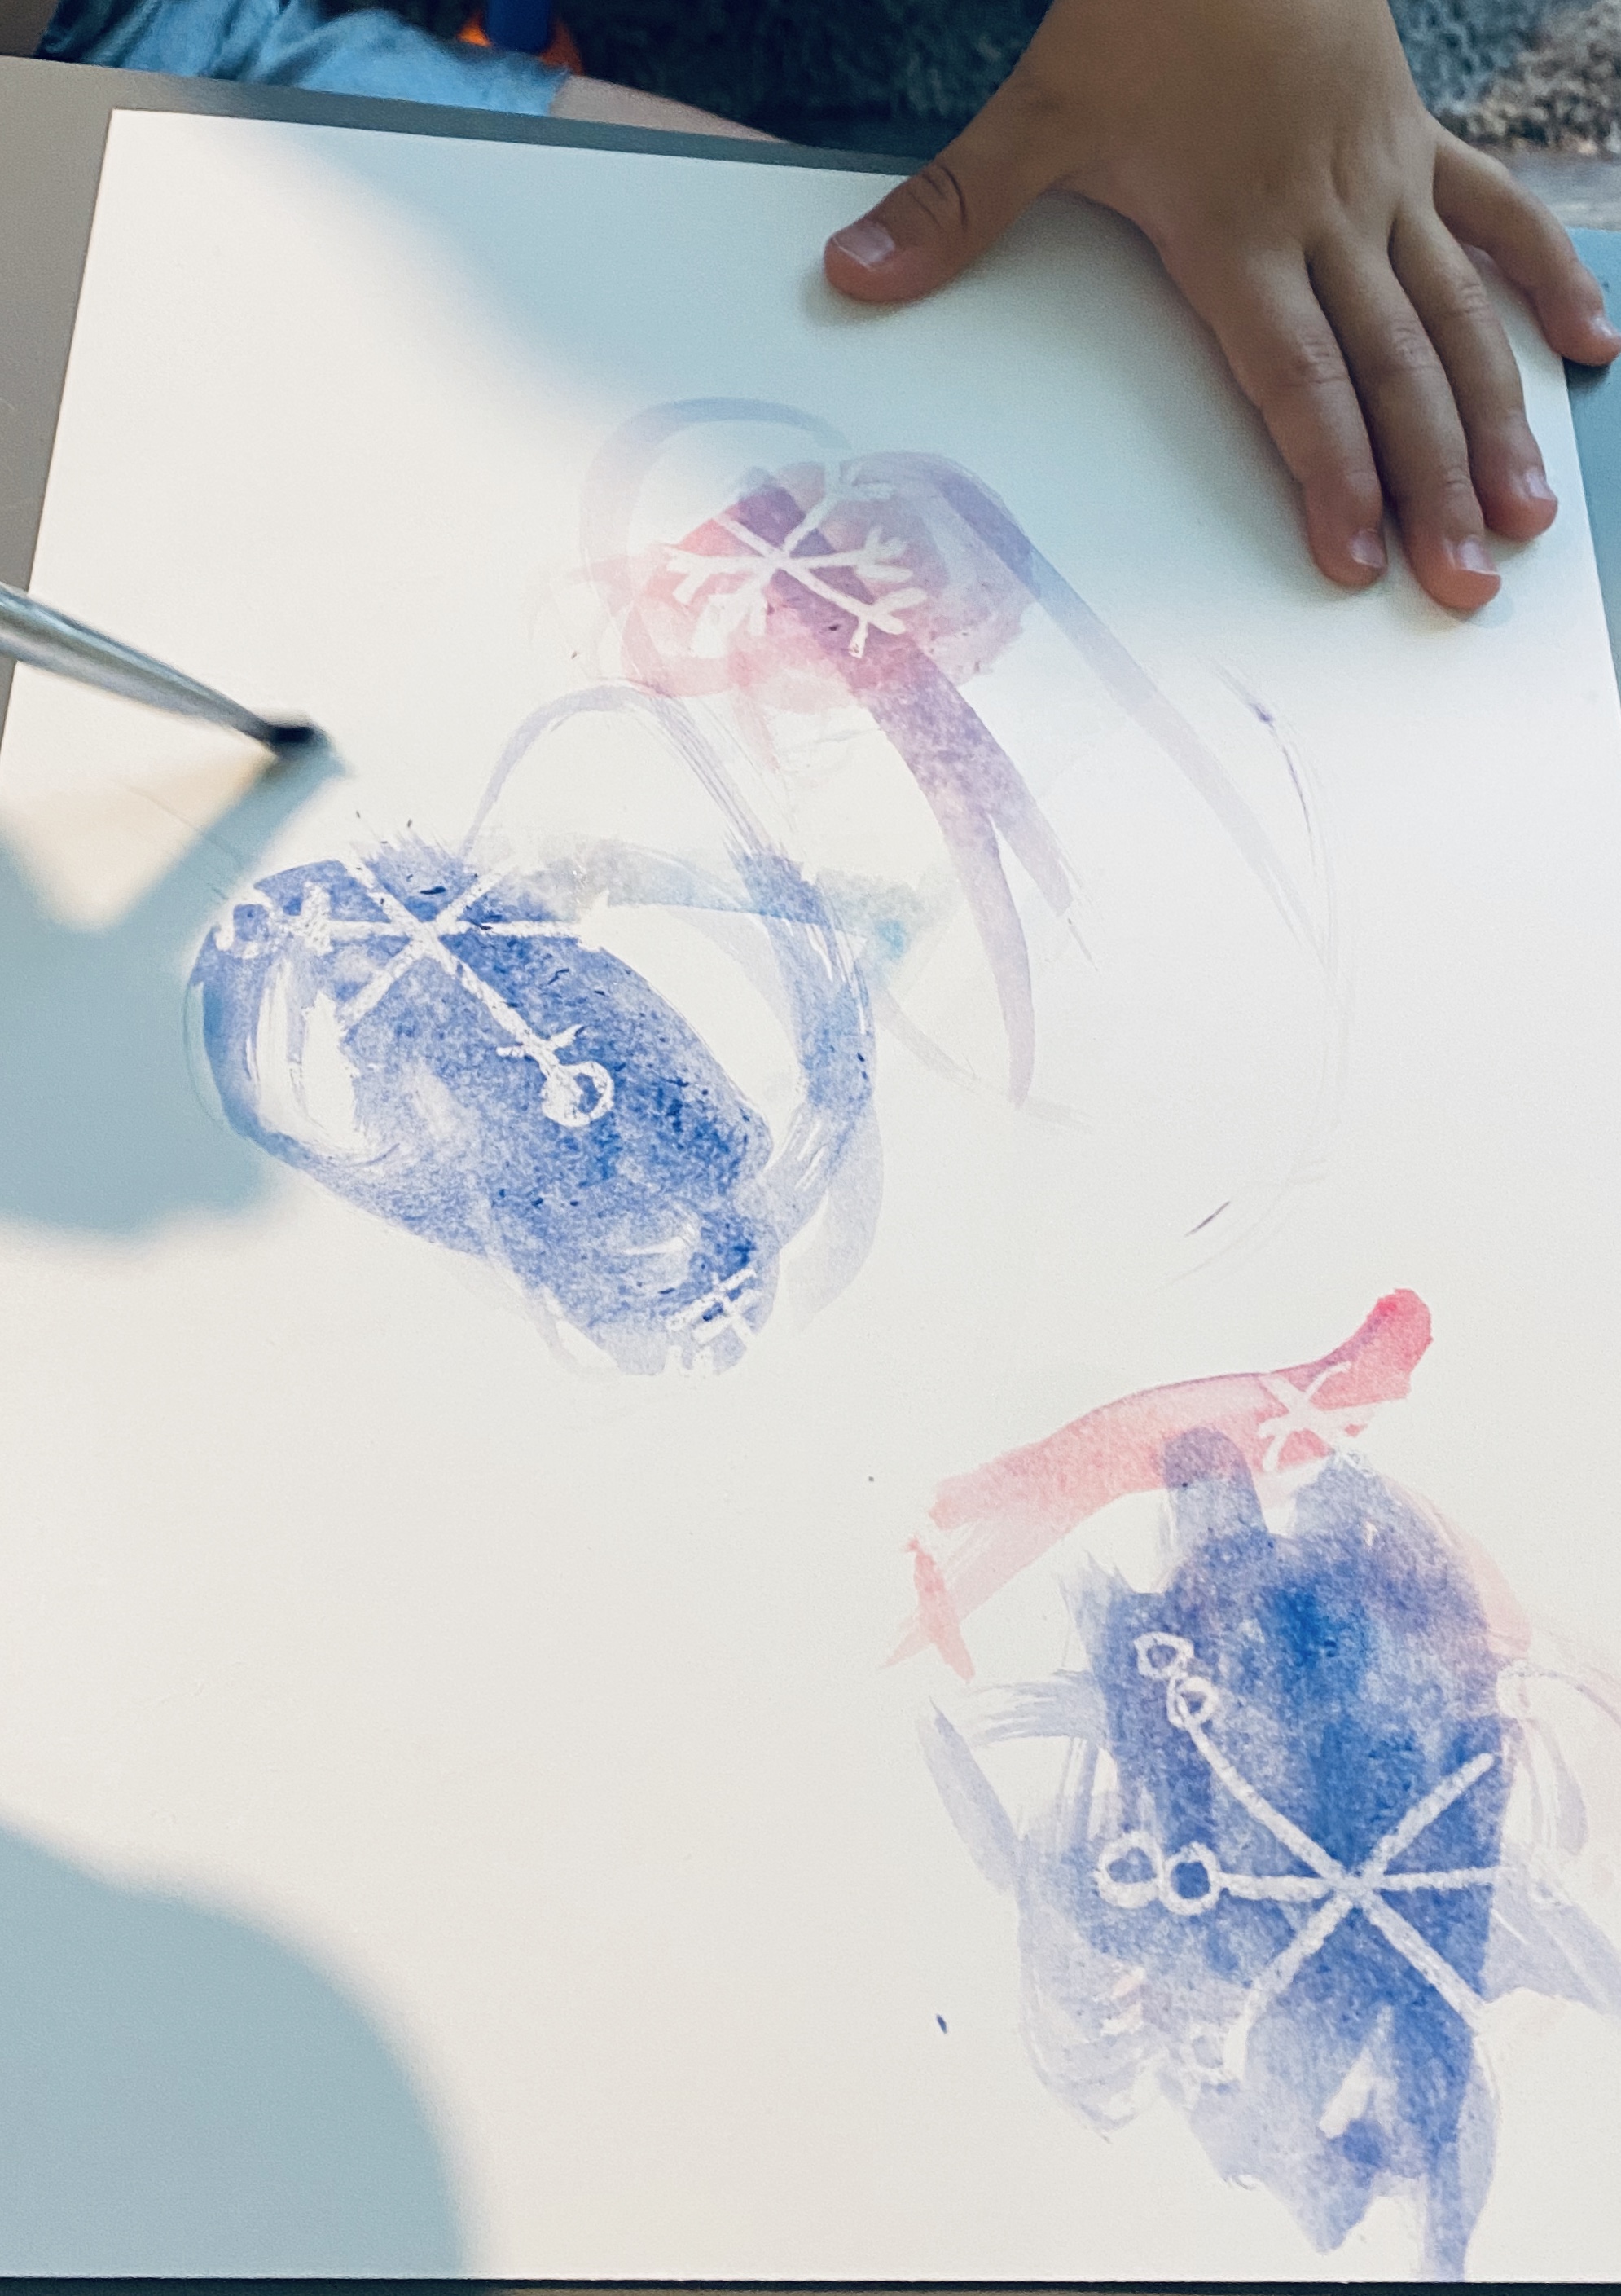
-Magic snowflake reveal: Draw several snow flakes on a piece of white cardstock using a white crayon. Give your little some snowy colored water color paint and have them paint the page, magically revealing the snowflakes as they go!

–Shopping/Supply list:
- plastic magnetic letter and number set
- sugar
- 10 sided dice
- mini marshmallows
- salt
- glitter
- snowflake confetti
- stick or pencil
- string
- magnet
- bowl
- cake pan
- bottles of purified water
- gallon Ziplock
- squirt bottle
- coffee filters
- sharpies (colorful)
- rubbing alcohol
- sugar cubes
- cup
- pipe cleaners
- borax
