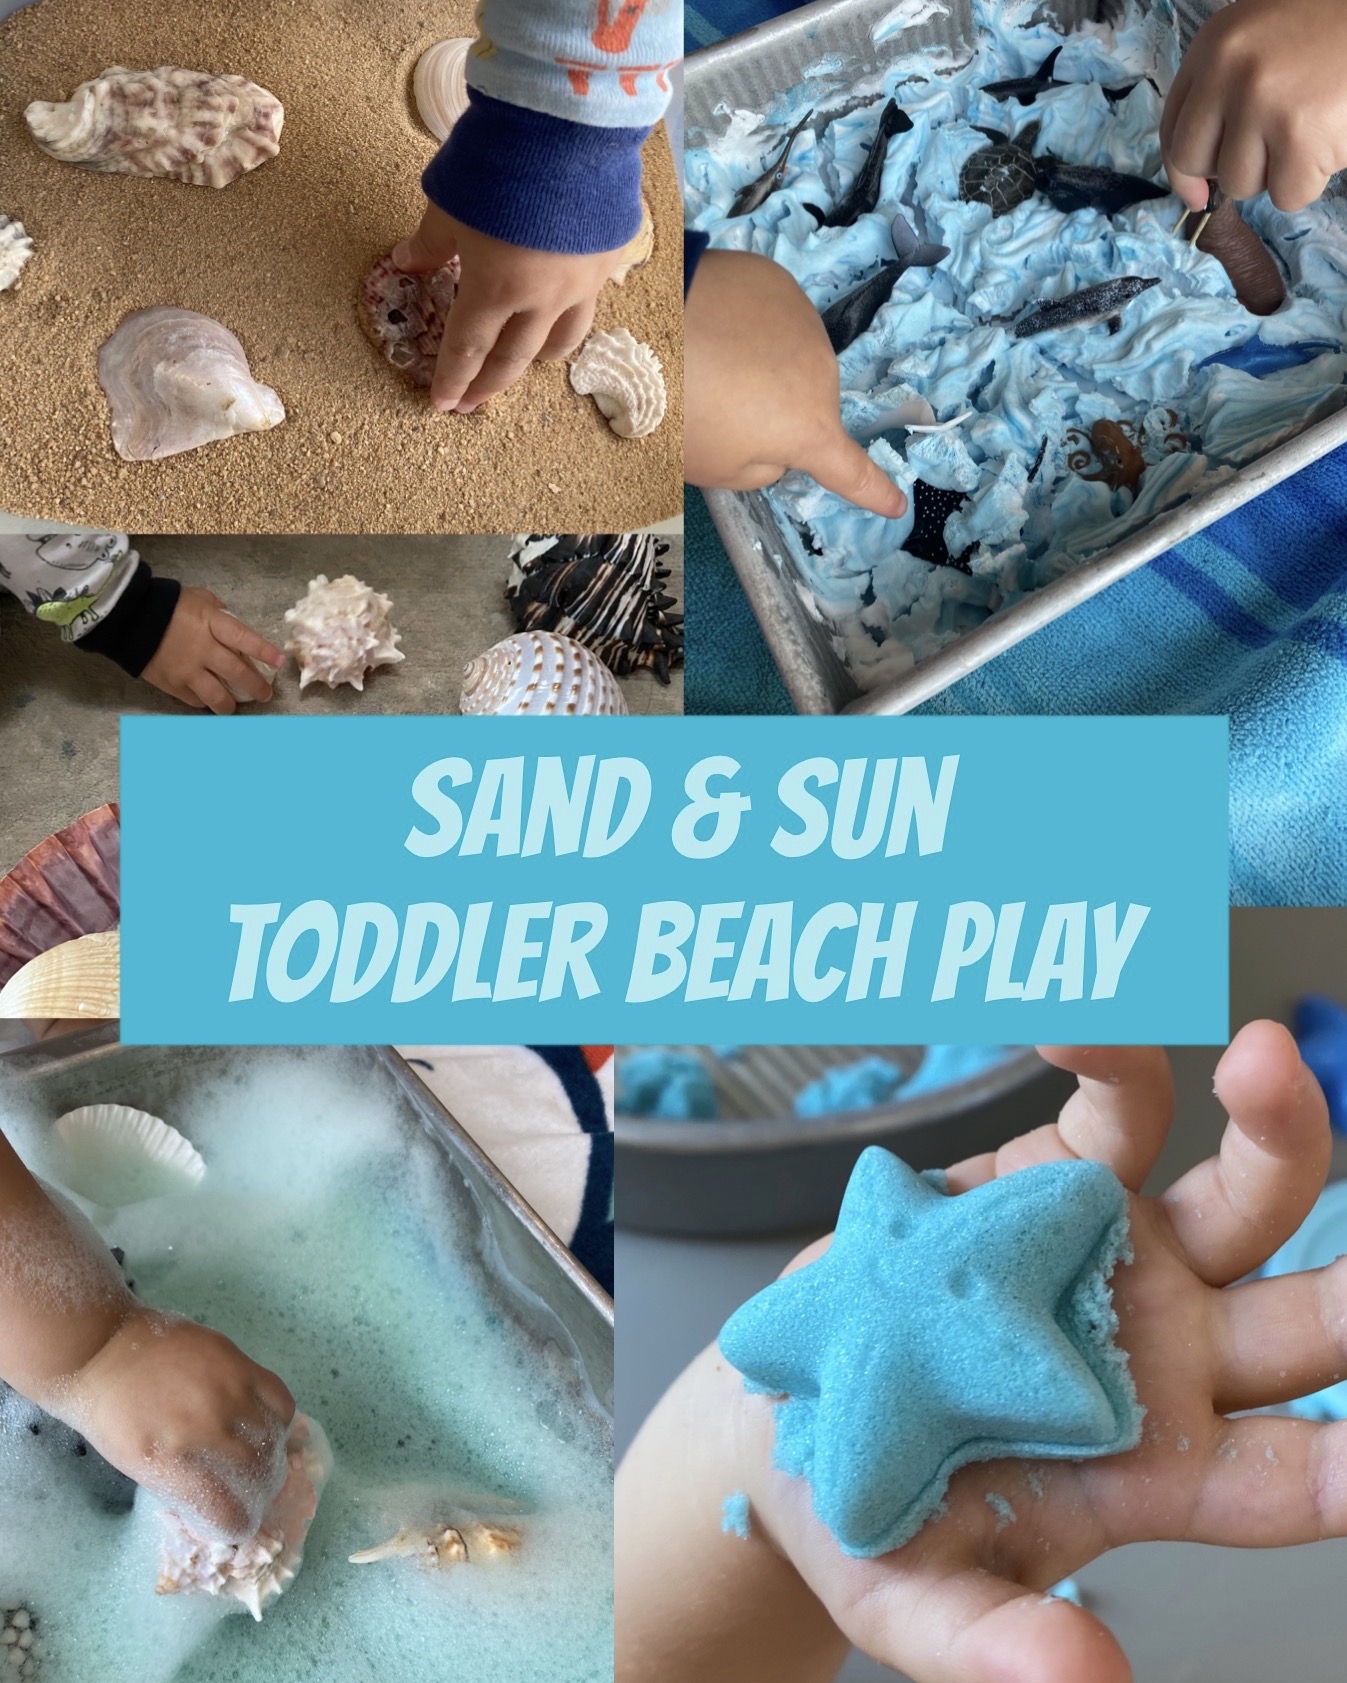
Since it’s summer and the beach is the ultimate sensory experience (the crash of the waves, the salty smelling air, the sand between your toes, the warm sun and cool water on your skin!) we decided to bring the beach home for our learning this week! Turn on some Caribbean steal drum music (Alexa will play some if you ask her!) and come dive in with us and check it out!
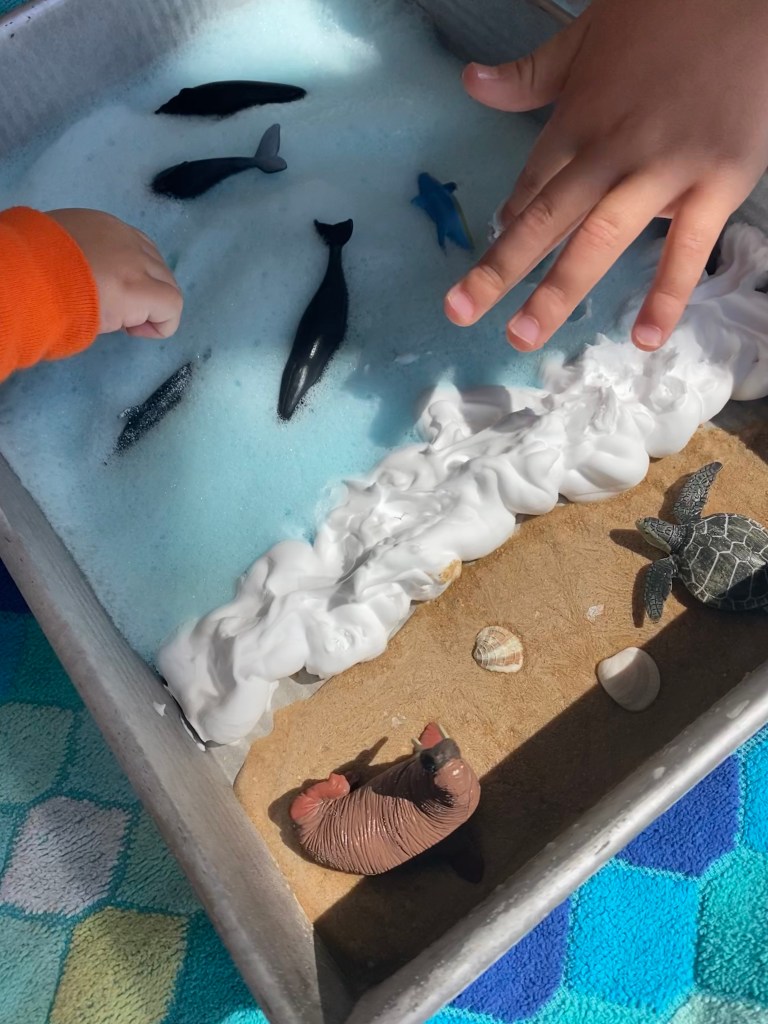
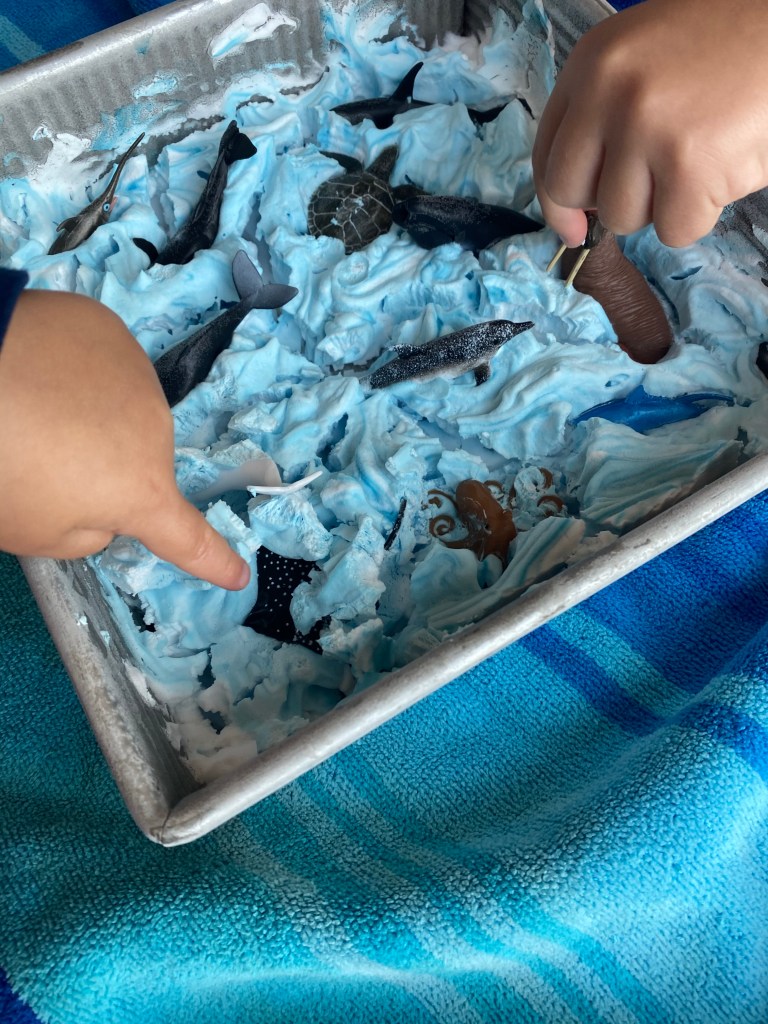
–Frozen beach: This is a combination of the frozen shaving cream and sea foam activities below! I was curious what would happen if I froze the foam- and it turned out really cool! It was almost like snow at first but then it gets soapy and slippery when it melts in your hands! To make the beach, mix a little bit of water with some of your play sand for the land, add some shaving cream for the waves, and make a batch of soap foam (see below for the recipe) for the ocean water. Throw in some seashells and ocean animal figurines, pop it in the freezer for an hour, then take it out and let your littles explore!
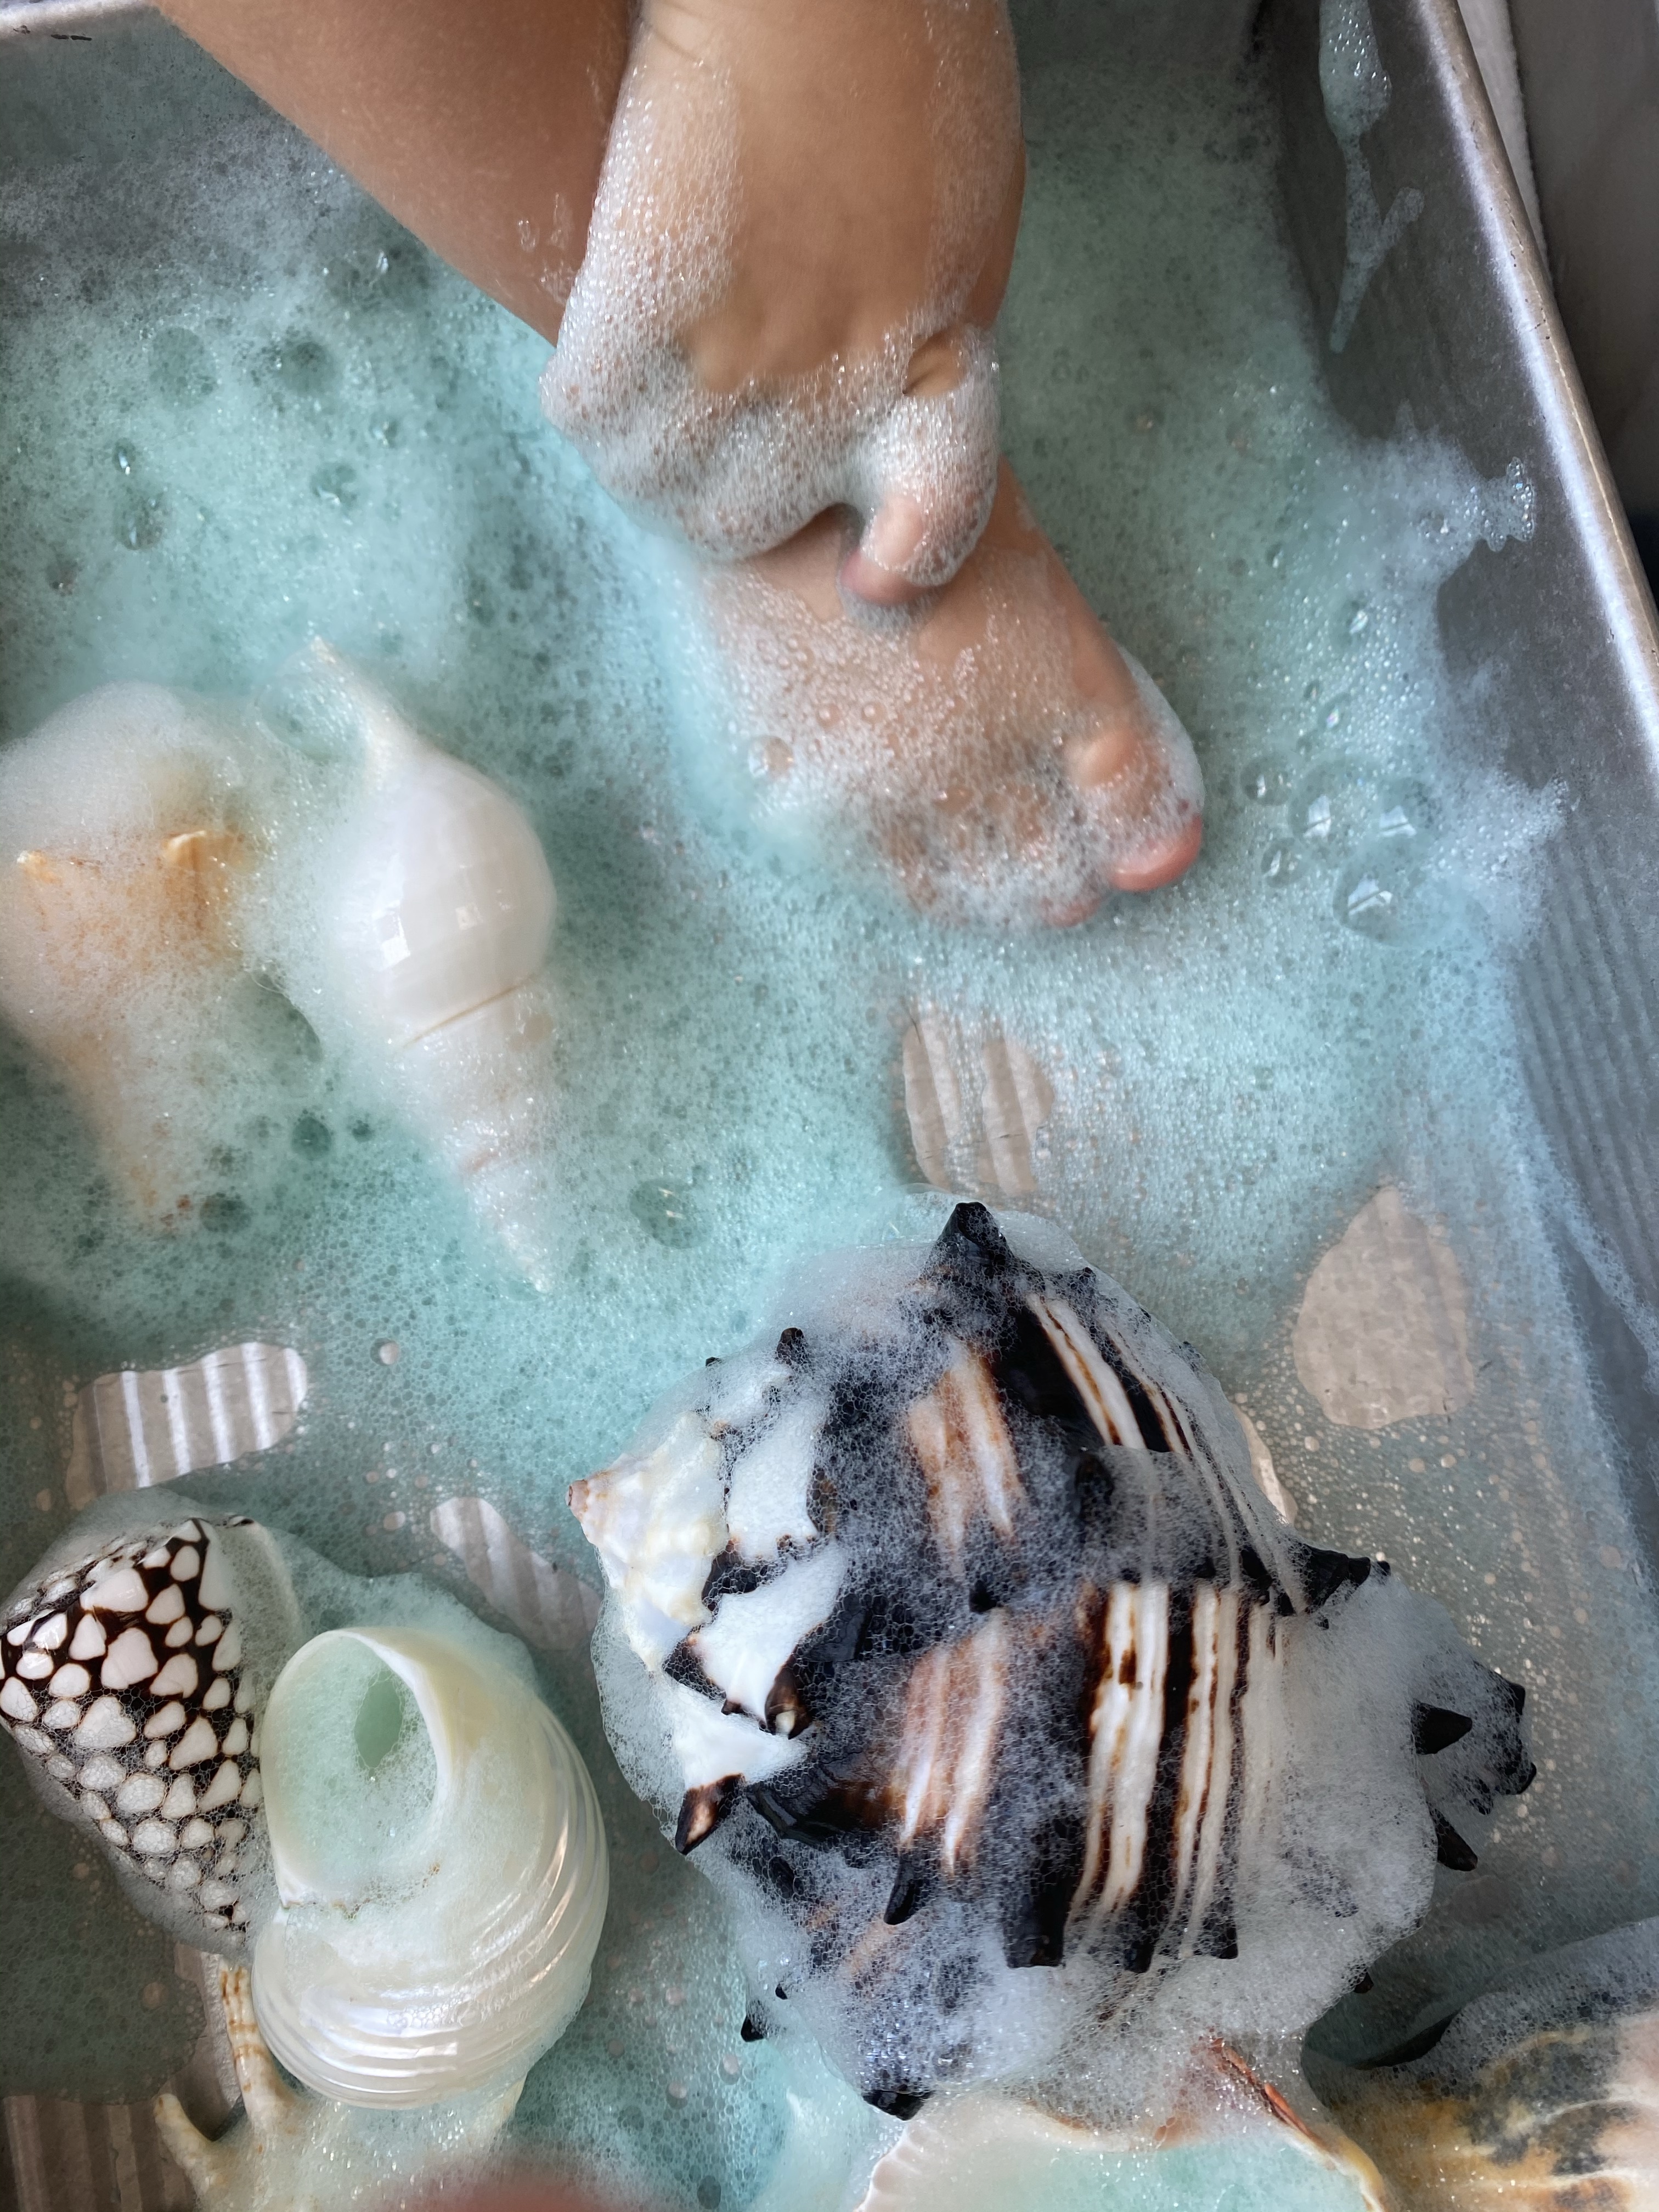
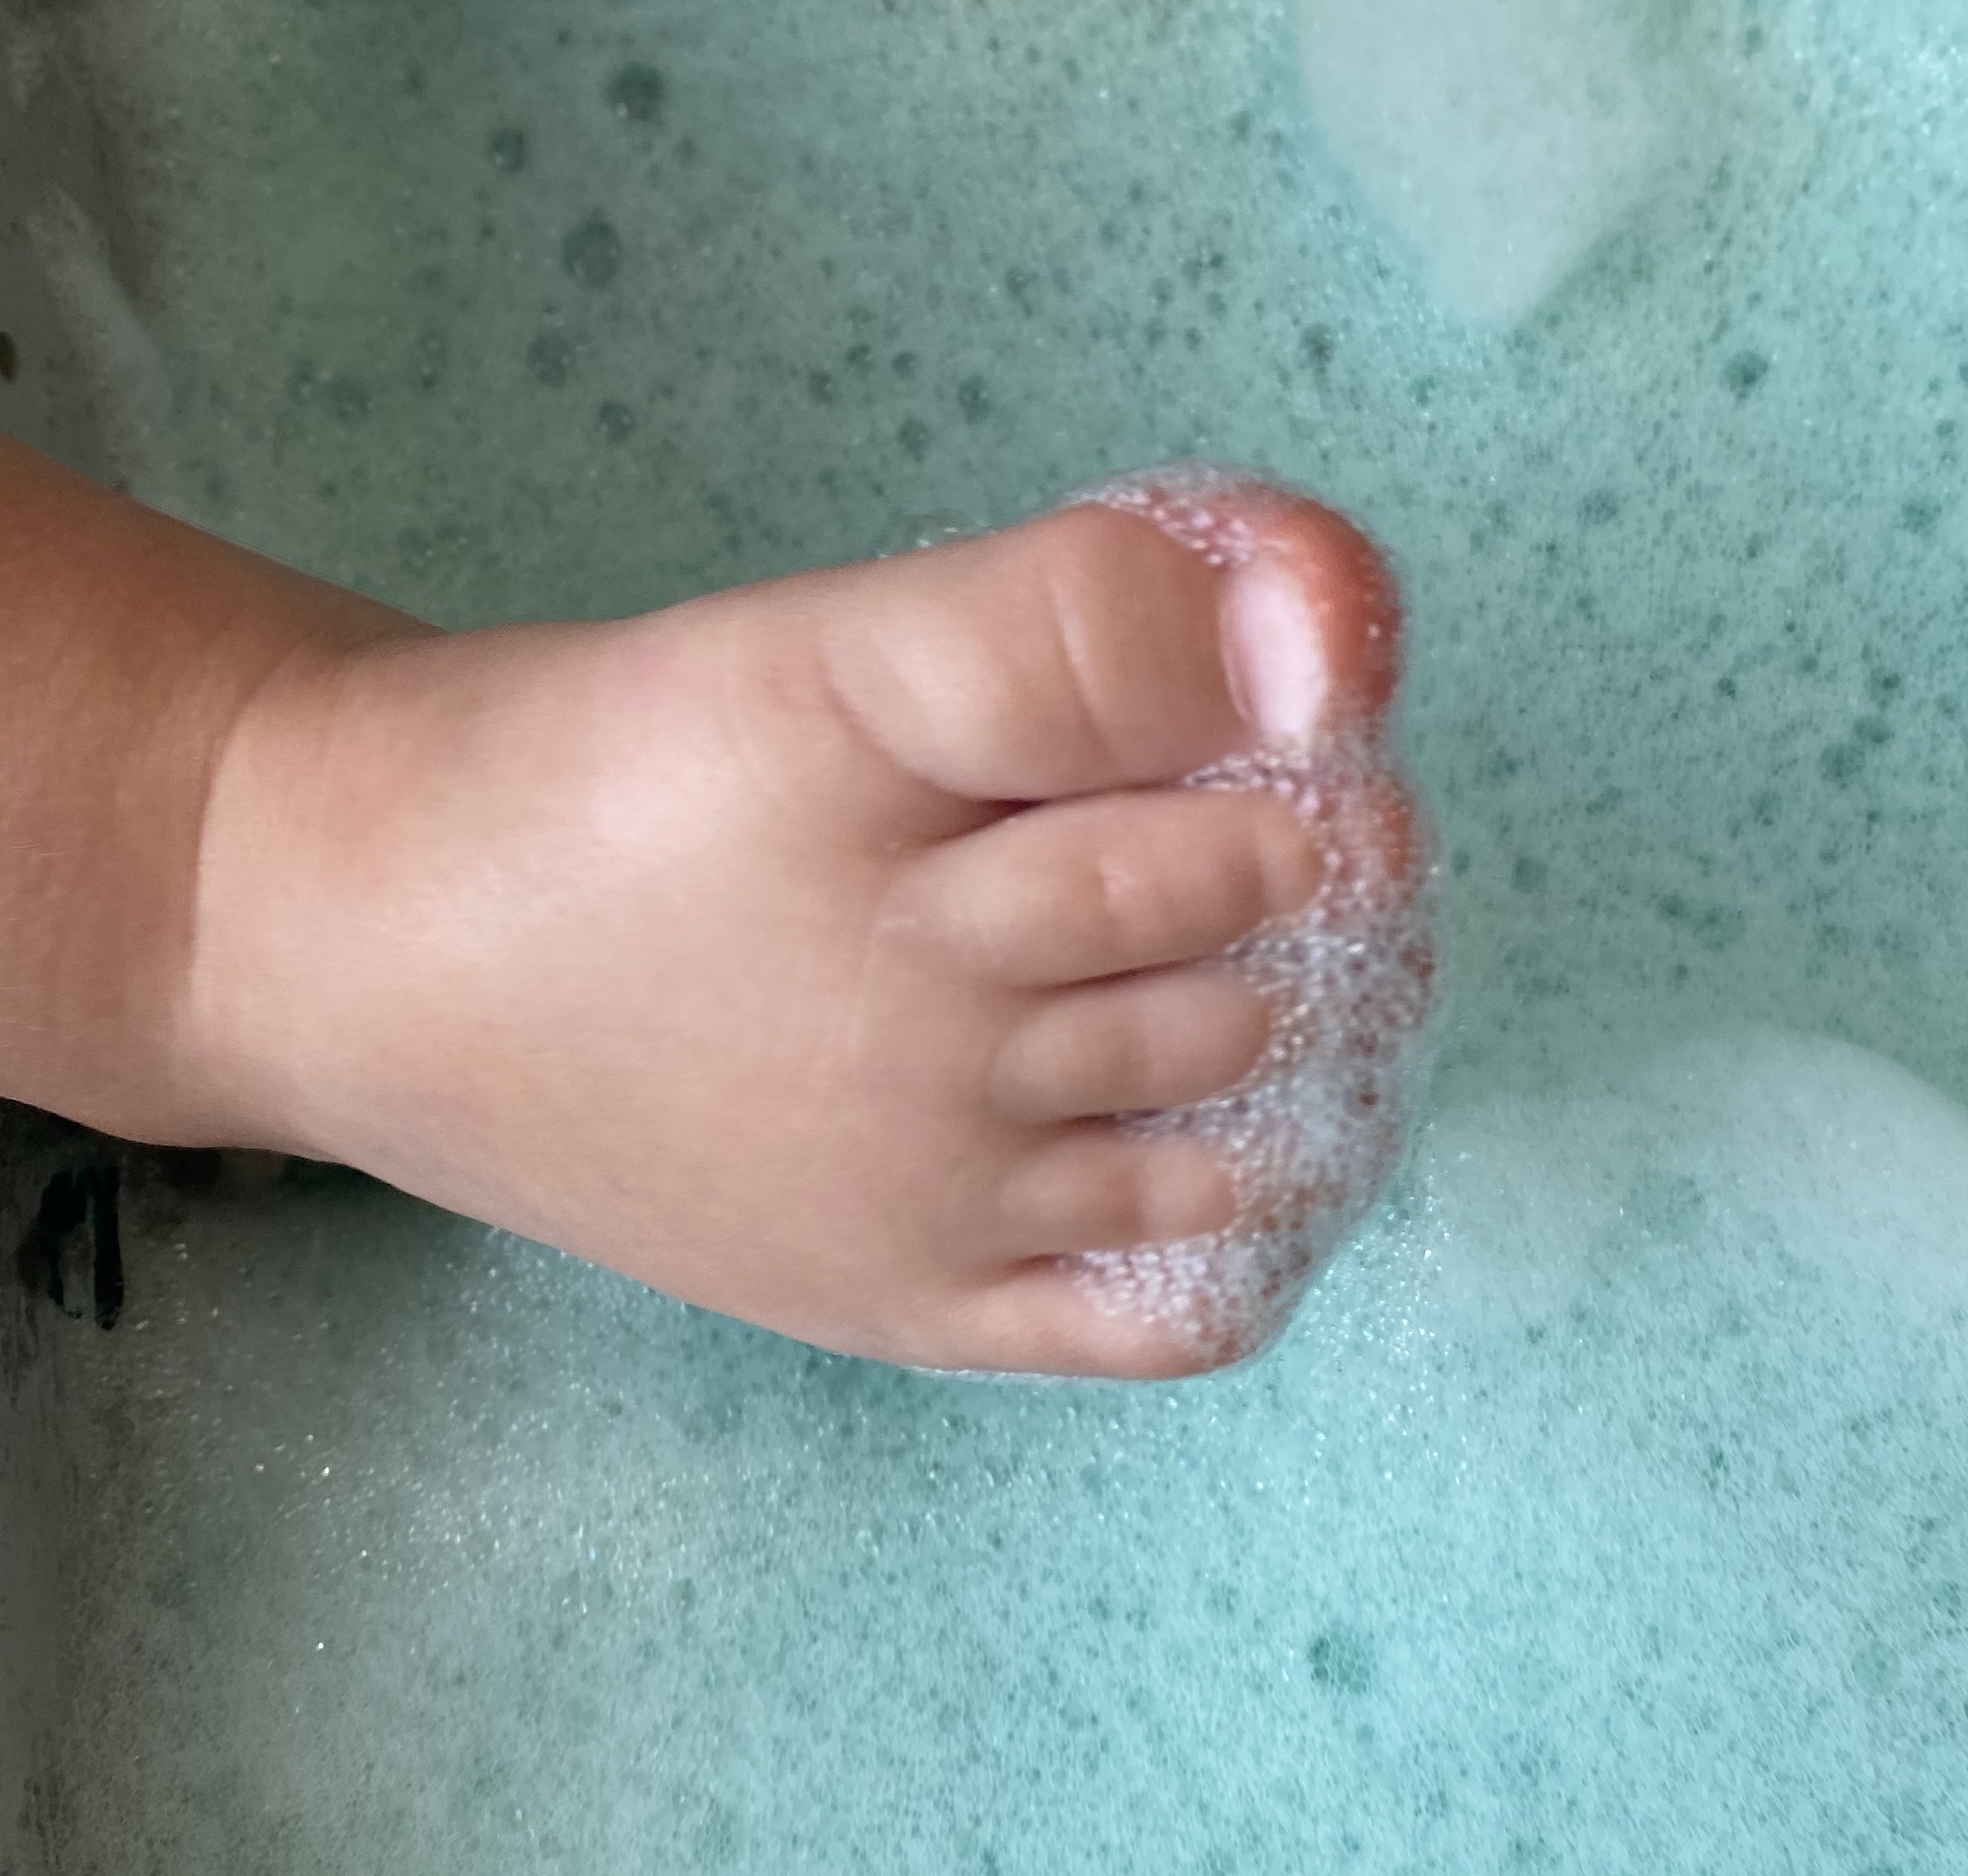
–Caribbean sea foam sensory play: We’ve done foam quite a few times and it’s always a hit with my boys! You make it by adding about 2 tablespoons of dish soap to 1/4 cup of water. Throw in 2-3 drops each of blue and green food coloring to get a nice Caribbean sea green. Beat the mixture on high until smooth foam forms. Place some shells in a cake pan, scoop the foam on top and let your little explore! (I also gave them another cake pan to put the shells in as they found them in the foam- and we counted them too once they had found them all!) I got the foam recipe from Fun at Home with Kids!


–Frozen shaving cream sea creature play: Mix some shaving cream with blue food coloring in a cake pan, place ocean animal toys in it and pop it in the freezer. After about an hour take it out and let your littles explore! You can also count the animals together to build number skills! I got the idea from Hello, Wonderful!
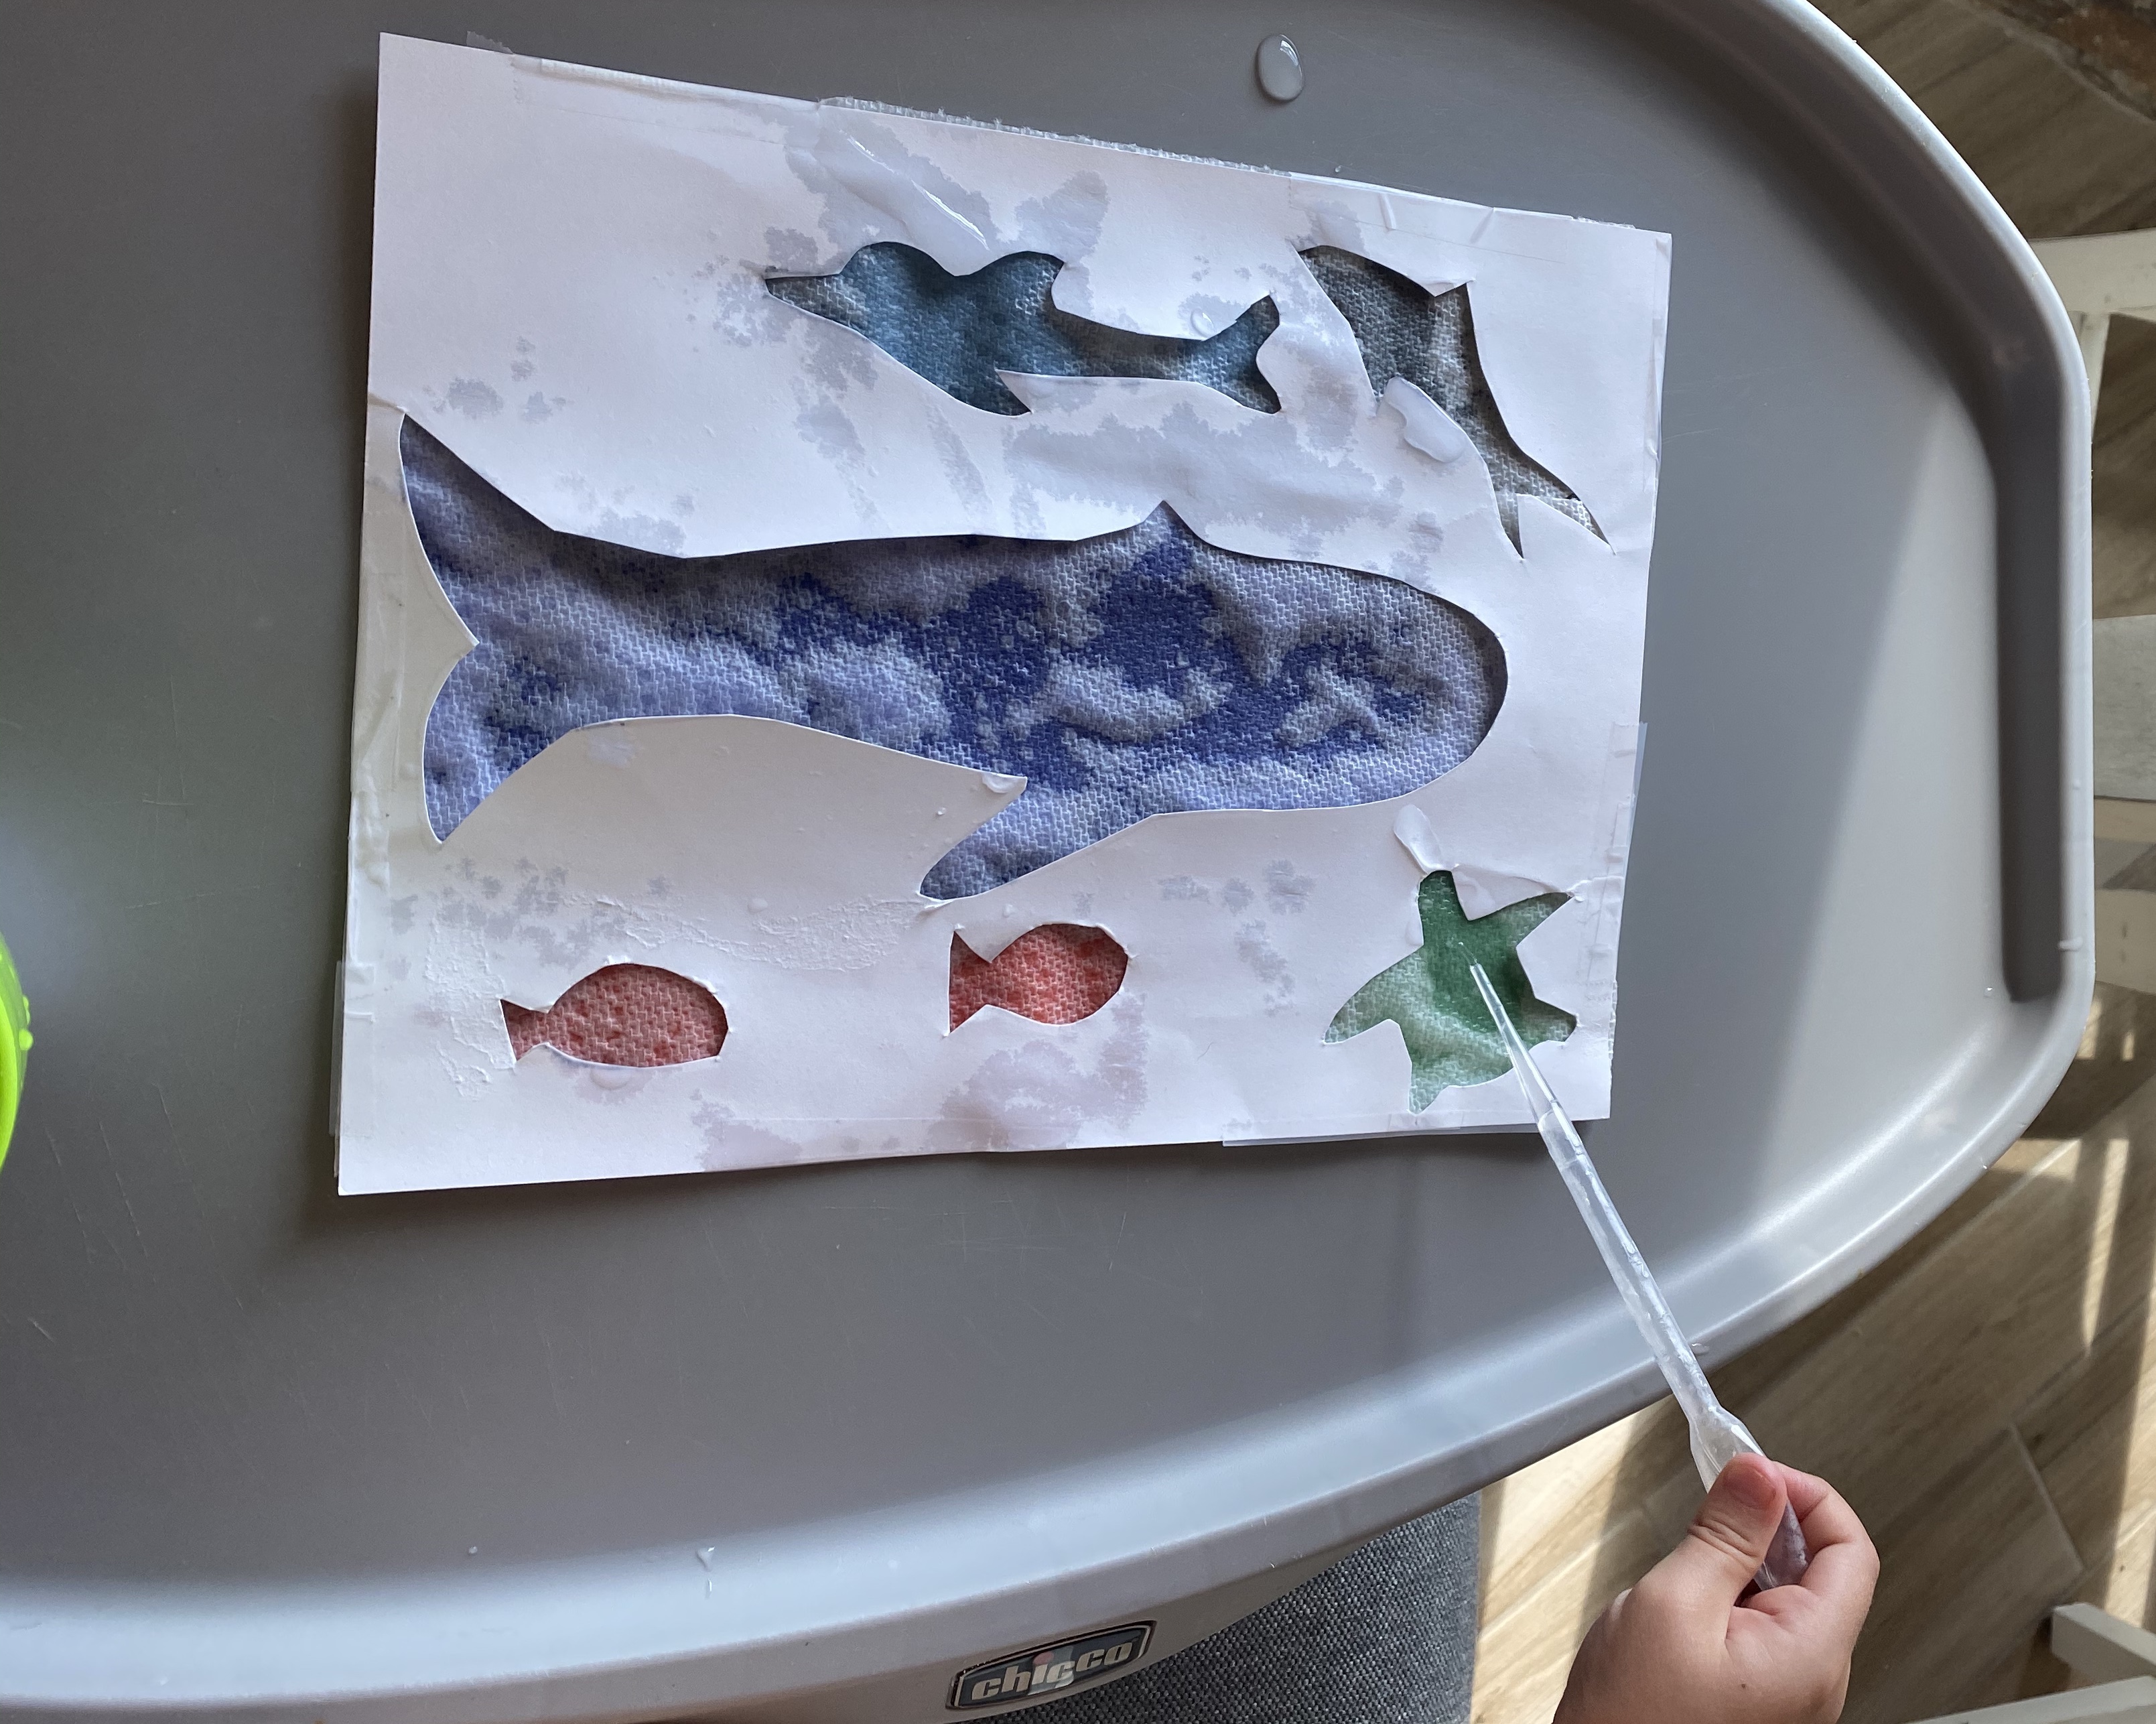
–Color reveal ocean creatures: I got this super cool idea from Muddly_Puddly Laboratory on Instagram (you have to check out her page- she has SO many creative play ideas!) It’s a bit of a bear to set up, but the result is worth it! First, cut out ocean animal shapes from cardstock. Then, tape a sheet of paper towel on the back of the cardstock. (We tried it with one sheet and two and the colors were more vibrant but slightly less hidden with one- you can see the difference in the picture below.) Then tape pieces of different colored construction paper behind each creature and have your little use a pipette to drop water on the paper towel (which starts off looking white, but “magically” changes color when wet!)

–Shell exploration: We have a lot of different shells on hand that I used to decorate- at least before our bookshelf was taken over by kids’ books. I just spread a few of the larger ones with different shapes and textures out on the floor and let my toddler explore them! Of course I showed him how he can “hear the ocean” if he puts them to his ear too- which he thought was really funny! It was such a simple activity but we both really enjoyed it!

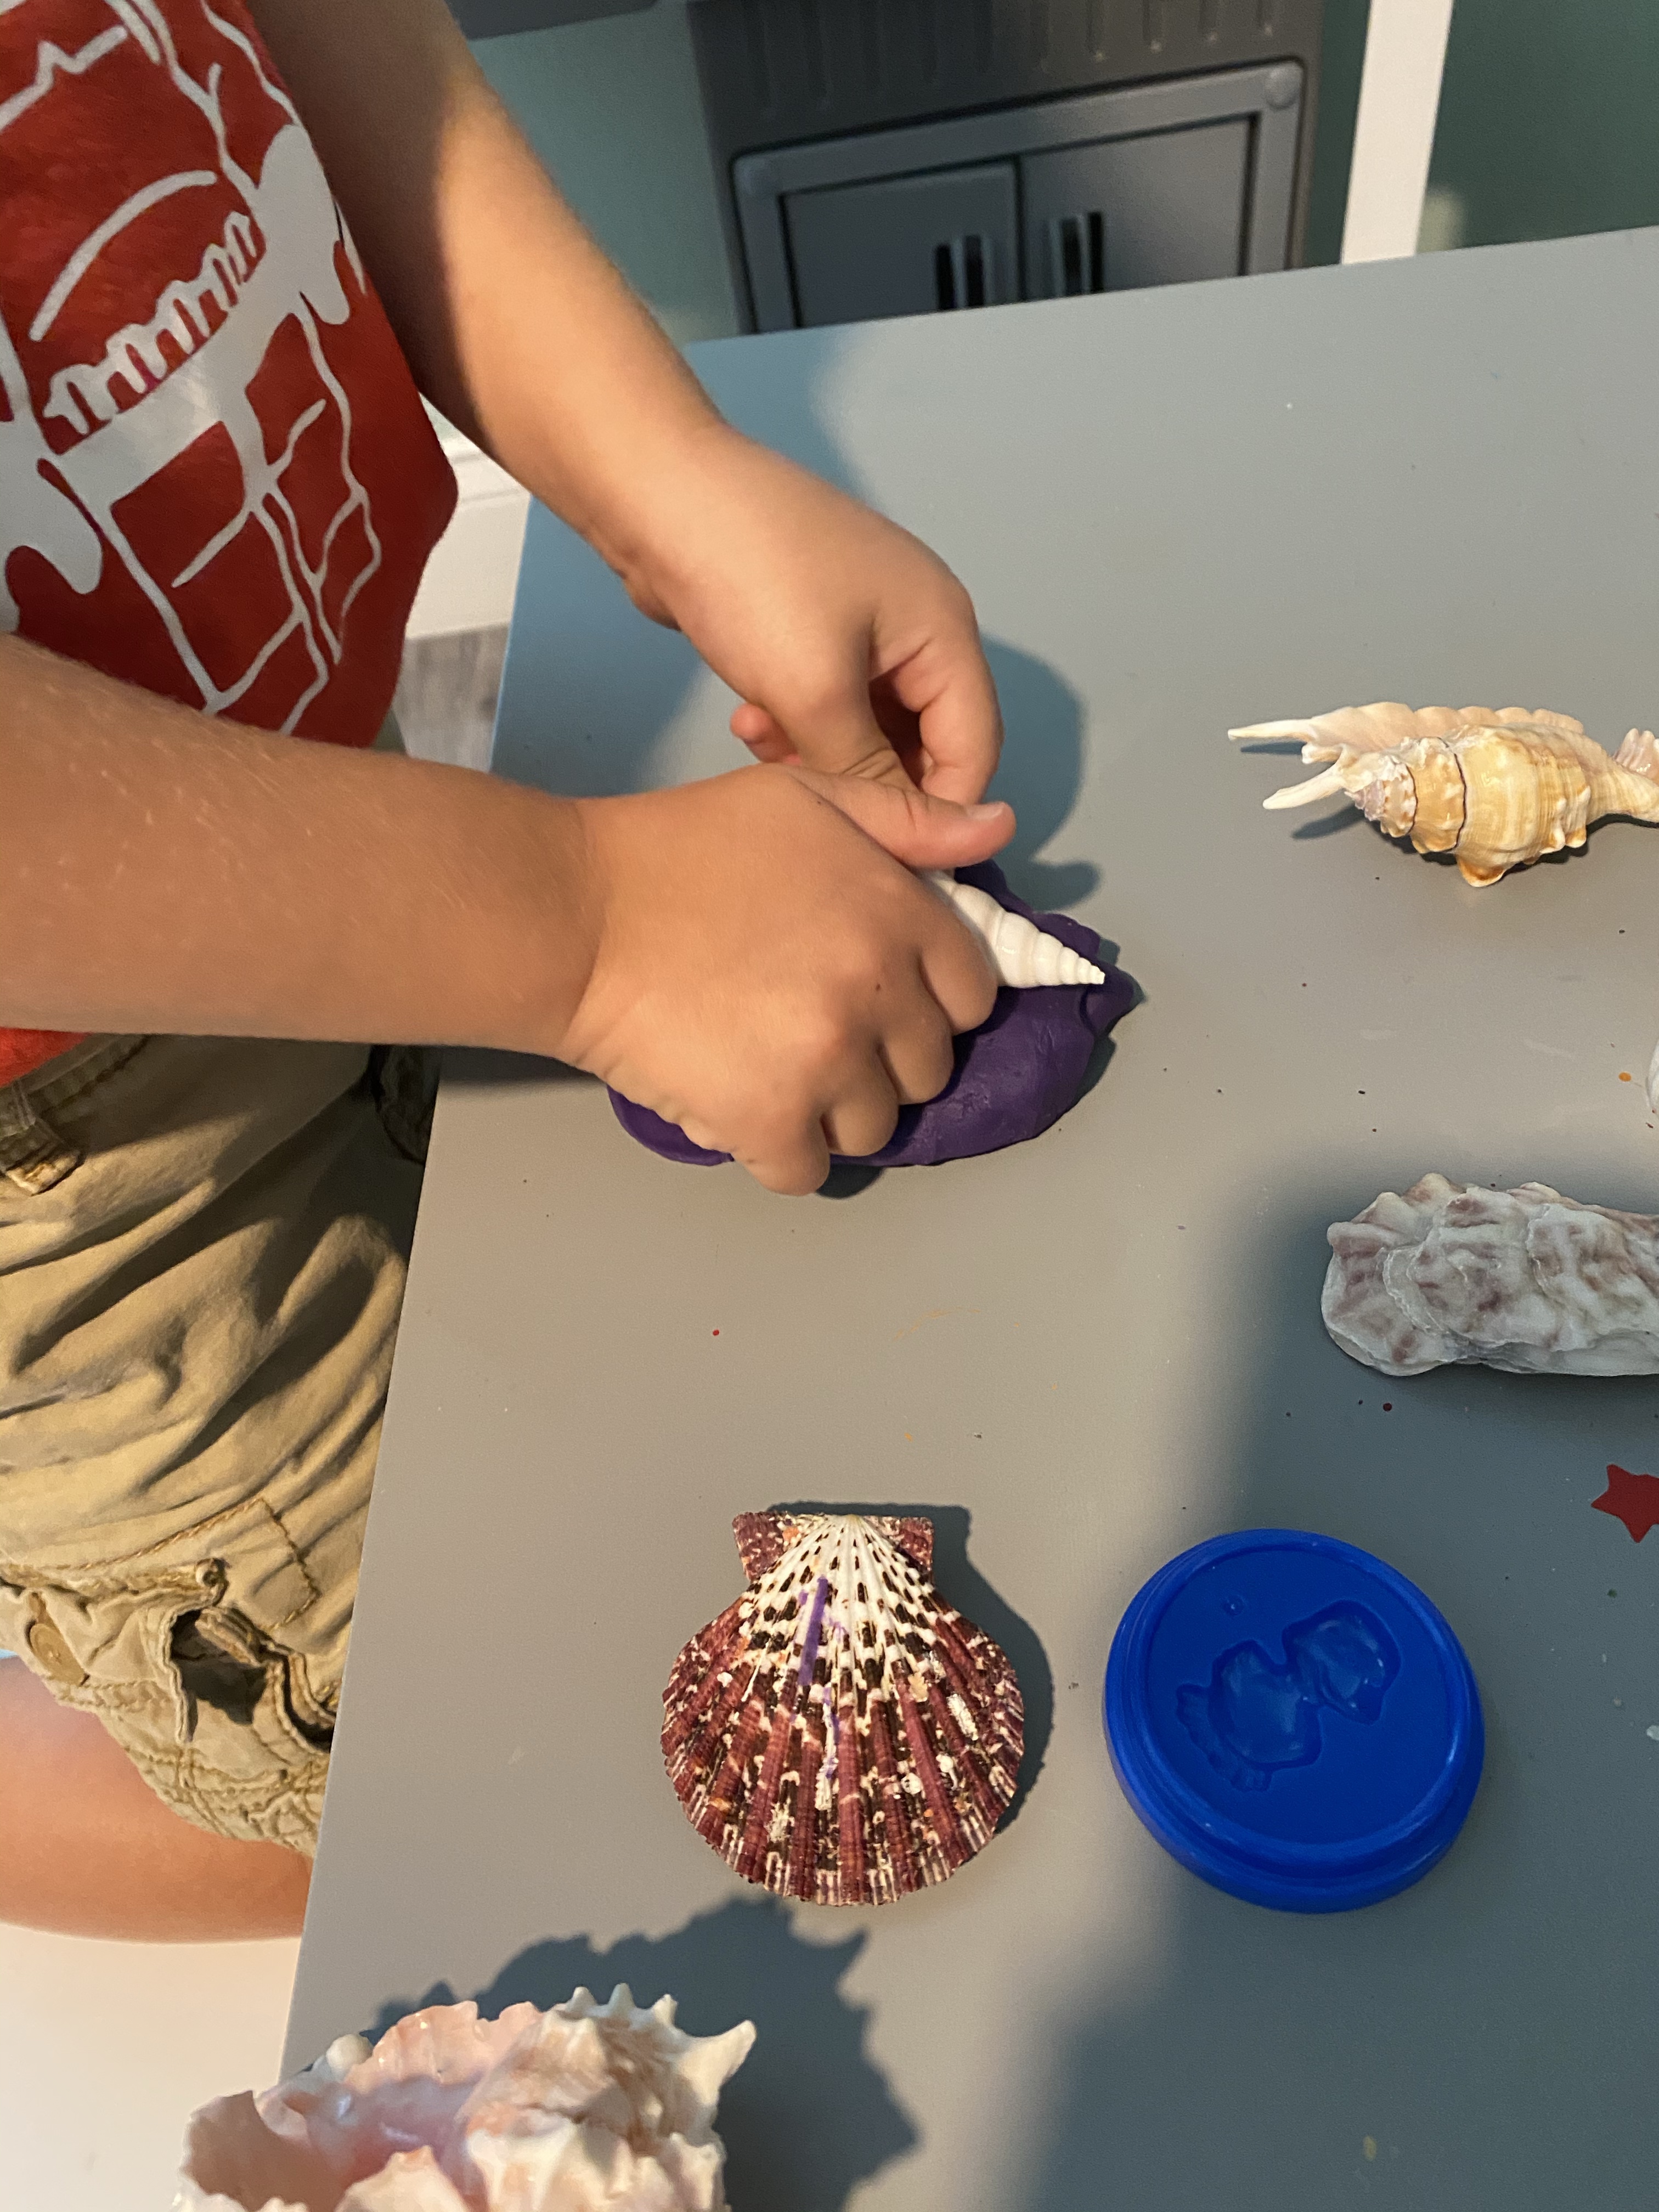
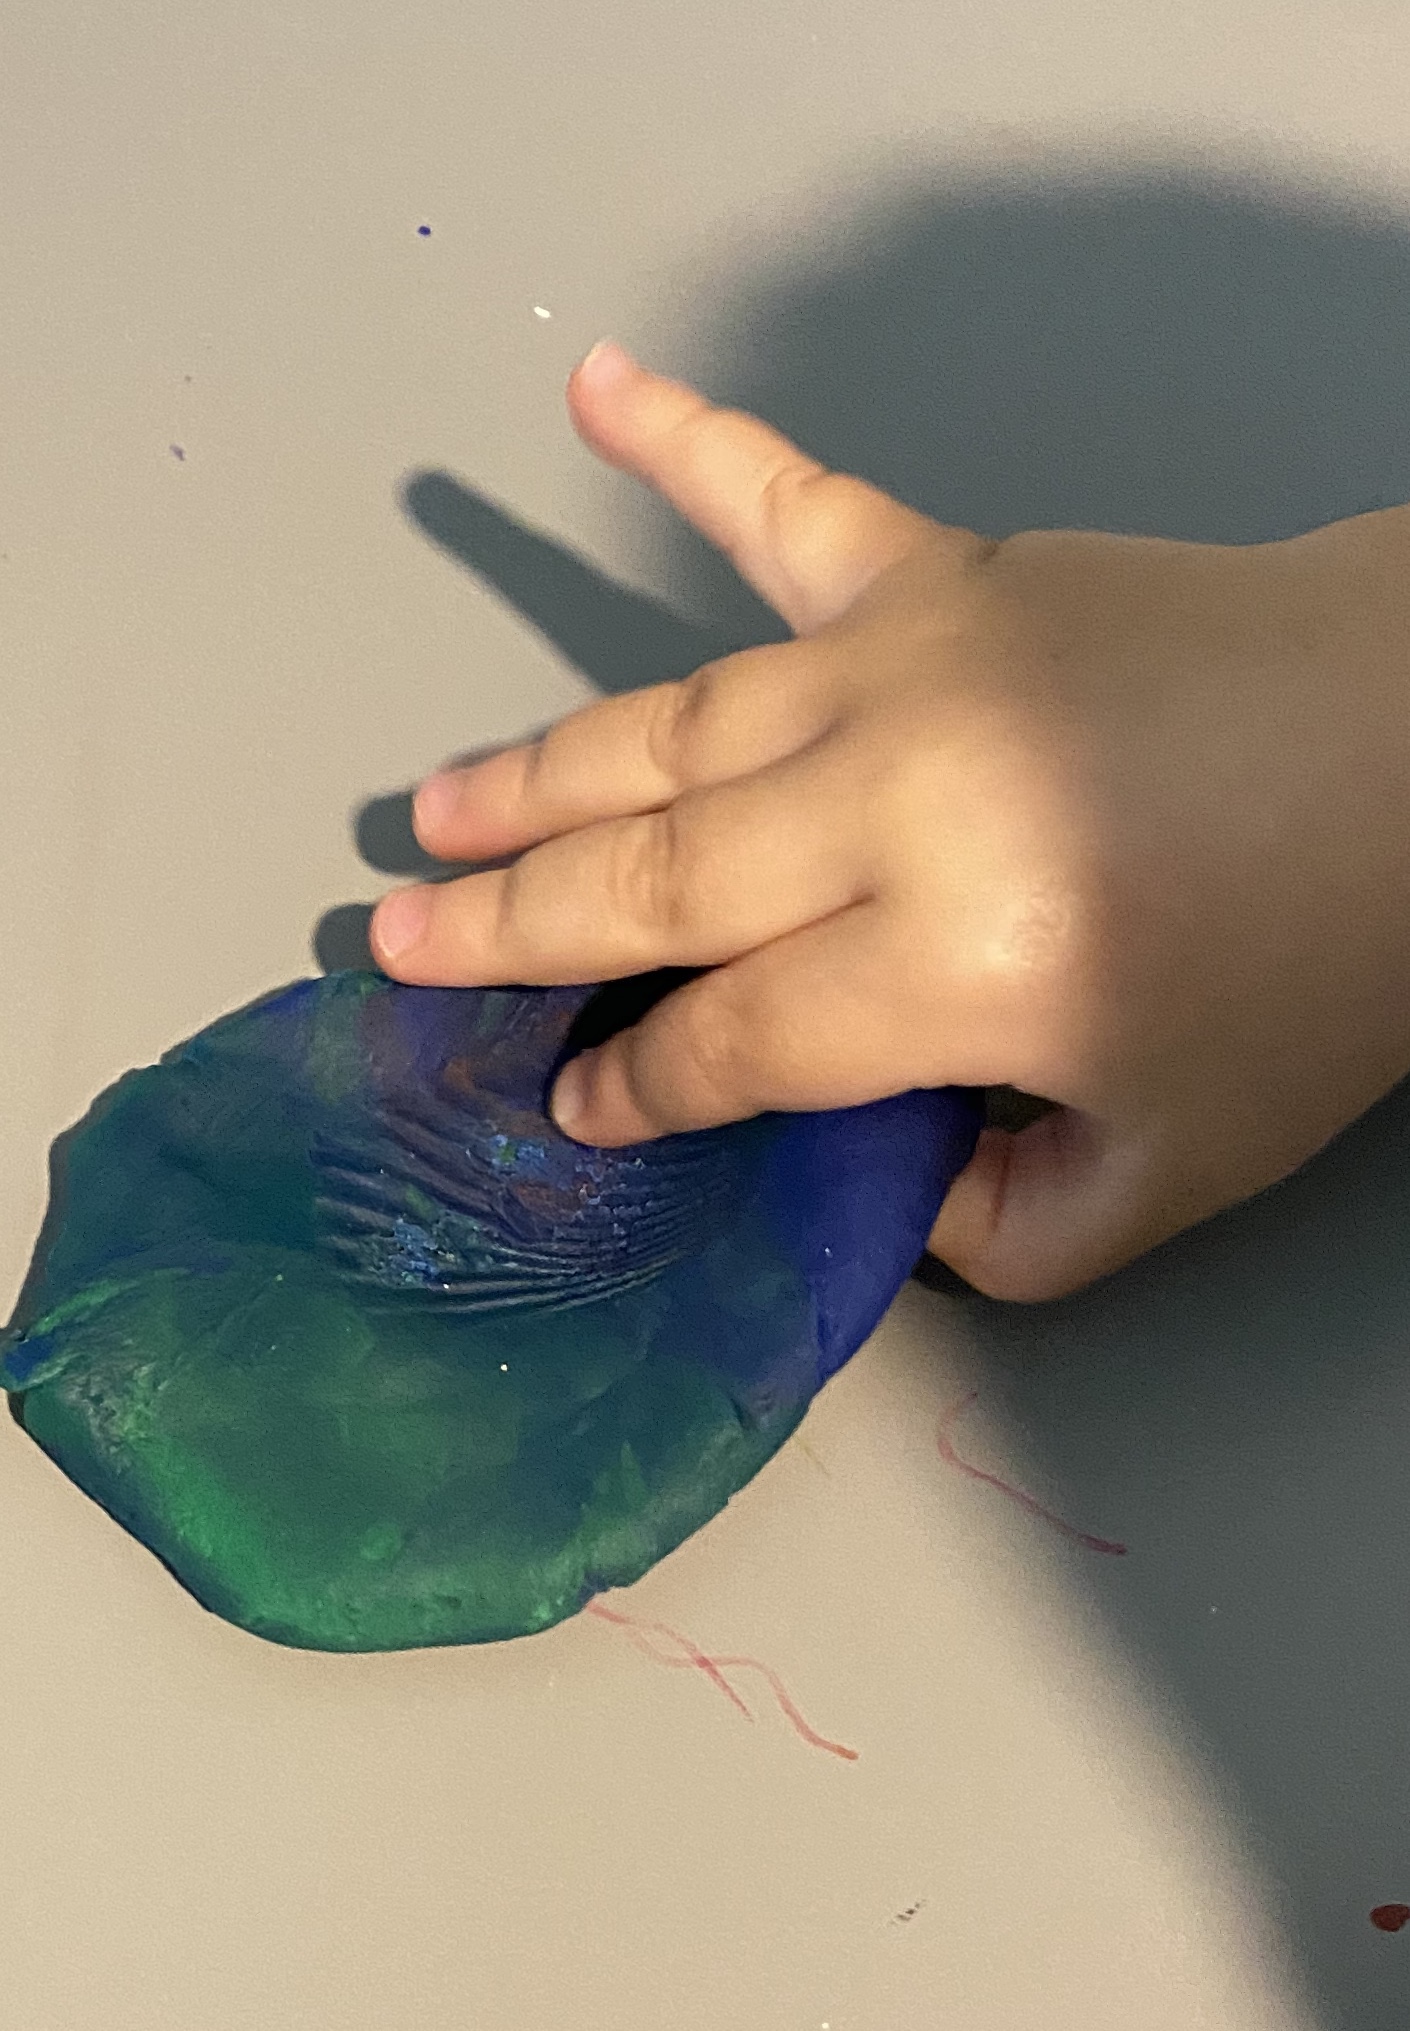
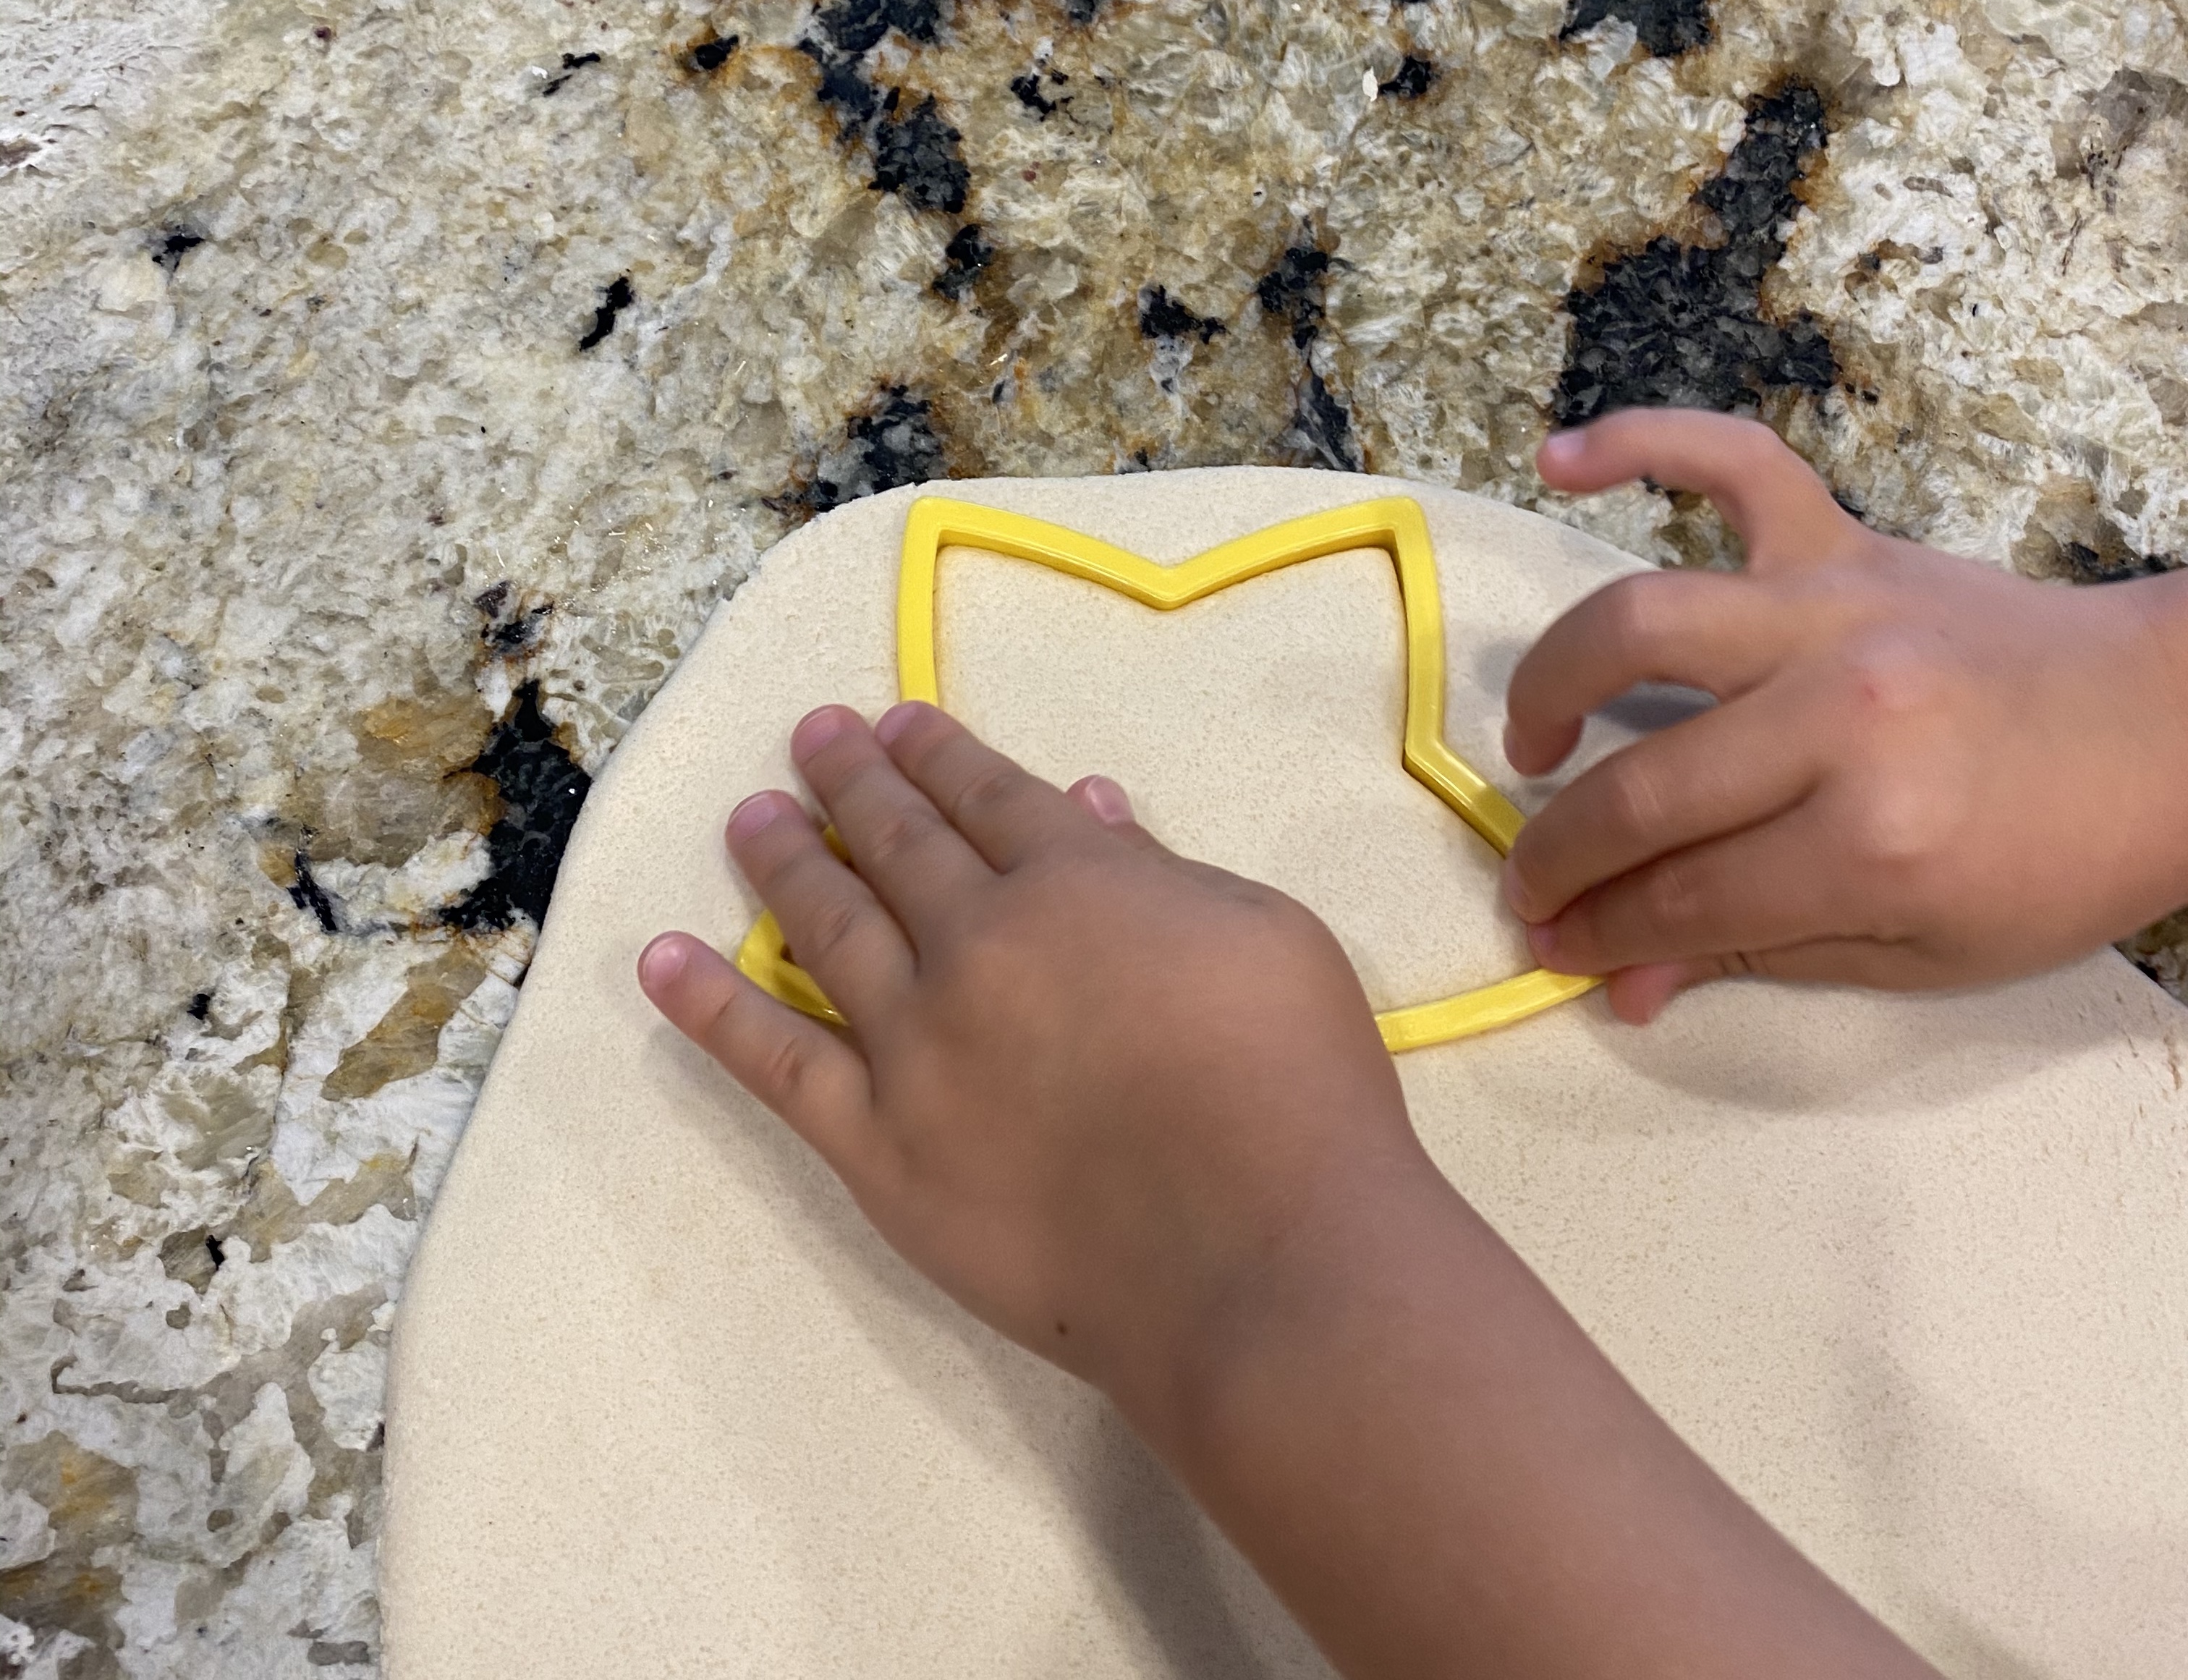
–Shell printing: Give your little some playdough and various shells with different shapes and textures. Show them how to make prints in the playdough with the shells and let them explore! I got the idea from Fantastic Fun and Learning!

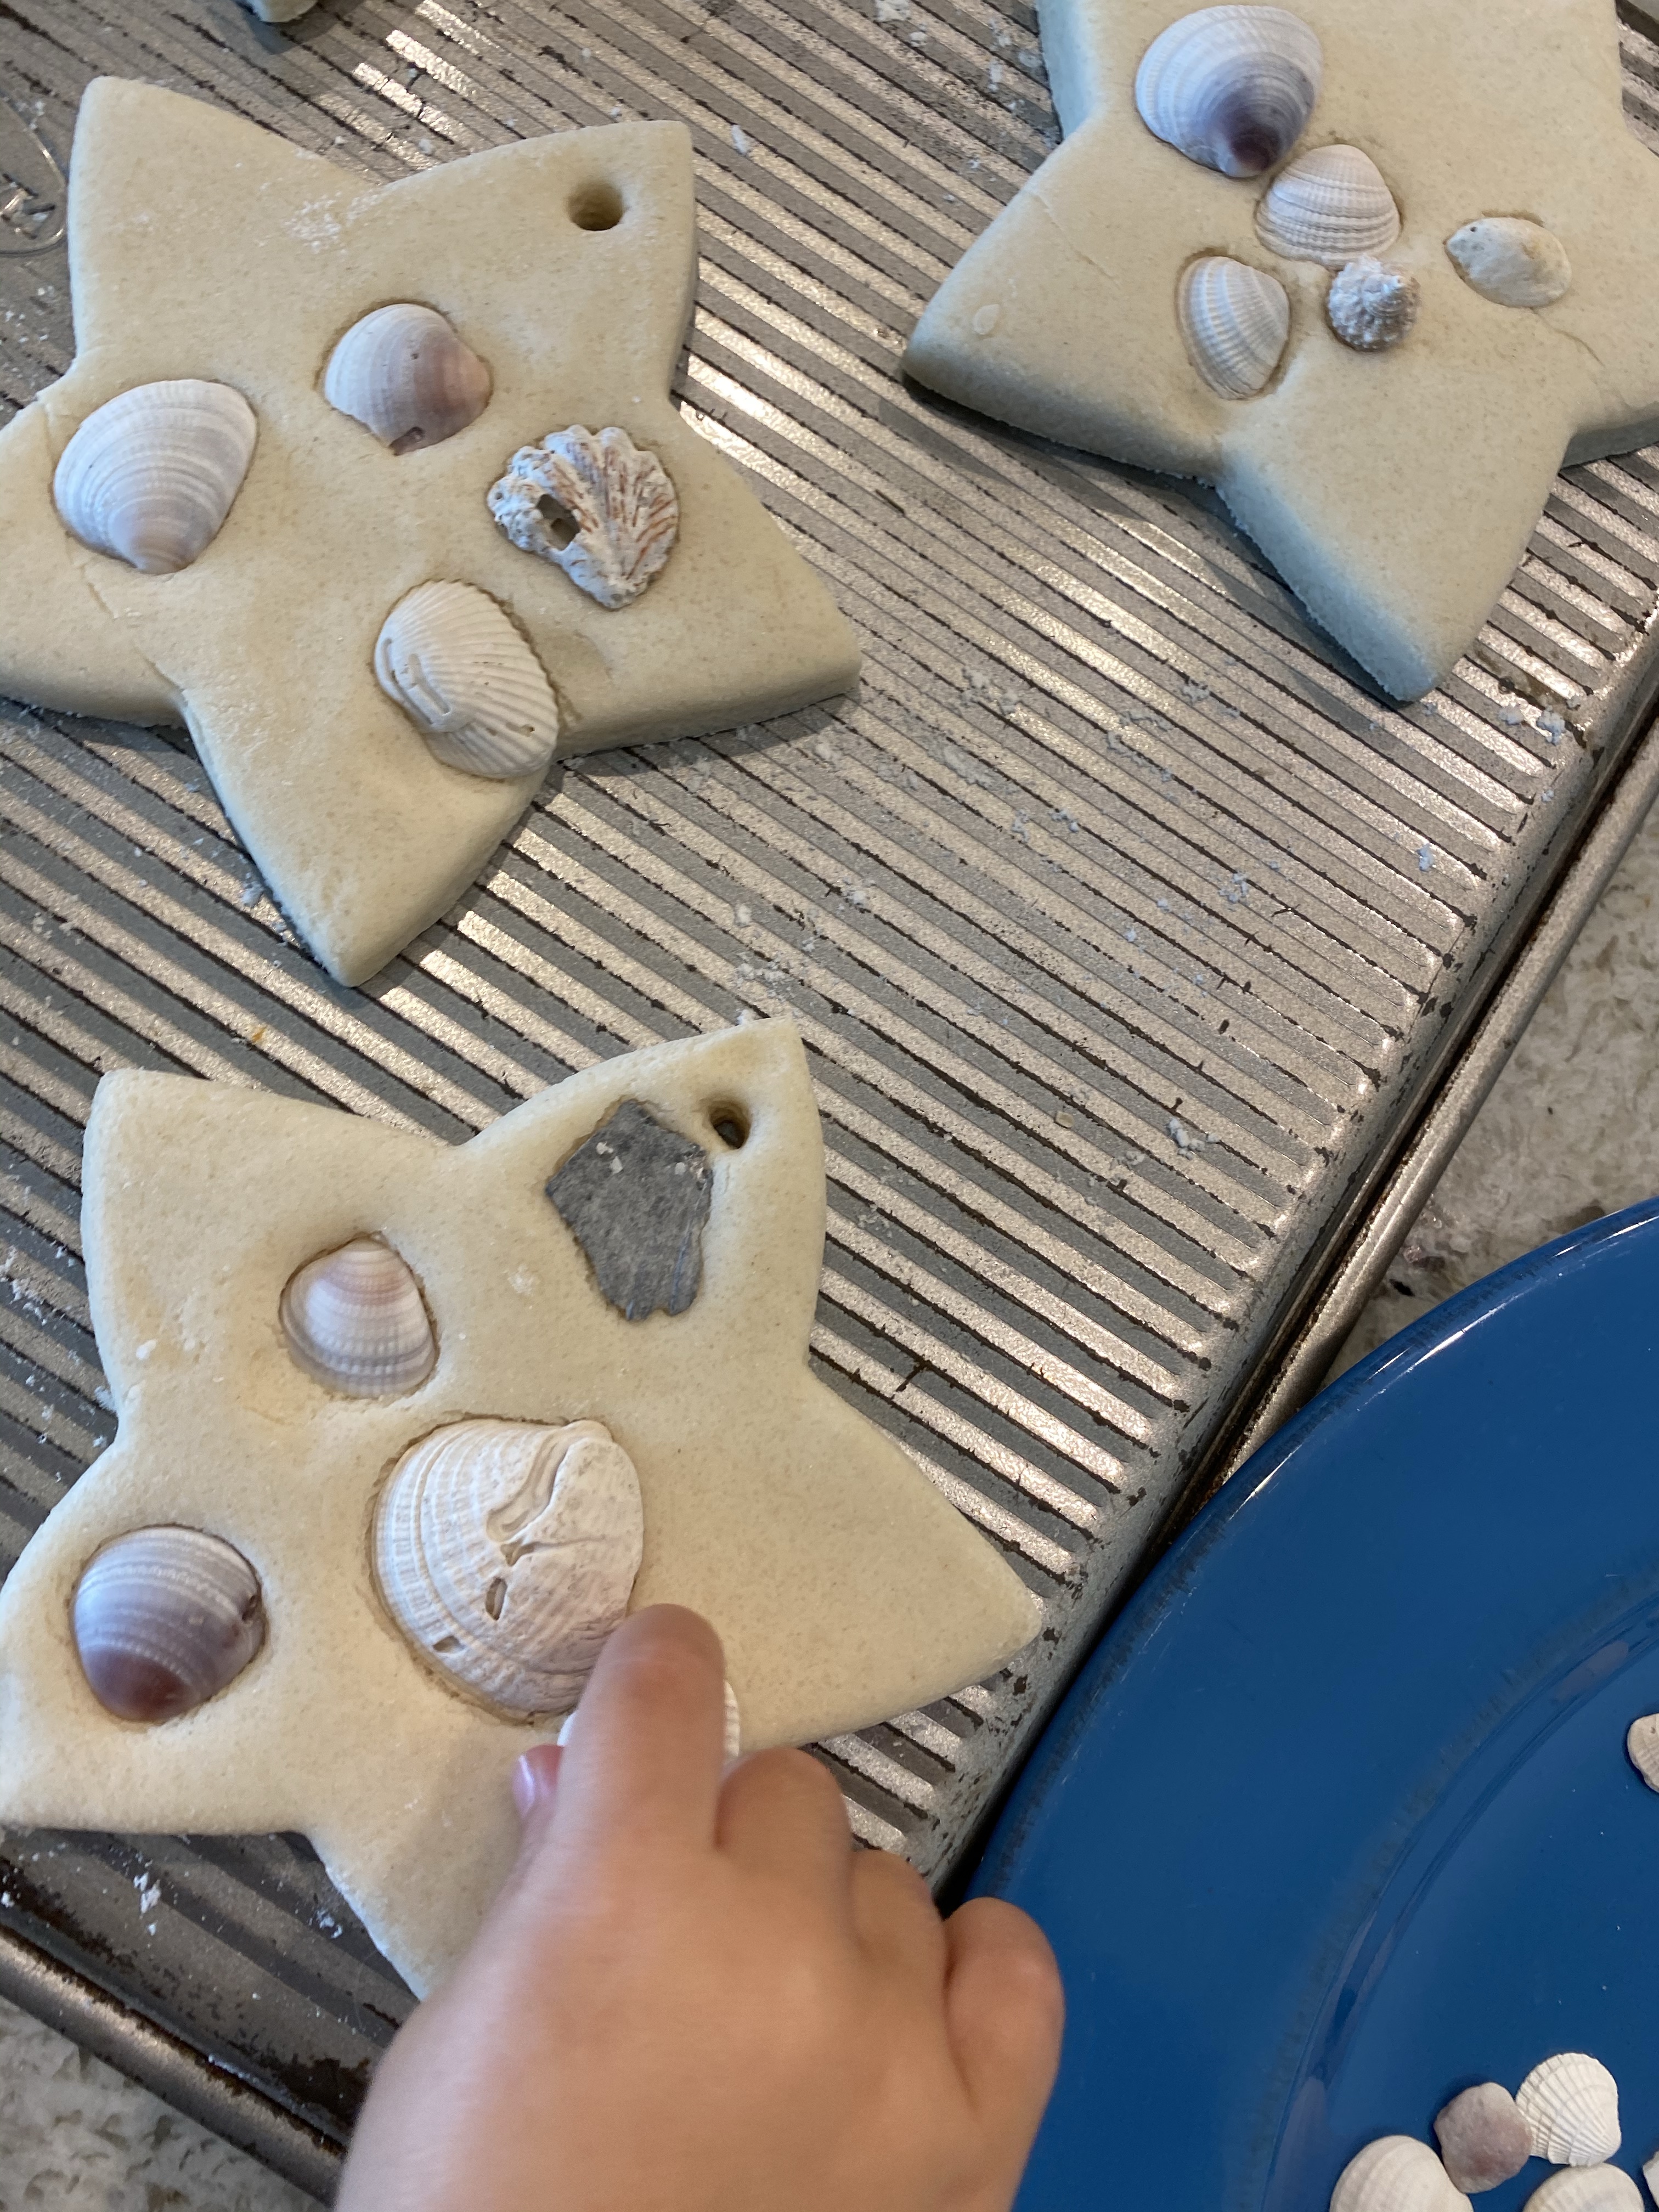
–Shell and salt dough ornaments: My friend Alysha sent me this idea and I thought it was a brilliant way to save and display all the shells your littles collect at the beach! You can follow her on Instagram at The Mommy School for more fun learning ideas. You make salt dough with 1 cup salt, 2 cups flour, and 3/4 cup water. Roll it out then cut it into shapes (we made stars because they kind of remind me of starfish!). Add a hole at the top using a straw. Let your little gently push shells into the shapes, then bake in the oven at 170-200 degrees for 45 minutes on each side. When they’re dry, you can add a coat of decoupage to seal in the shells and make them more durable, then add a hanging ribbon through the hole. They’re perfect for gifting or the Christmas tree!


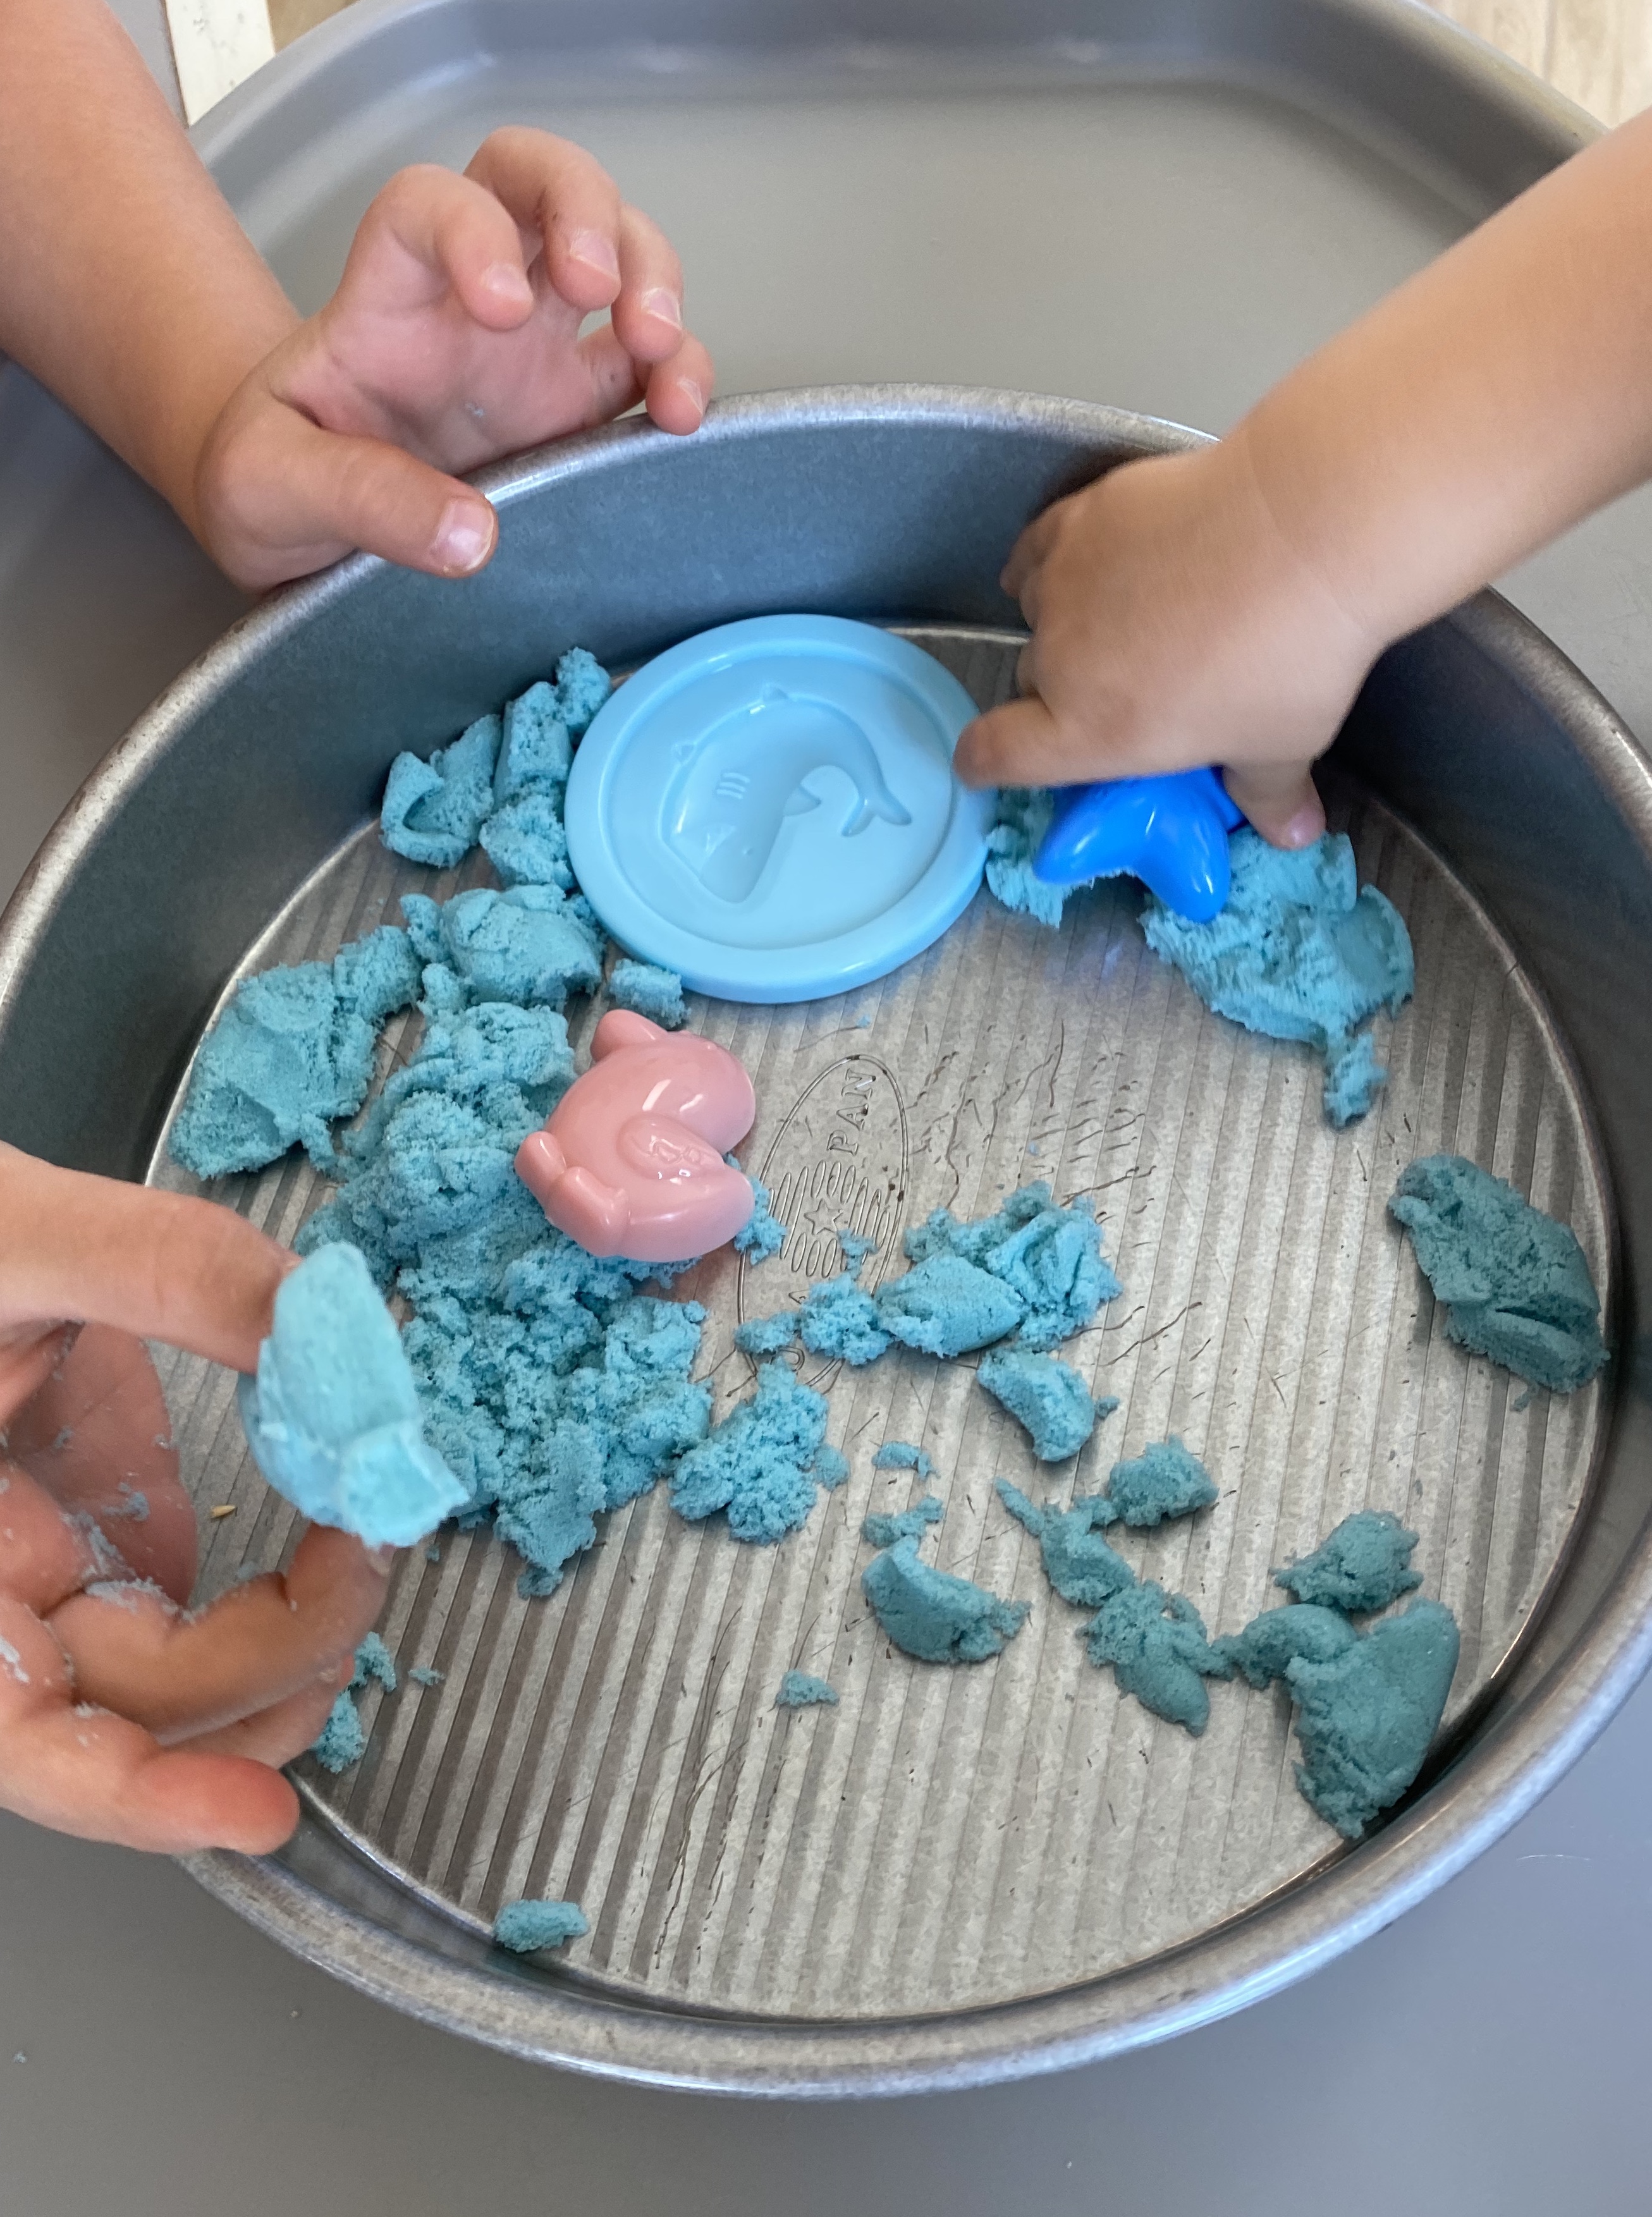
–Kinetic sand: I got this for $1 at the Target dollar spot awhile back, but you can also get a big tub of it on Amazon for about $10! I love how the little one came with beach molds to play with, so when I saw it I grabbed some! It feels similar to dry sand mixed with playdough but molds like wet sand so it’s really fun to play with! It doesn’t dry out either- our big tub we got when my preschooler was 1 and it’s just like new! Both my boys love it for sensory play!

–Indoor sandbox: Throw some craft sand in a plastic shoe box and voila! You have an indoor sand box that can be brought out and played with again and again! We added some shells to make it fit our beach theme! I always throw a blanket or towel under it for easy clean up- just shake it out outside when you’re done and you’re back in business!

–Supply/Shopping list:
- flour
- salt
- shells
- ribbon
- dish soap
- ocean animal toys
- food coloring
- sand
- kinetic sand
- glue
- slime activator (or contact solution/baking soda)
- shaving cream

One thought on “Sand and Sun”