
Even though bees can strike fear into the hearts of young and old alike, they’re such fascinating creatures- and are really kind of cute (at a distance!)! They’re also vitally important to the life of plants (which give us oxygen and food) so I thought we’d take a week to pay tribute to these fuzzy little creatures through our learning! Don’t forget to buzz on over to the toddler bee post for even more art and play ideas- including bubble wrap bee hives and DIY baby bumble bee stress balls!
–Literacy:
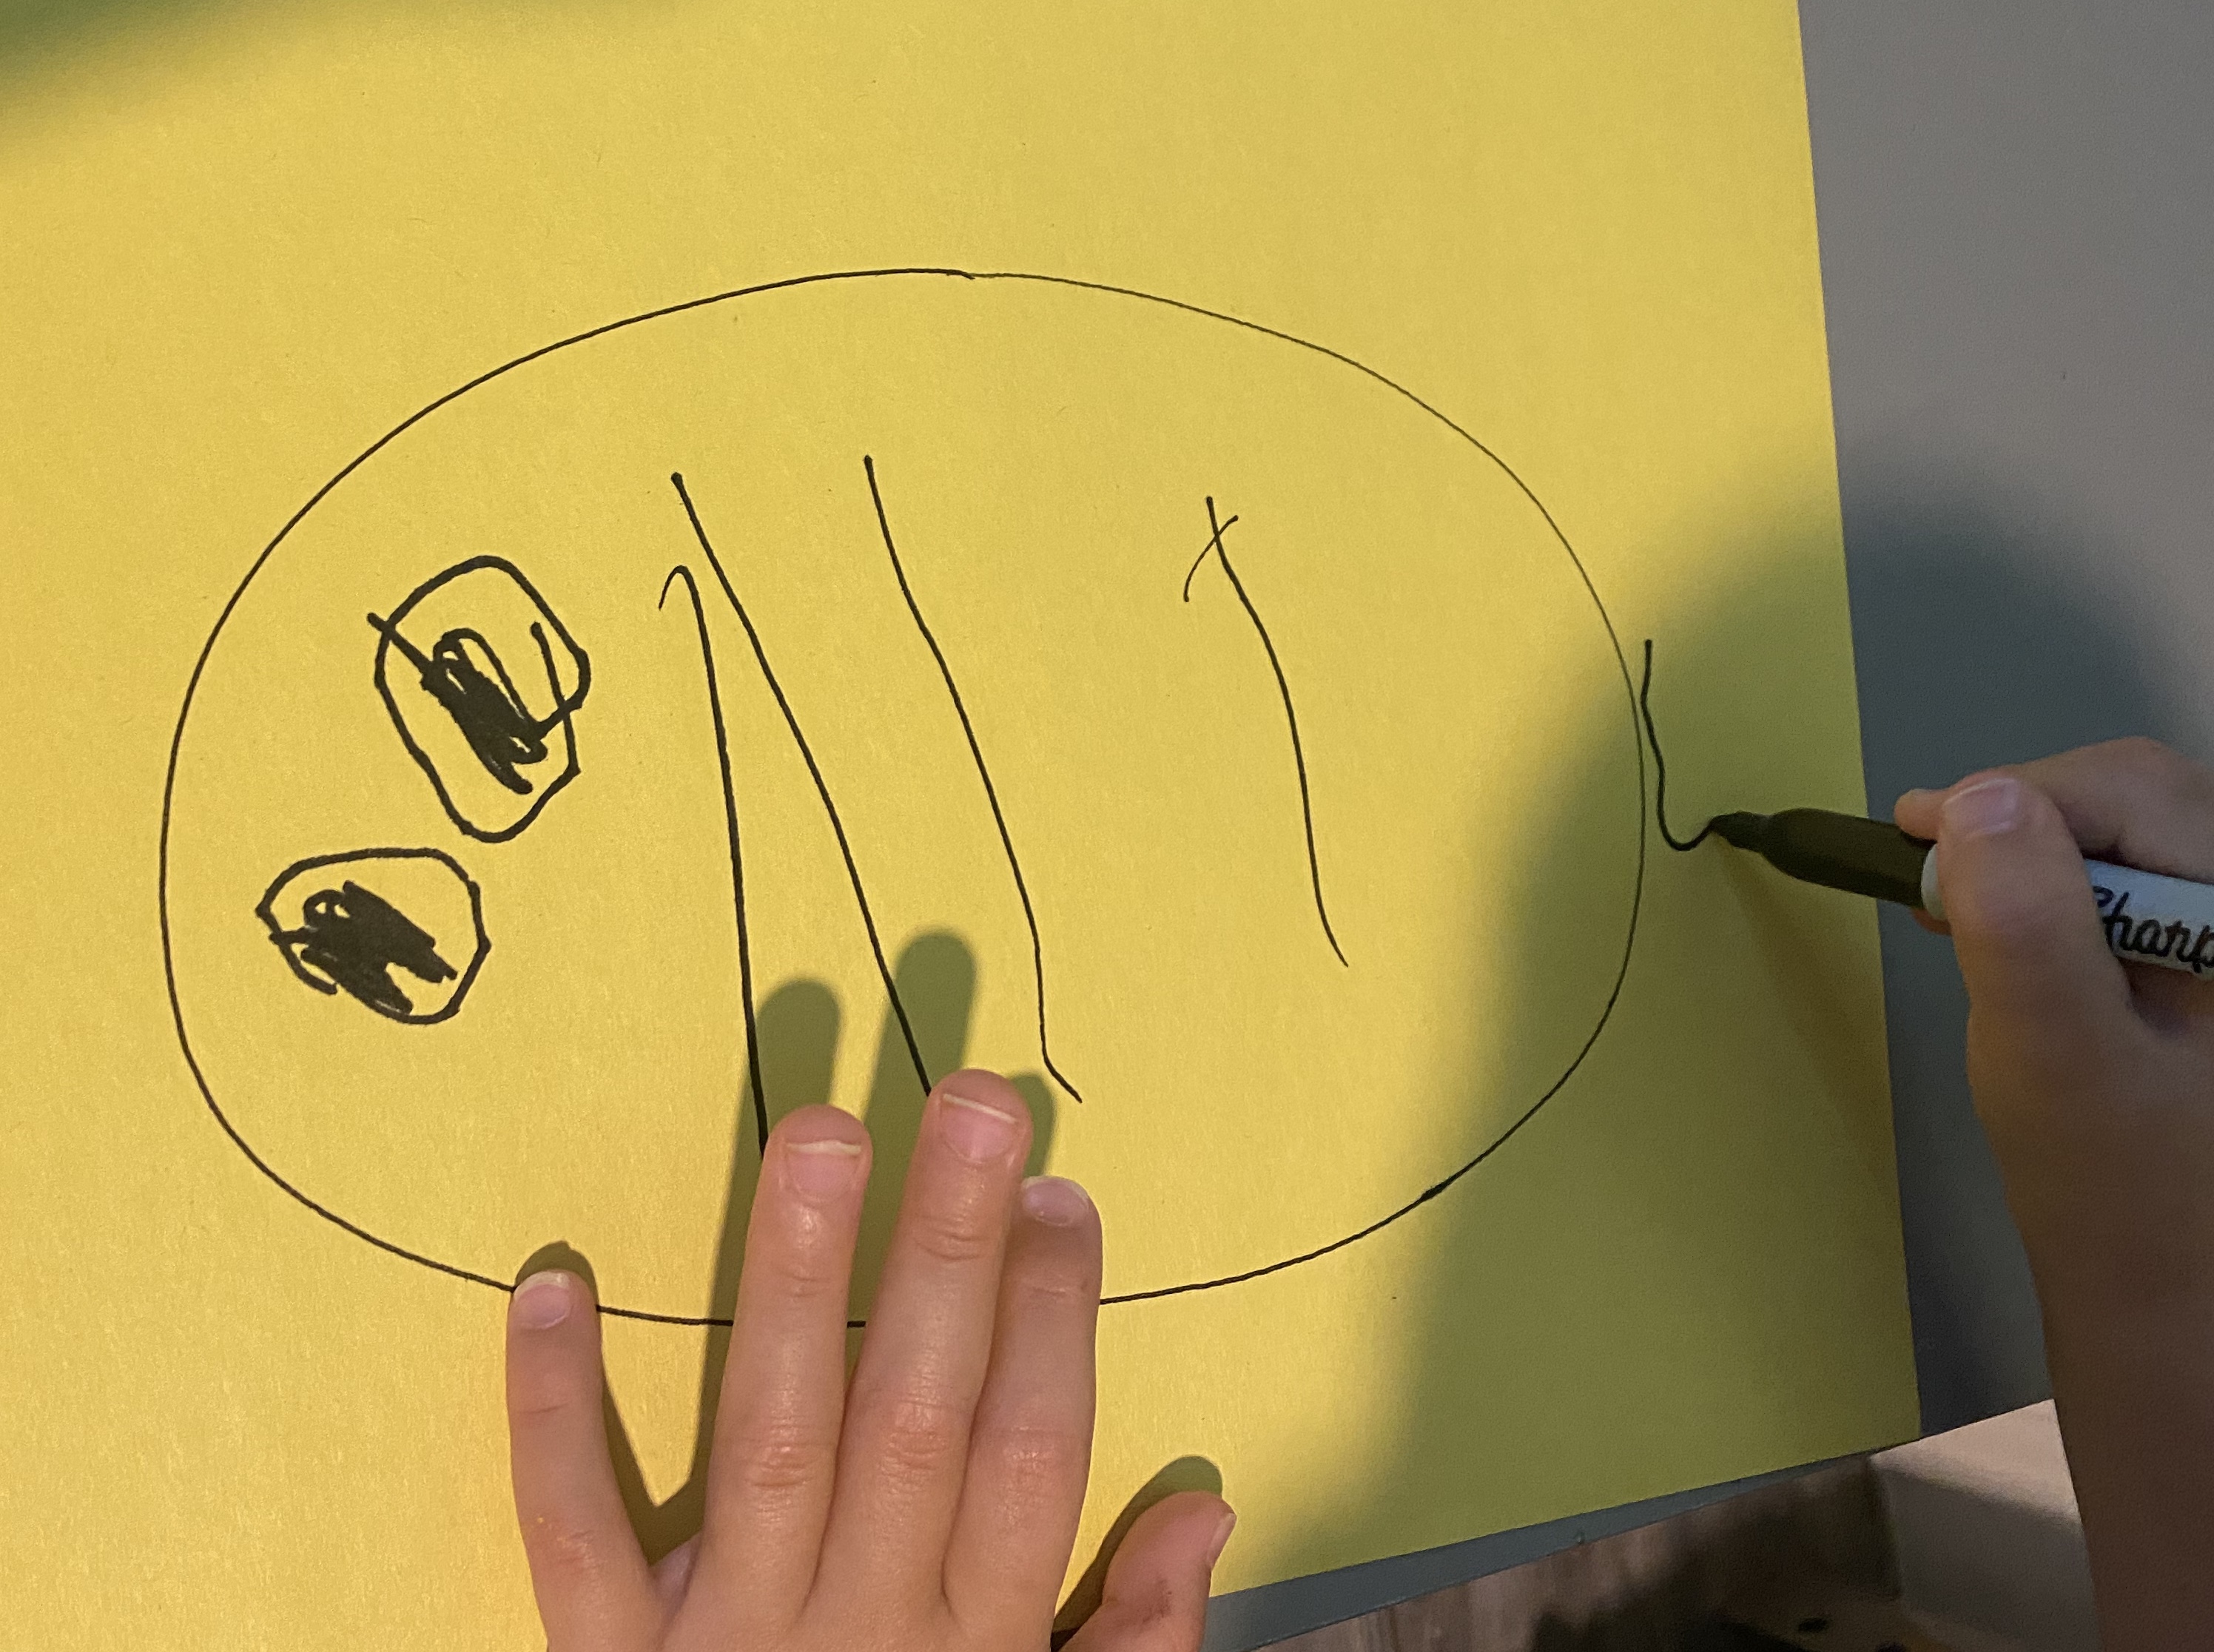
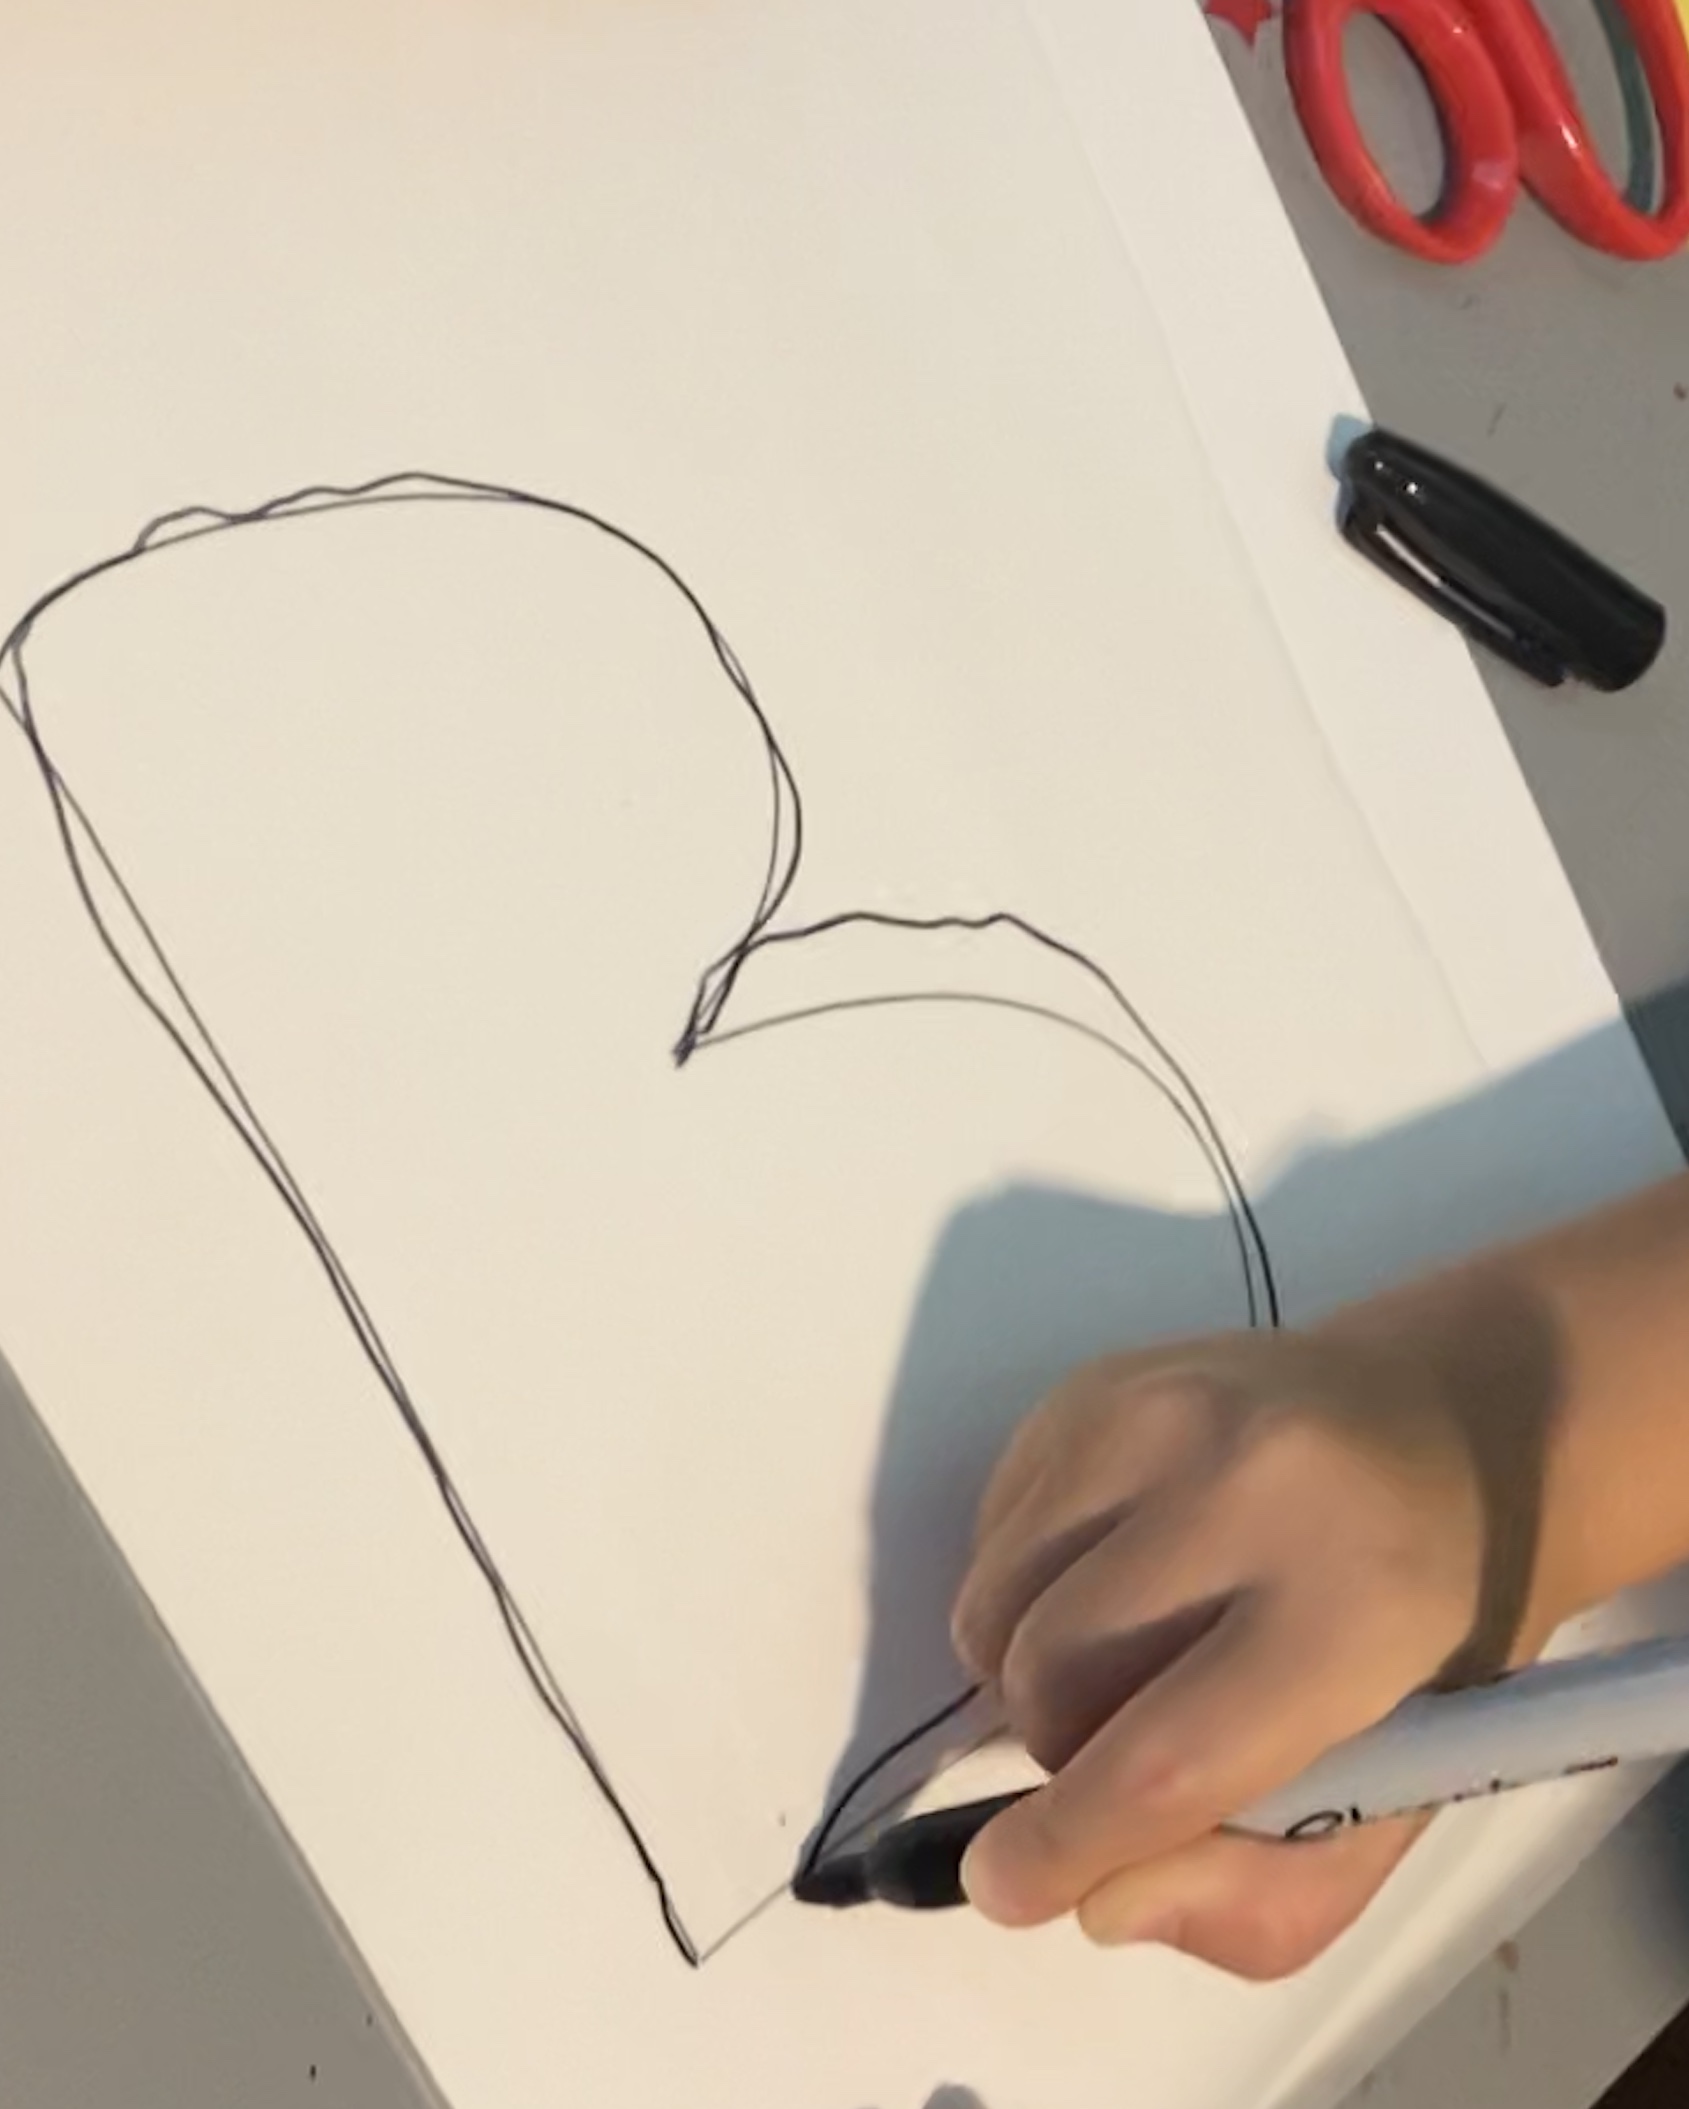
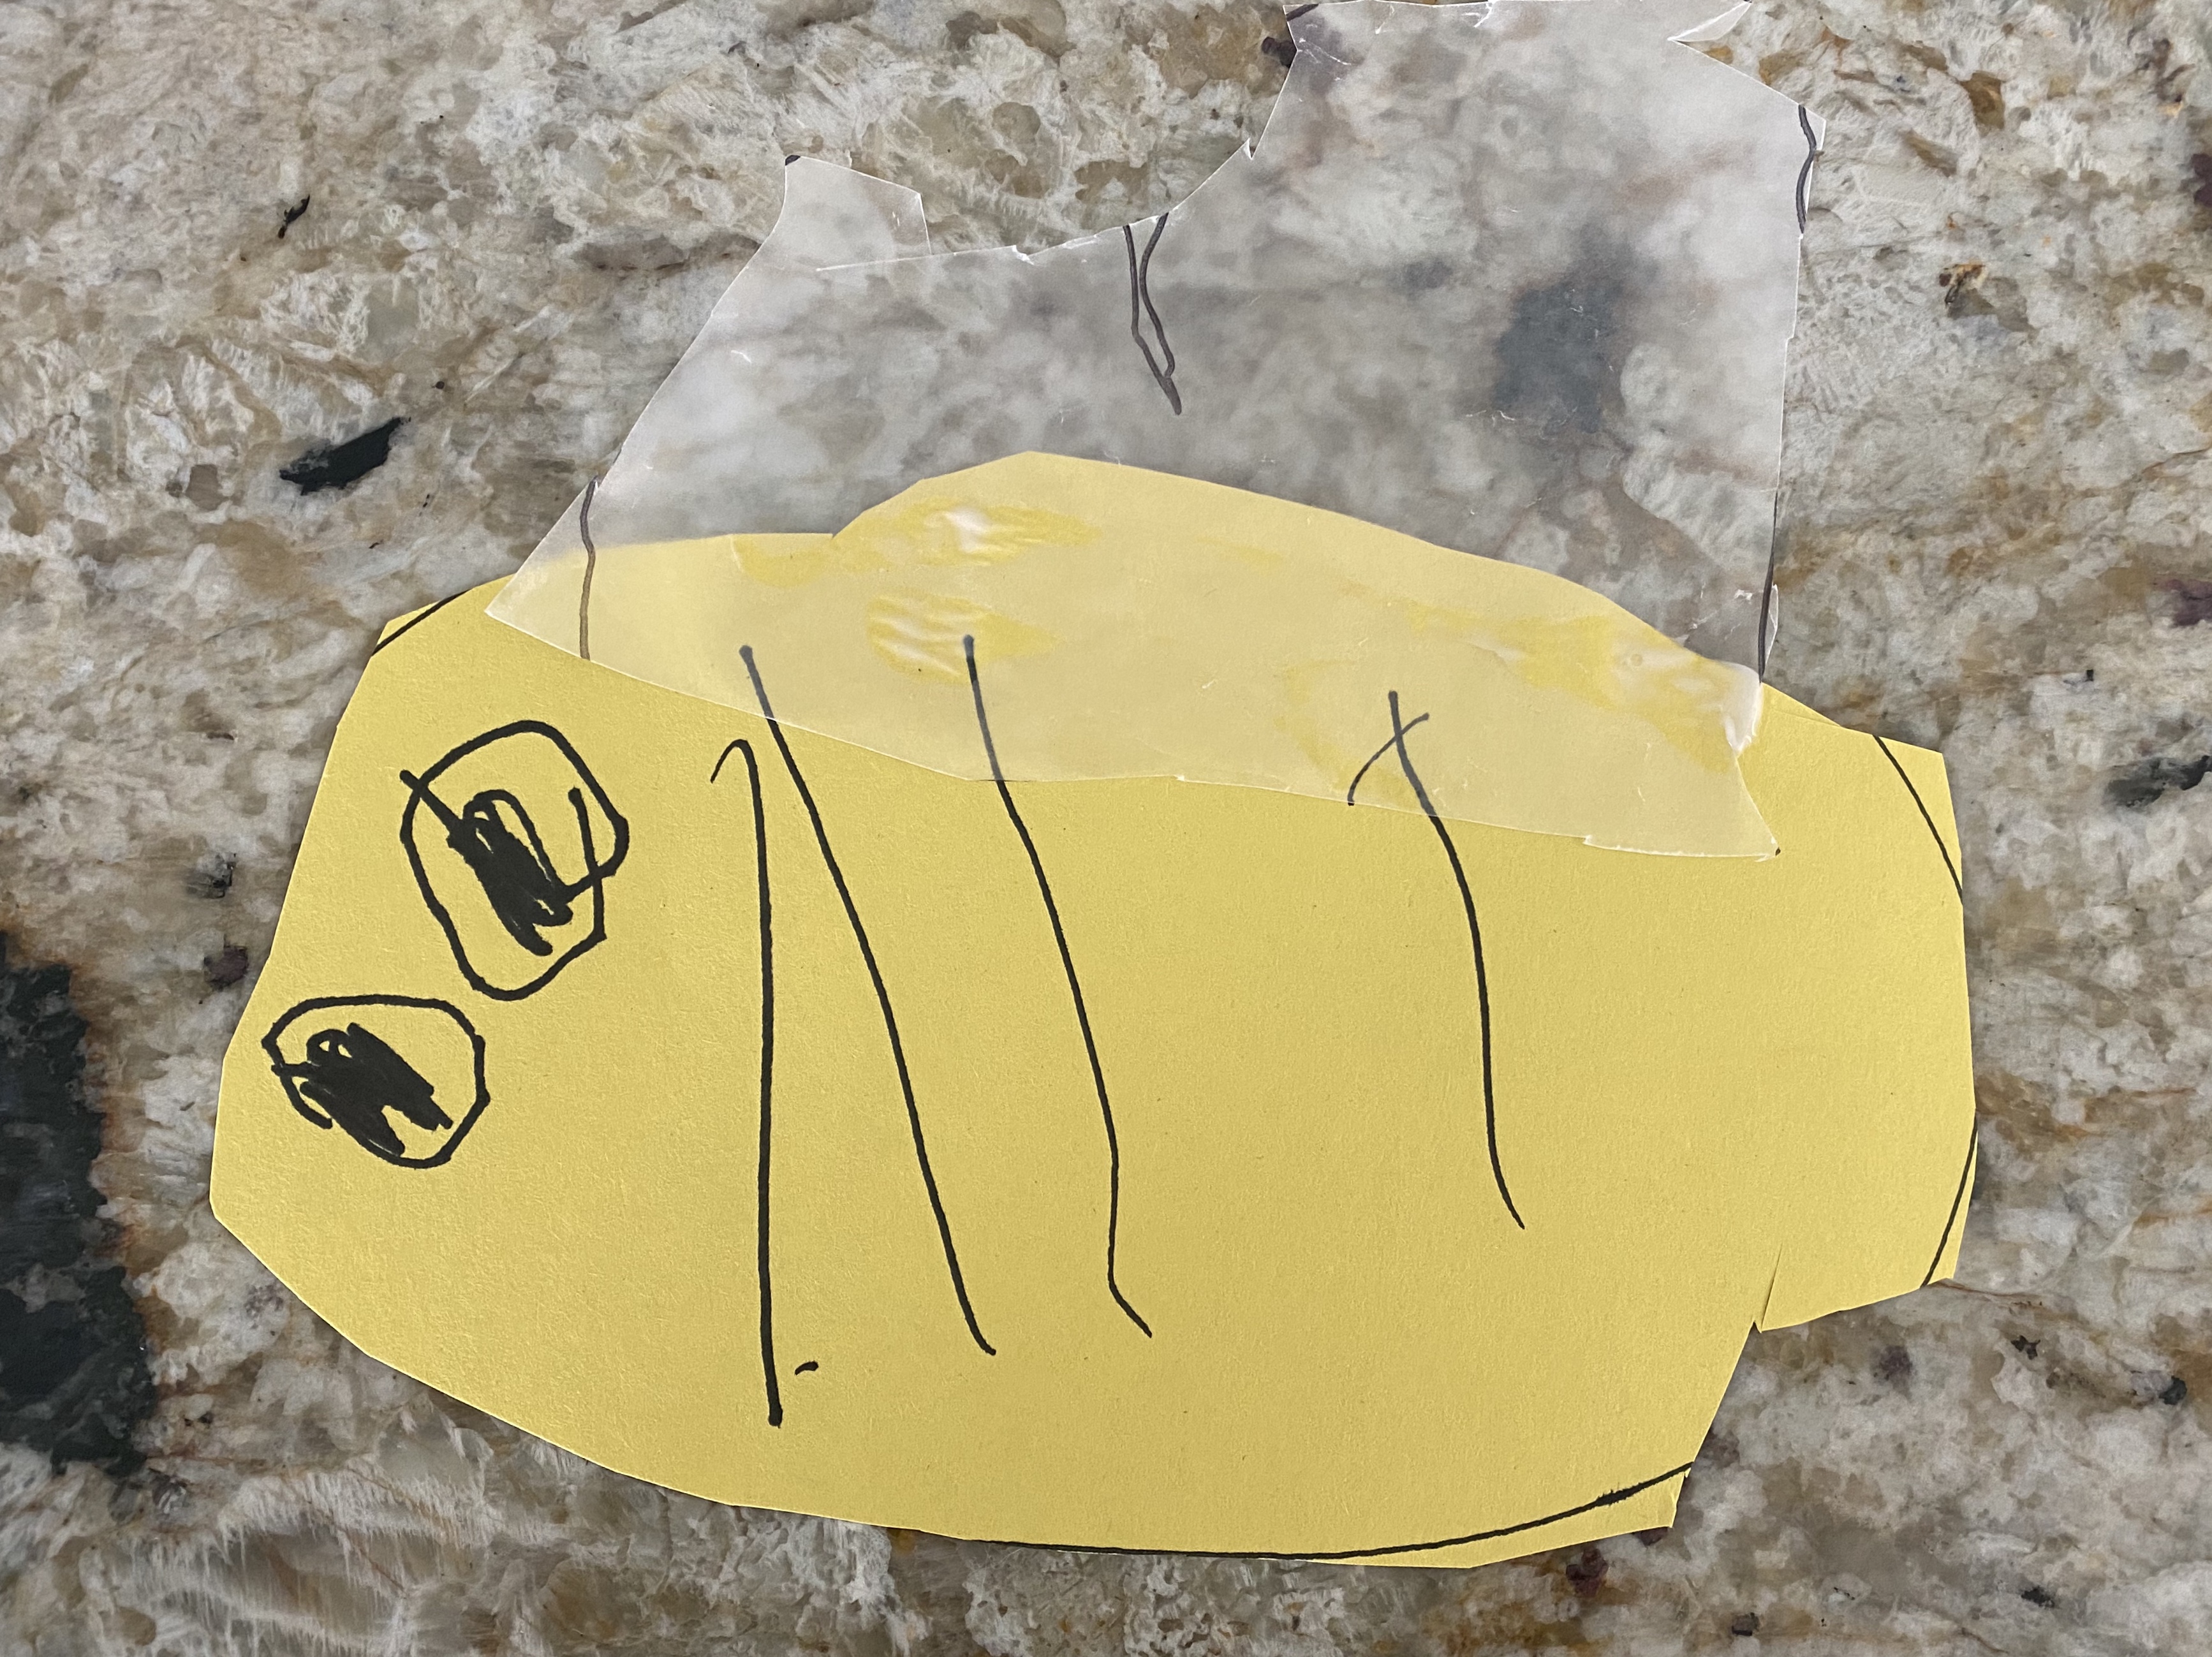
-Make a bee with a B: This one was math, literacy and art all rolled into one! I gave my little a yellow piece of construction paper with an oval drawn on it. We reviewed what shape it was, then I had him decorate it with black stripes and eyes. Next I gave him a large capital B I had drawn on a sheet of paper and a sheet of wax paper. I had him trace the B on the wax paper then cut out the oval (bee body) and the B (wings). Then he attached the wings to the bee- it was a buzzy good time!
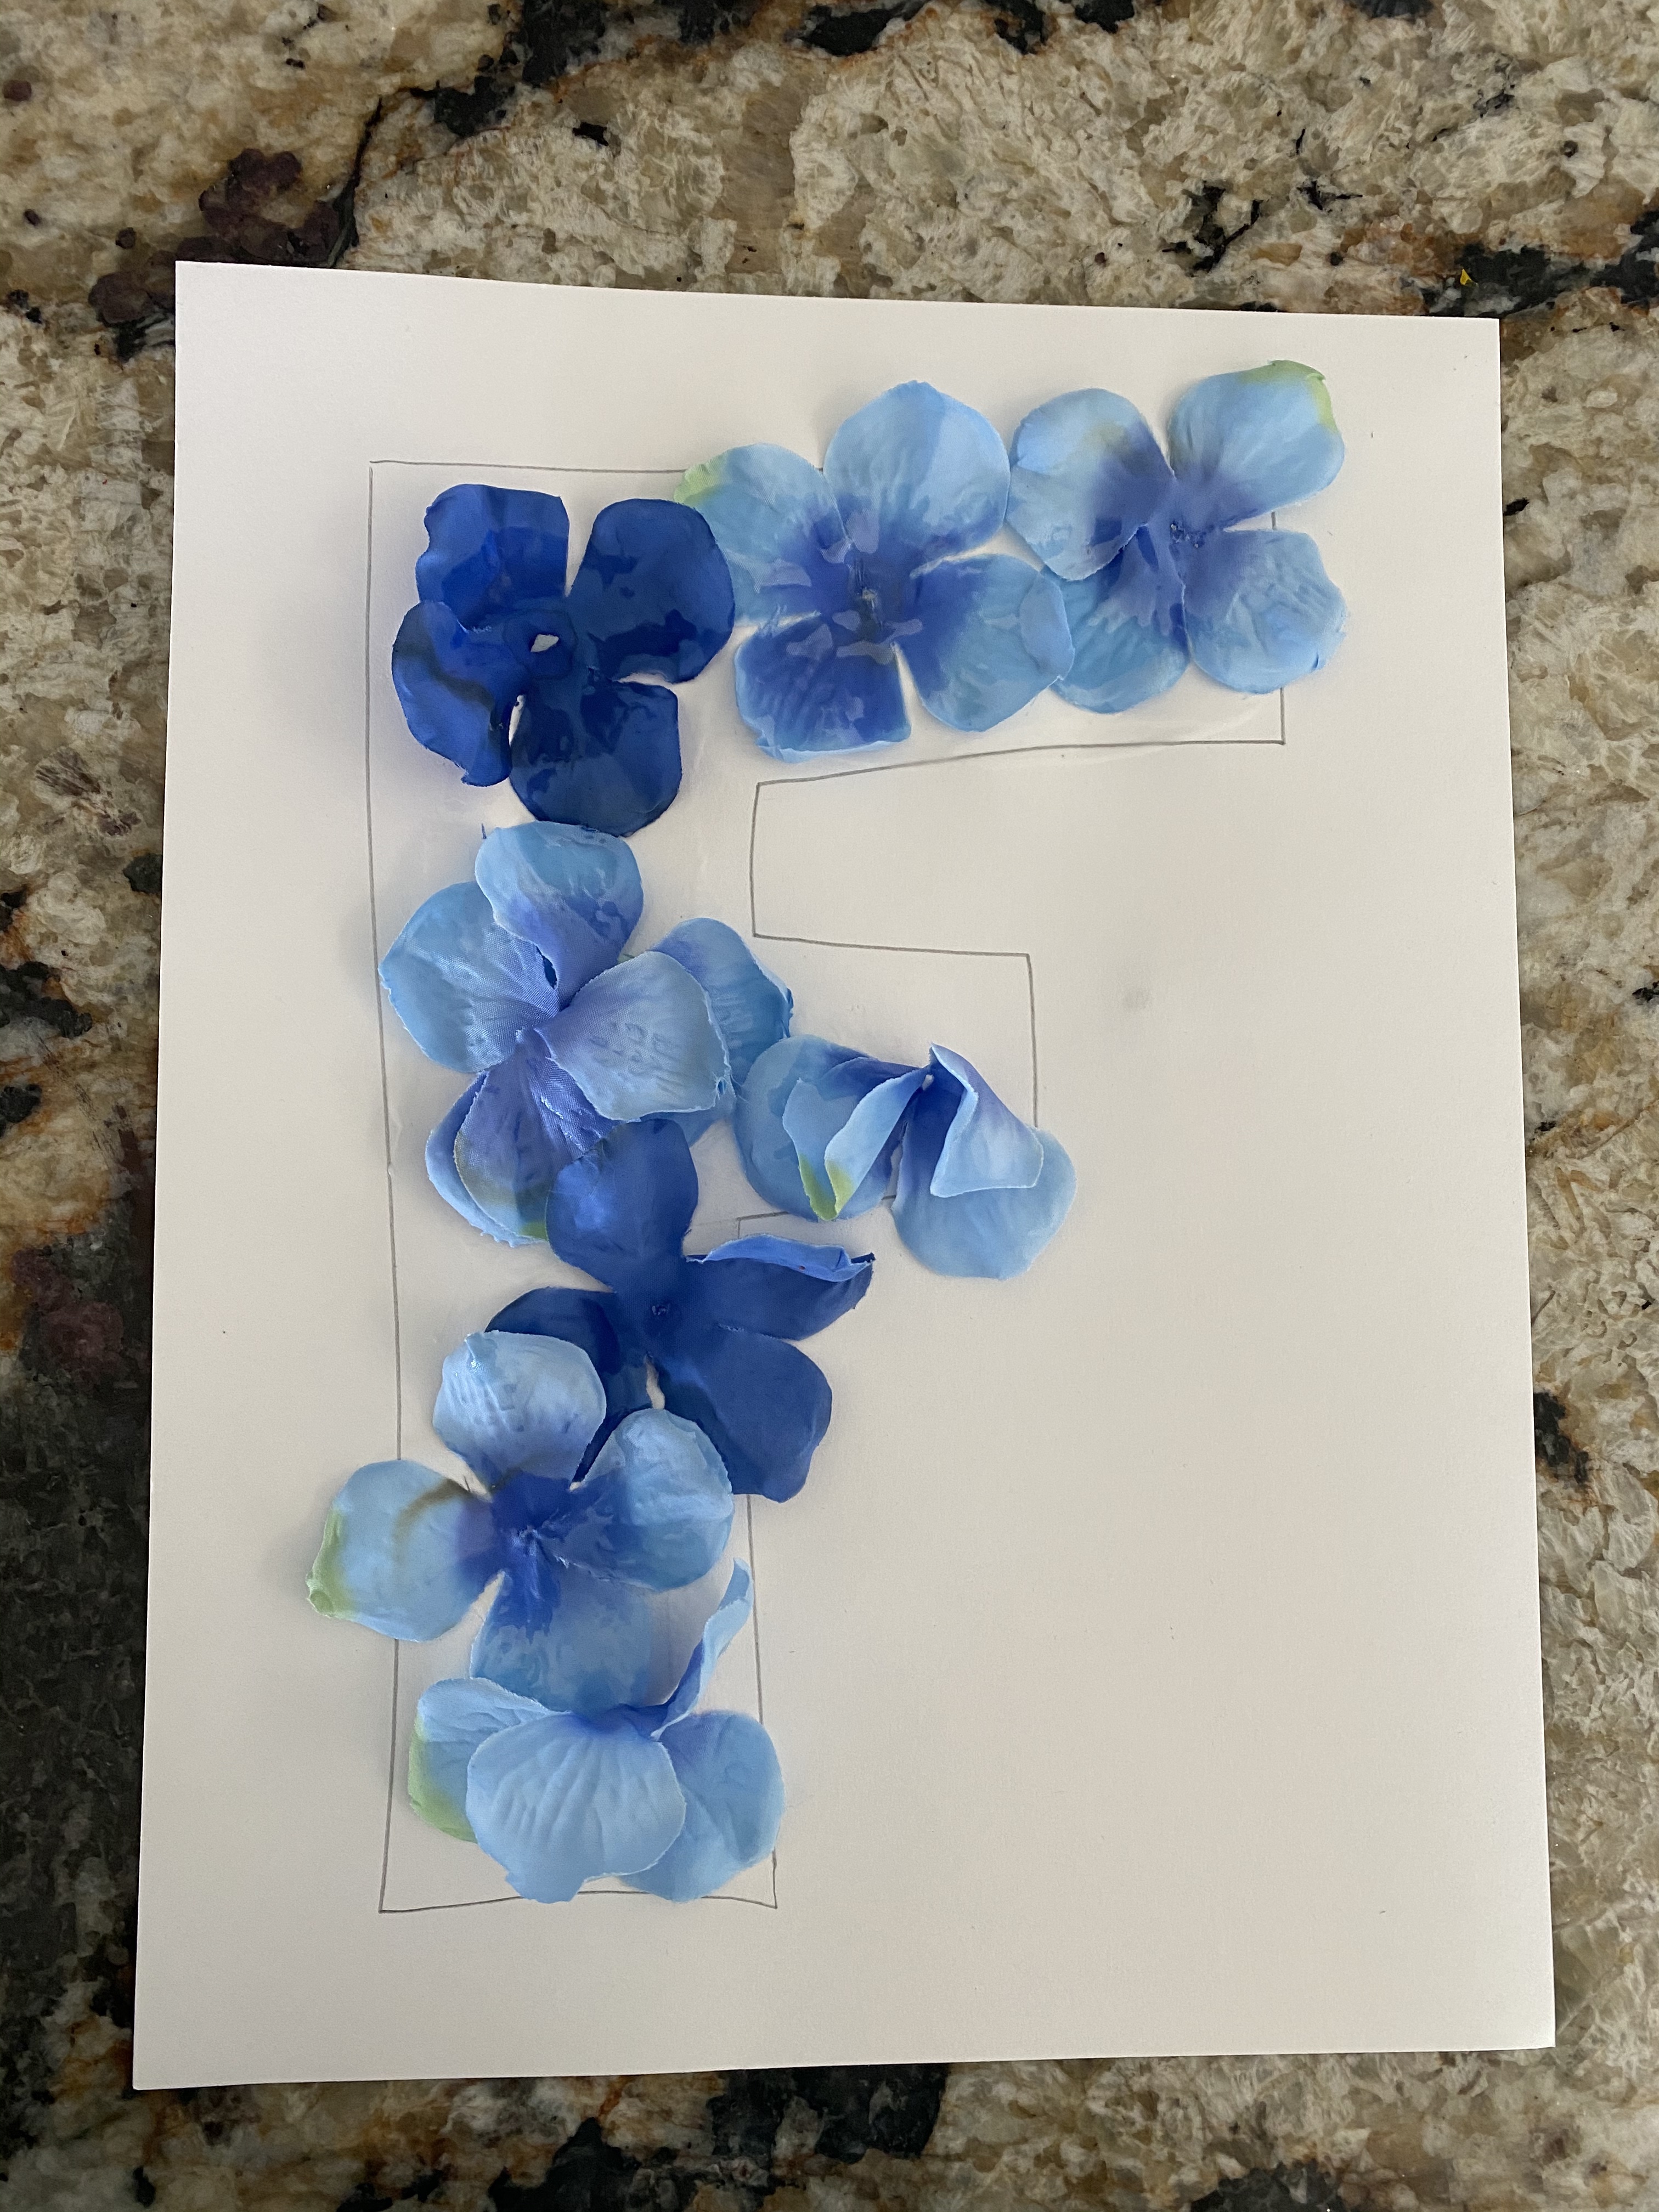
-F is for flower: Bees get the food they need- nectar and pollen- from flowers (did you know they eat pollen too?! It gives them fats and protein!) so we did letter F this week and practiced it by making it with silk flowers! I drew the F, then my little filled it!
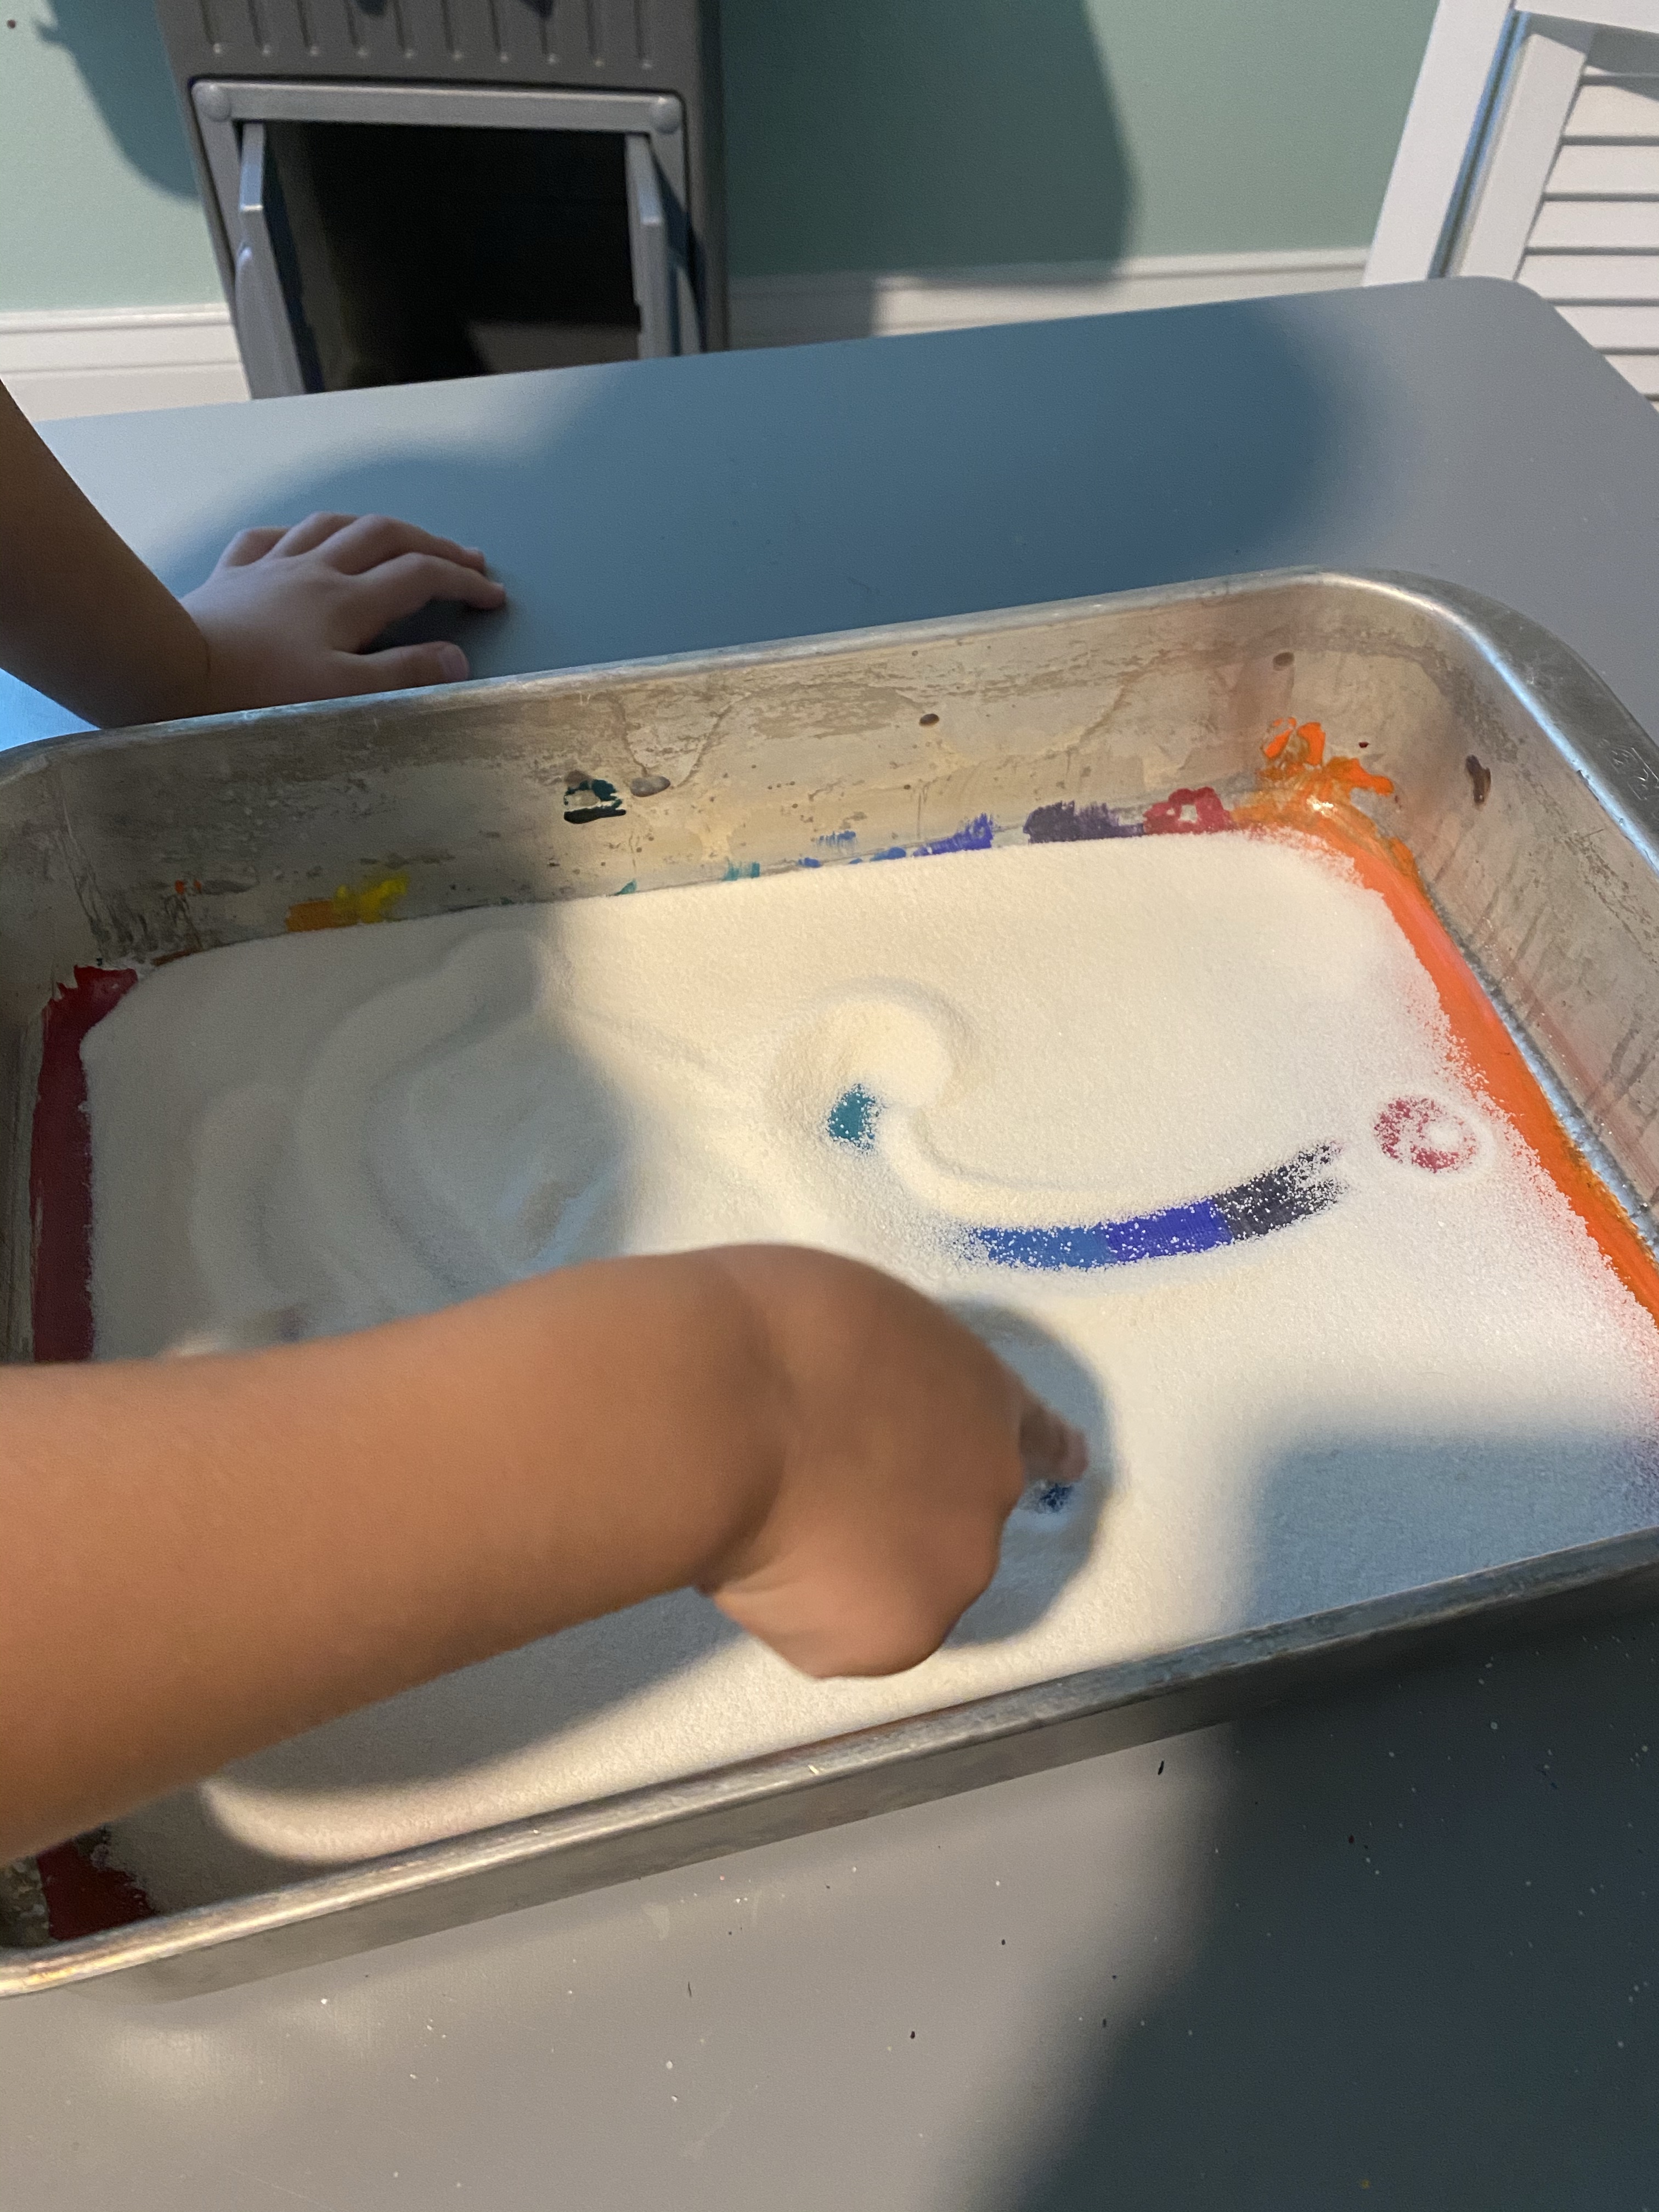
-Writing practice in “pollen”: I sprinkled some lemon jello in a cake pan (I wish it was more yellow but for 34 cents a pack you can’t go wrong!) and we practiced writing the capital and lowercase letters in my little’s first and last name. I got this idea from Turner Tots (they used yellow craft sand which looked much cooler!). Their bee lesson page has a bunch of other printable ideas too in literacy, math and imaginary play if you don’t mind paying for them!
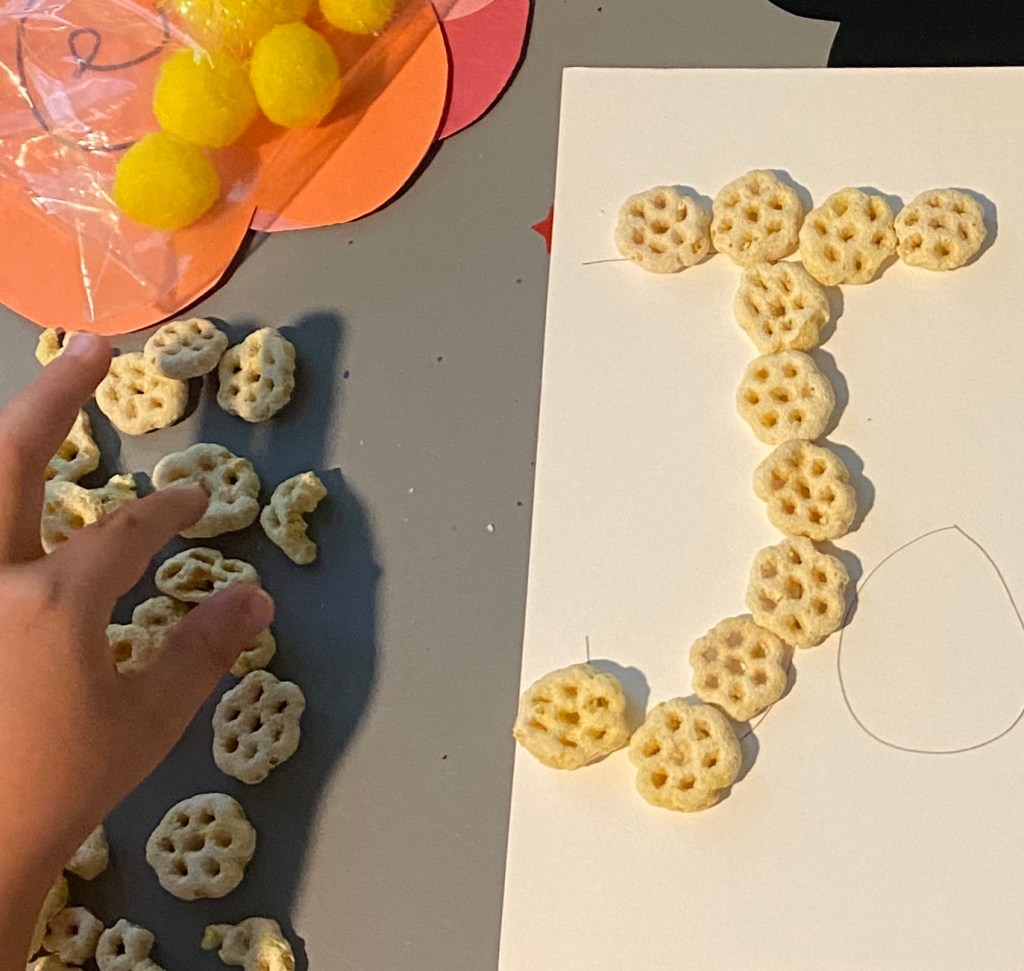
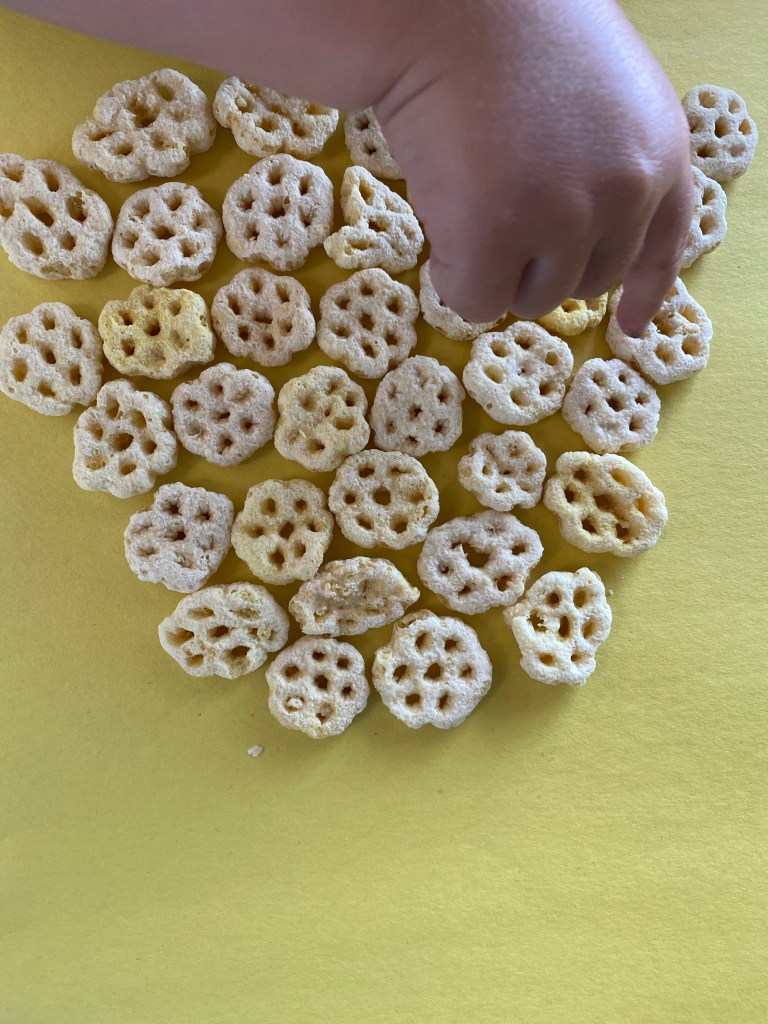
-Name spelling with honeycomb cereal: I gave my little his first and last name written large on pieces of paper then had him make the letters using honeycomb cereal (which also made for a great snack!). As he was working I had him identify each letter first.
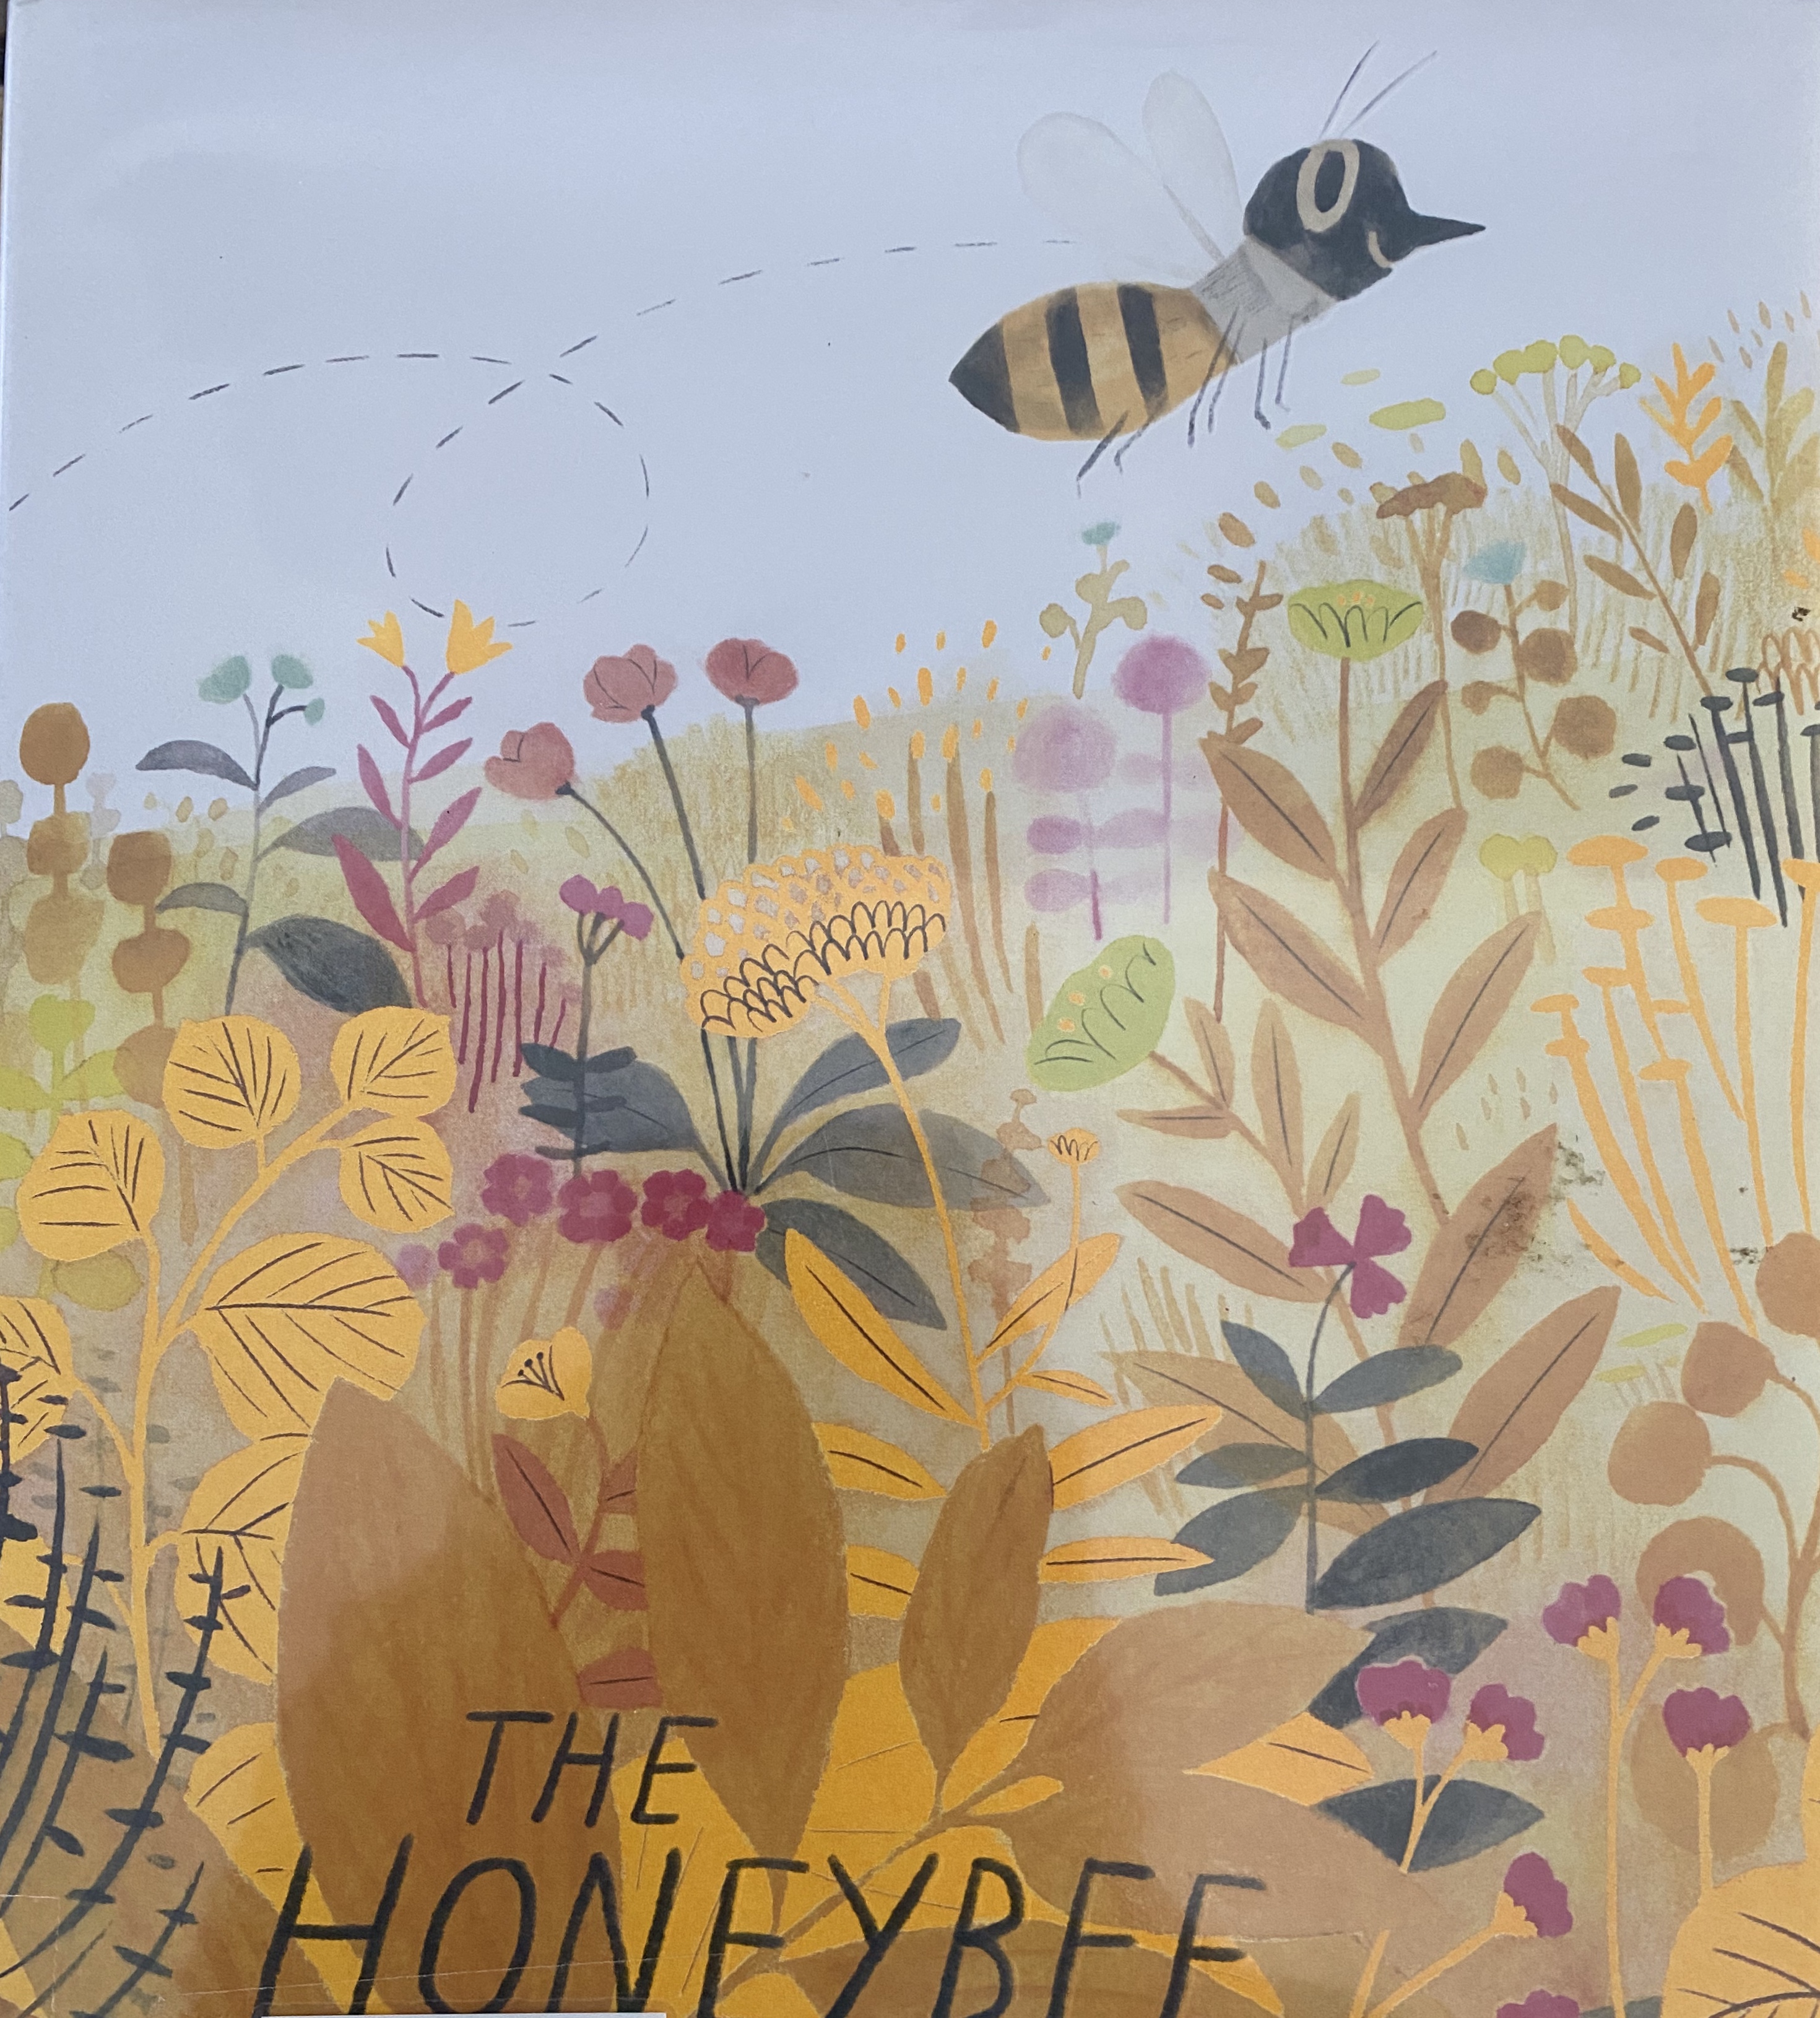
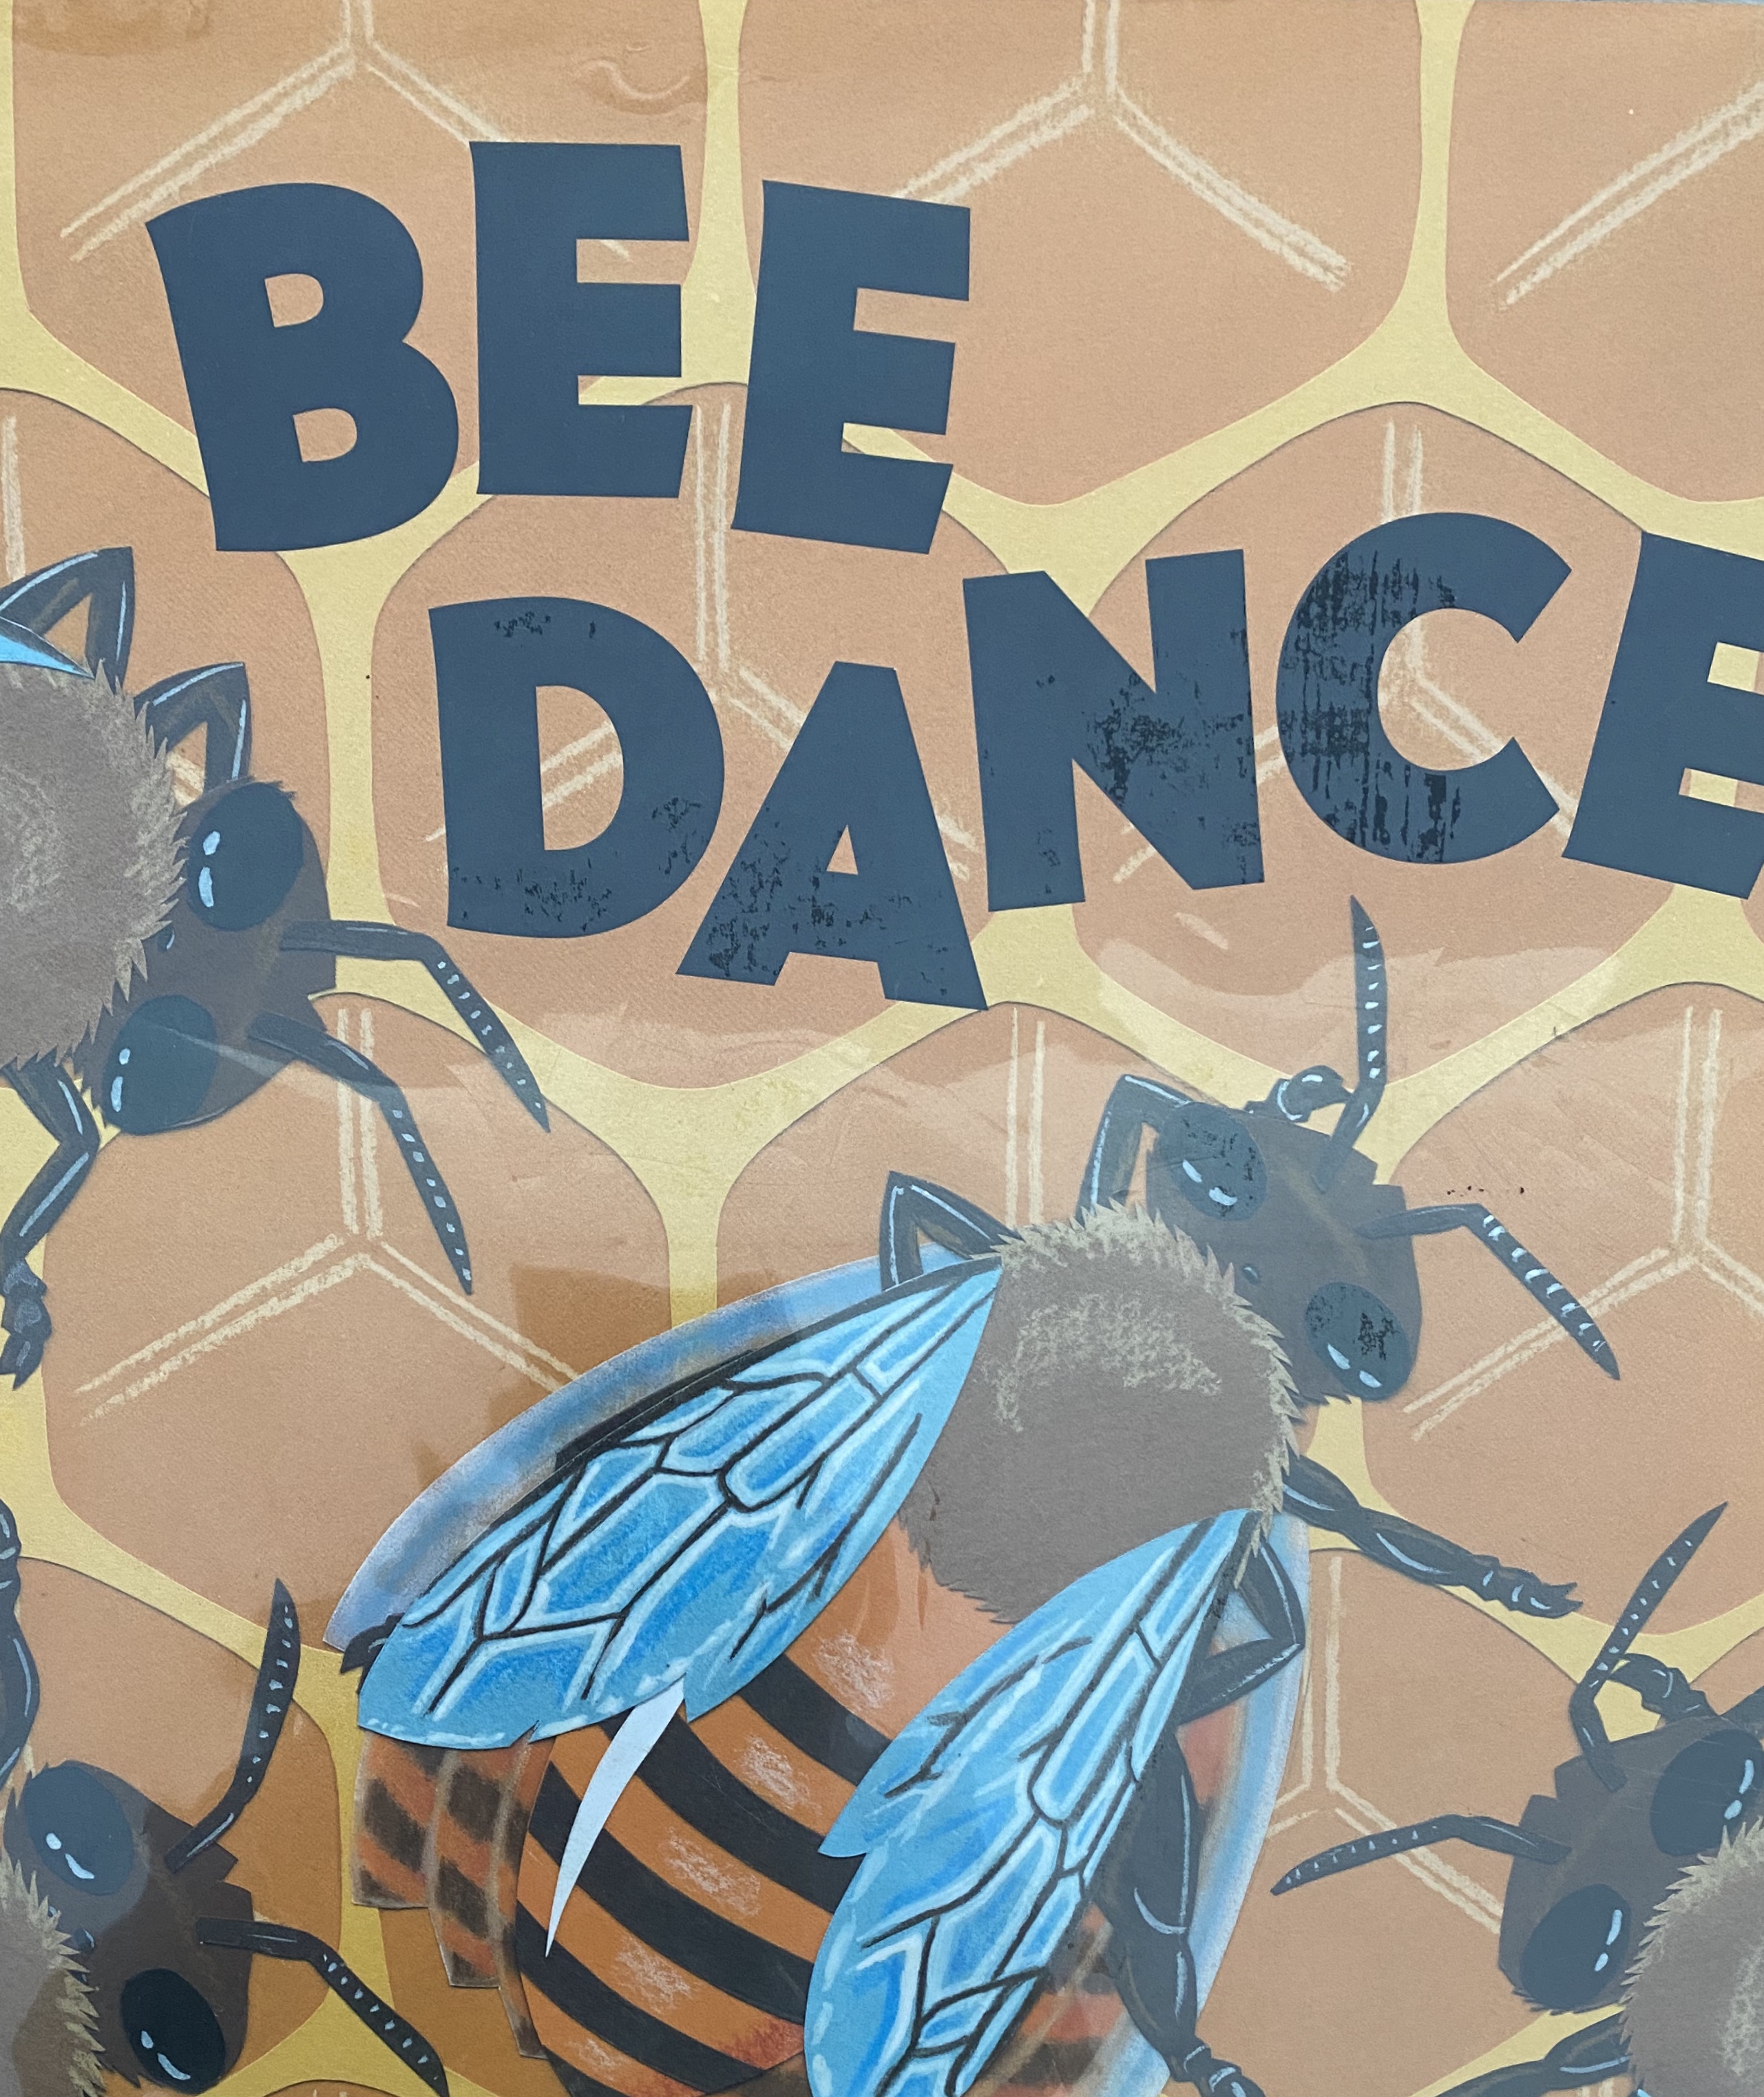
-Bee books! We got these two cuties from the library- they were perfect explanations of the jobs bees do on an easy to understand preschool level! Both had afterwards that gave incredible information about bees too! “The Honeybee” by Kirsten Hall and “Bee Dance” by Rick Chrustowski
–Math:
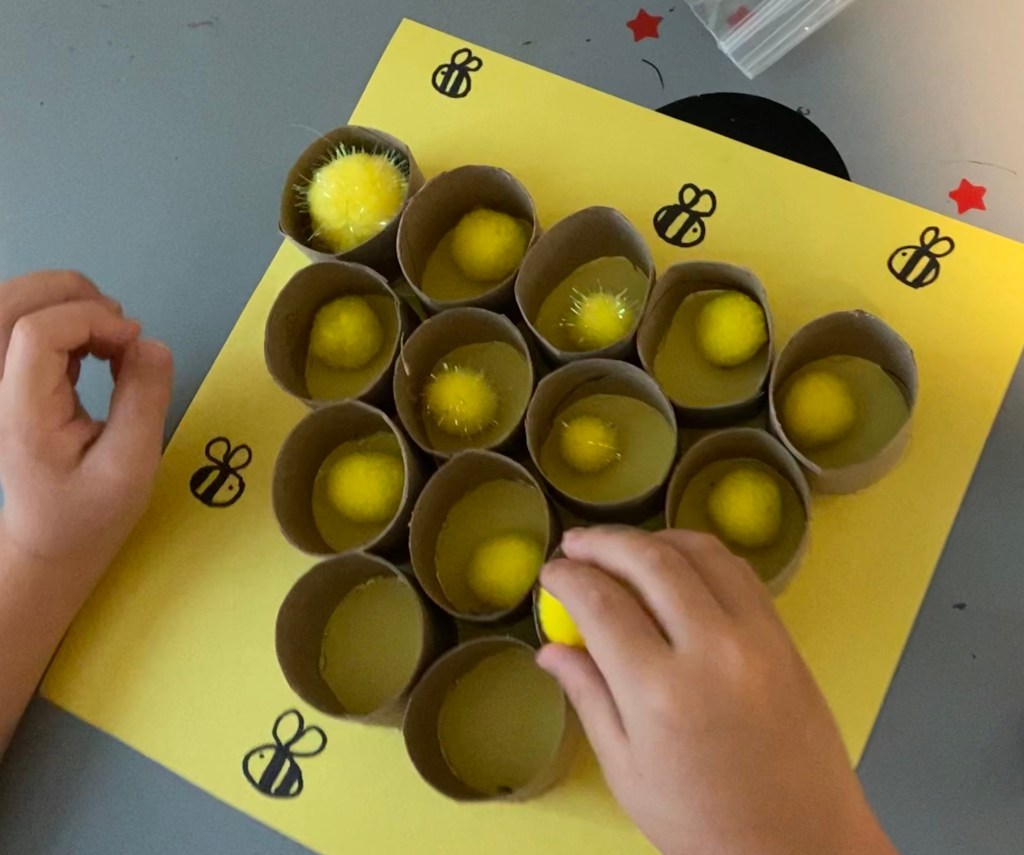
-Pollen transfer counting: I cut some toilet paper tubes in thirds then hot glued them to a piece of yellow construction paper to make a honeycomb. Then I got some cool multisided dice on Amazon (10 sided, 12 sided, etc. It was $5 for the pack! A regular dice would work too!) and let my little pick one to roll for this game. After rolling he had to identify each number then put that number of “pollen” pieces (aka yellow pom poms) in the hive- he kept rolling until the hive was full, then we switched to a new dice and played again! (Fun fact: bees really do store pollen in the hive, not just honey! That way they have food for the winter when things aren’t blooming!) I got the idea from Modern Preschool– they used an egg crate instead of making a hive, but the hive came out so cute! Plus I used it with my toddler as a fine motor activity!
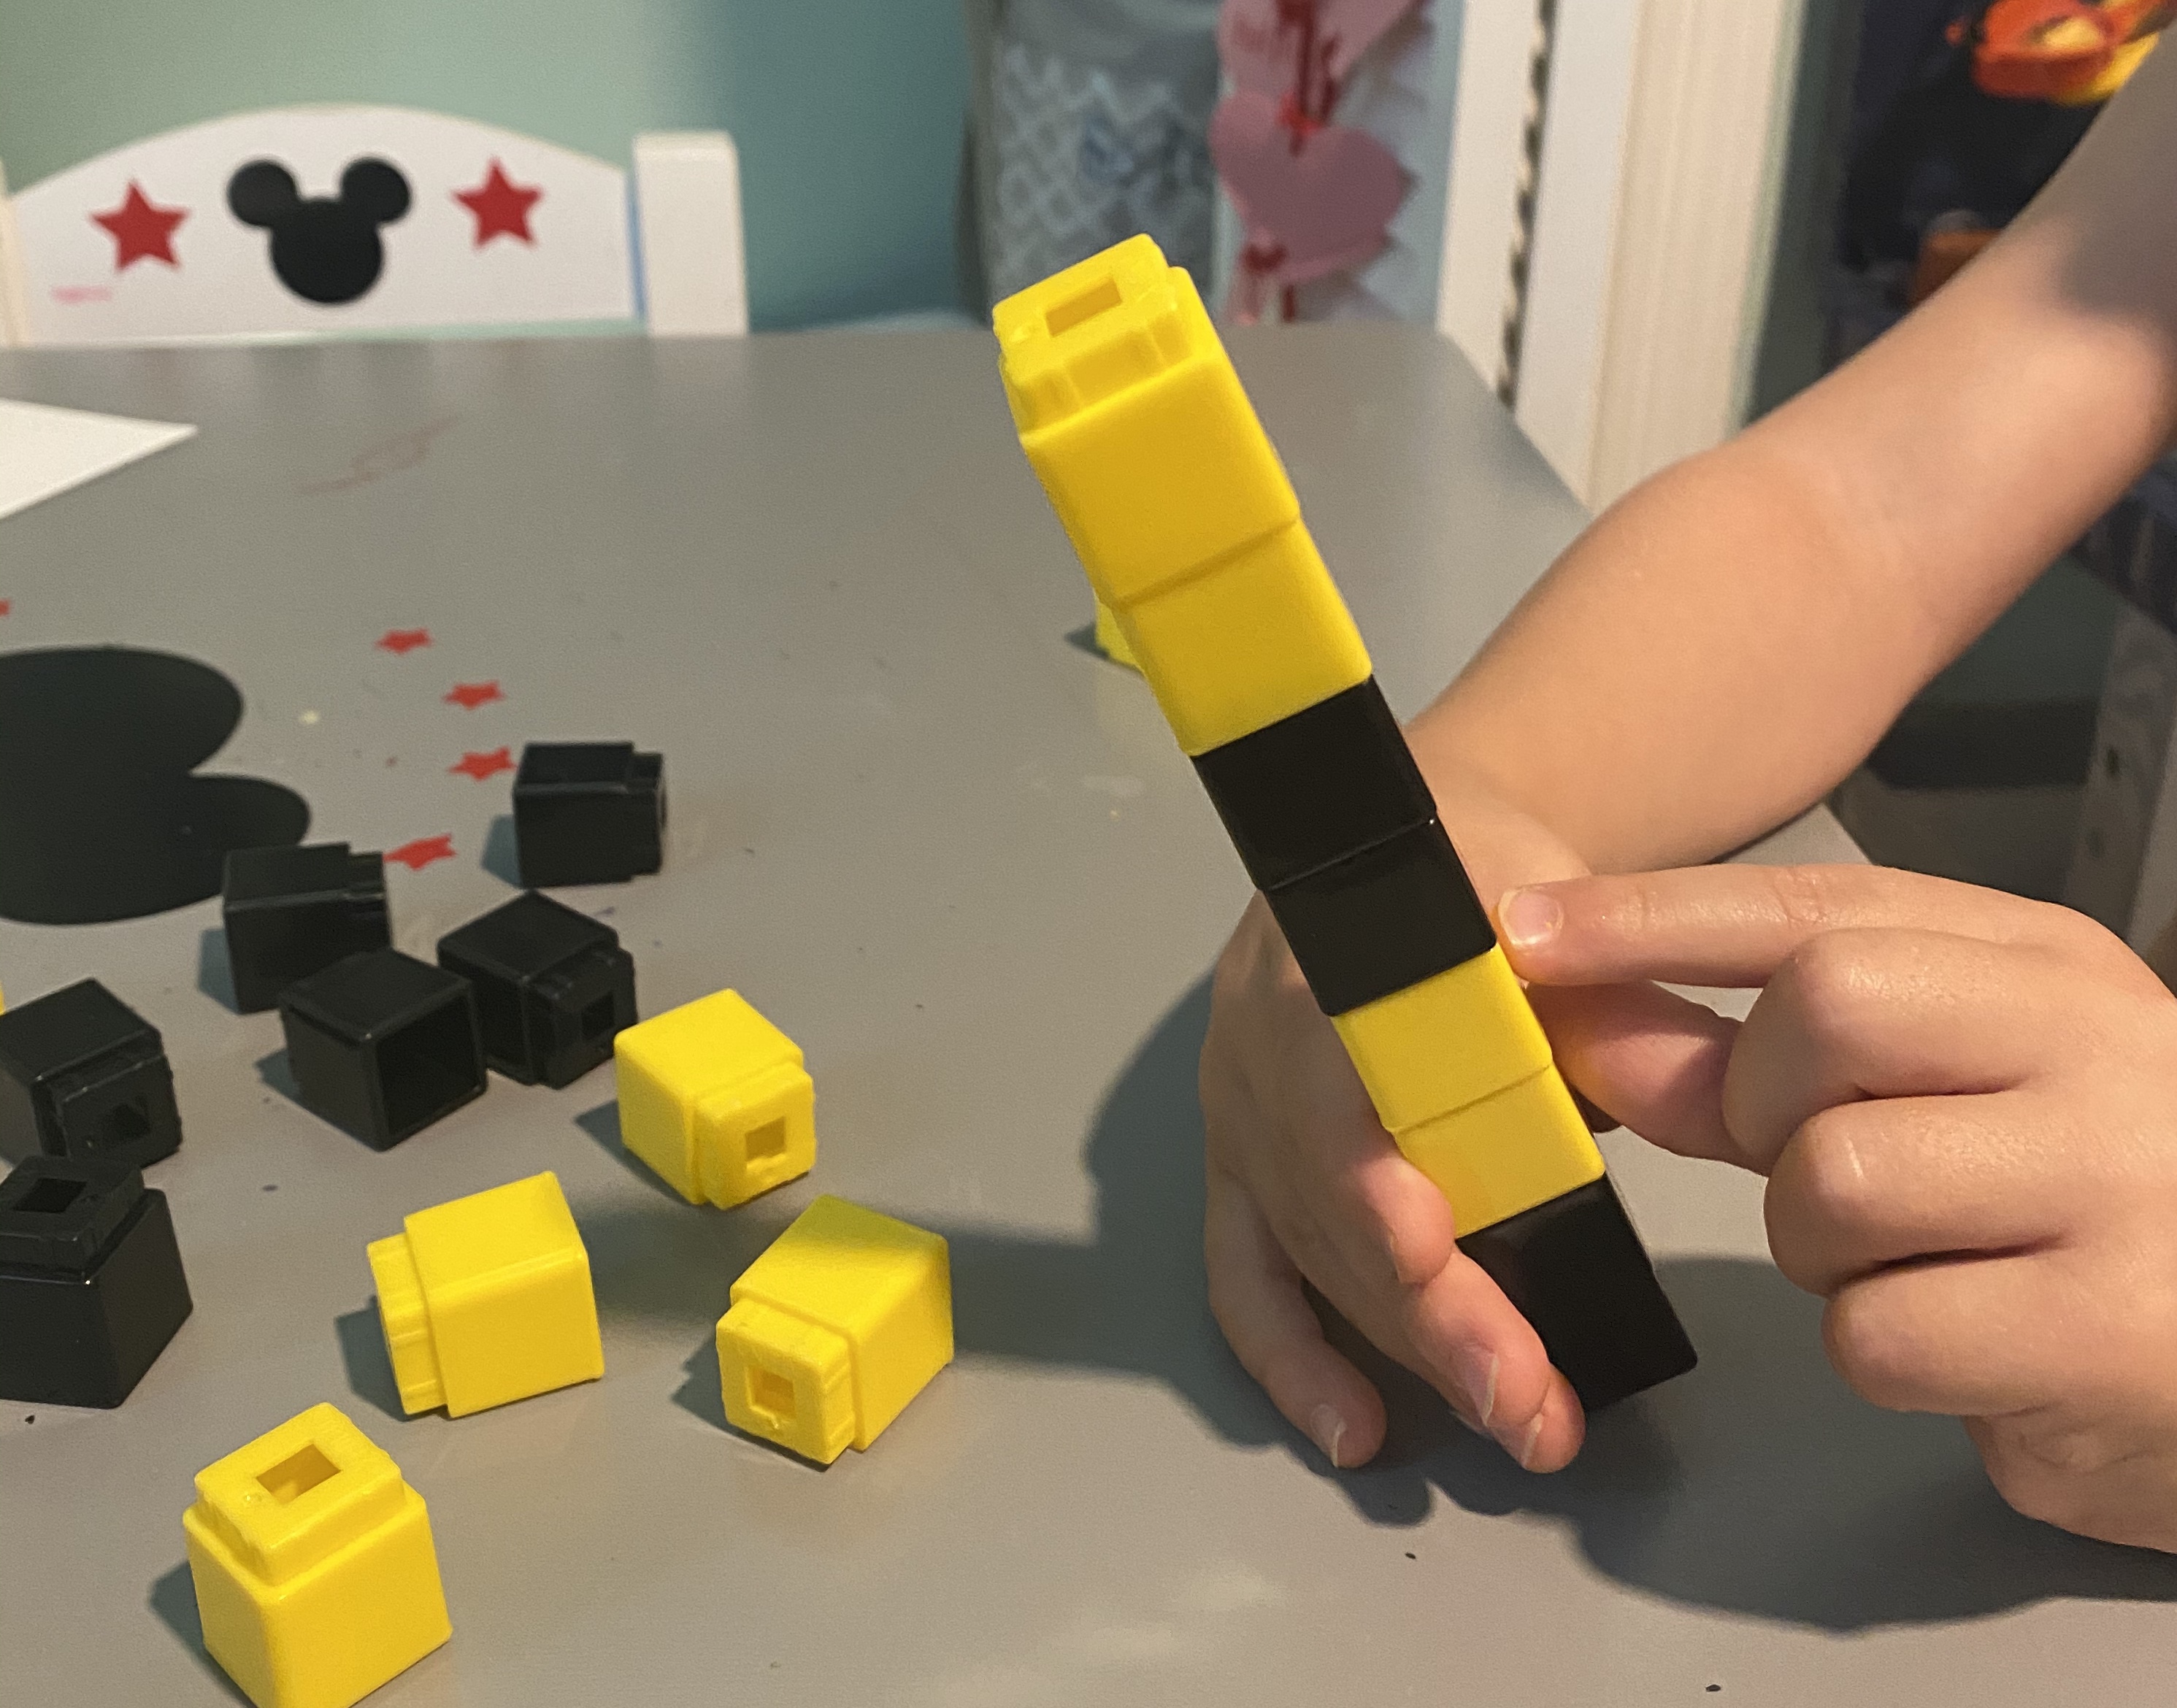
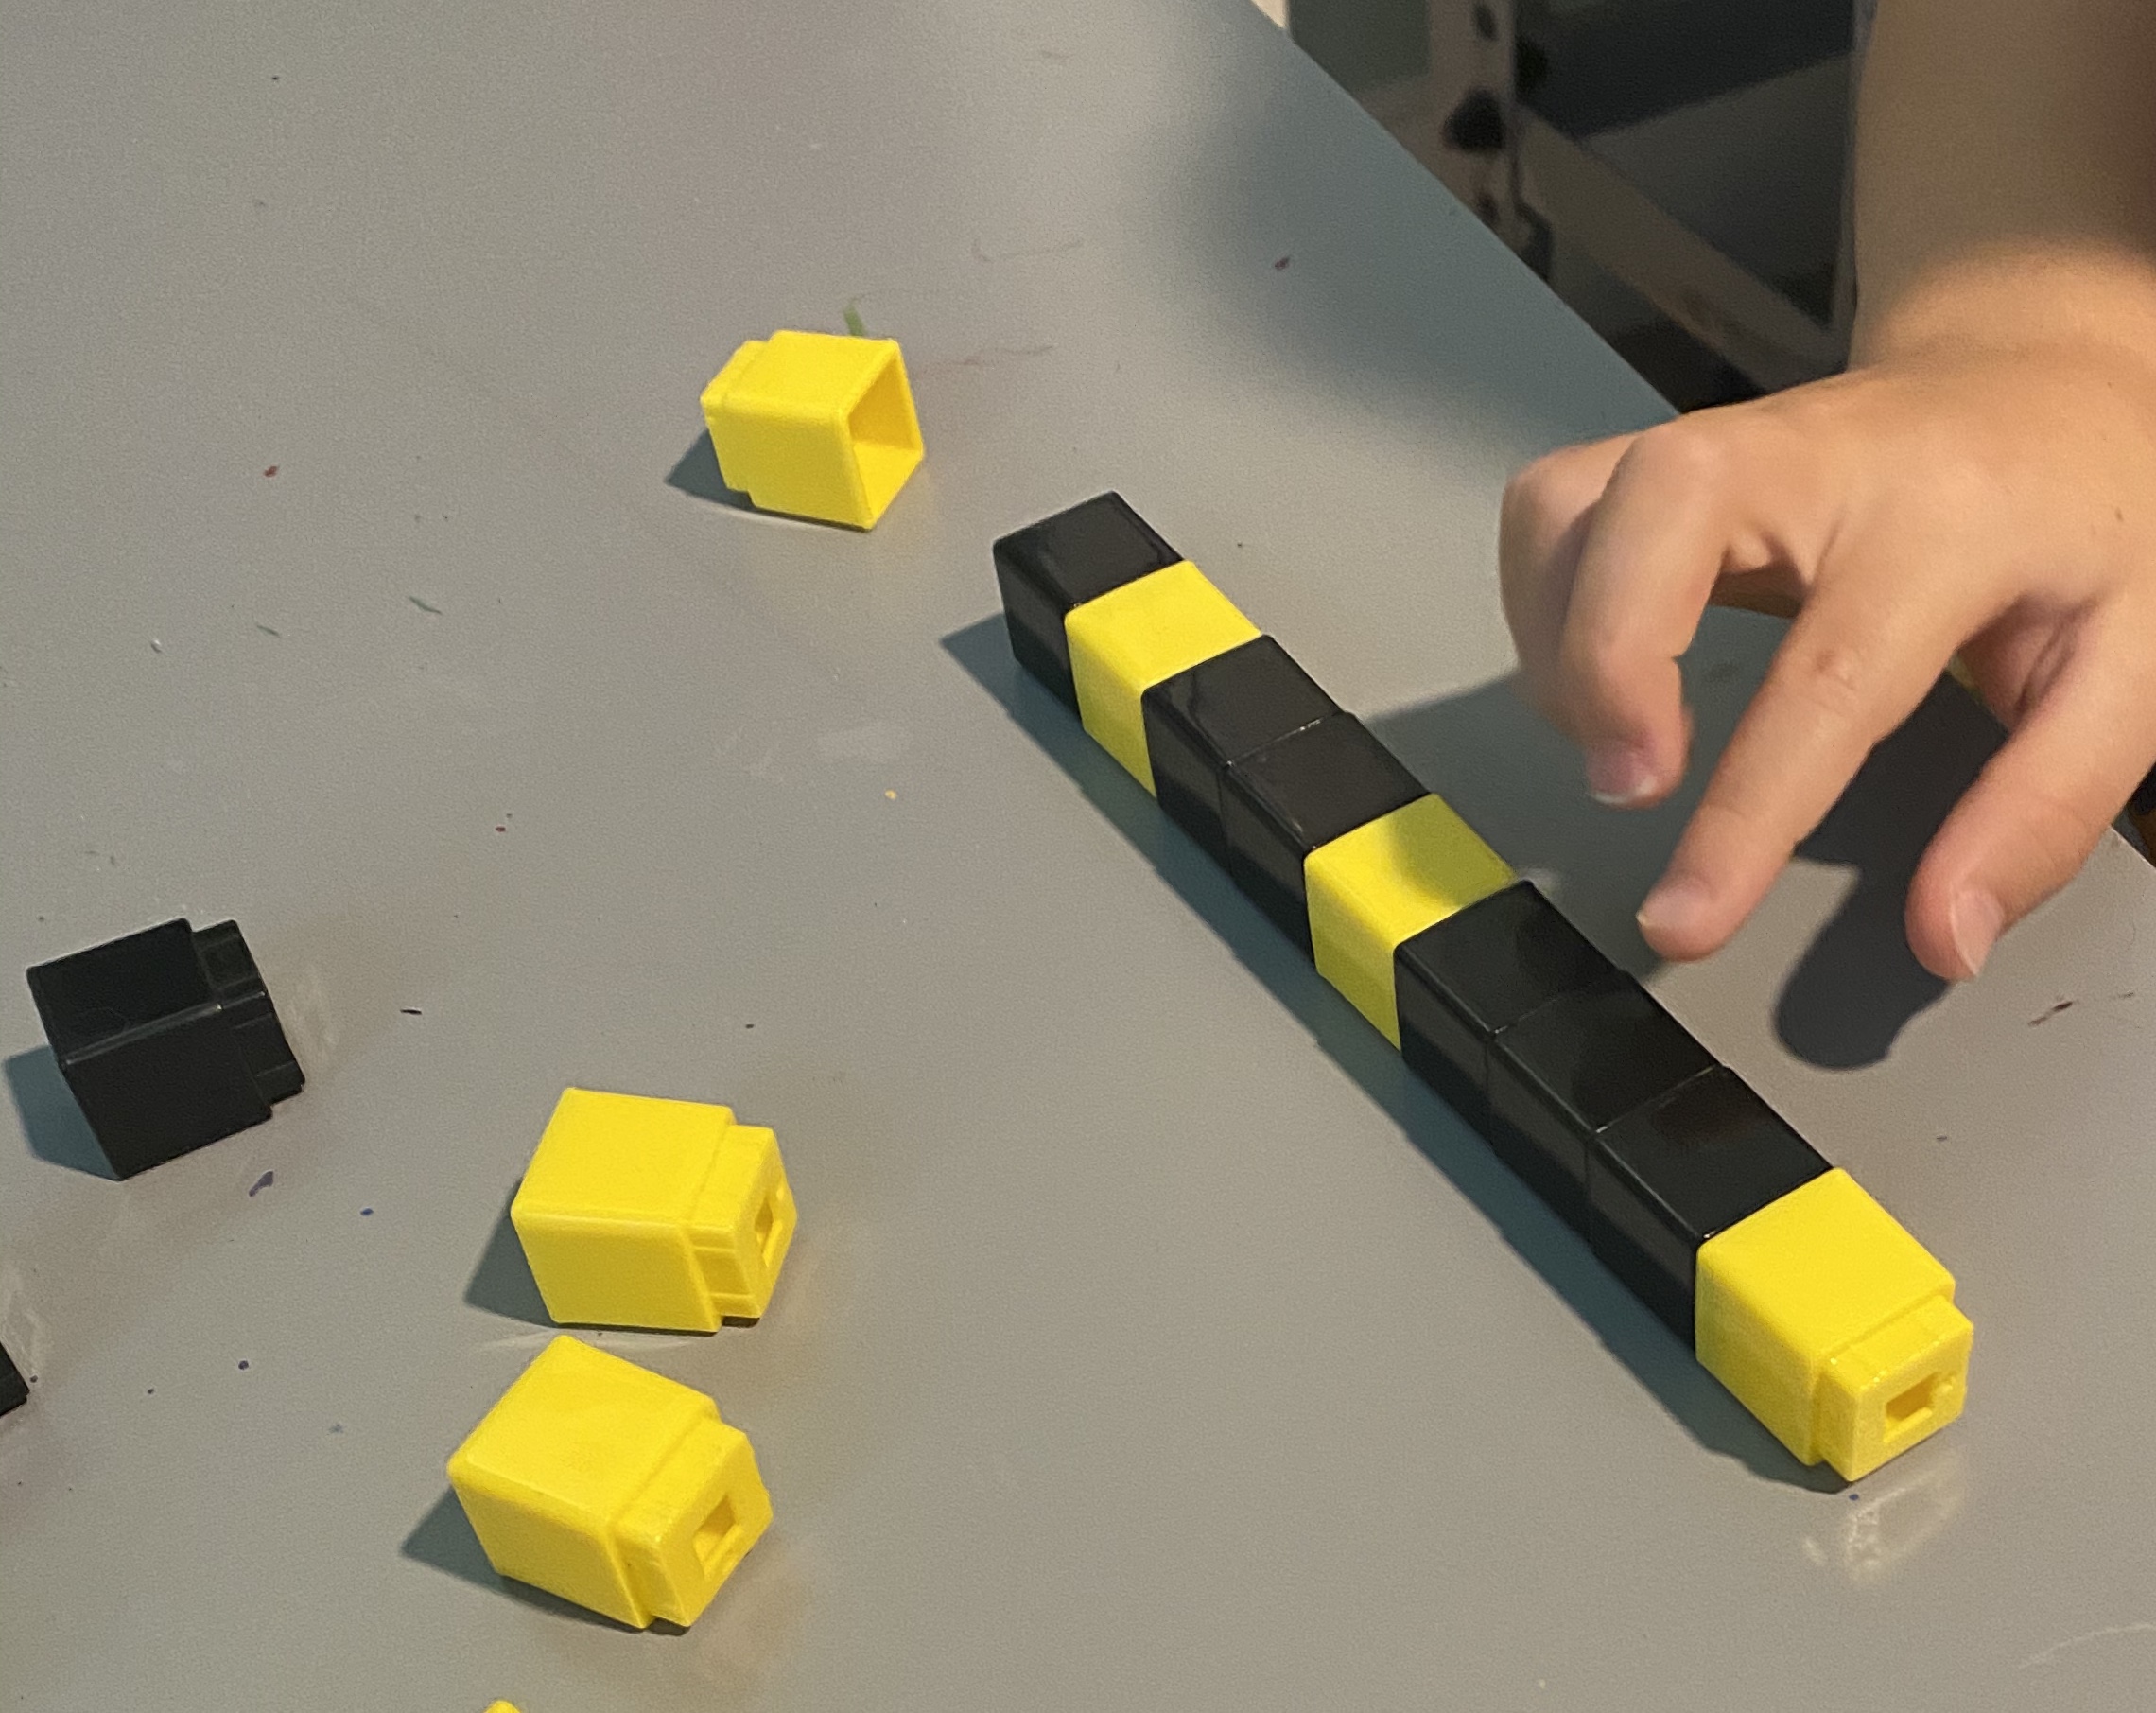
-Bee patterns: We used yellow and black unifix cubes to make patterns! (If you don’t have any you can use legos or blocks or small pieces of black and yellow construction paper- they’re like $13 for a set though and there are so many great math activities you can do with them like working on base ten, counting, adding, subtracting, measuring, etc. I got them on Amazon!) I started by reviewing what a repeating pattern is and then making a few and having my little continue them by snapping on the next few colors. Next I had him make a few repeating patterns and I completed them with him checking my work. He did well, so next I explained what a growing patter is and tried having him add onto a growing pattern (ie. one yellow, one black, one yellow, 2 blacks, one yellow, 3 blacks and so on).

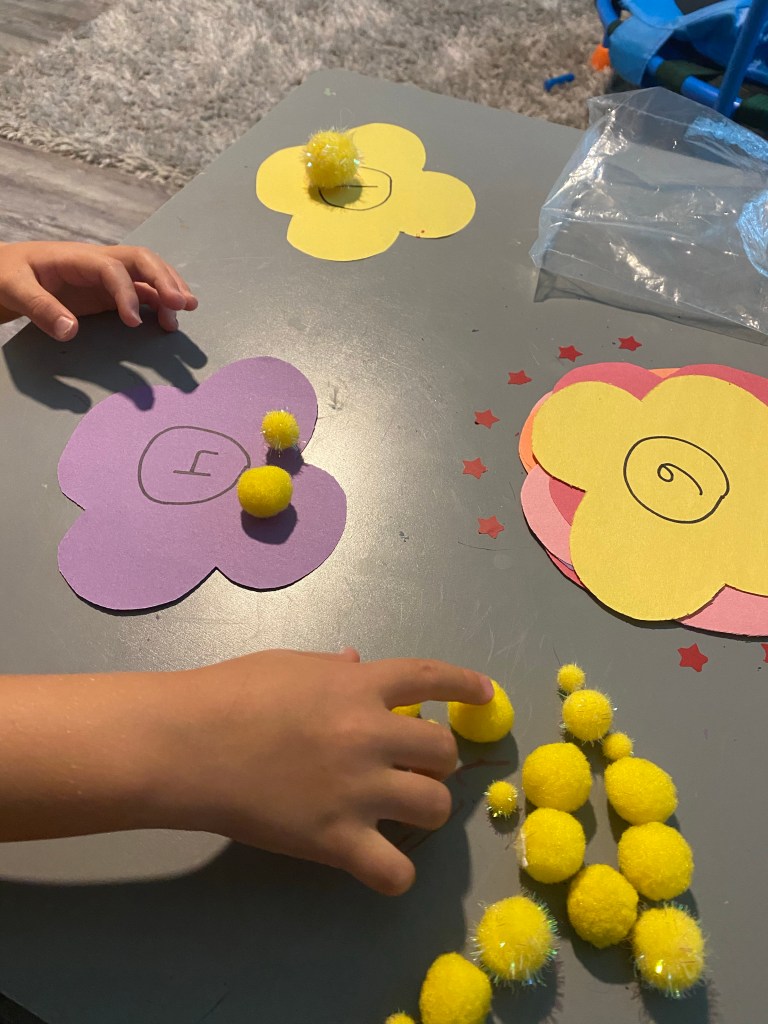
-Pollen counting and number recognition: I cut out some flowers from construction paper and wrote the numbers 1-10 on them (one number per flower). Then I scrambled them up and we reviewed each number out of order. Then I had my little take each flower one by one, identify the number and count it out using “pollen” (aka yellow pom poms). I got this idea from From ABC to ACTs and just added the counting part!
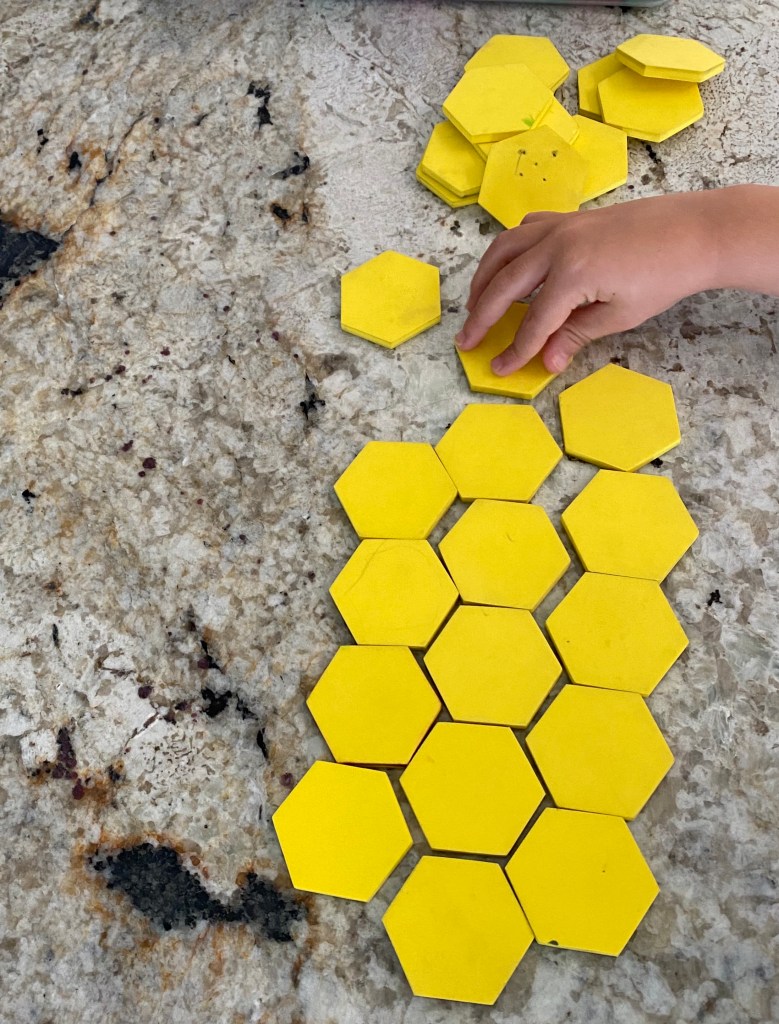
-Honeycomb pattern blocks: Pattern blocks are a great teaching tool to have in your home for spatial intelligence and shape recognition (especially the trickier ones like trapezoid, rhombus, and hexagon!) You can get a set on Amazon for $13 or print some to cut out here (just make sure to enlarge the image so it fills your paper first!)! For this activity we went over all the pattern block shapes, then I had my little use the hexagons to make a honeycomb!
–Science:
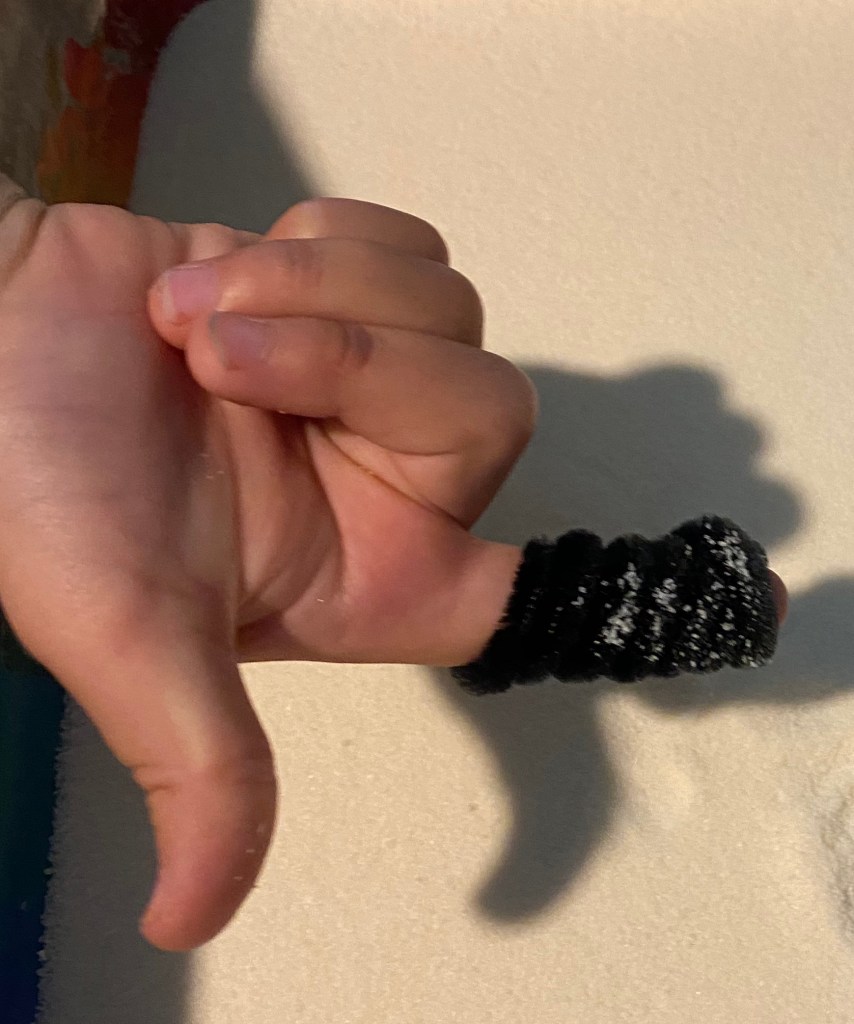
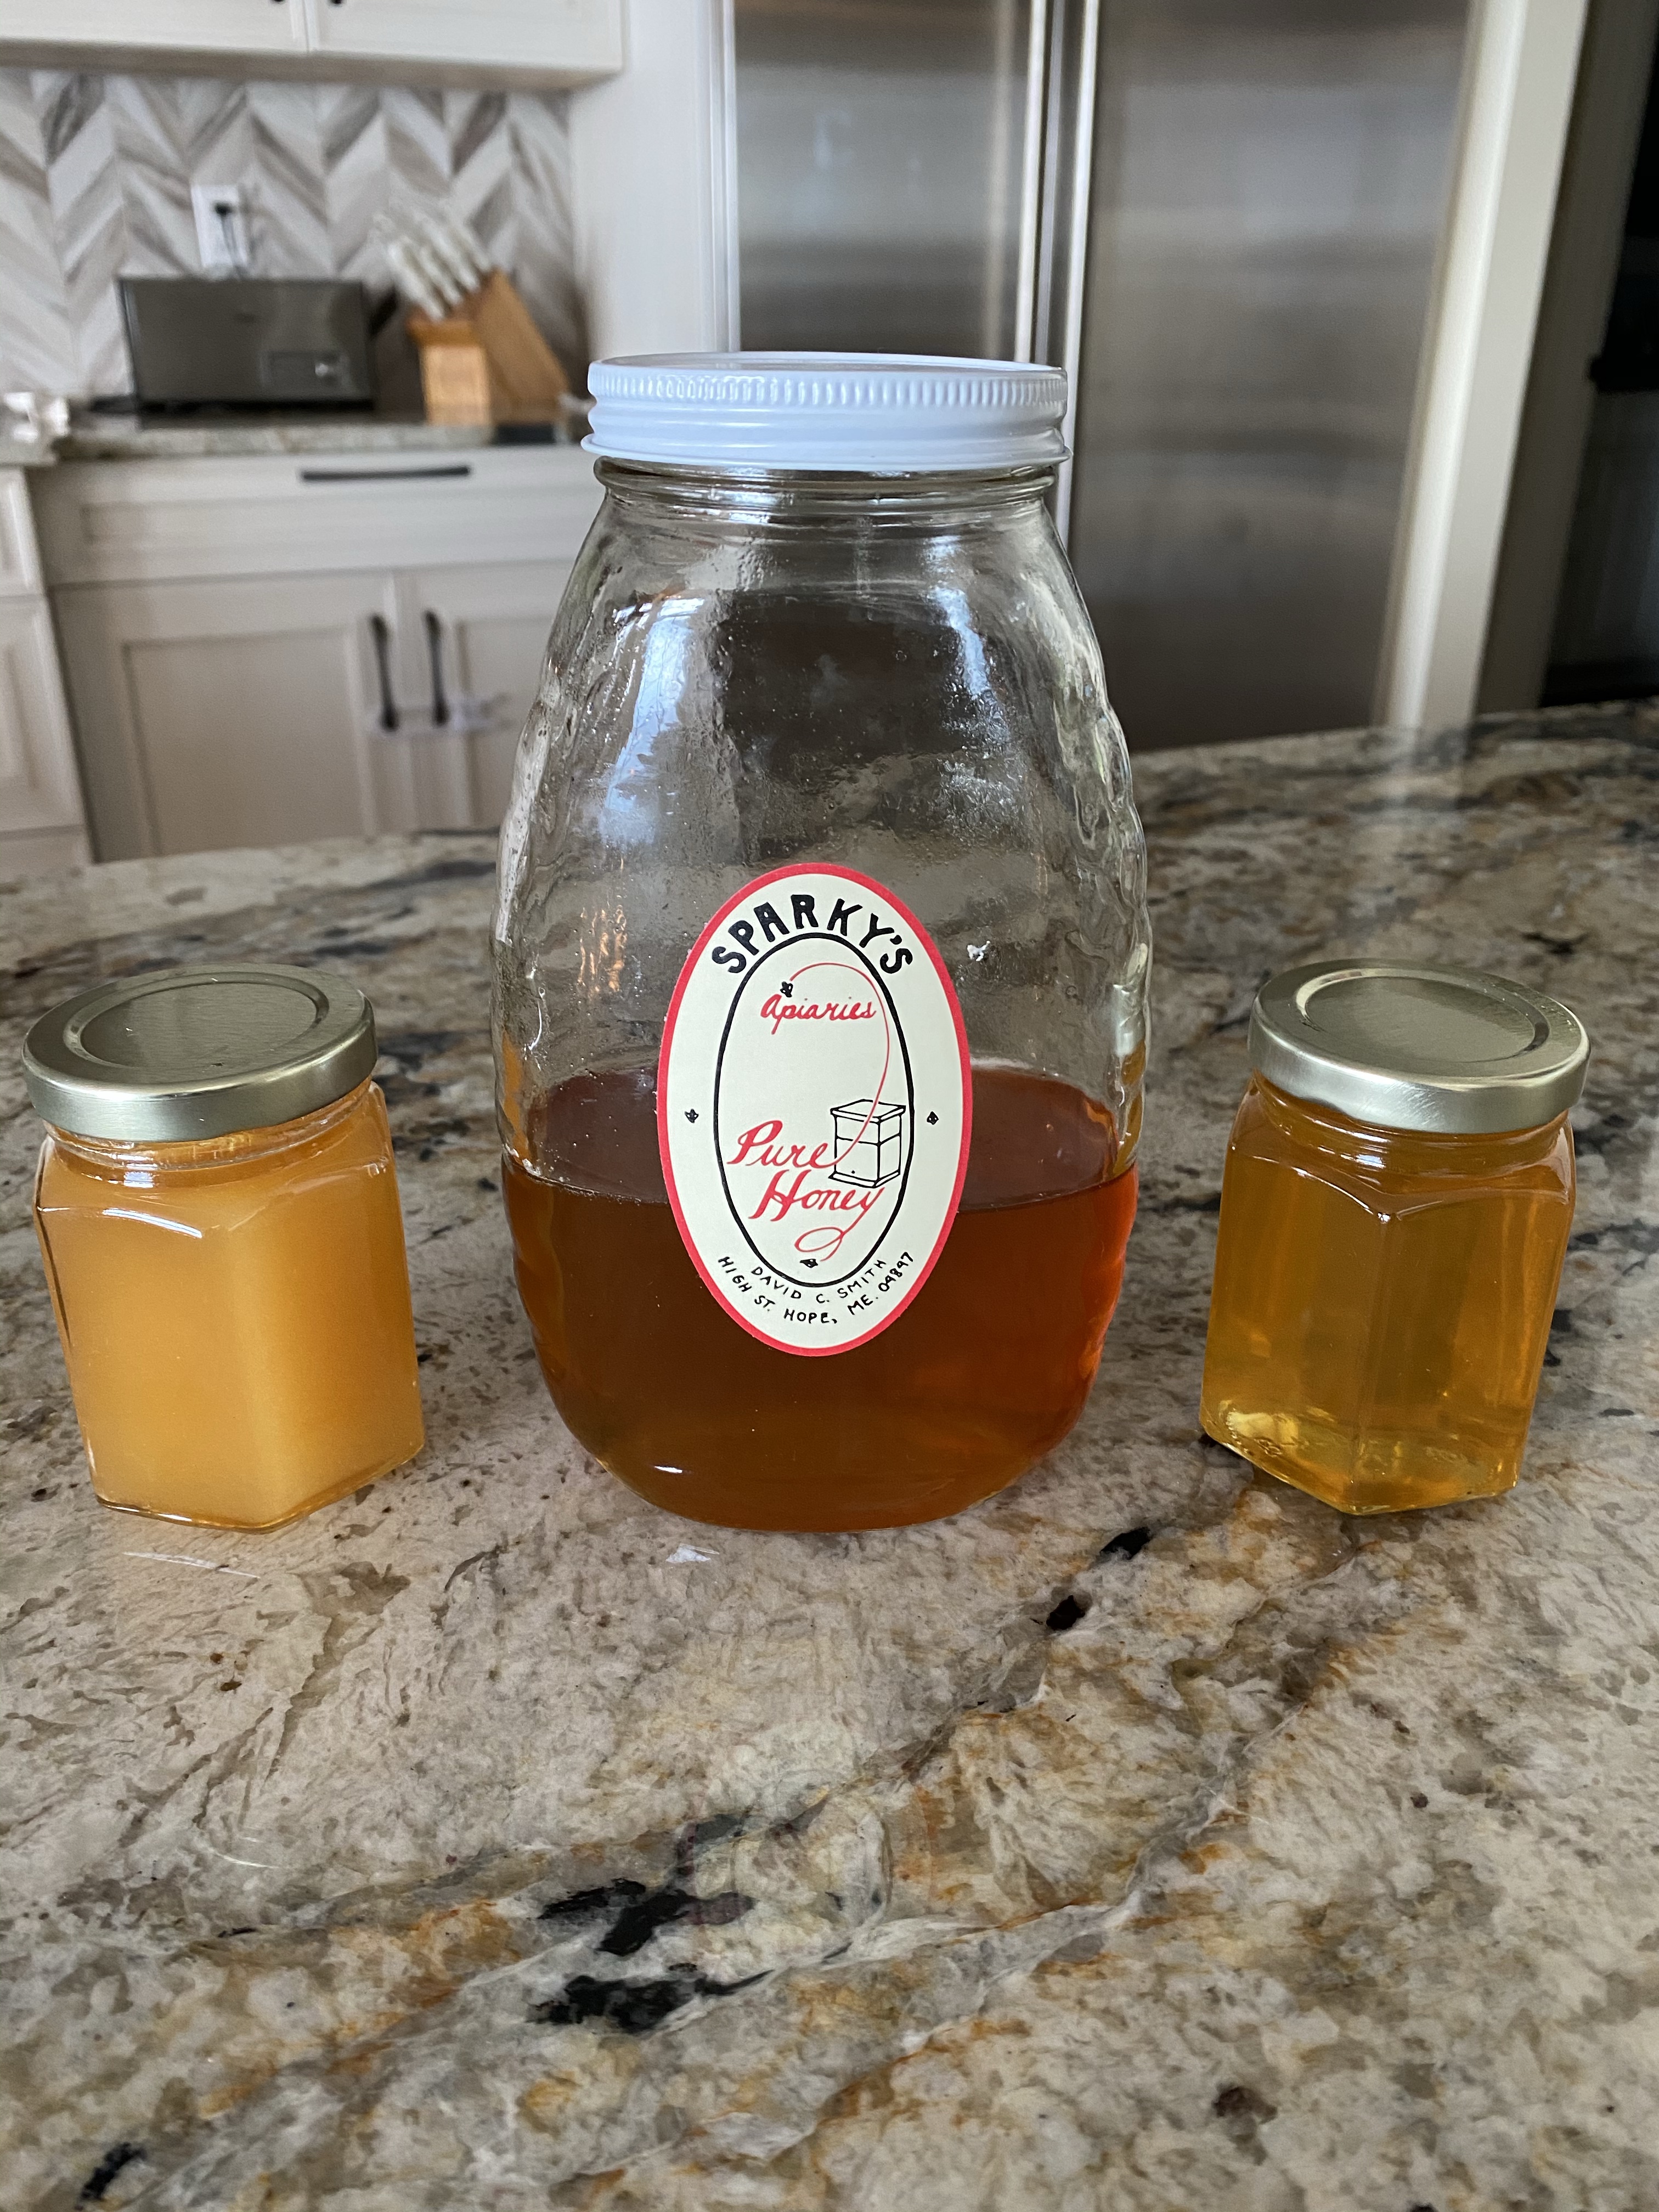
-Pollen transfer experiment: Bees collect and carry pollen for their hive in special pollen sacks on their legs, but it also sticks to their fuzzy bodies which allows them to pollinate the plants they visit! This allows the plants to grow new plants and to produce fruit and vegetables (some foods like watermelon and strawberries won’t produce fruit without being pollenated first!) It also does cool things like make raspberries bigger (did you know each ball on a raspberry represents one bee visit to the raspberry flower!? My Uncle Dave taught me that! He has been a professional bee keeper for years and he had the BIGGEST raspberries I’ve ever seen because they were right next to his hives! You can get his honey and beeswax candles handmade by his wife on his Sparky’s Honey and Maple etsy shop!) Sorry for the derail! Back to the activity- to show how pollination happens, I sprinkled some lemon jello in a cake pan and wrapped my little’s finger with a black pipe cleaner to represent the bee. Then I had him touch it to the “pollen” and observe what happened. We discussed pollination and how it’s important to help plants grow! (The pipe cleaner also made it much easier to write in the “pollen” for the writing activity above!) I got this idea from Around the Kampfire.
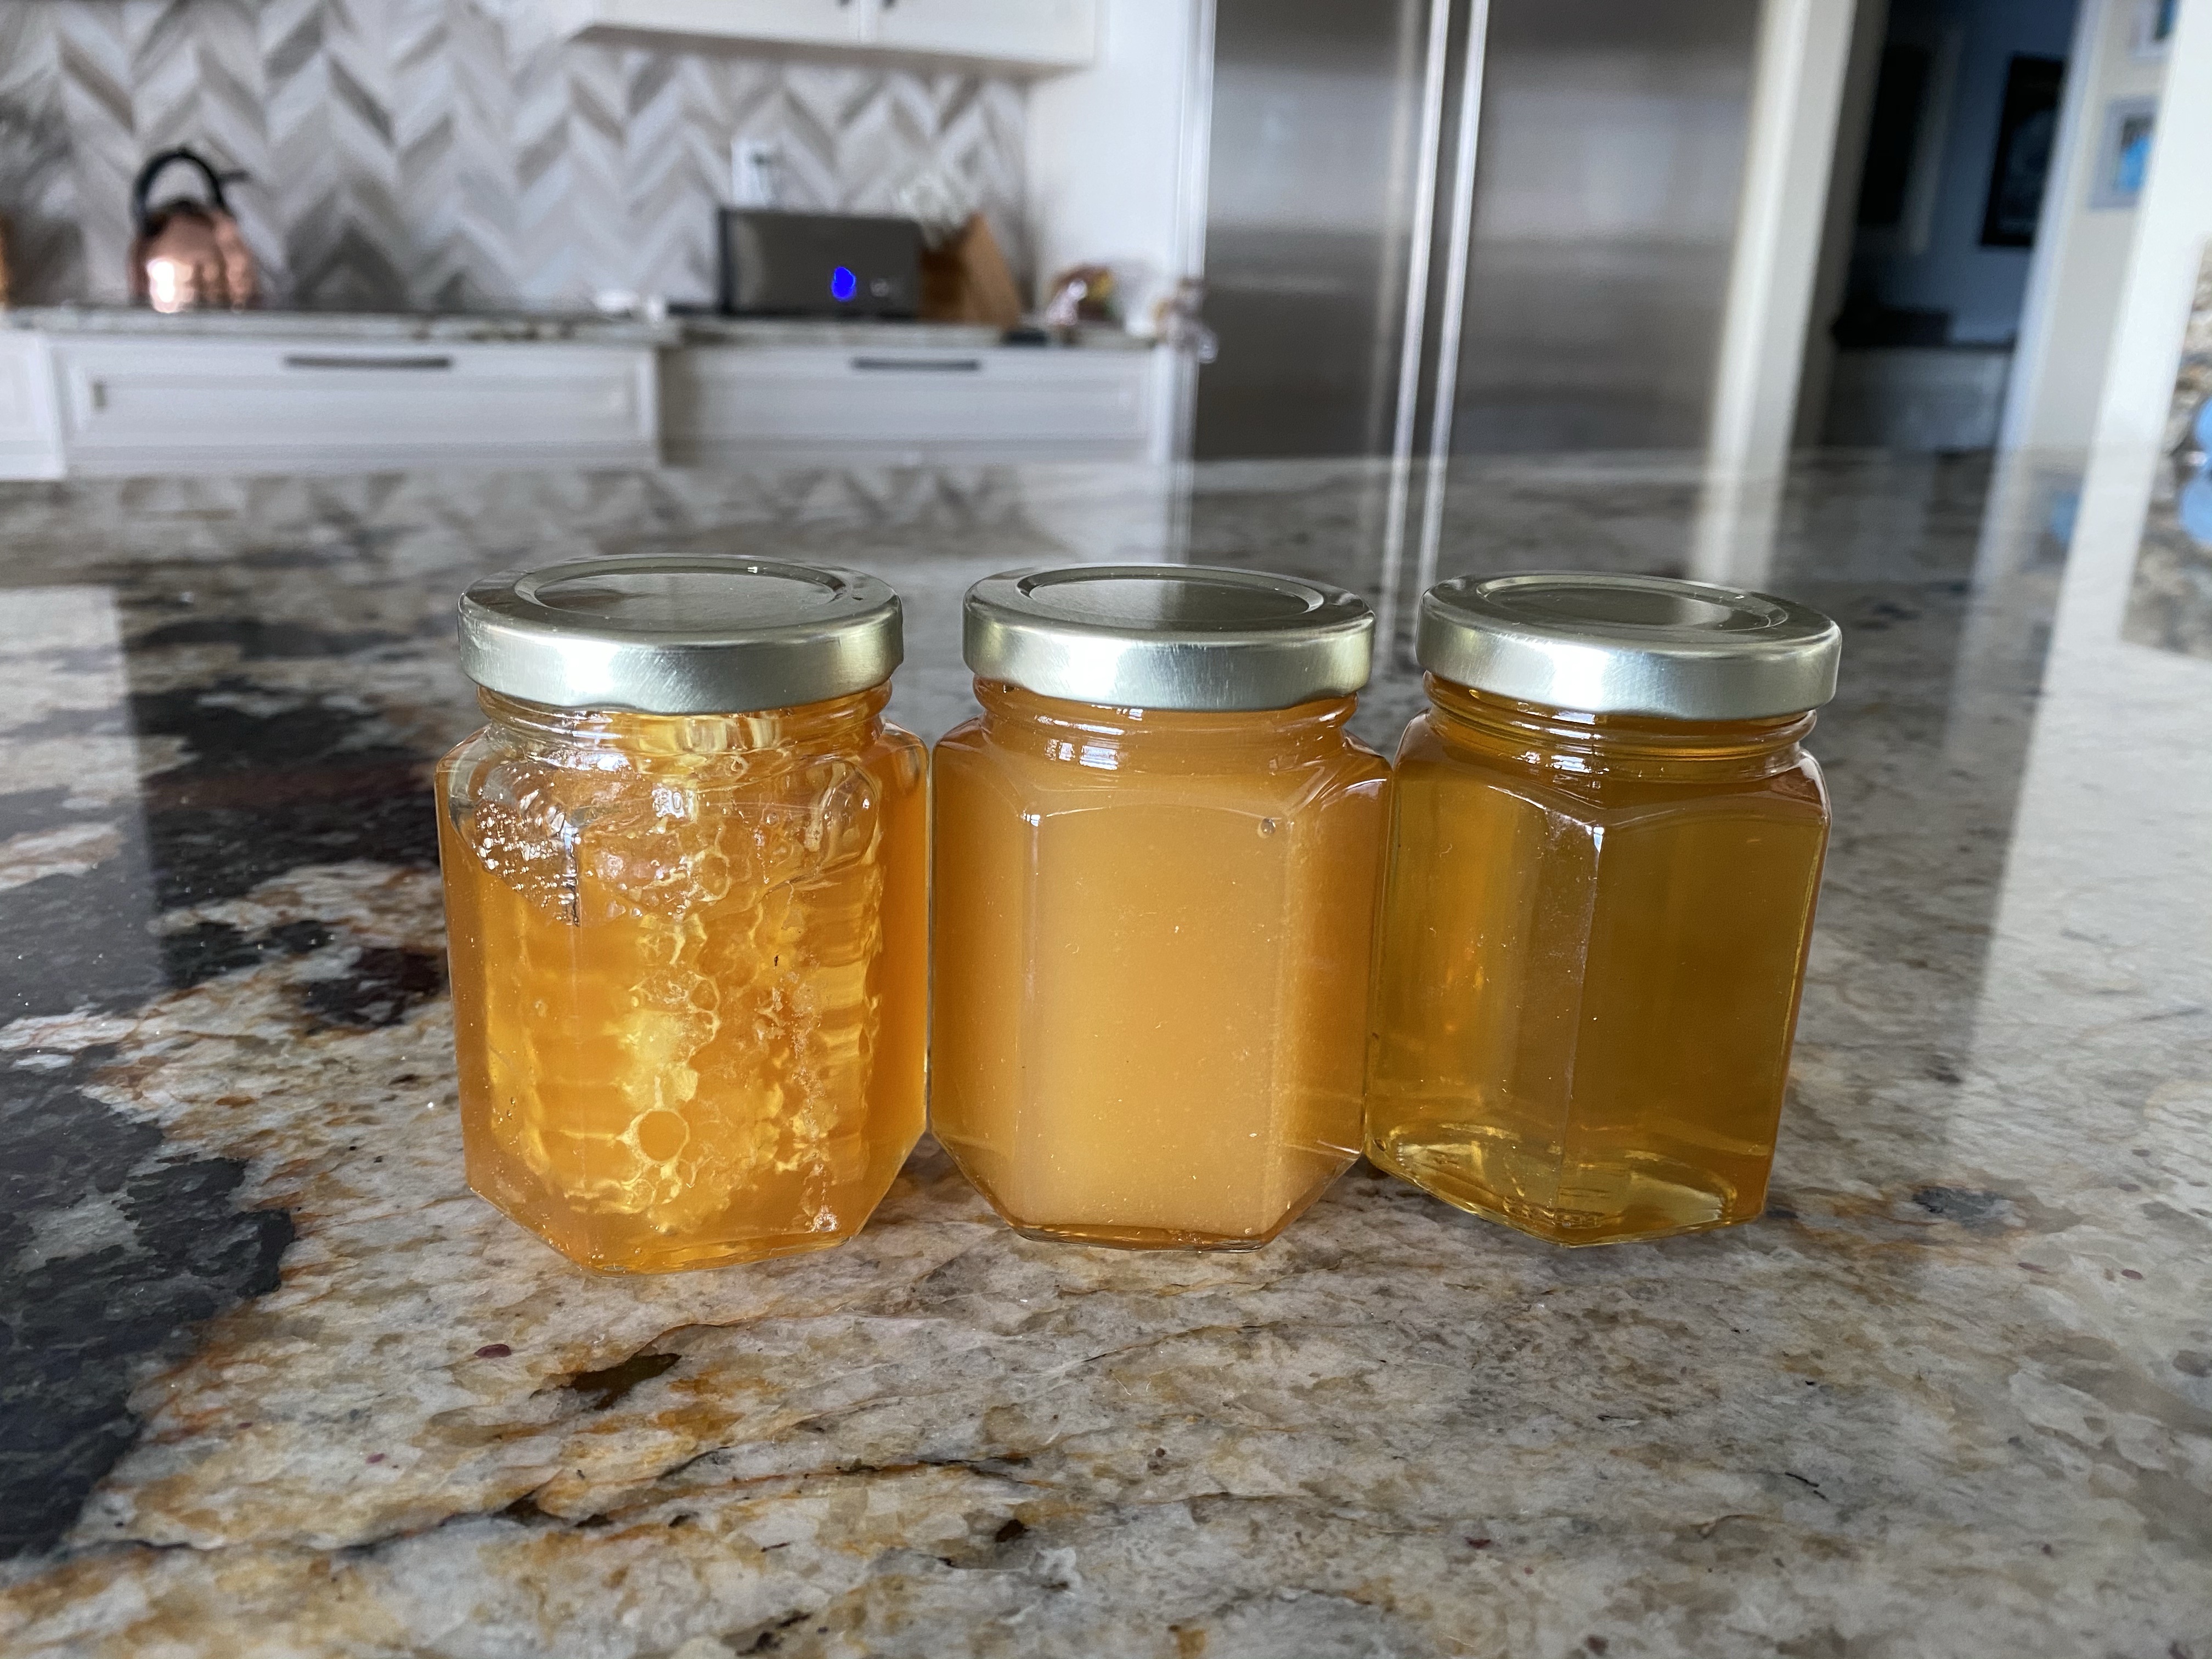
-Honey comparing: Did you know bees make different kinds of honey depending on what plants they’re foraging from?! Honey can range in color, texture and flavor so we decided to explore these by getting some different honeys and comparing them. There are so many fun honeys to try out there- wildflower, orange blossom, honey with a comb, raw unfiltered honey, crystalized honey- the list goes on! Just grab at least two different types and let your little compare the color, texture and flavor of each one!
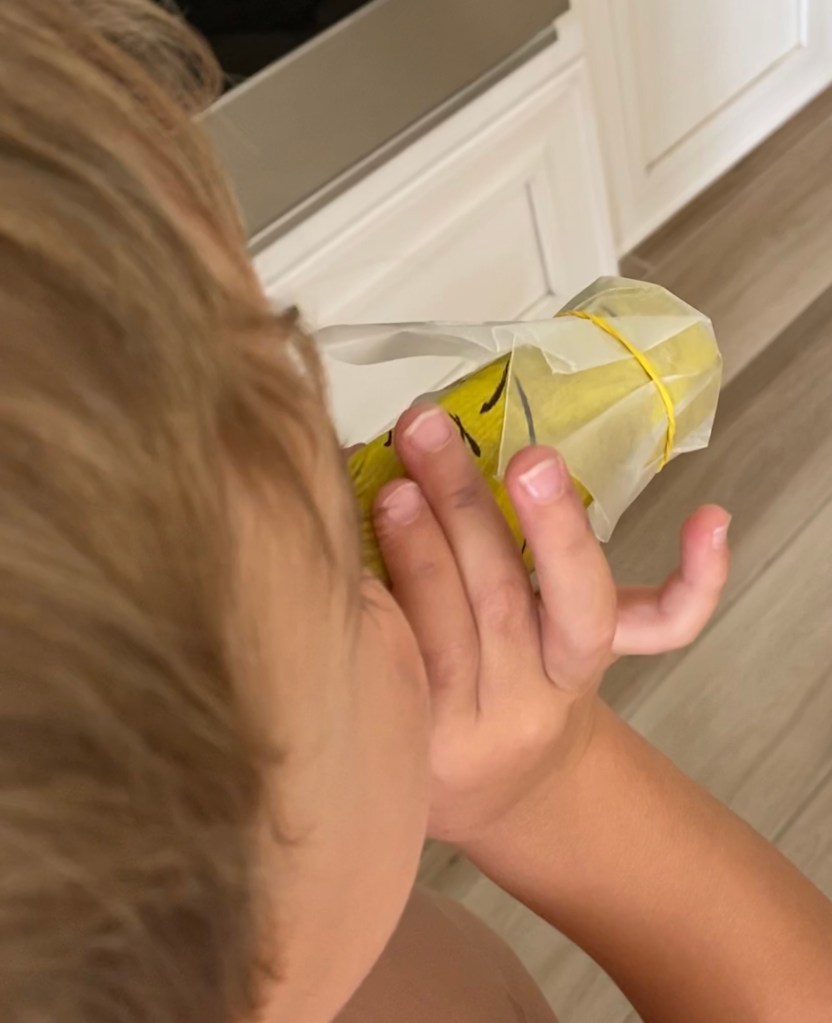
-Buzzy bee DIY kazoo: Grab a toilet paper tube (or a piece of a paper towel tube) and have your little paint it yellow. When it’s dry, have them add some black stripes with a marker or black paint. Cover one end with wax paper and a rubber band so that the wax paper is tight. Ta-Da! You have a buzzing bee kazoo! Have your little play around with their kazoo to get it to make a buzzing sound. Once they have it, tell them to gently place their fingers on the wax paper and make the sound again. Ask them what they feel… those are vibrations! Discuss how all sound is made from vibrations that travel through the air to our ear which also vibrates and allows us to hear things! Then have fun pretending to be a bee and chasing each other around the house!
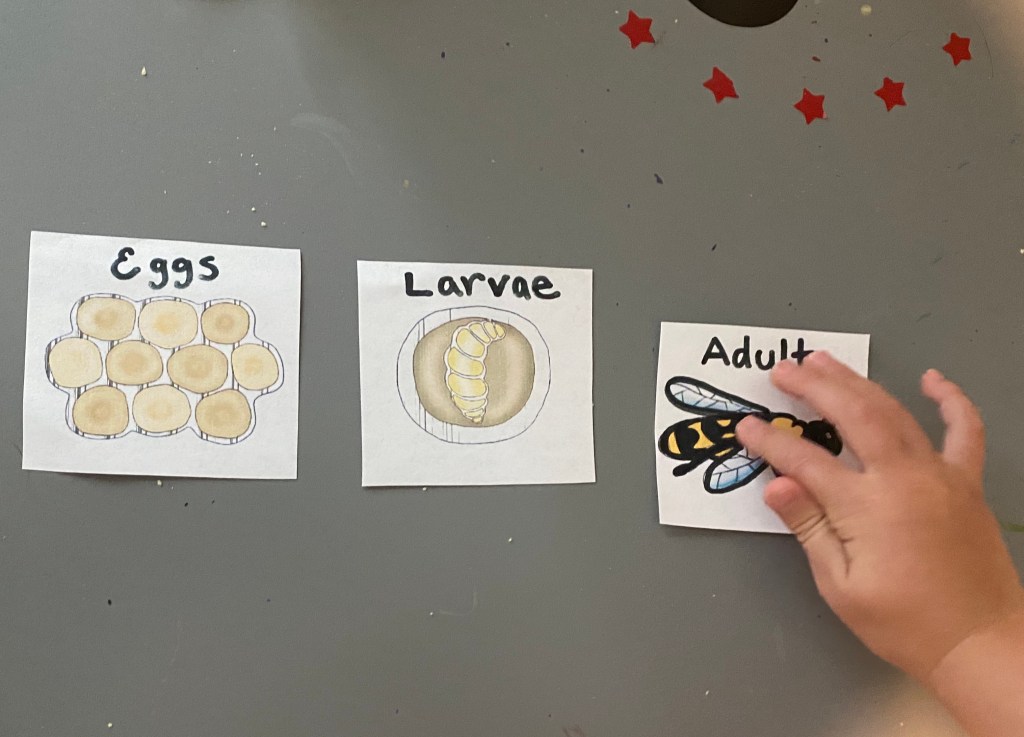
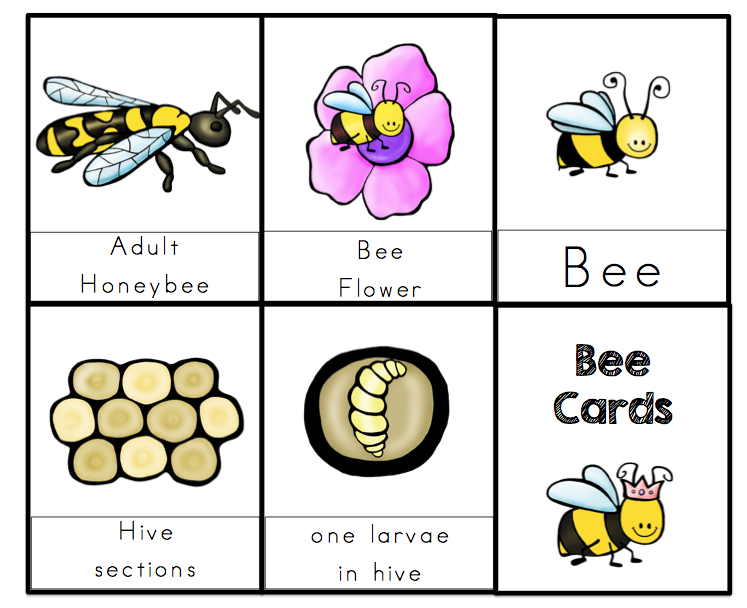
-The lifecycle of a honeybee: We watched the classic Reading Rainbow video “The Lifecycle of a Honeybee” (starring my Uncle Dave who shows us how the honey gets from the honeycomb to the jar! He even got to meet Levar Burton!) then reviewed the lifecycle of bees by sorting these cards I found online (I only used the 3 life cycle ones).
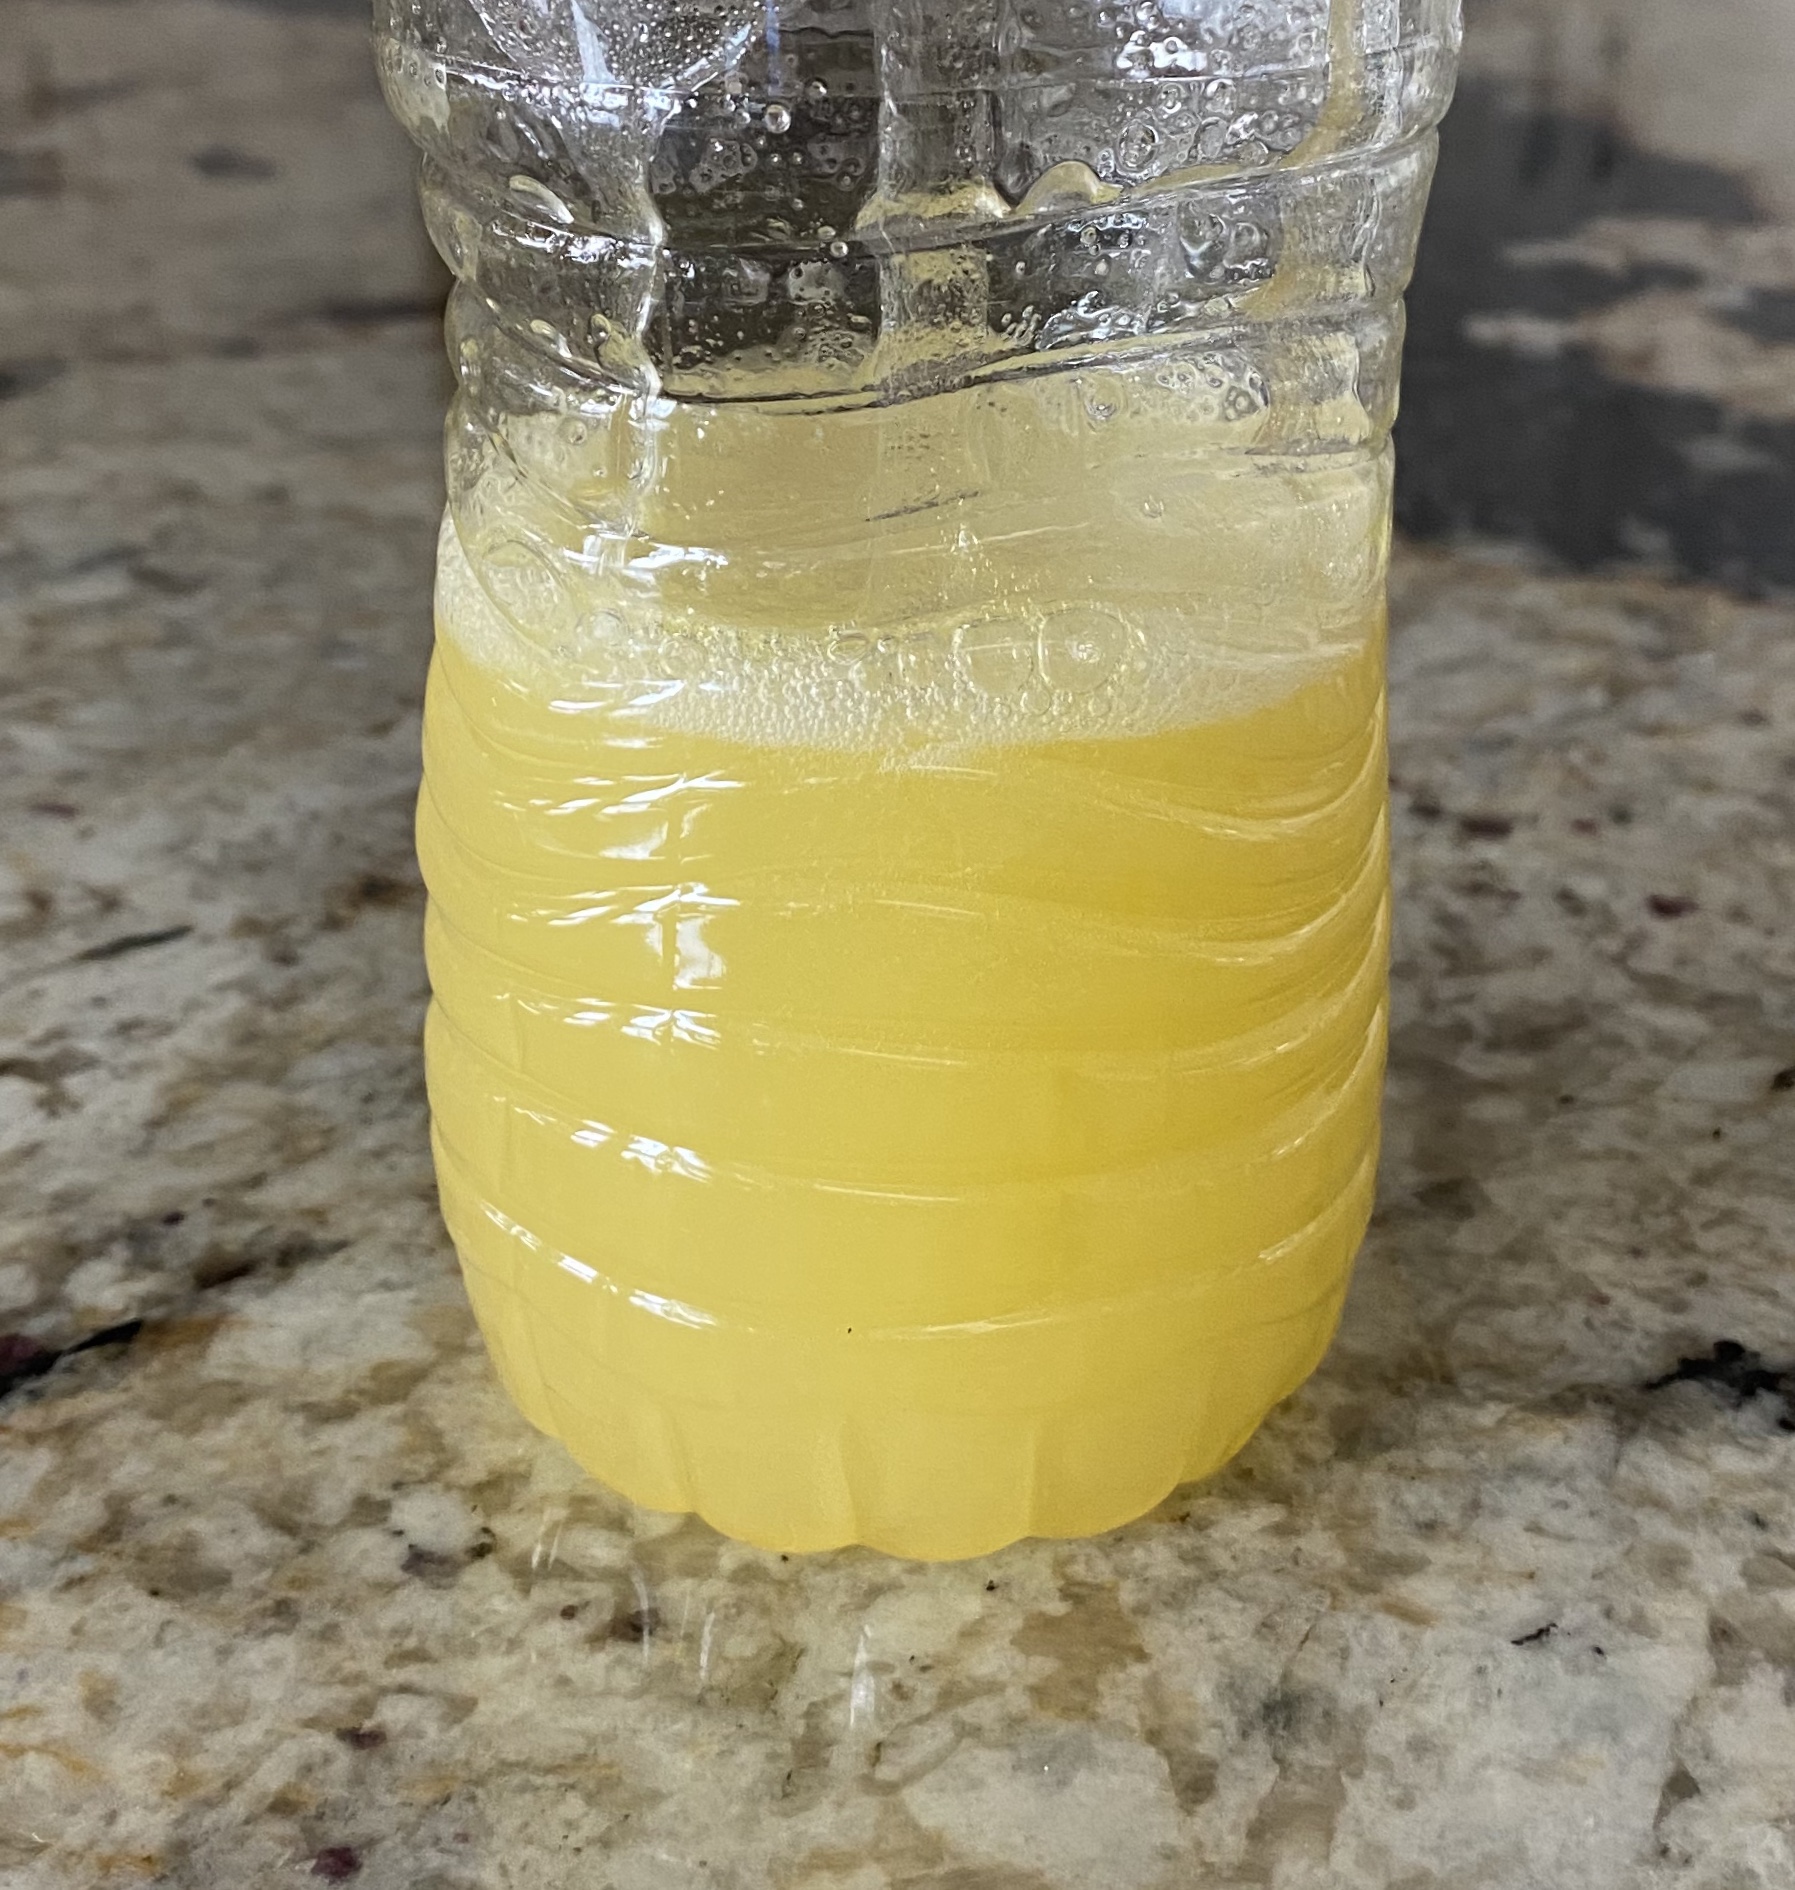
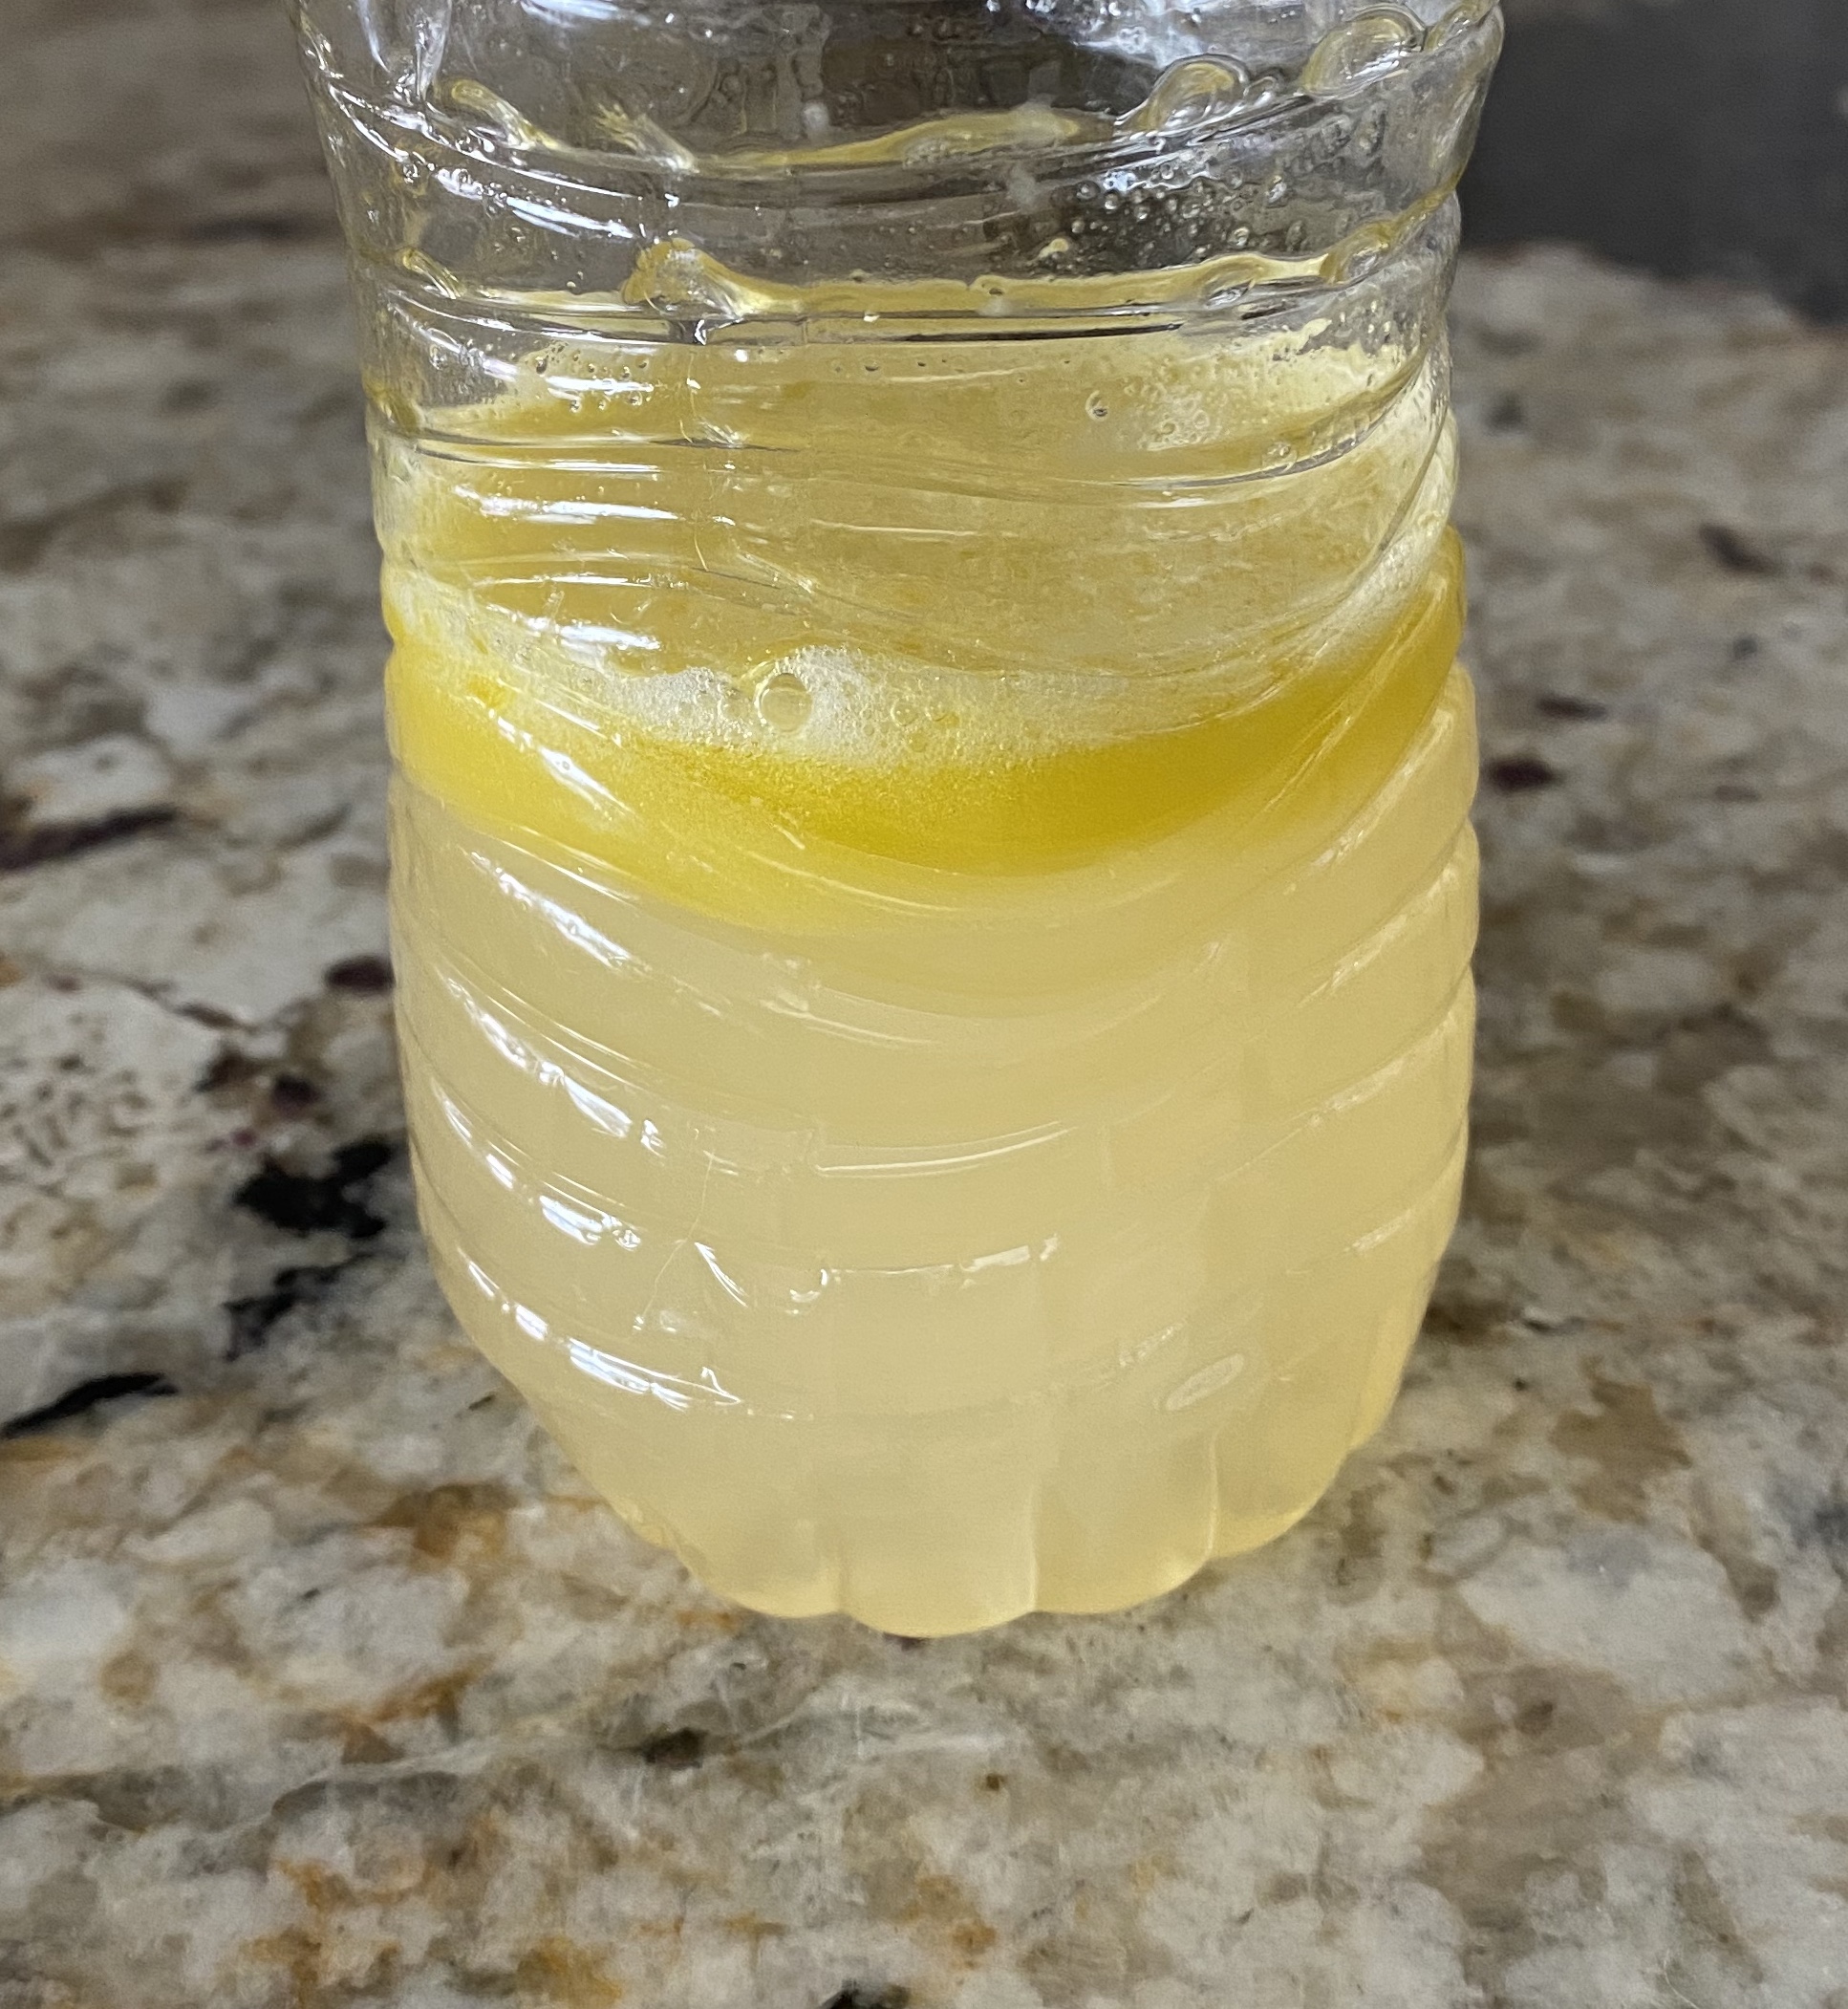
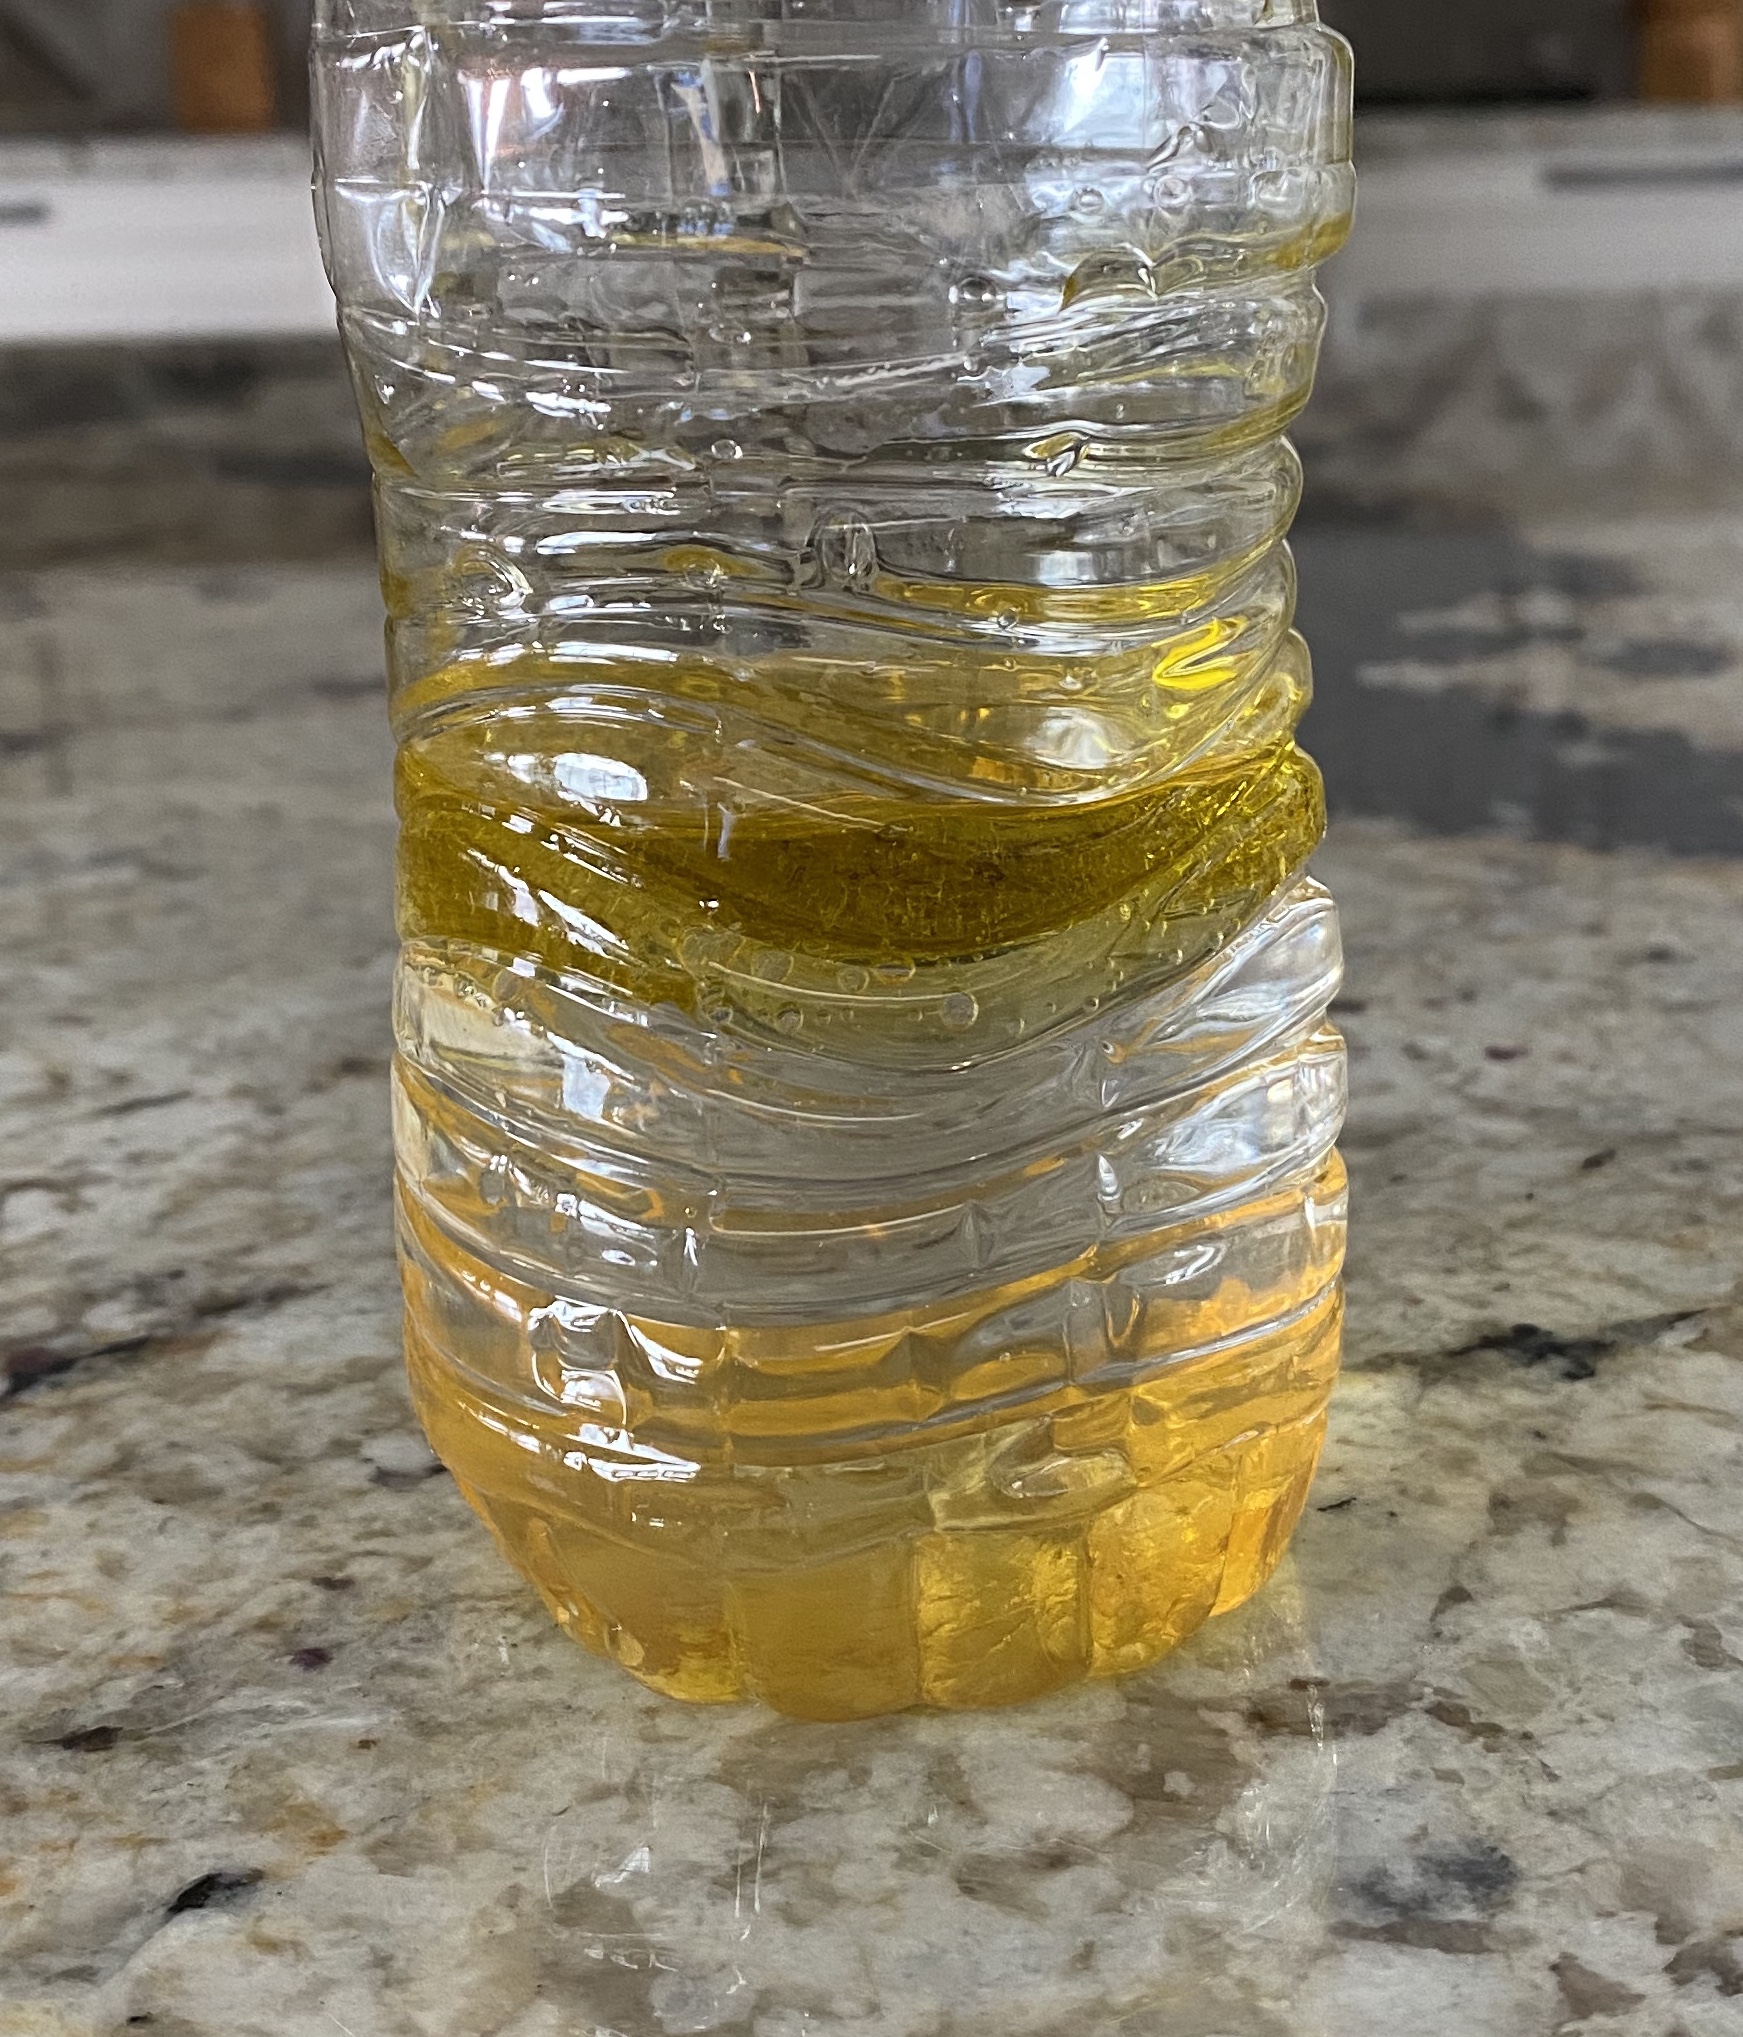
-Honey and oil density and solubility experiments: First I explained that density is how heavy something is for its size. Then we felt honey and water and discussed which one was probably most dense and why my little thought that. Next I asked him what he thought would happen if I poured some of the honey into water. We tested it out and he was right- it sank! Then we followed the same process with oil and water. Because the liquids have different densities, they layered very nicely in our water bottle. Next I told my little I was curious about what would happen if we shook the liquids up. I had him make a prediction, then shake up the bottle and tell me what he noticed. Then I asked him what he thought would happen if we let the bottle sit for awhile and we tested THAT out! The oil separated back out, but the honey stayed mixed in the water. We discussed how oil and water won’t mix together (they are insoluble), but that honey (which is similar to sugar water) can be dissolved into water which means it won’t settle back out (it is soluble)!
–Art:
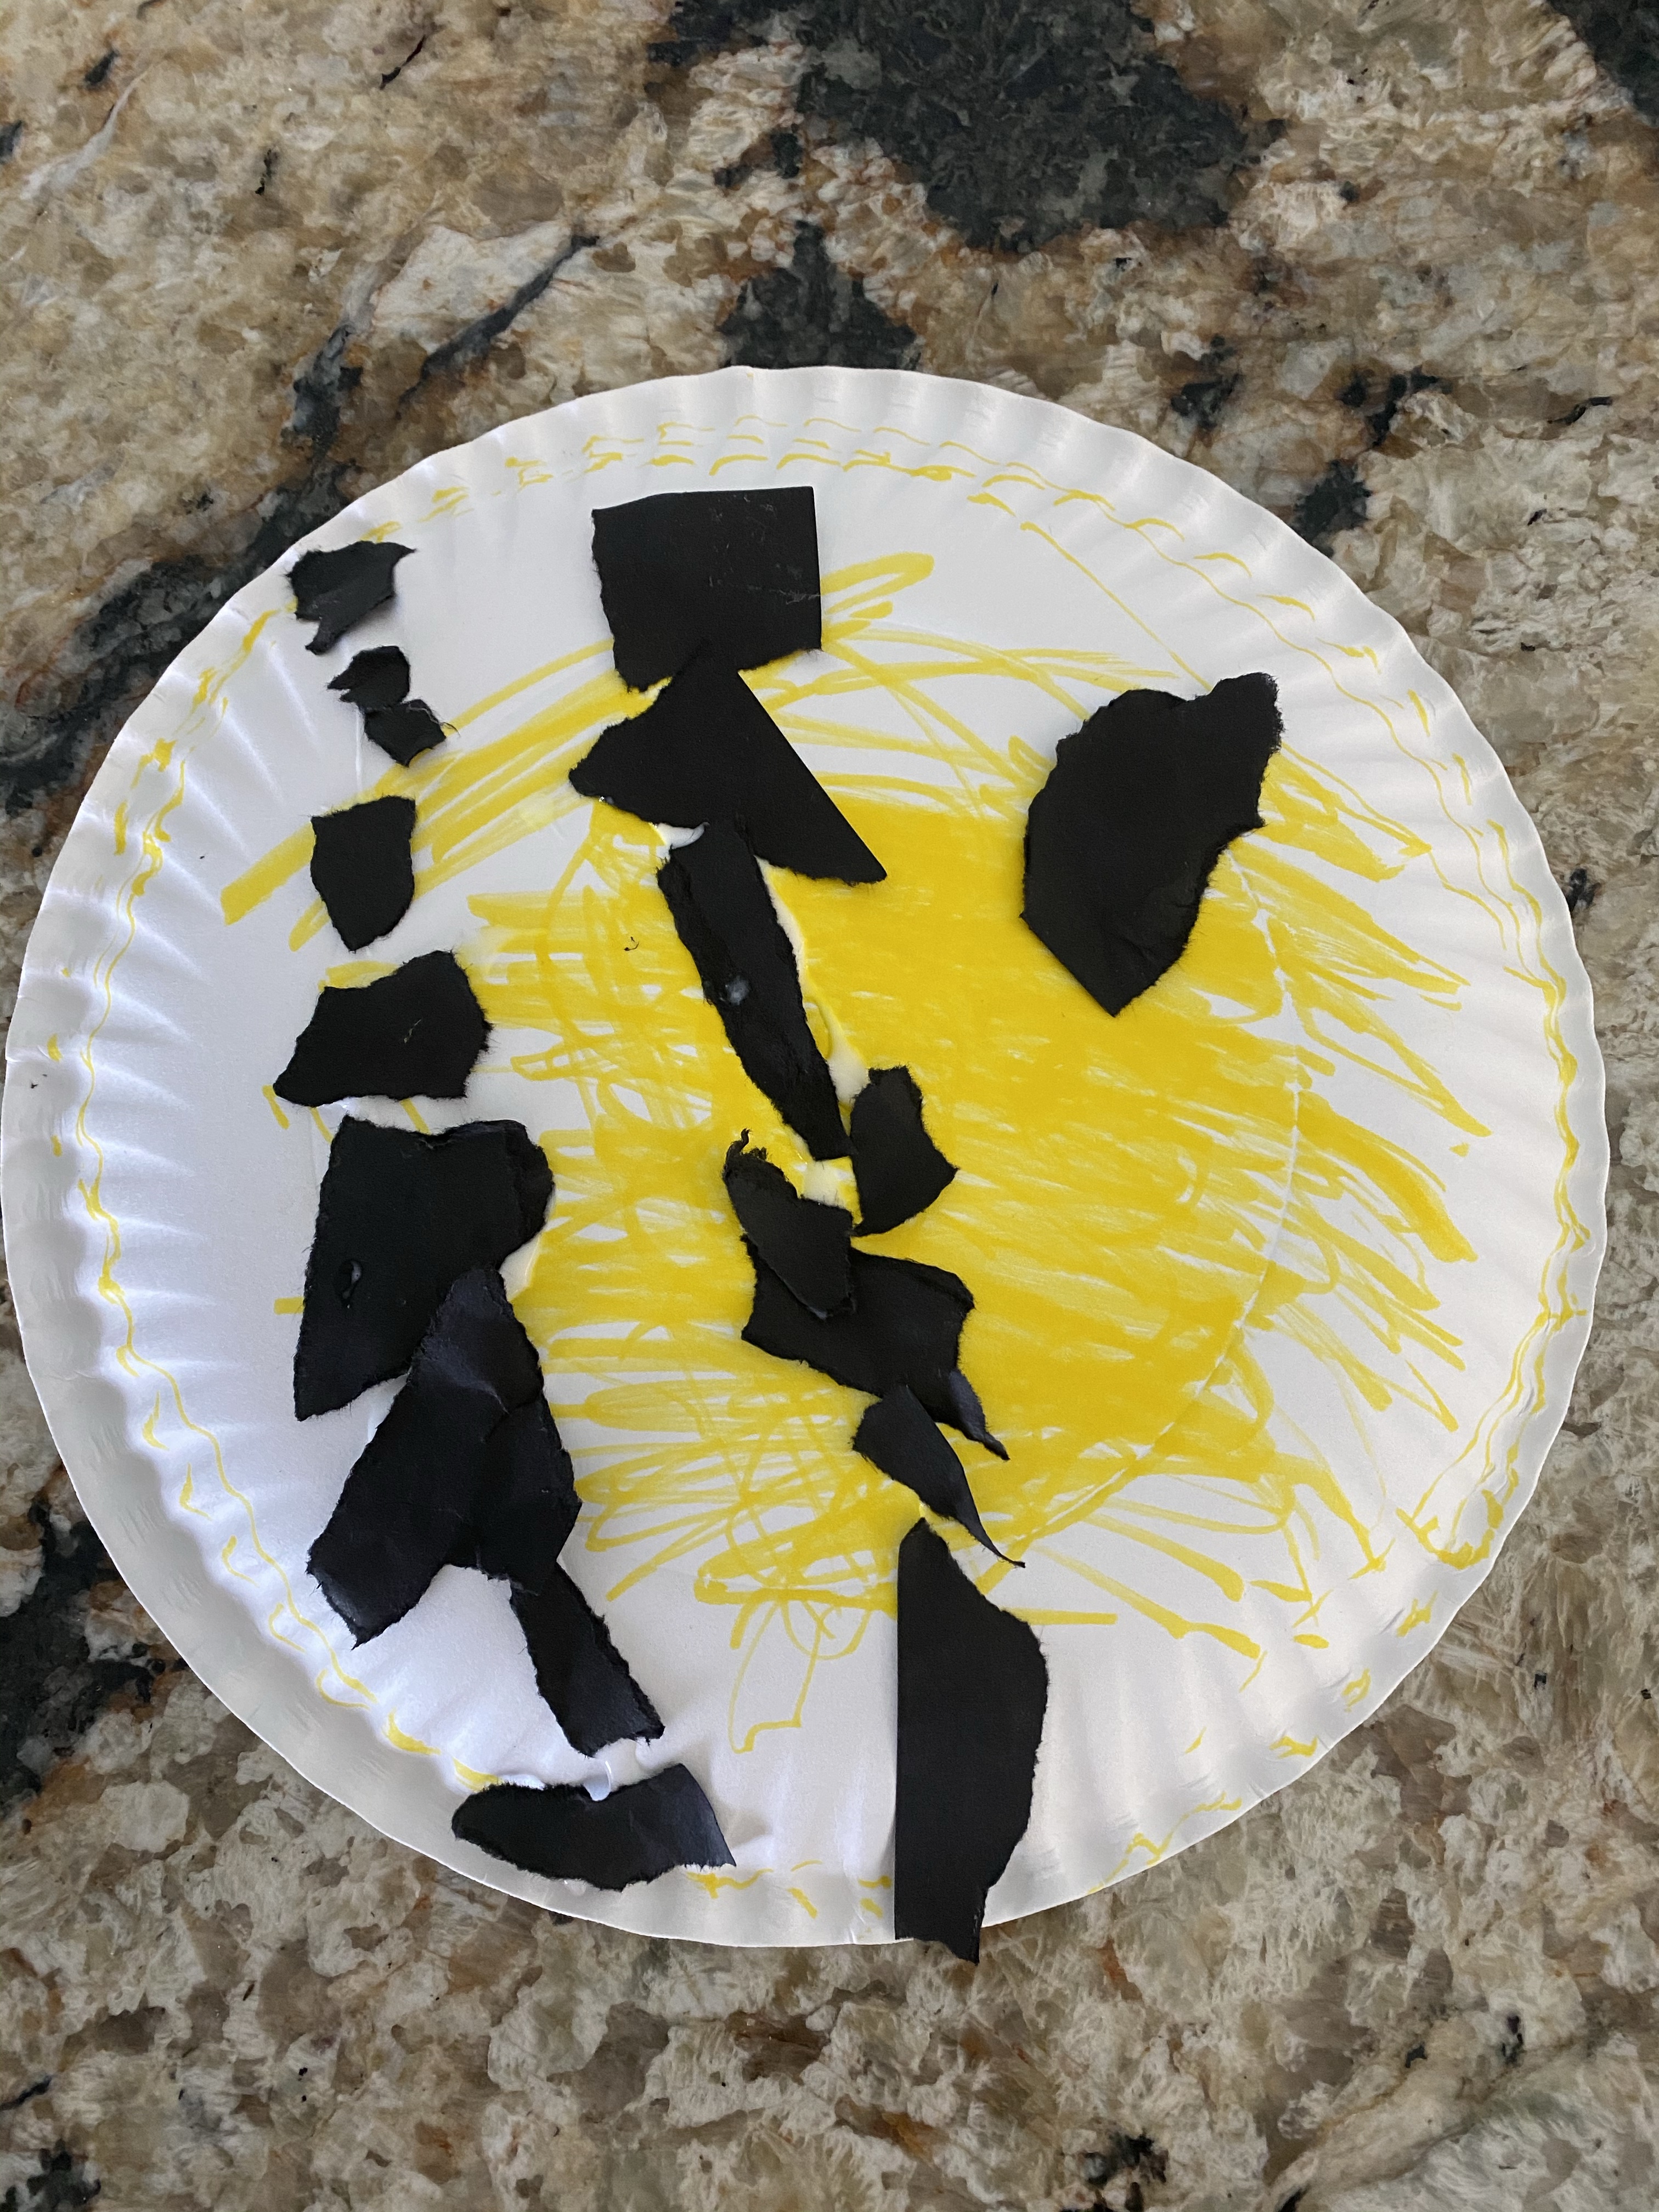
-Paper tear bee: I had my little color a paper plate yellow, tear up some small pieces of black paper (this is SUCH good fine motor practice- I showed him how to tear it with his thumbs and forefingers and it was a bit tricky, but he did it!), and glue them in stripes along the plate! Then we added a big black chunk for an eye and we had a bee! I got this idea from Babies to Bookworms and just changed the procedure a bit (they did the tiny pieces in yellow for the body of the bee then added cut out black stripes)!
-Honeycomb cereal honeycomb: I had my little build a honeycomb made out of honeycomb cereal on a piece of yellow paper. You can either glue it down, or do it loose then eat it for a snack! (we went for the snack option!) I got this idea from Teach Beside Me.
–Shopping/Supply List:
- 2 packs of lemon jello
- cake pan
- honeycomb cereal
- yellow pom poms
- dice
- tongs
- pattern blocks (hexagons)
- unifix cubes/blocks
- pipe cleaners
- oil
- paper plate
- toilet paper or paper towel tubes
- wax paper
- rubber band
- 2 or more types of honey
