
As far as creepy crawlies go, I’m not a big fan- but ladybugs are so cute they’re one of the few that don’t give me the heebie jeebies! LoL Since spring is in the air, I thought it would be a great time to dive into the lives of these cute little creatures with some ladybug learning activities- including raising a few of our own to watch them change from larvae to pupae to adults! Don’t forget to fly on over to my toddler post “Little Ladybugs” for some fun craft ideas like painting and hiding ladybug rocks, ladybug sensory play, and paper plate ladybugs!
–Literacy:
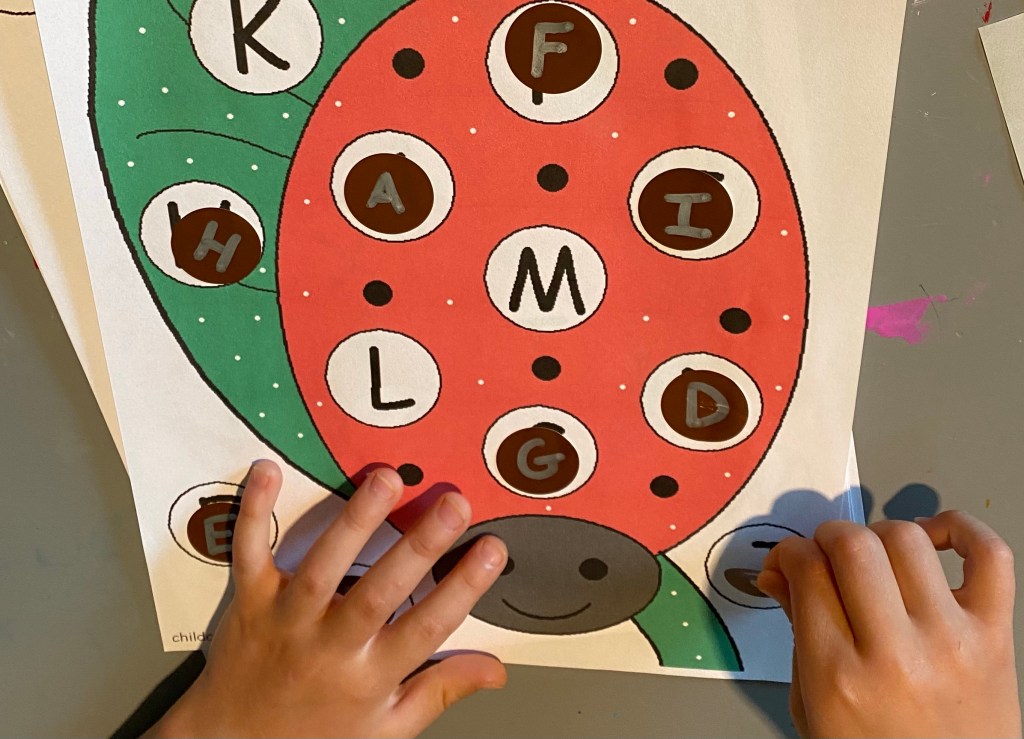
-Ladybug ABC dot match: I got this free printable from I Heart Crafty Things. I printed it, then wrote the upper and lowercase letters on brown dot stickers with a silver sharpie (I didn’t have any black dot stickers, but brown totally worked!) then had my little name and match each letter on the ladybug with its correct sticker. It comes with all the capital and lowercase letters, so this is a great activity to do over two days- uppercase one day, lowercase the next! You could even read “Lucy Ladybug” by Sharon King-Chai first and do multicolored dots to go with the story! (In the book she has no spots so she gathers them from friends who are willing to share and ends up with lots of colors!)
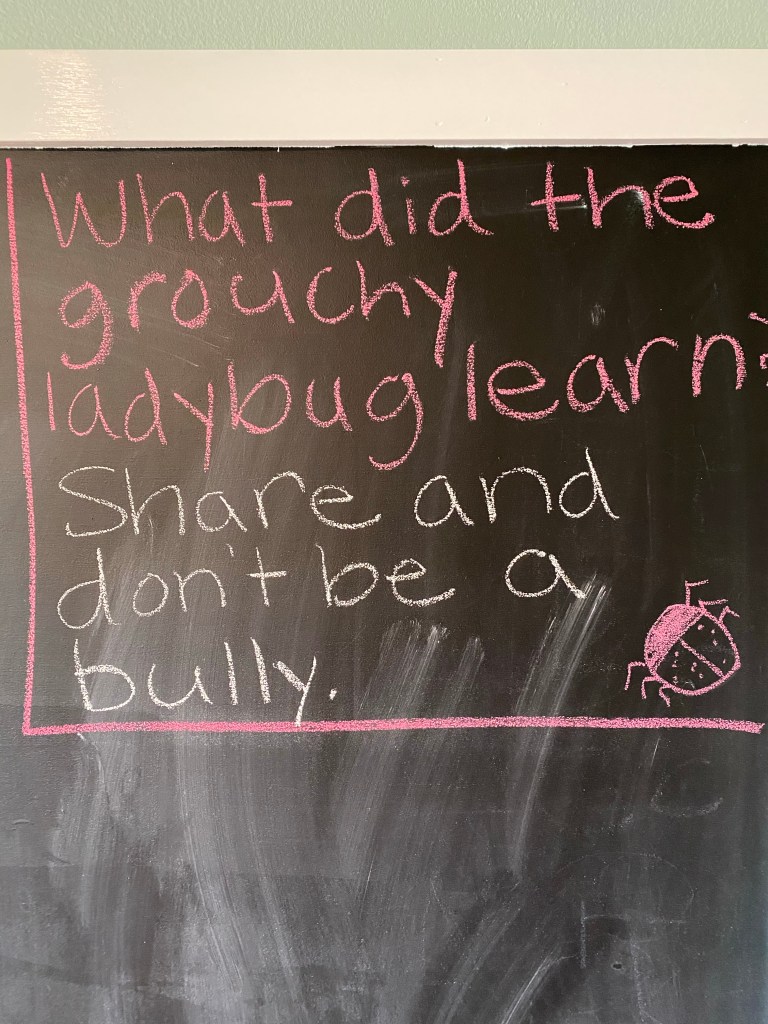
-“The Grouchy Ladybug” author’s message: We watched a reading of “The Grouchy Ladybug” on YouTube (I tried to get it from the library but it didn’t arrive on time so I improvised!) then talked about the story to determine the author’s message. I asked questions like “What did the ladybug keep doing over and over?” “Was that wise?” “What should the ladybug have done instead?” We also discussed bullying and how if you stand up to a bully, often they’ll back down- just like the ladybug!
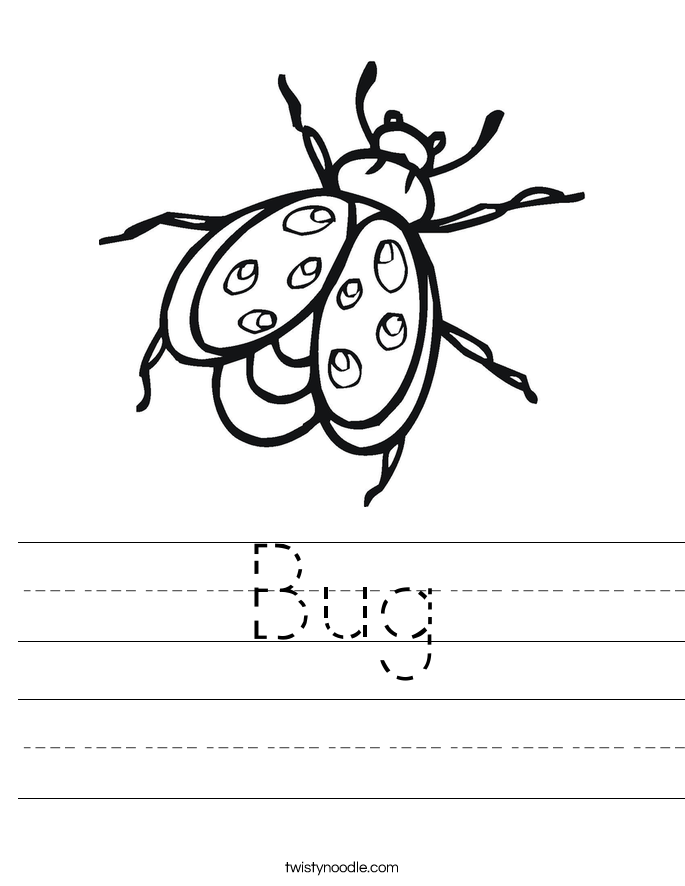
-B is for bug: This week’s letter was B (you could also do L for ladybug or I for insect- choose a letter your little hasn’t mastered yet!). Each day during calendar time we talked about the letter, then I had my little practice writing it with this B is for bug writing page. I added some plain B’s for him to trace on the bottom line, then had him try writing “bug” and the B’s by himself.

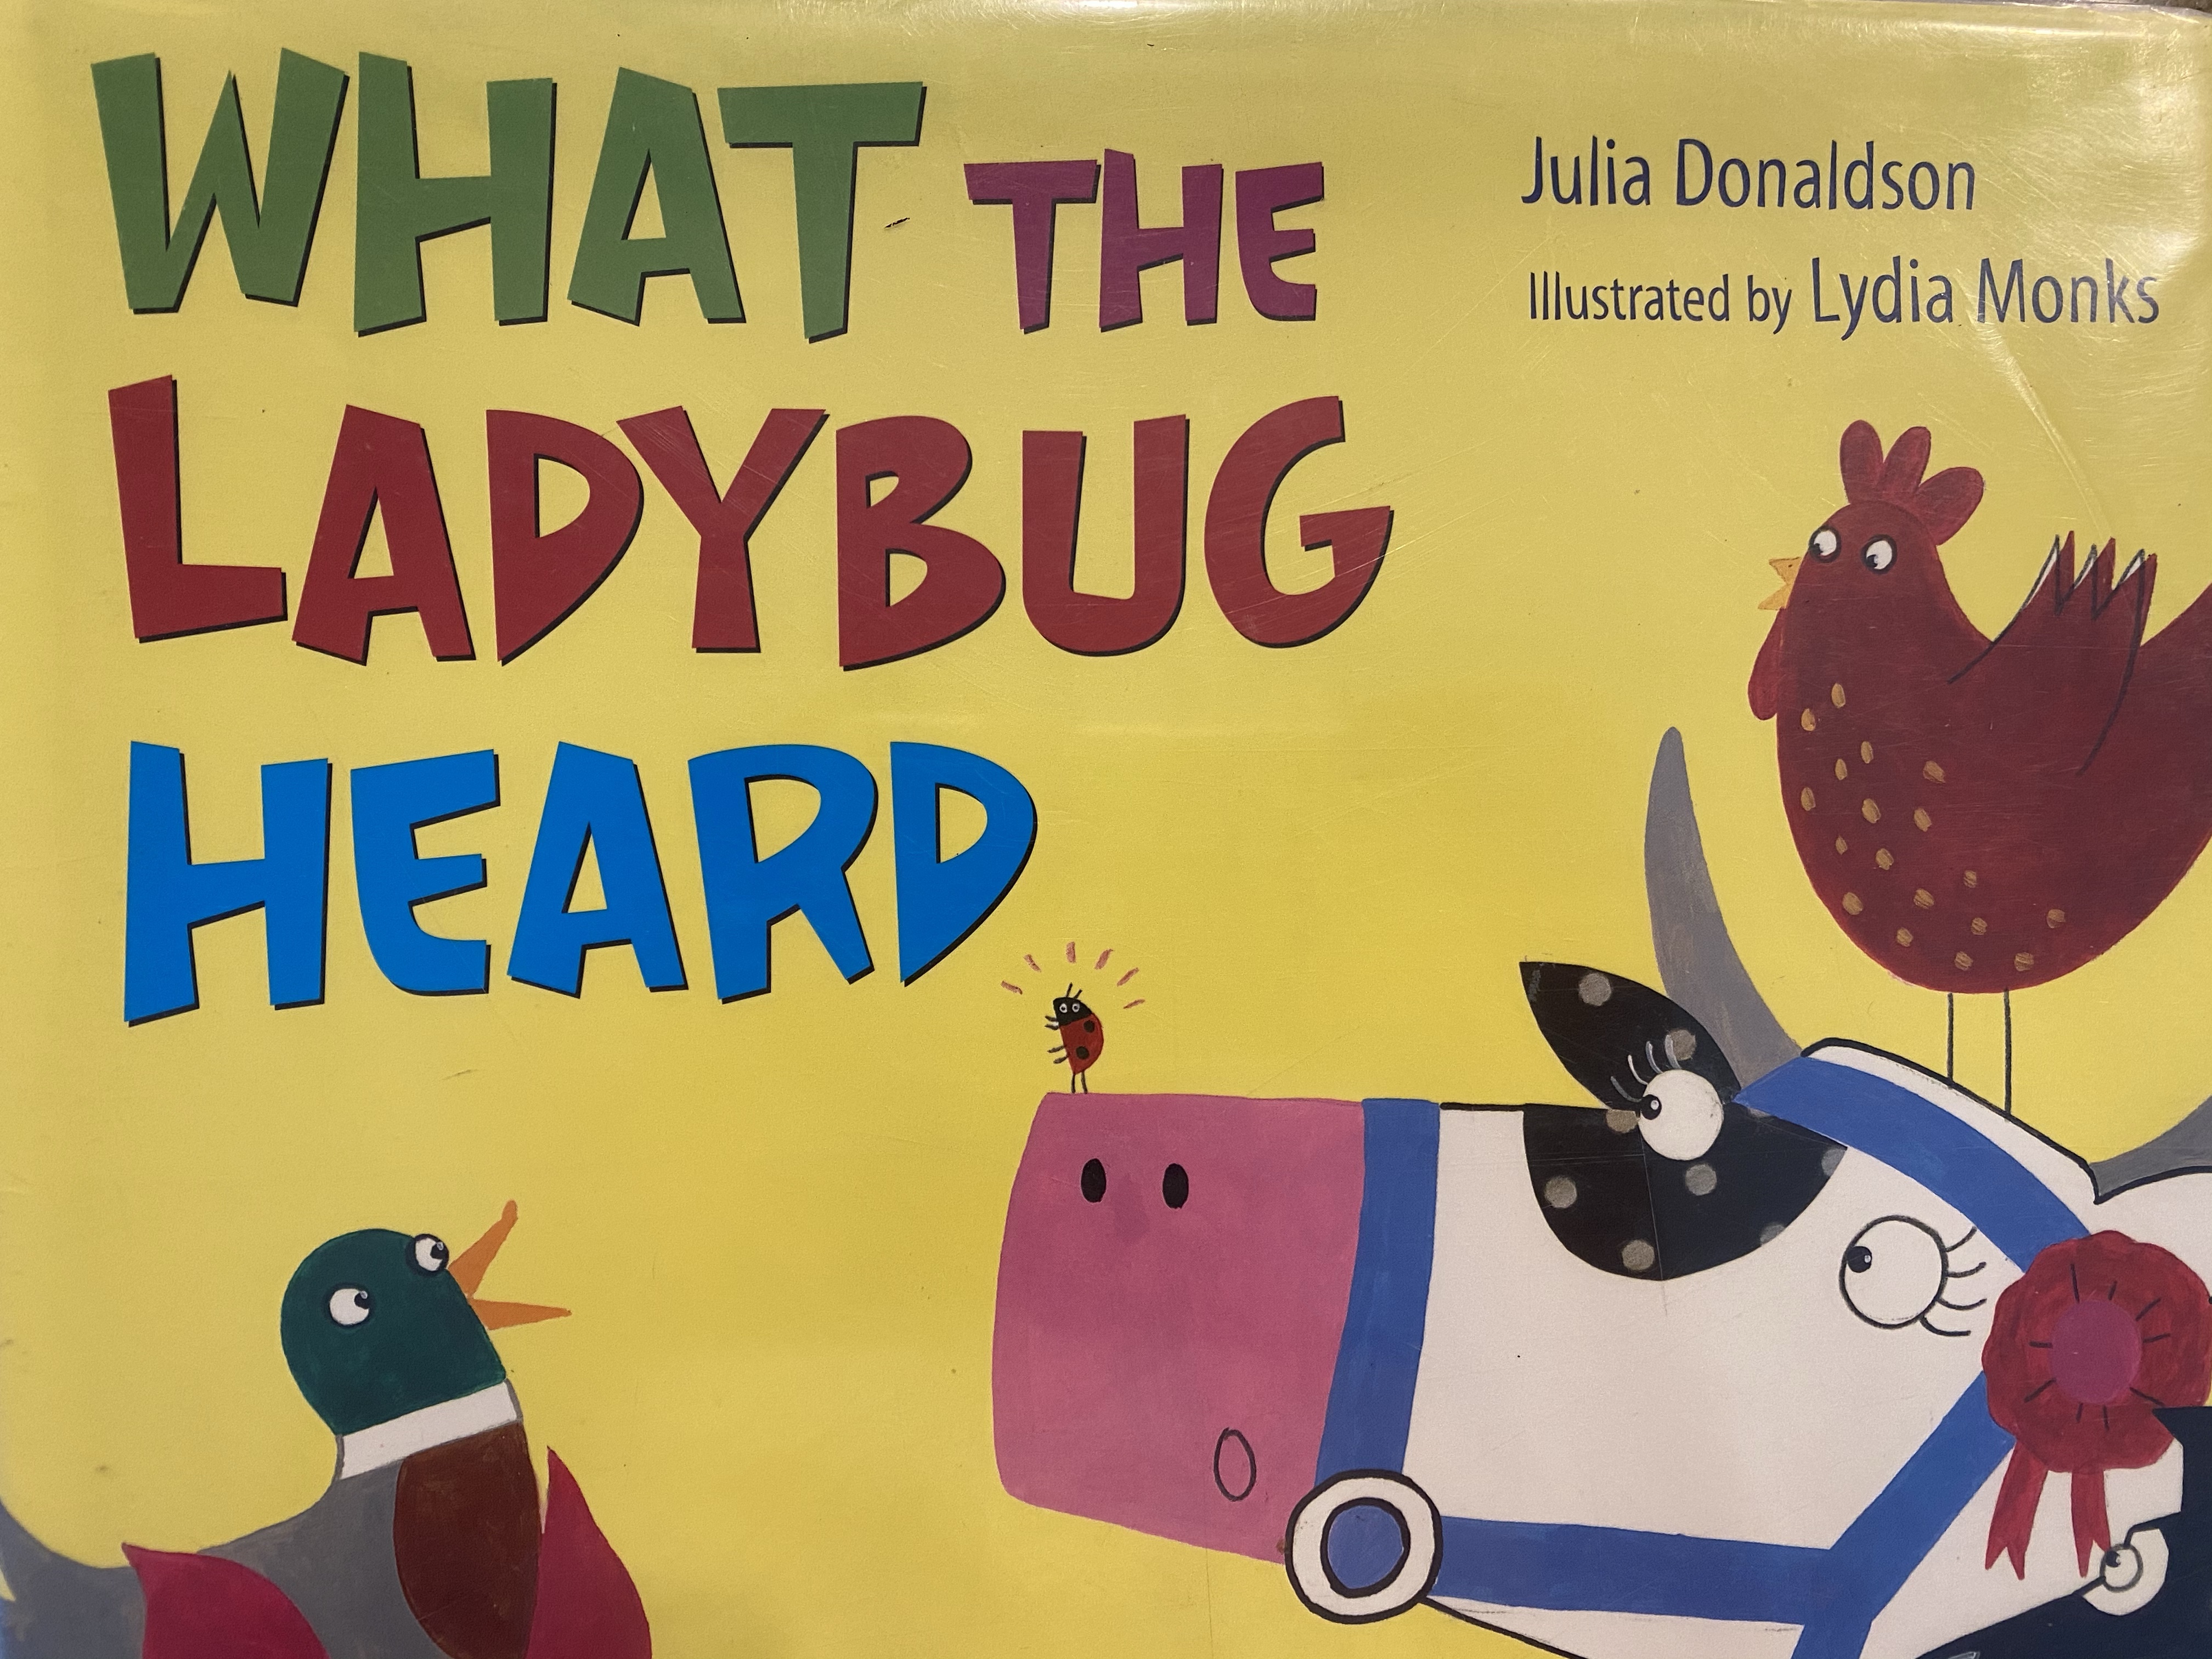
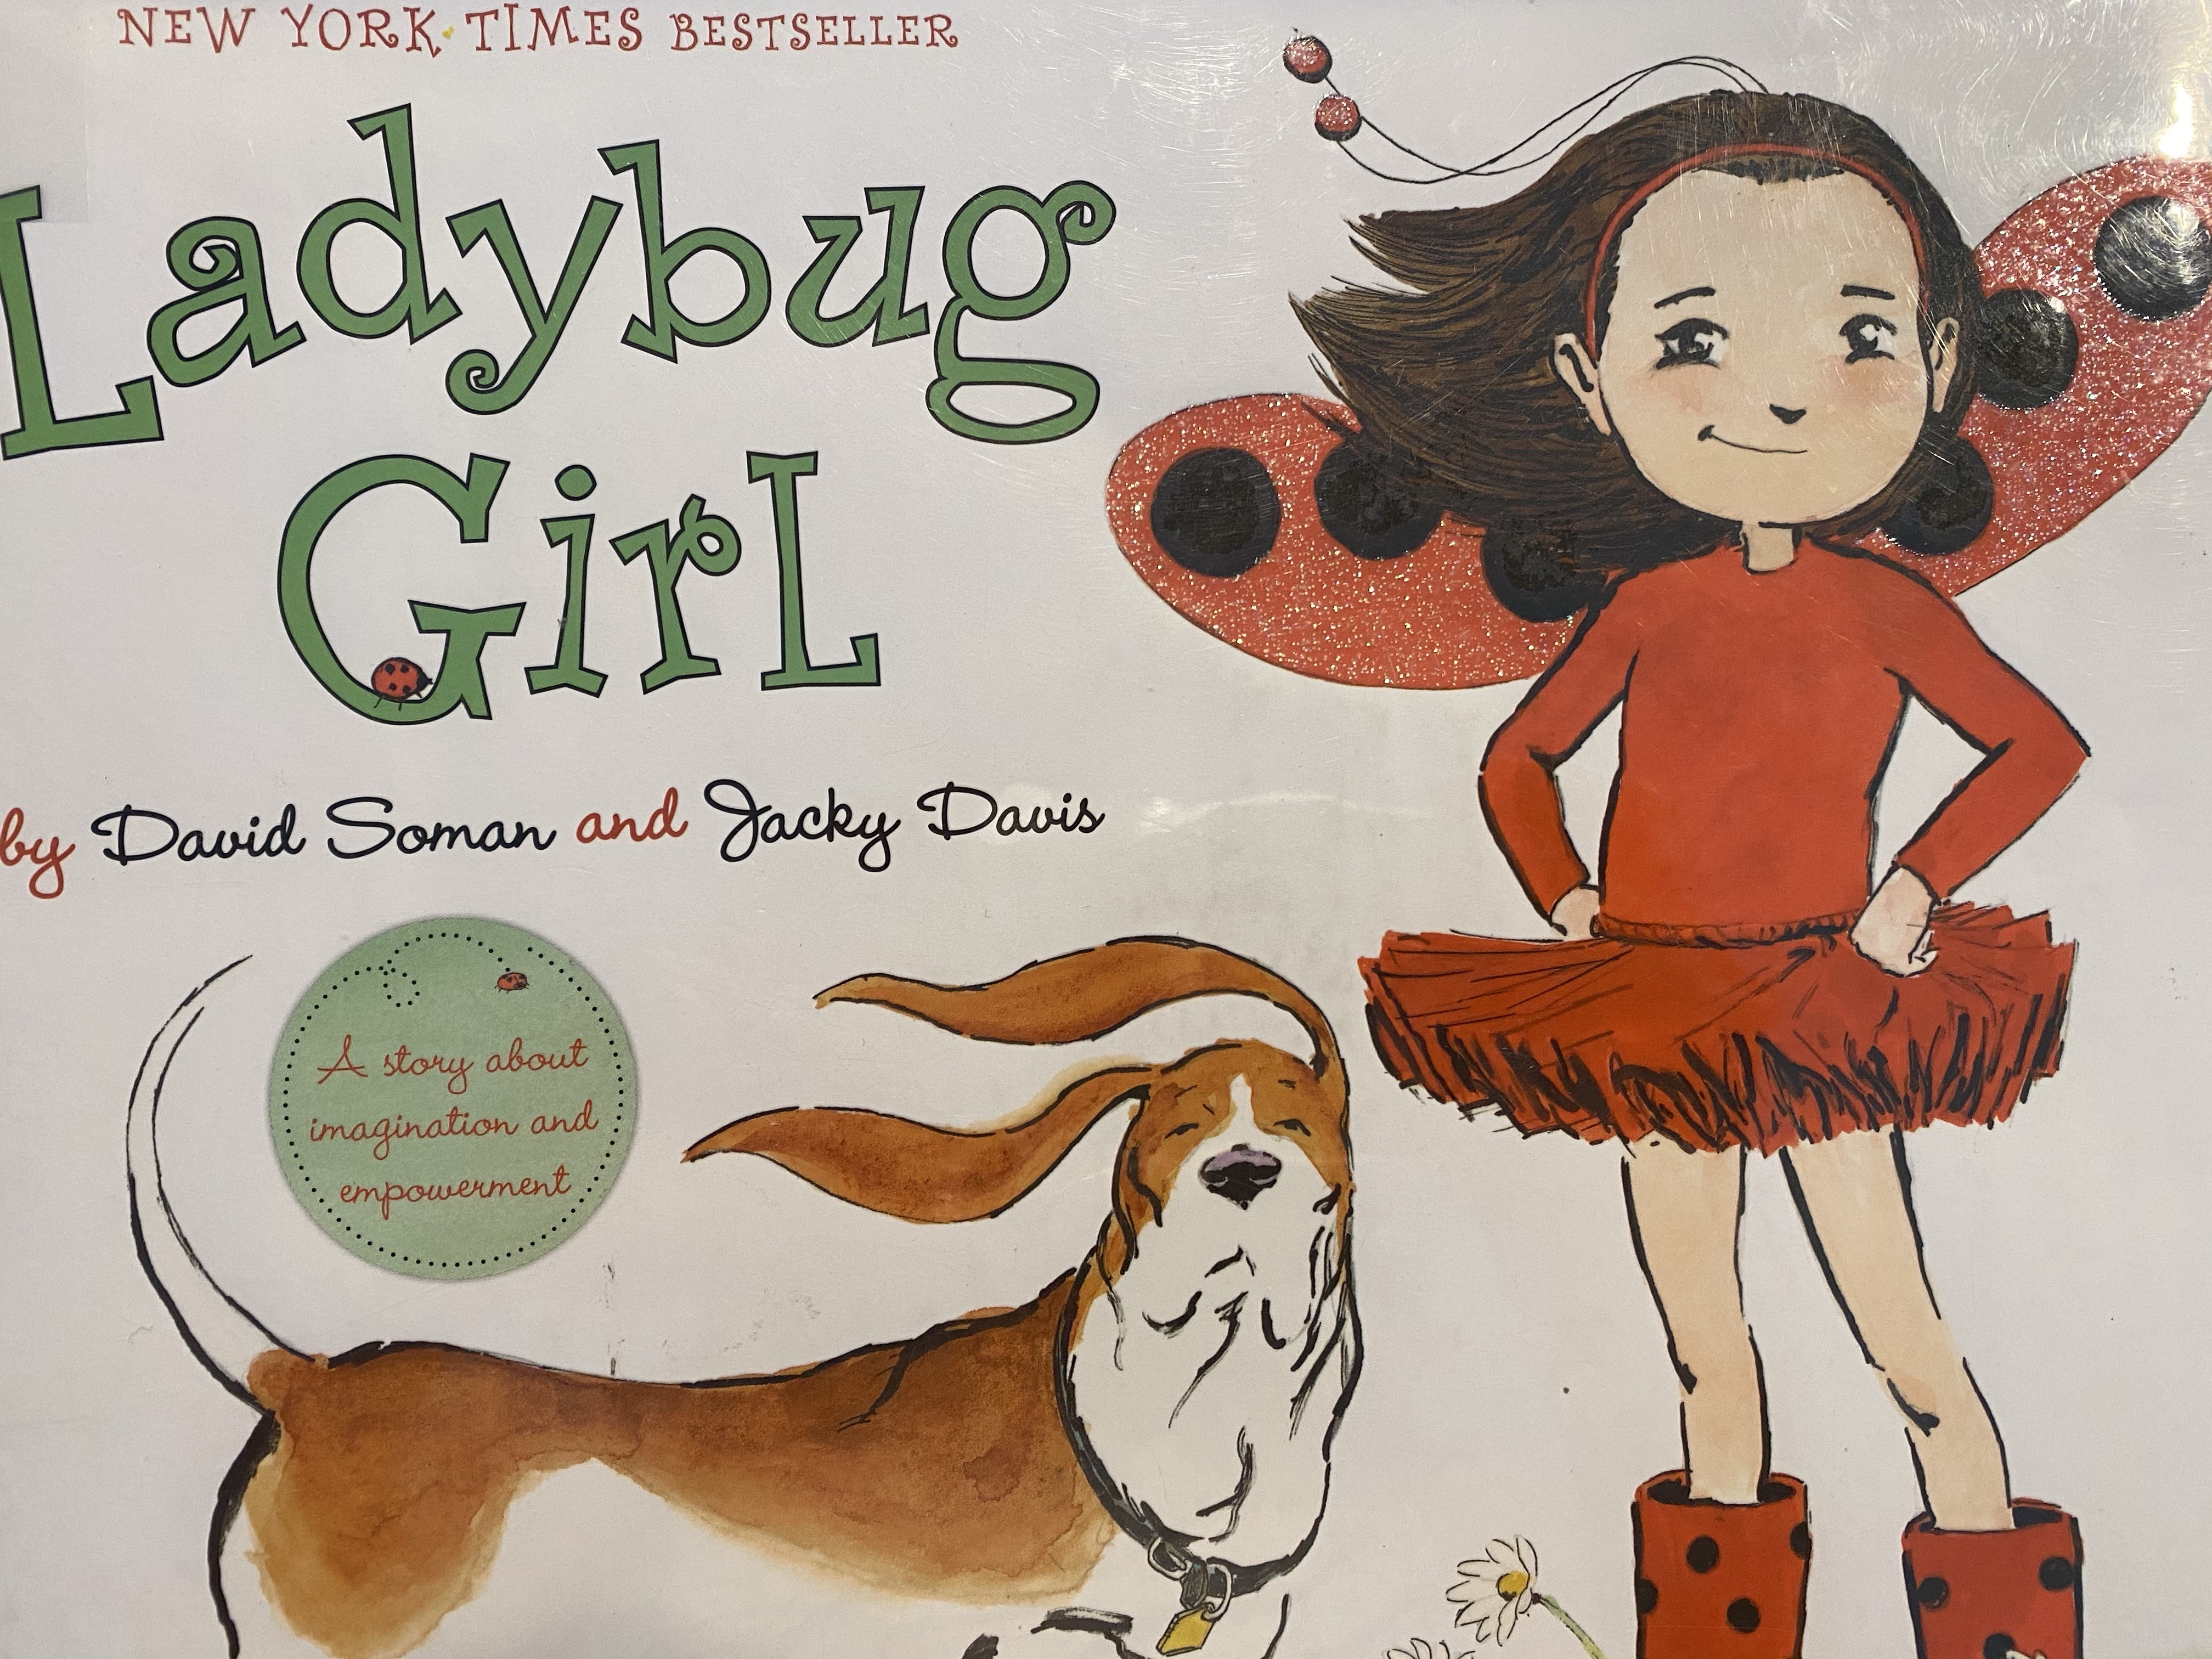
-Ladybug book list:


–Math:
-Ladybug dot counting: I cut out some ladybugs from red construction paper and wrote the numbers 1-10 at the top of them. Then I had my little stick black dot stickers on the bugs to match each number.

-Ladybug number line: After completing the above activity, I had my little use his ladybugs to make a number line- basically he just placed them in order 1-10 on the floor.

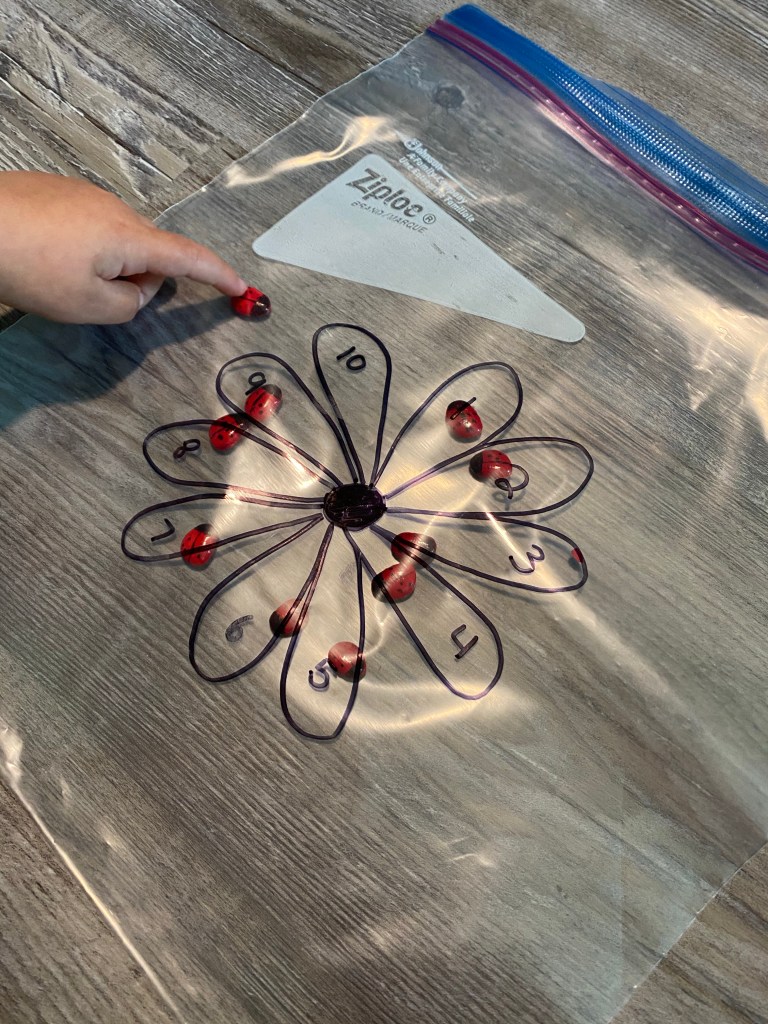
-Hands on Ladybug counting bag: My friend Lisa shared this activity with me from Crafty Moms on TikTok and though it took some prep work, it turned out so cute! I ended up not putting the oil in the bag because I wanted to save it for later and was worried about messy leaks- you can still move the ladies around just fine without it! To set this up, you just paint some beans red with nail polish. When it’s dry, decorate them to look like real ladybugs with a black Sharpie! Then draw a flower with 10 petals on a gallon Ziplock bag. Label the petals 1-10, then have your little scoot the ladybugs onto the petals while counting.
-Ladybug count and clip: I printed out this ladybug count and clip activity from Teachers Pay Teachers, laminated it then had my little count the ladies on each leaf and clip the correct number.

-Ladybug shapes: I printed this ladybug shape match activity from Teachers Pay Teachers, laminated it, then cut out the ladybug pieces. I had my little name each shape, then match it to the coordinating tree. Note: The pages label the rhombus as a diamond- this only creates confusion when kids get to school. As I would tell my 3rd graders- a diamond is a rock, a rhombus is a shape. I relabeled it and I encourage you to do the same! The word rhombus is just as easy to remember!

–Science:
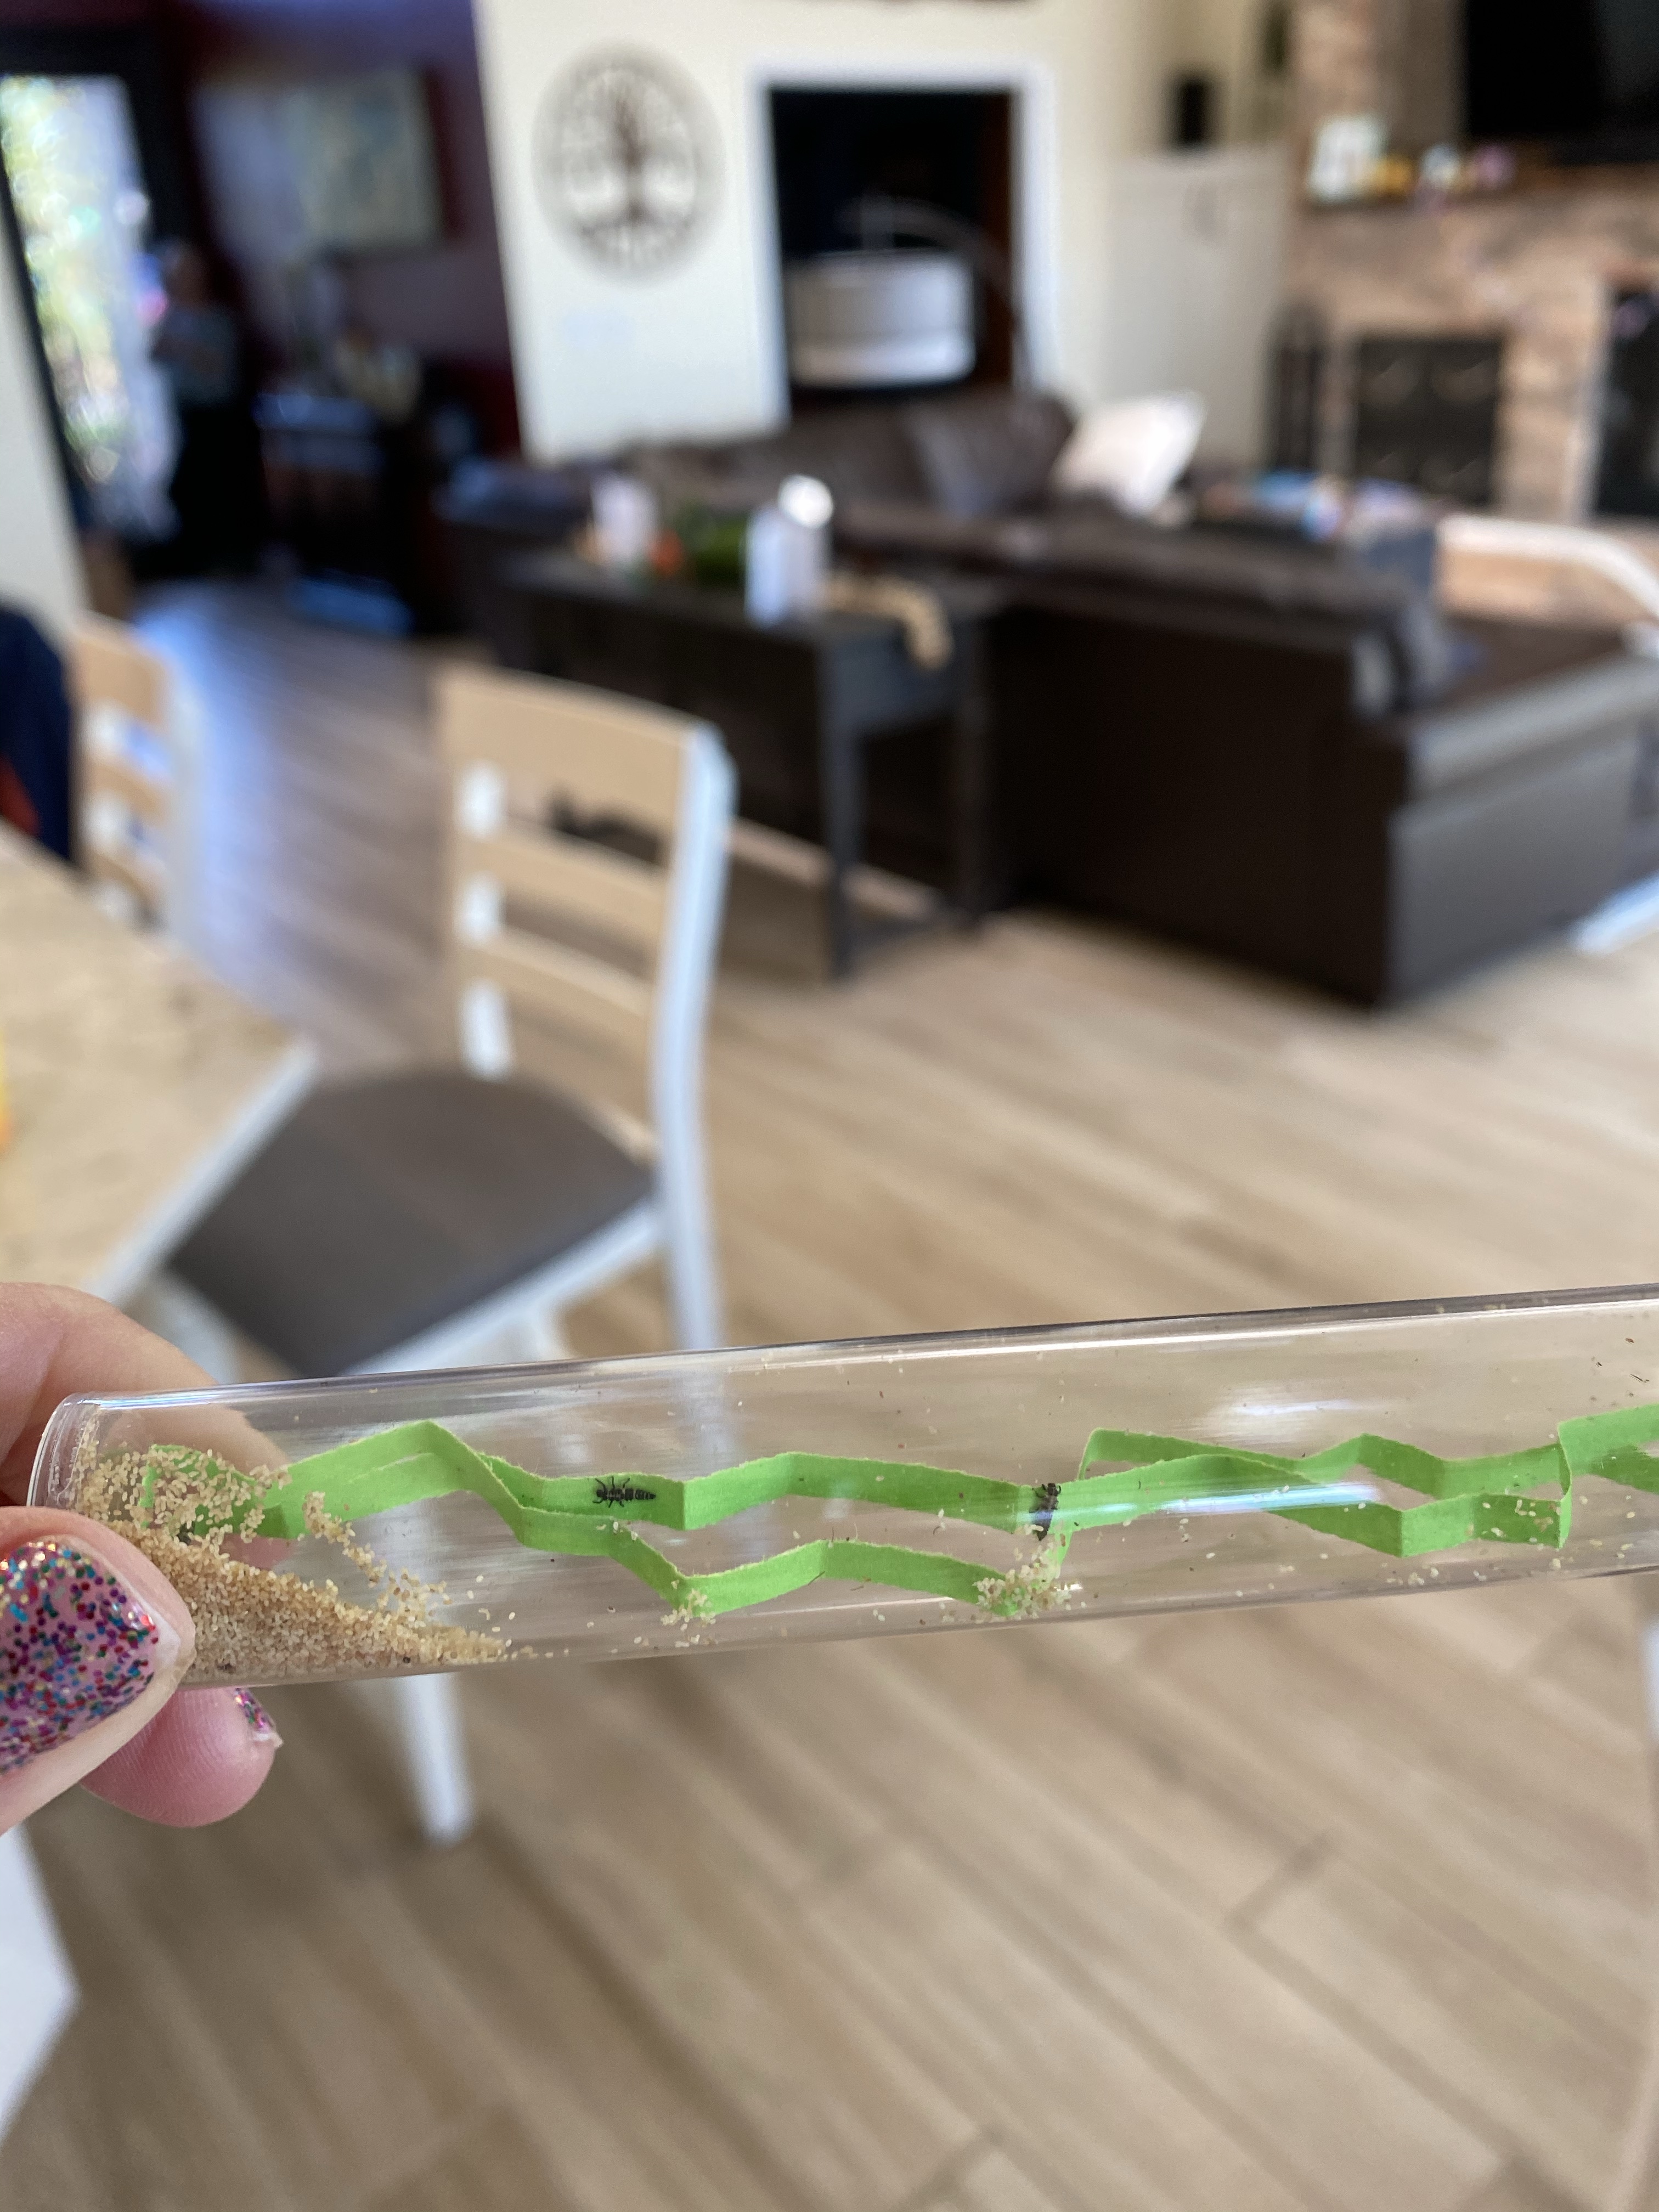
-Ladybug growing kit: This was the crown jewel of our ladybug week- raising our own ladybugs! You can get a kit on Amazon with live ladybugs included for around $30 ($20 if you just get the bugs and figurines). They come as larvae and eat and molt and grow- then turn into pupae (which is almost like what butterflies do- they attach to a leaf and their body hardens into a case as they change inside). Then they come out as adult ladybugs! Unfortunately, our bugs all died within a few days of getting them…I emailed the company and they were super helpful getting us replacements! They guarantee 5 bugs will fully transform into ladies. It’s a great way to observe metamorphosis up close!
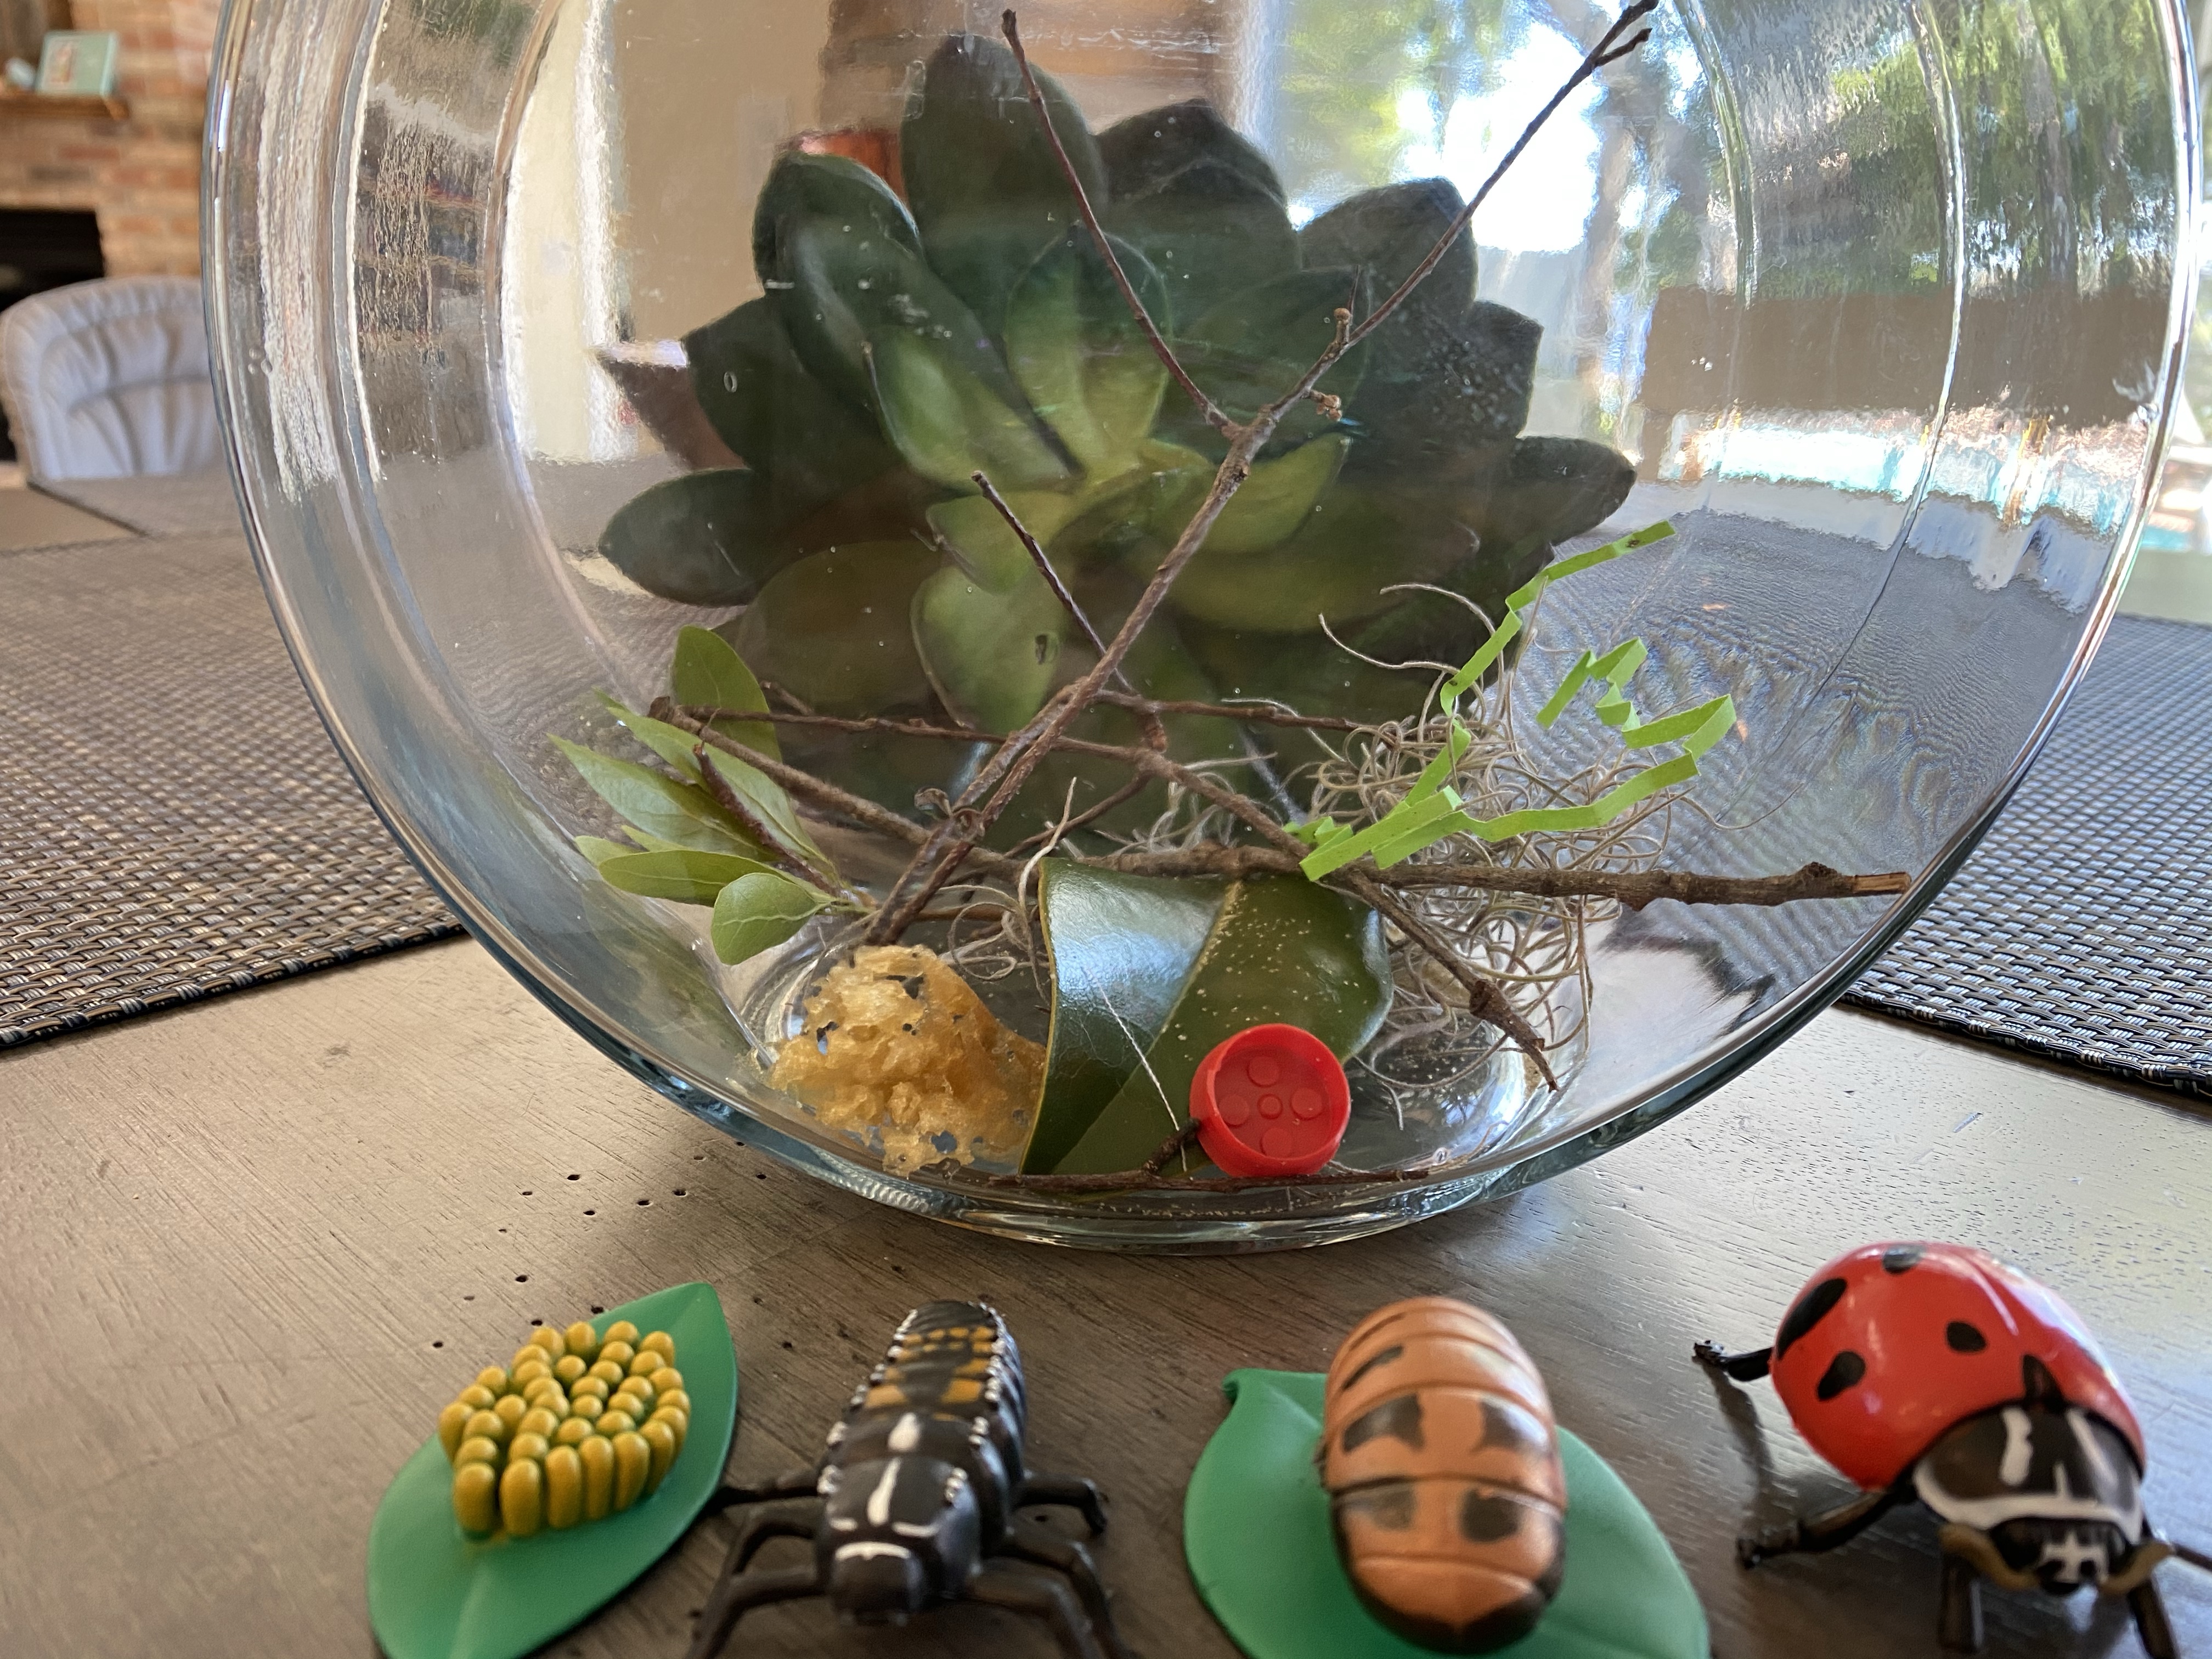
-Ladybug life cycle: Since the ladybug kit came with figurines depicting their life cycle, I read a nonfiction ladybug book to my littles then had my preschooler put the figures in order from egg to adult. Then I had him name each phase. If you decide not to get a kit, you can always do this with cards printed from the internet.

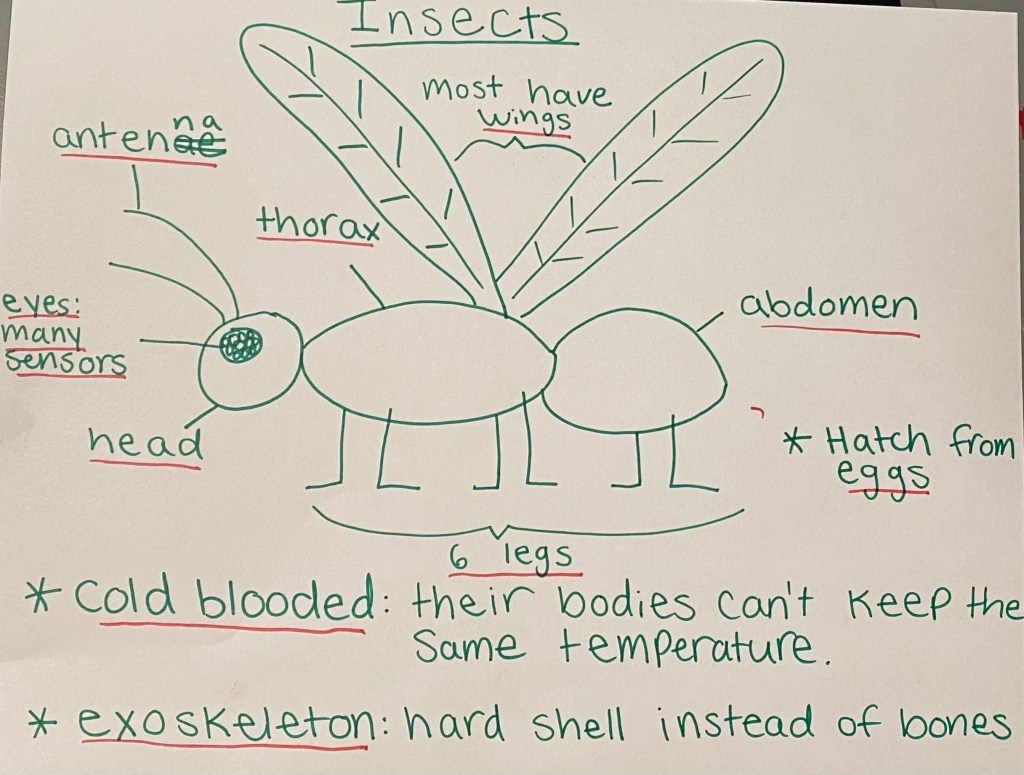
-What makes an insect: First we watched this short video clip on insects from YouTube. Then I drew a diagram of an insect (I chose a dragonfly since ladybug’s parts are sort of hidden by their outer shell) and had my little tell me what makes an animal an insect. I wrote down his answers on and around the diagram, depending on if they were related to a body part like having 6 legs or a trait like hatching from eggs.
-What I learned about ladybugs graphic organizer: First I made a foldable graphic organizer by folding a paper in half top to bottom then in half again side to side. I folded down the inner corner (where all the folds meet) then opened it up and traced the lines. Then I had my little tell me all that he had learned about ladybugs during the week and wrote down his answers in the corners. For the last box, I had him draw a ladybug himself.

–Art:
-Ladybugs on a leaf art: I cut out a large leaf from green construction paper (though in hindsight I should’ve had my little cut it out!) then gave him red dot stickers to stick on the leaf. I showed him how to decorate the stickers with a black Sharpie to make them ladybugs, then let him add as many as he liked. He really liked using the Sharpie because usually those are a no-no since they’re permanent! (Tip: If they do get on something like the table or floor, usually a Mr. Clean magic eraser will get it off!) He even drew some aphids on the leaf for the ladybugs to eat! I had my toddler do this activity too, but I decorated the ladies for him.
-Egg carton ladybugs: These came out so cute and were really easy to make! You just cut out one section of an egg carton and have your little paint it red. Then, when it’s dry, have them use their finger or a Q-tip to add black dots to the ladybug’s shell. Add some black pipe cleaner legs and a face and you’ve got a new friend!

–Supply/shopping list:
- “The Grouchy Ladybug” by Eric Carle or other fictional ladybug story
- ladybug raising kit
- gallon sized Ziplock bag
- white beans (10)
- ladybug book (nonfiction- any will do!)
- red and black dot stickers
- egg carton
- pipe cleaners
