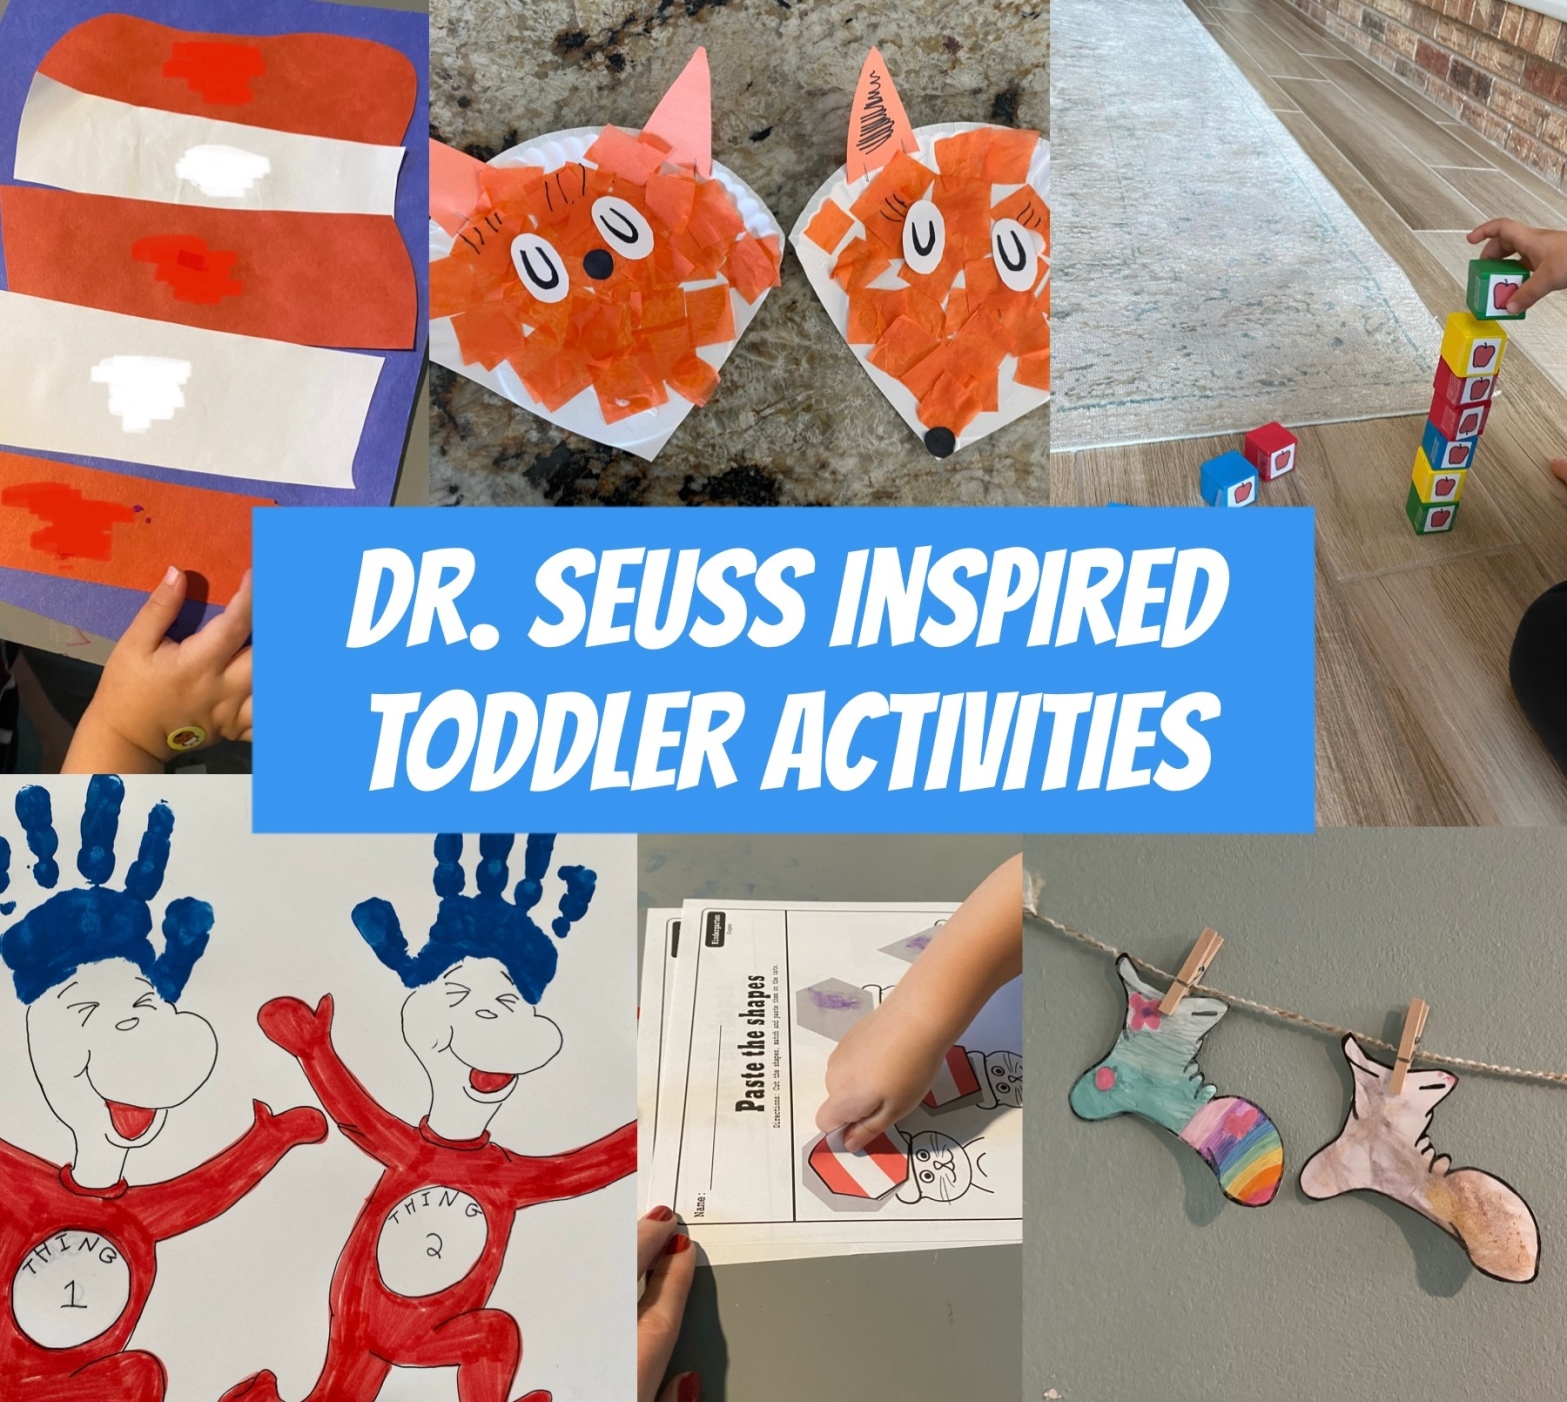
With Dr. Seuss books I’m like “I can read them here or there, I can read them anywhere!” They are truly gems in the world of kids’ books! Not only are they whimsical and fun, but Dr. Seuss was a revolutionary in the area of early childhood literacy in that many of his books are written using simple text but complex stories- the idea being that early readers are excited to dive into them compared to other easy texts of his time- think “We looked and we saw him step in on the mat. We looked and we saw him- the cat in the hat!” versus “See spot run. Spot runs fast. Run Spot, run!” I mean, which one sounds more interesting to read? Exactly! Several authors since then have copied this formula of simple text to write complex stories (take another one of my favorites, Mo Williams, for example) and now teaching reading to littles is MUCH more fun and interesting for everyone involved! That being said, Dr. Seuss’s birthday is coming up next week, so I thought we’d celebrate his literary achievements by doing a full week of fun activities based around his characters- and of course by reading ALL of his books (or a good handful of them anyway- he did write over 100!) Without further adieu- welcome to SEUSSVILLE!
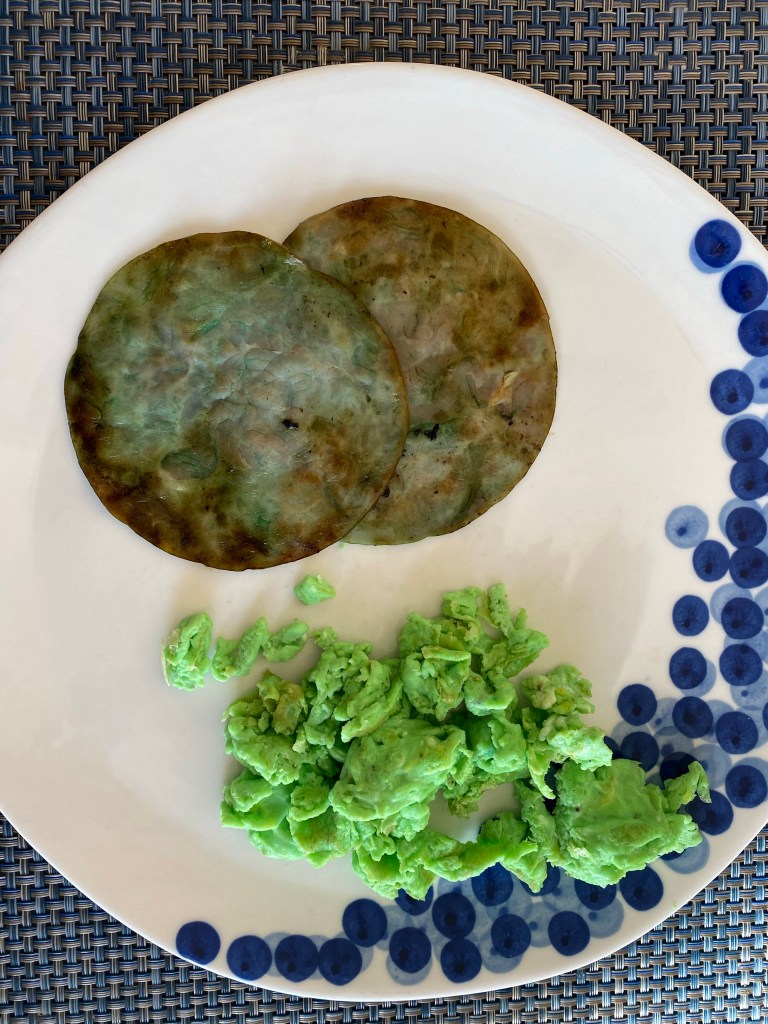
-Green eggs and ham: You can’t really have a Dr. Seuss week without eating green eggs and ham! LoL I made some for breakfast by dying scrambled eggs green with liquid food coloring. To make the ham green, just place 4-5 drops of green food coloring and a splash of water in a ziplock, pop in some deli ham and swirl the water around it. It takes on the color fairly quickly! Then cook it all up in a pan and serve! Will your little try it? (One of mine did, one ran away crying…hahaha I mean the ham does look pretty scary, but I promise it’s good!)
-“10 Apples Up On Top” block balance: First we read the story “10 Apples Up On Top” which my apple loving toddler adored. Then I gave him 10 blocks that I had taped apples too (just print some apples here, cut them out, and tape them to the blocks) and had him try to stack all 10 apples up. Of course this lead to my preschooler and I trying to balance the “apples” on our heads like in the book! LoL I got this idea from Lach on Pinterest.

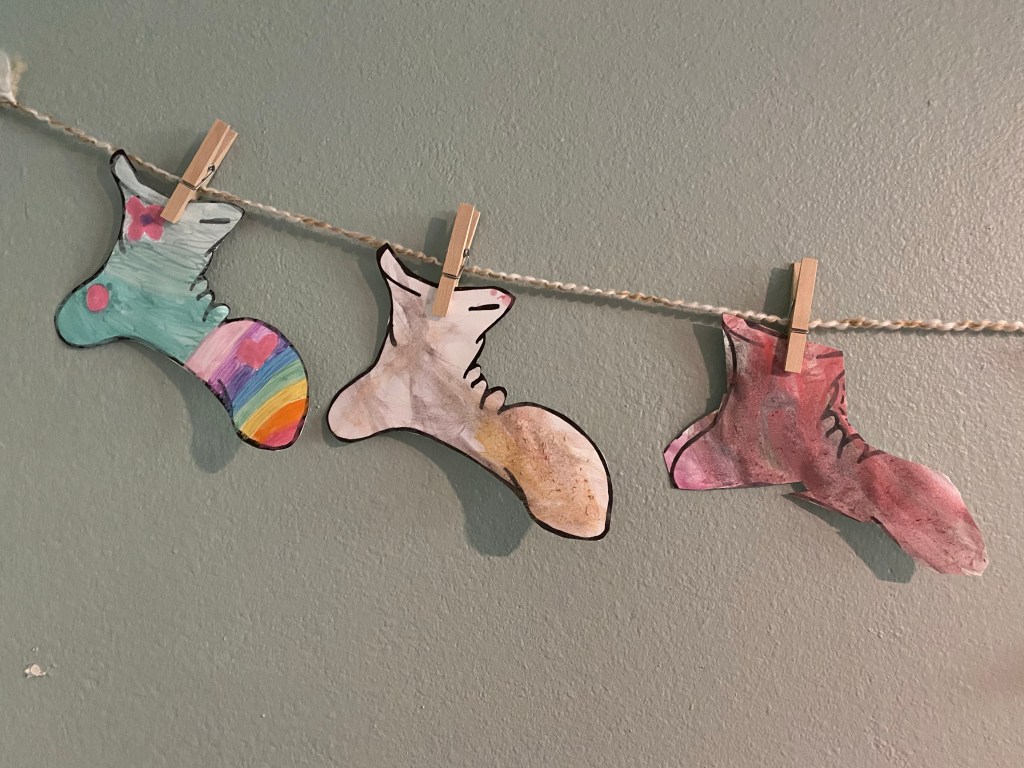
-Seuss socks: “Fox in Socks” is one of my faaaavorite Dr. Seuss books! It’s just so much fun to read! So after reading the book I gave my littles some Seuss socks I had printed on cardstock and let them paint them with watercolors (I did one too!) When they were dry we cut them out and hung them in our playroom/schoolroom. I got this idea from Pinterest.
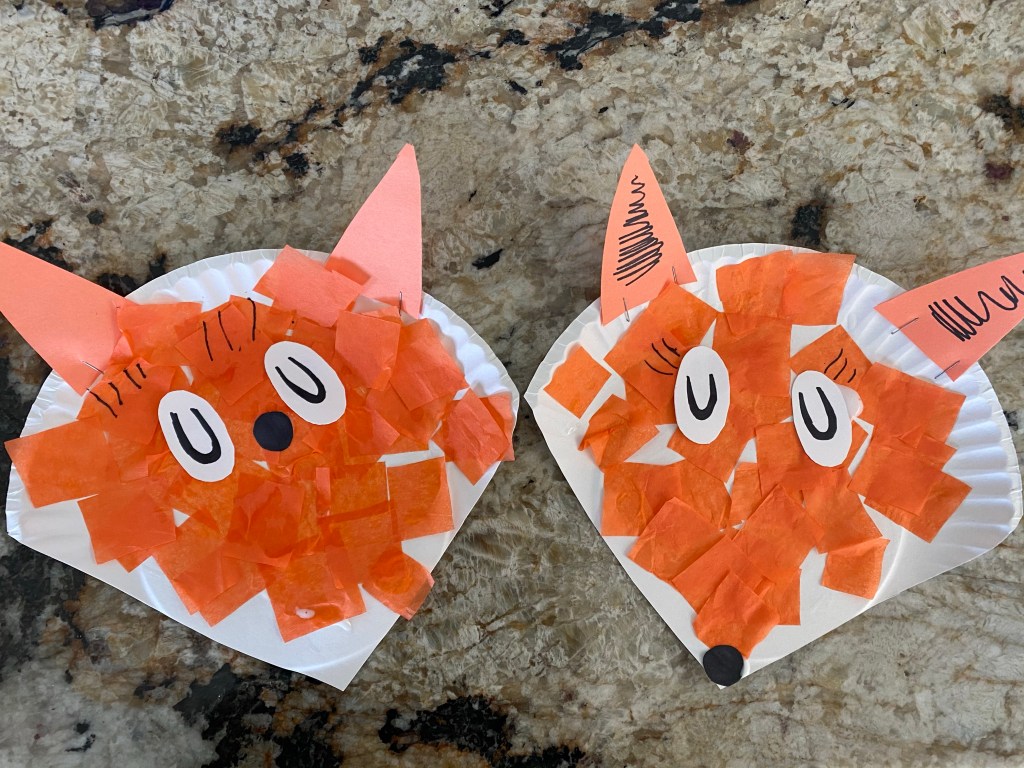
-Fox in Socks: After reading “Fox in Socks” we also made paper plate foxes. I just cut the plate so it had a pointy end for a nose, had my littles cover the plates with squares of orange tissue paper, stapled on some ears then glued on some eyes and a nose (my littles did the gluing)! I also got this idea from Pinterest.
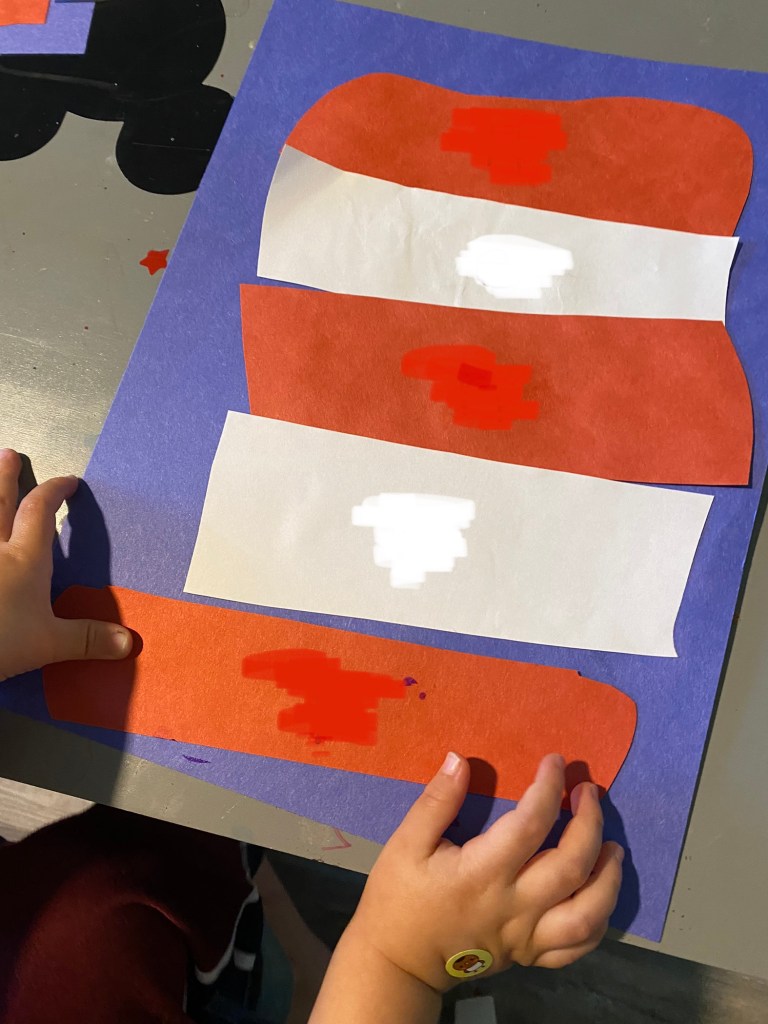
-“The Cat in the Hat” hat craft: First we read “The Cat in the Hat”. Then, I gave my little a red hat cut out and some strips of white paper. He practiced using a glue stick to put glue on each strip then glued them to the hat to make stripes. (You can have older children cut out their own stripes.) Then I stapled some strips of paper into a circle that fit my little’s head and stapled the hat to the circle so he could wear it!

-“The Cat in the Hat” shape matching: I printed these Cat in the Hat shape matching pages from Planes and Balloons. Then I cut out each shape and gave the shapes and the pages to my little (one at a time of course!) I had my little put glue on each of the grey areas where the shapes would go. Then I handed him each shape, told him it’s name, and asked if he could find it on the page and stick it down.

-Cat in the Hat name hat craft: I cut out a Cat in the Hat hat from red and white papers stacked on top of each other then cut each one into strips (still stacked so the strips would match). I alternated every other strip so it made a hat with red and white stripes, wrote each of the letters in my little’s names on the strips, then gave them the strips mixed up. I had them use the strips to spell their names and make a hat by gluing the strips in order to a sheet of paper. For my toddler, I asked him where each letter of his name was in the pile in turn, then gave him the glue to add to the back and showed him where to glue it down- my preschooler did this independently.
–C is for cat: I drew a large C on a piece of paper then had my little use dot stickers to make the c.

–Thing 1 and Thing 2 handprint art: I painted my little’s hands blue with kind of a swoop at the bottom (rather than painting the whole heel of his hand) and made blue prints on a paper. Then I drew Thing 1 and Thing 2’s bodies with the prints as their hair.

–Oobleck sensory play: We read the story “Bartholemew and the Oobleck” then made oobleck by mixing 3 tbsp. contact solution, 1/2 tsp. baking powder, 4 drops of green food coloring and a bottle of Elmer’s school glue. It’s easiest to mix the oobleck with your hands. Not all of the contact solution mixture will combine with the glue, but it’s enough to activate the glue into a nice firm Gak-like slime that isn’t sticky (read- less messy). Then I let my littles sit and play with the oobleck.

–Supply/shopping list:
- cornstarch
- bowl
- green food coloring
- eggs
- ham
- paper plate
- orange paper/tissue paper
- blocks
–Booklist: Here are the books that go along with the activities above- we read each one before doing the activity, so they’re good to have on hand if you want to do the same! You should be able to borrow them from your local library!
- Green Eggs and Ham
- Bartholemew and the Ooblek
- 10 Apples Up On Top
- The Cat in the Hat
- Fox in Socks

One thought on “Seussville”