
Valentine’s Day is seriously one of my favorite holidays- mostly because I’m obsessed with all things pink and glittery and heart shaped (which is just dandy living in a house full of BOYS! LoL) but also because I think all types of love can and should be celebrated on February 14th! I know traditionally Valentine’s Day was thought of as a day for romantic love, but ever since I was in college, I’ve also used it as a chance to celebrate the love between friends, love for myself and now that I’m a mommy, love for my children. After all, God commands us to “love others as we love ourselves” and even said “And now, faith, hope and love remain- but the greatest of these is love”. I want to teach my boys to love others well by showing different kinds of love (to God, to themselves, to friends, to parents and family) in many different ways, so we’re using our learning activities this week to do just that (with lots of heart activities thrown in too, just for fun!) Don’t forget to float on over to my toddler post “Love is in the Air!” for more Valentine fun, like a love canvas painting perfect for gifting and a sweet Valentine light box!
–Literacy:
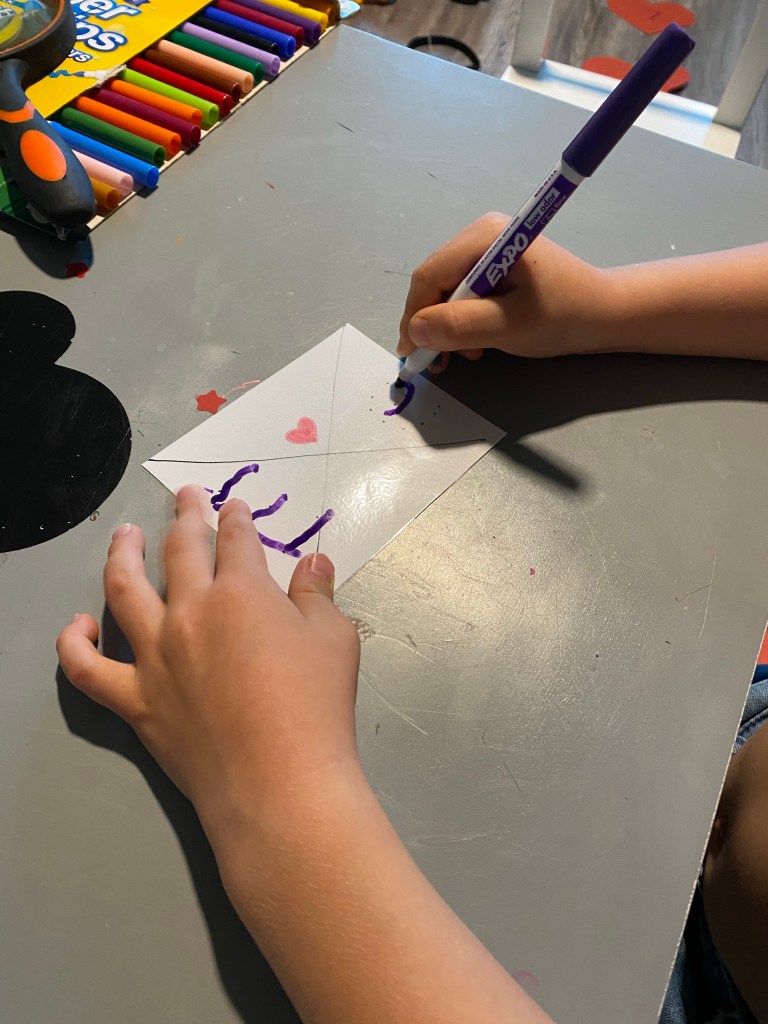
-Love letters writing practice: These took a bit of time to prep, but they’re so cute and my little did such a great job with them (practicing writing on dry erase things is SO much easier for them too because their marker glides more easily due to reduced friction- their lines come out so much more straight and smooth!) So you just fold some sheets of white paper into sixths, unfold the paper and draw an X on each rectangle from corner to corner, add a small red or pink heart to the V shaped part, then write an upper and lower case letter on each side with small dots. Laminate and cut them out (or tuck them in a page protector) and have your little practice writing their letters by tracing the dots with a dry erase marker. I got my inspiration from The Kindergarten Connection– they have these as a free printable if you sign up for emails, but I just decided to make my own!
-Capital and lower case heart matching: I cut out hearts for all of the capital and lowercase letters in the alphabet, then gave my little 6-7 at a time and had him match upper to lowercase.
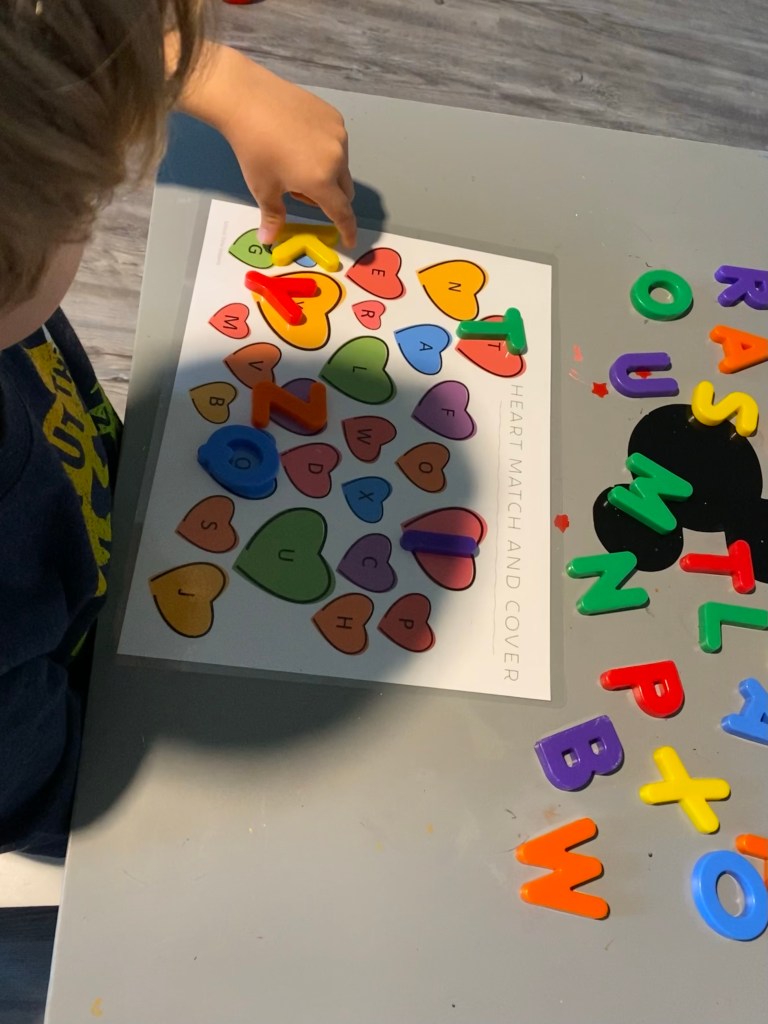
-Valentine heart magnet match: I printed these valentine heart letter matching pages from School Time Snippets then had my little match ABC magnets to the letters. It comes with a page of capital letters as well as a page of lowercase, so you can either have your little match upper to upper- which is easier- or upper to lower- which is more of a challenge.
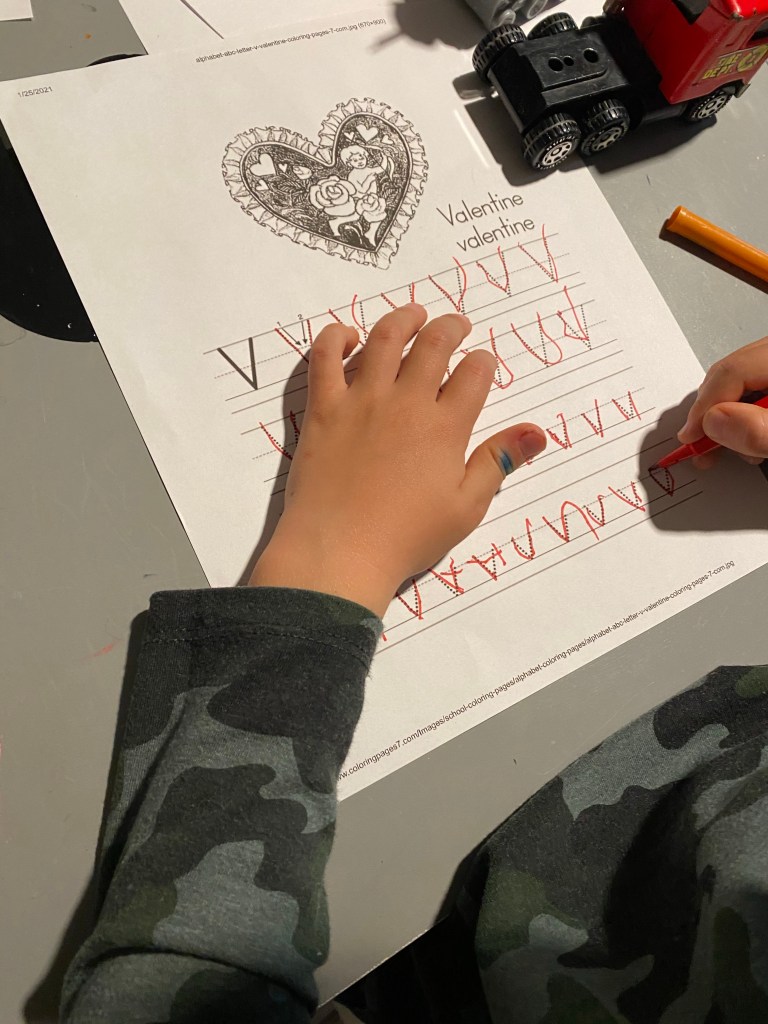
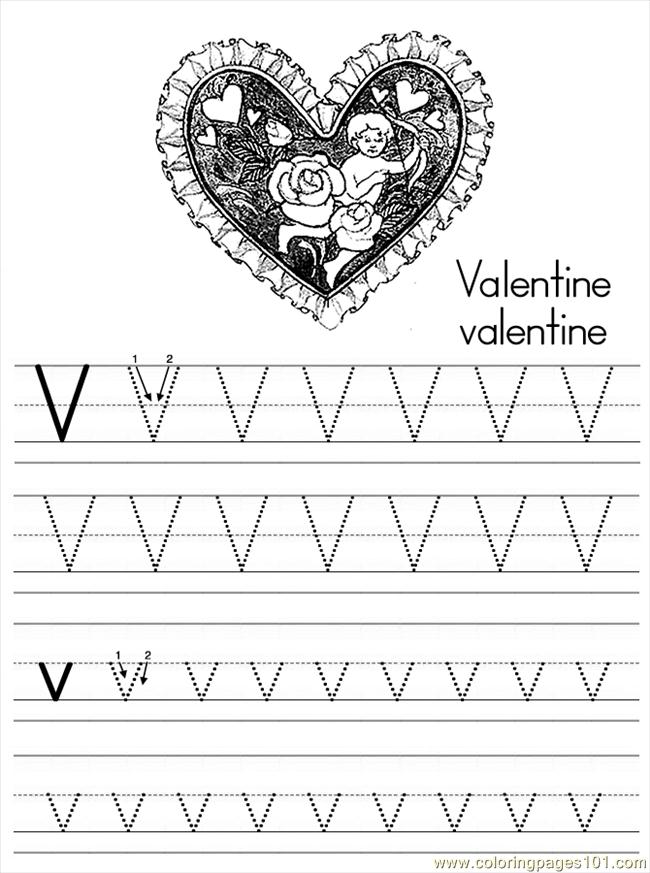
-V is for valentine: I printed this letter V practice page and had my little practice his writing by tracing the Vs.
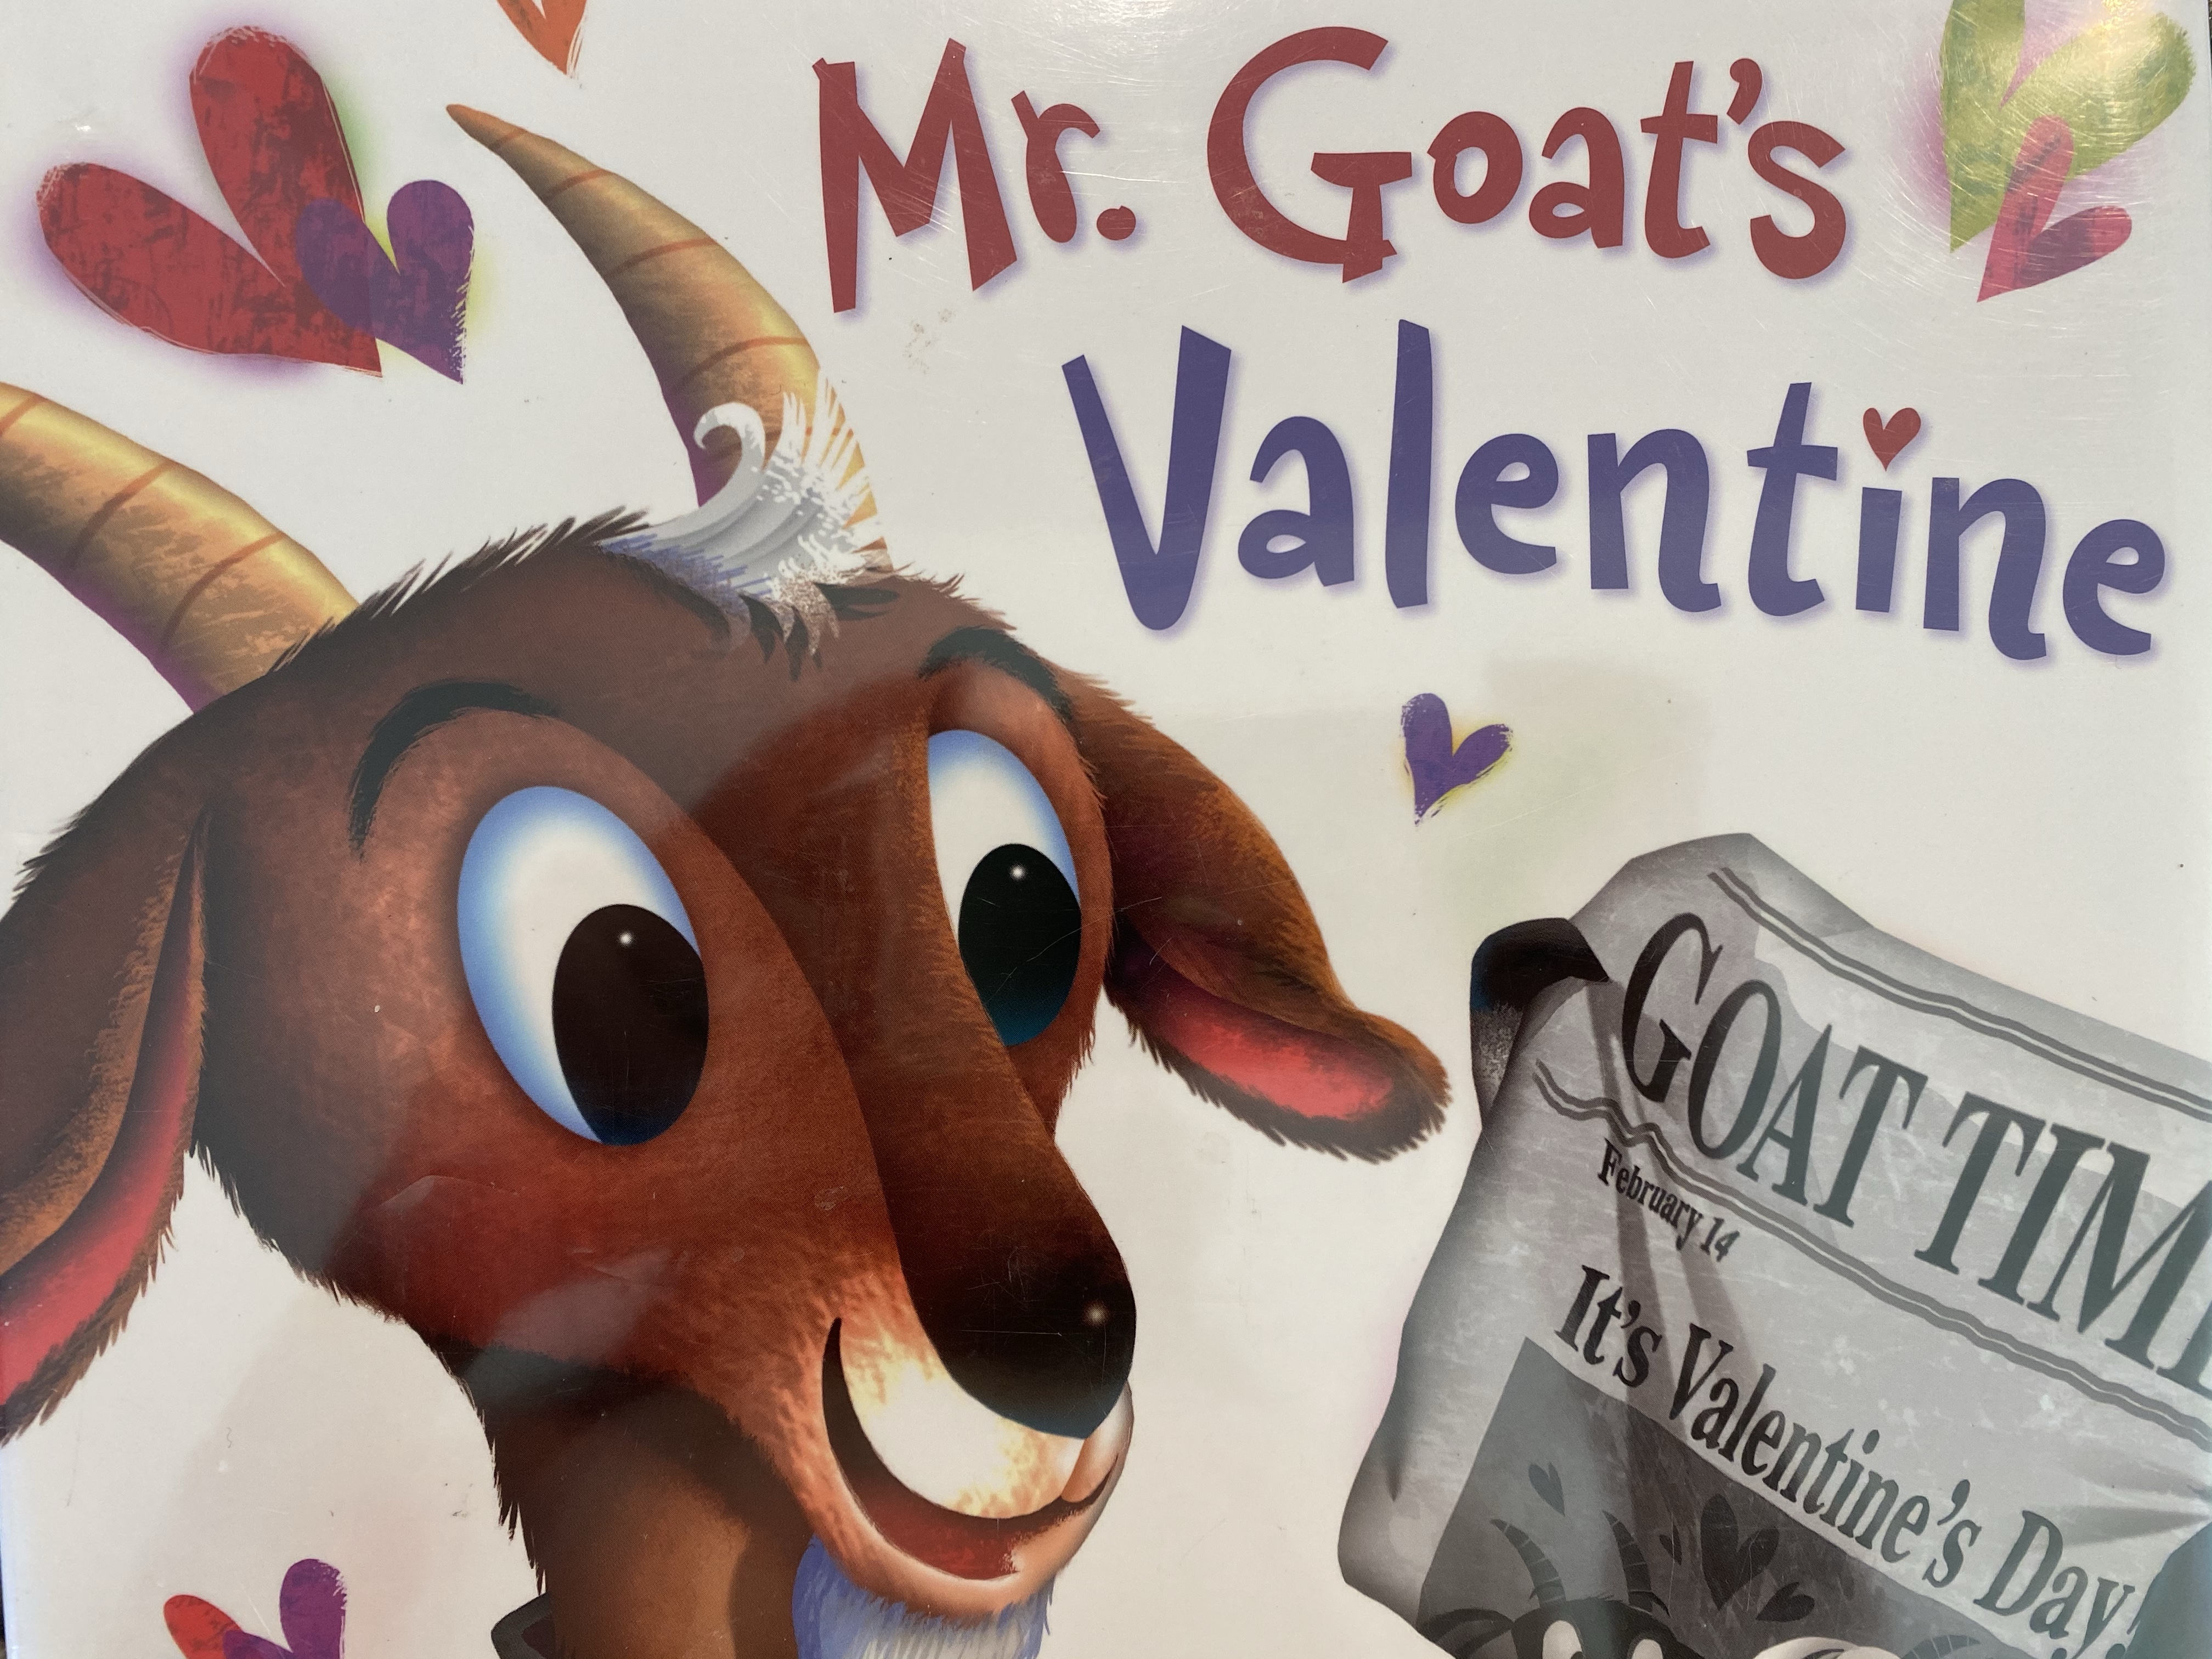
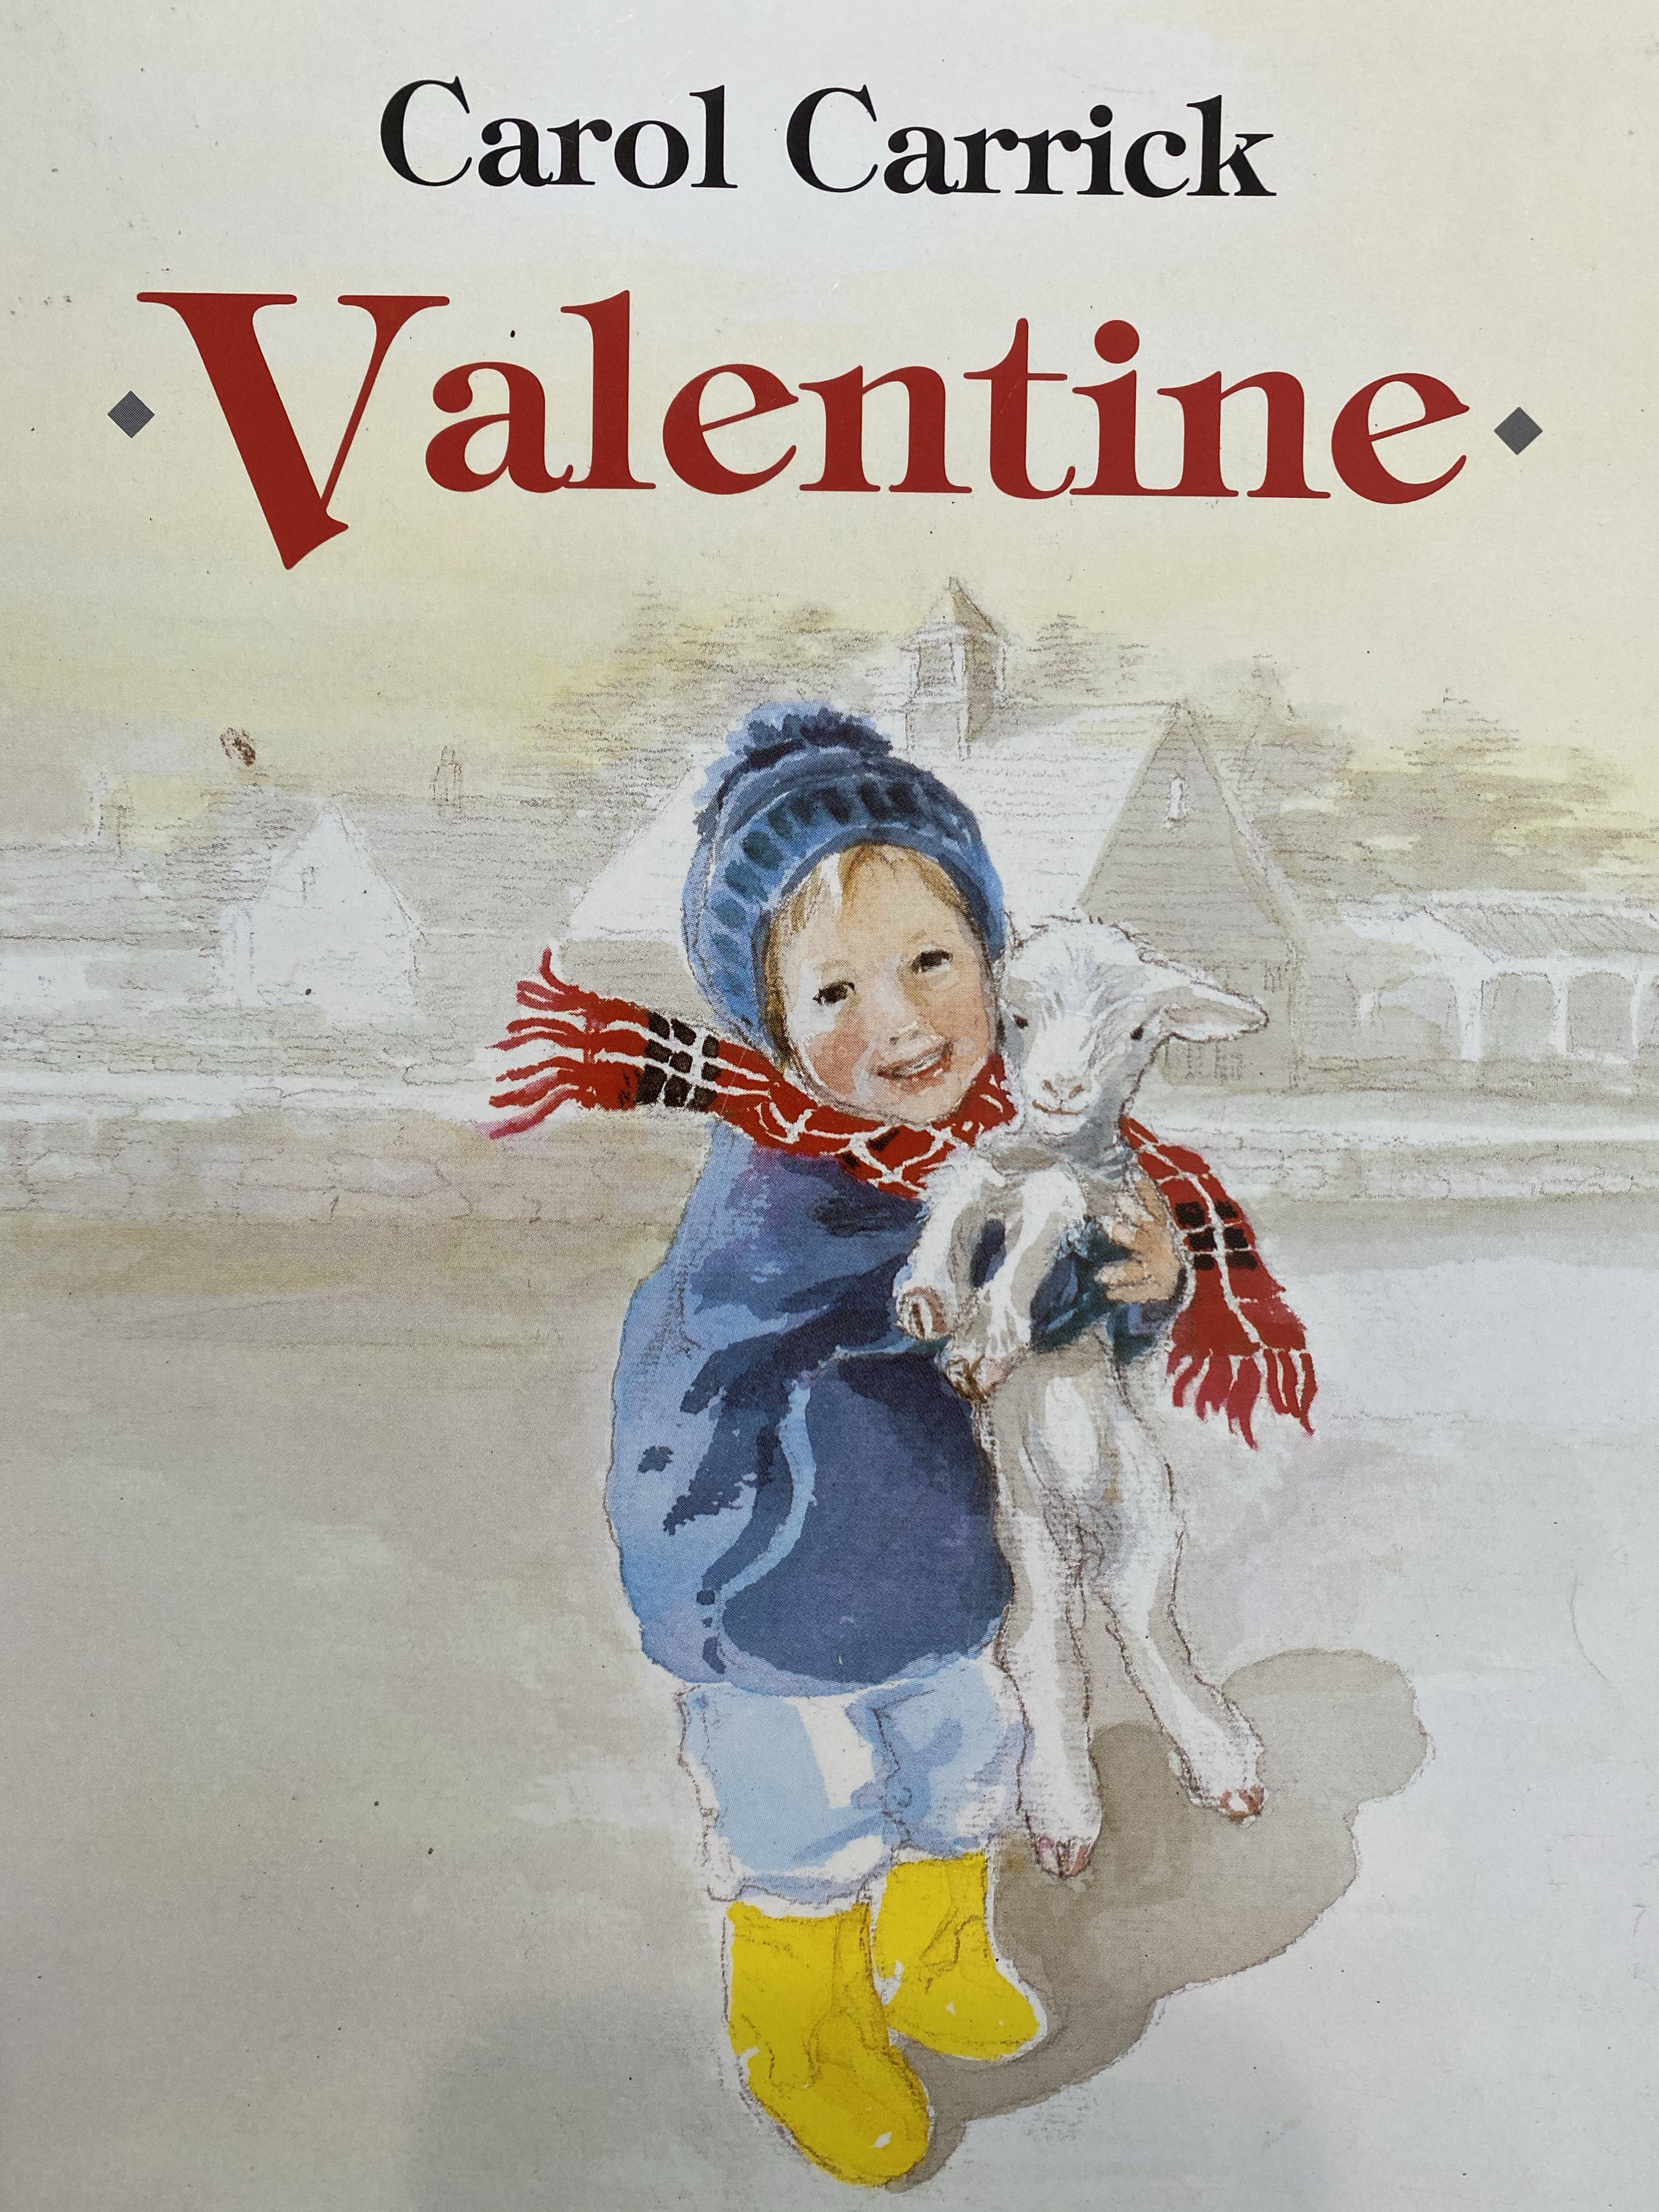
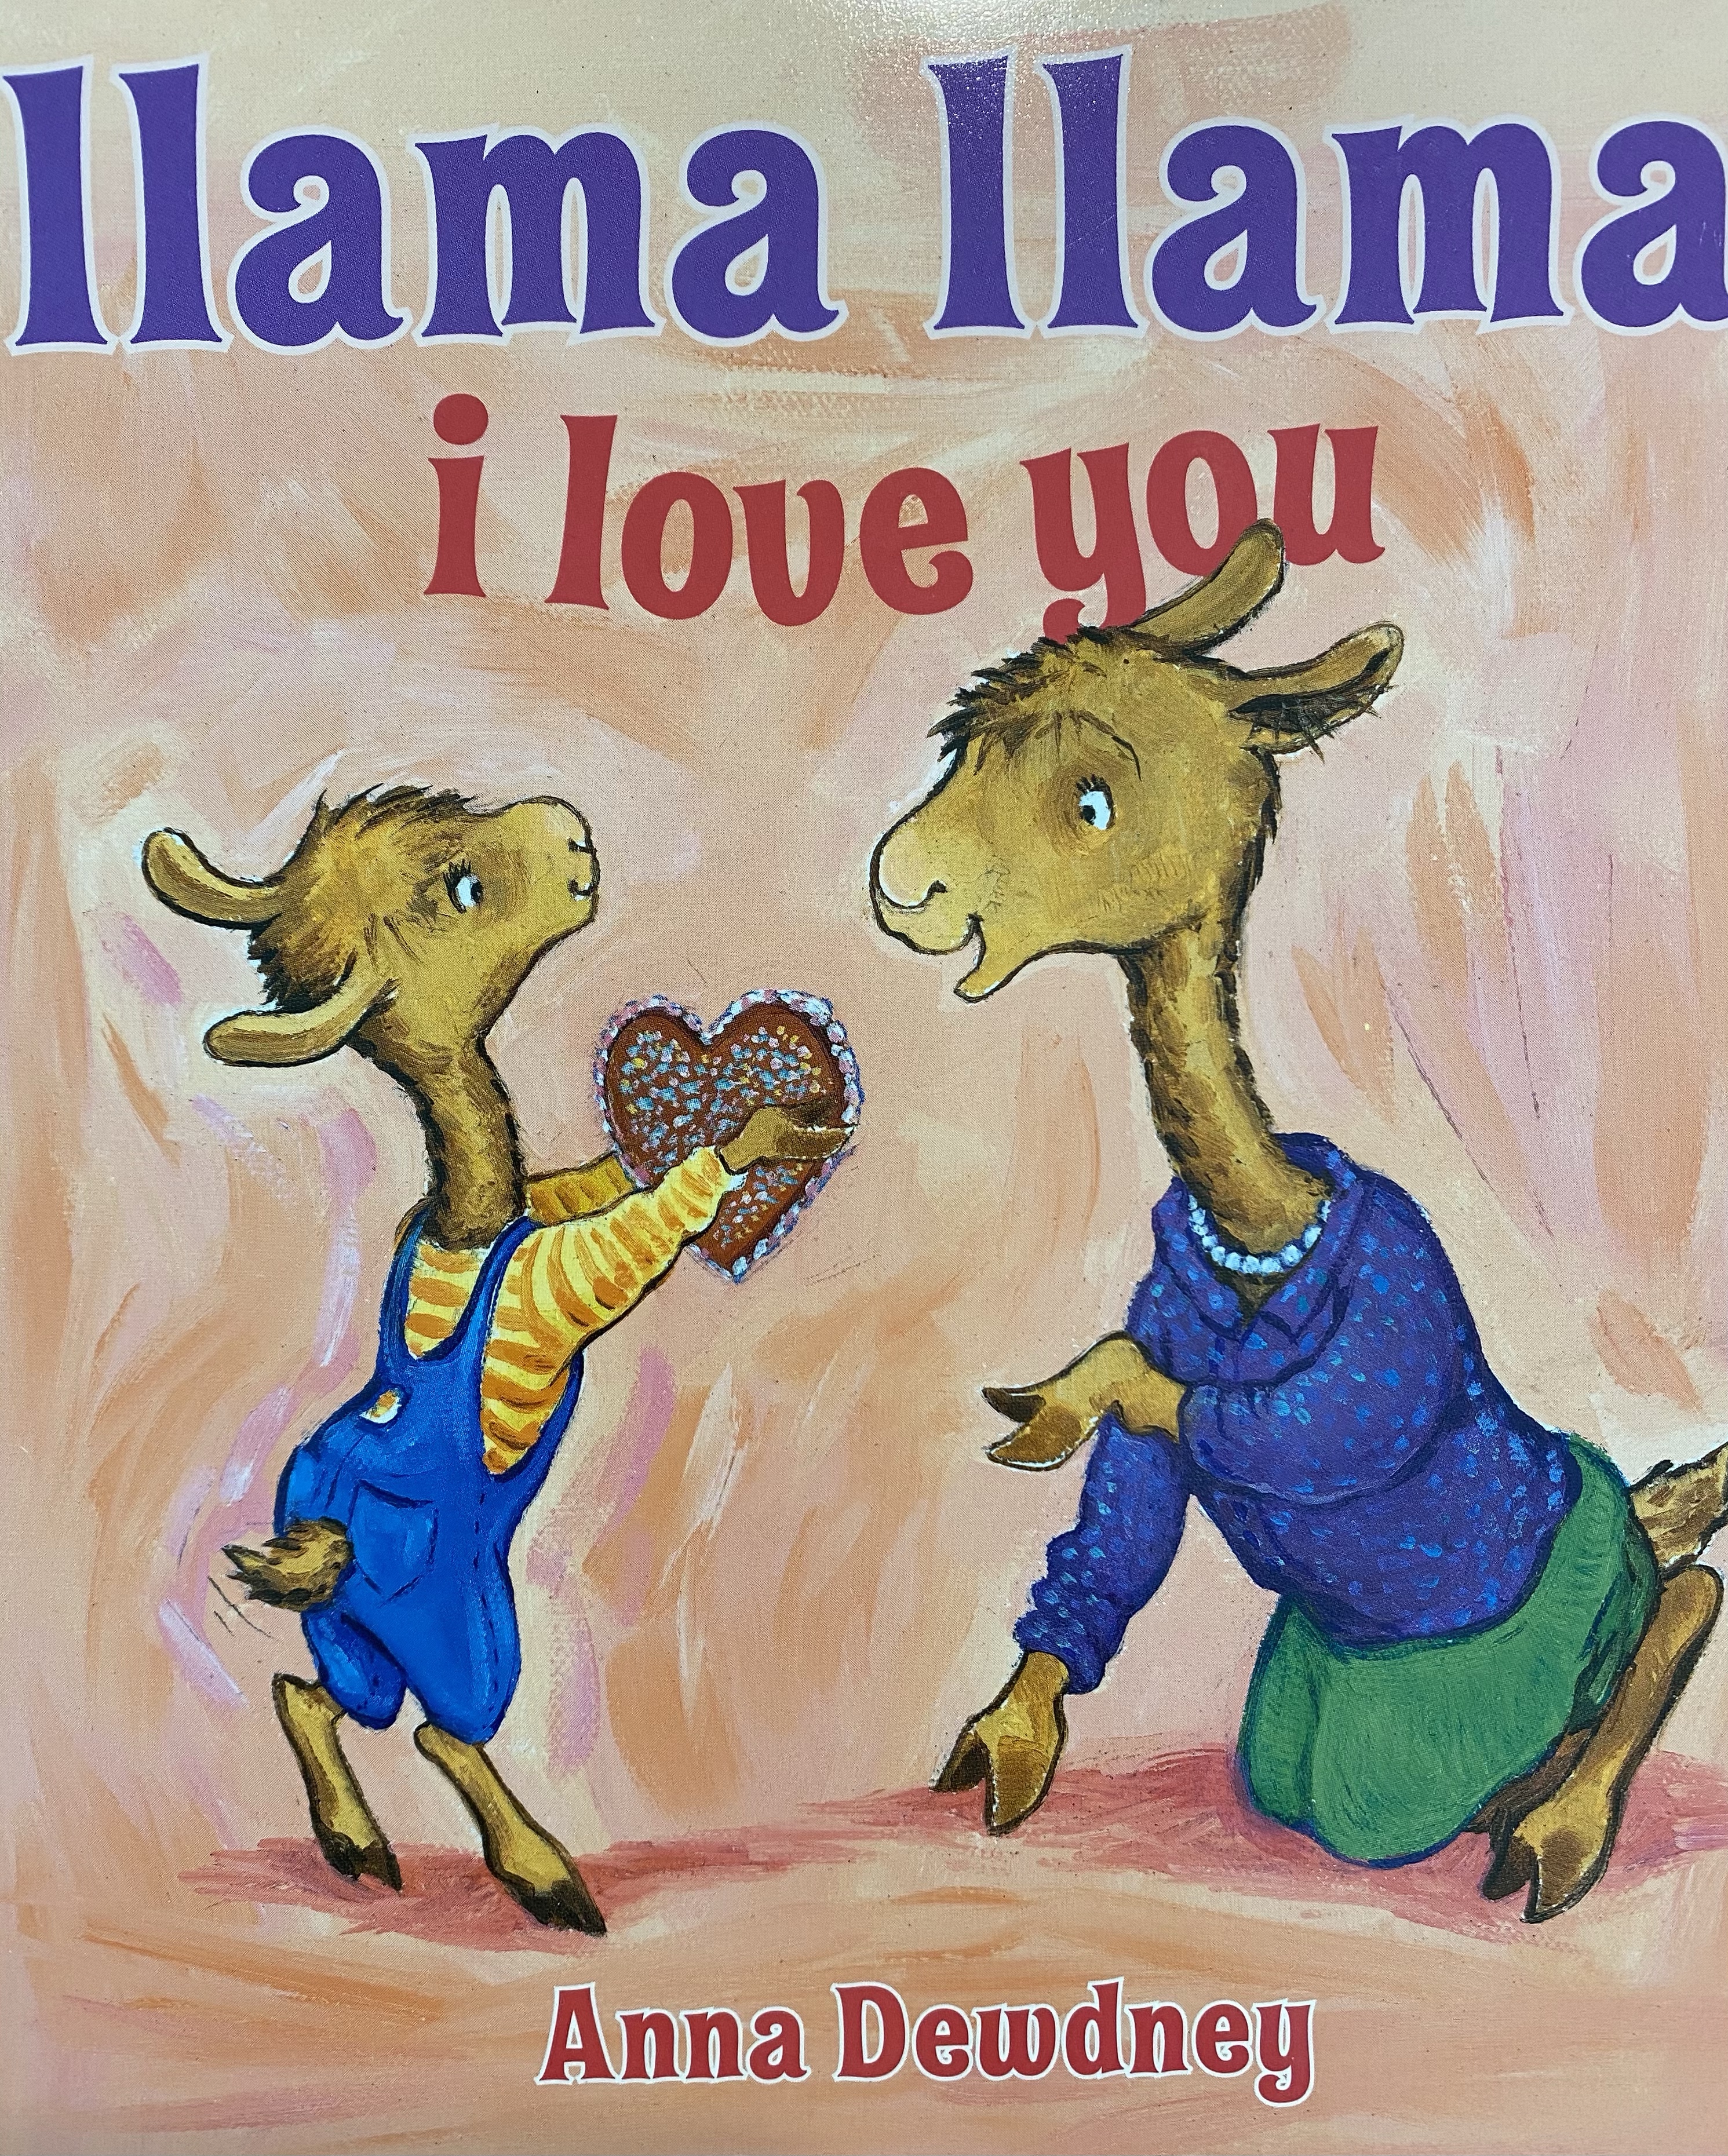
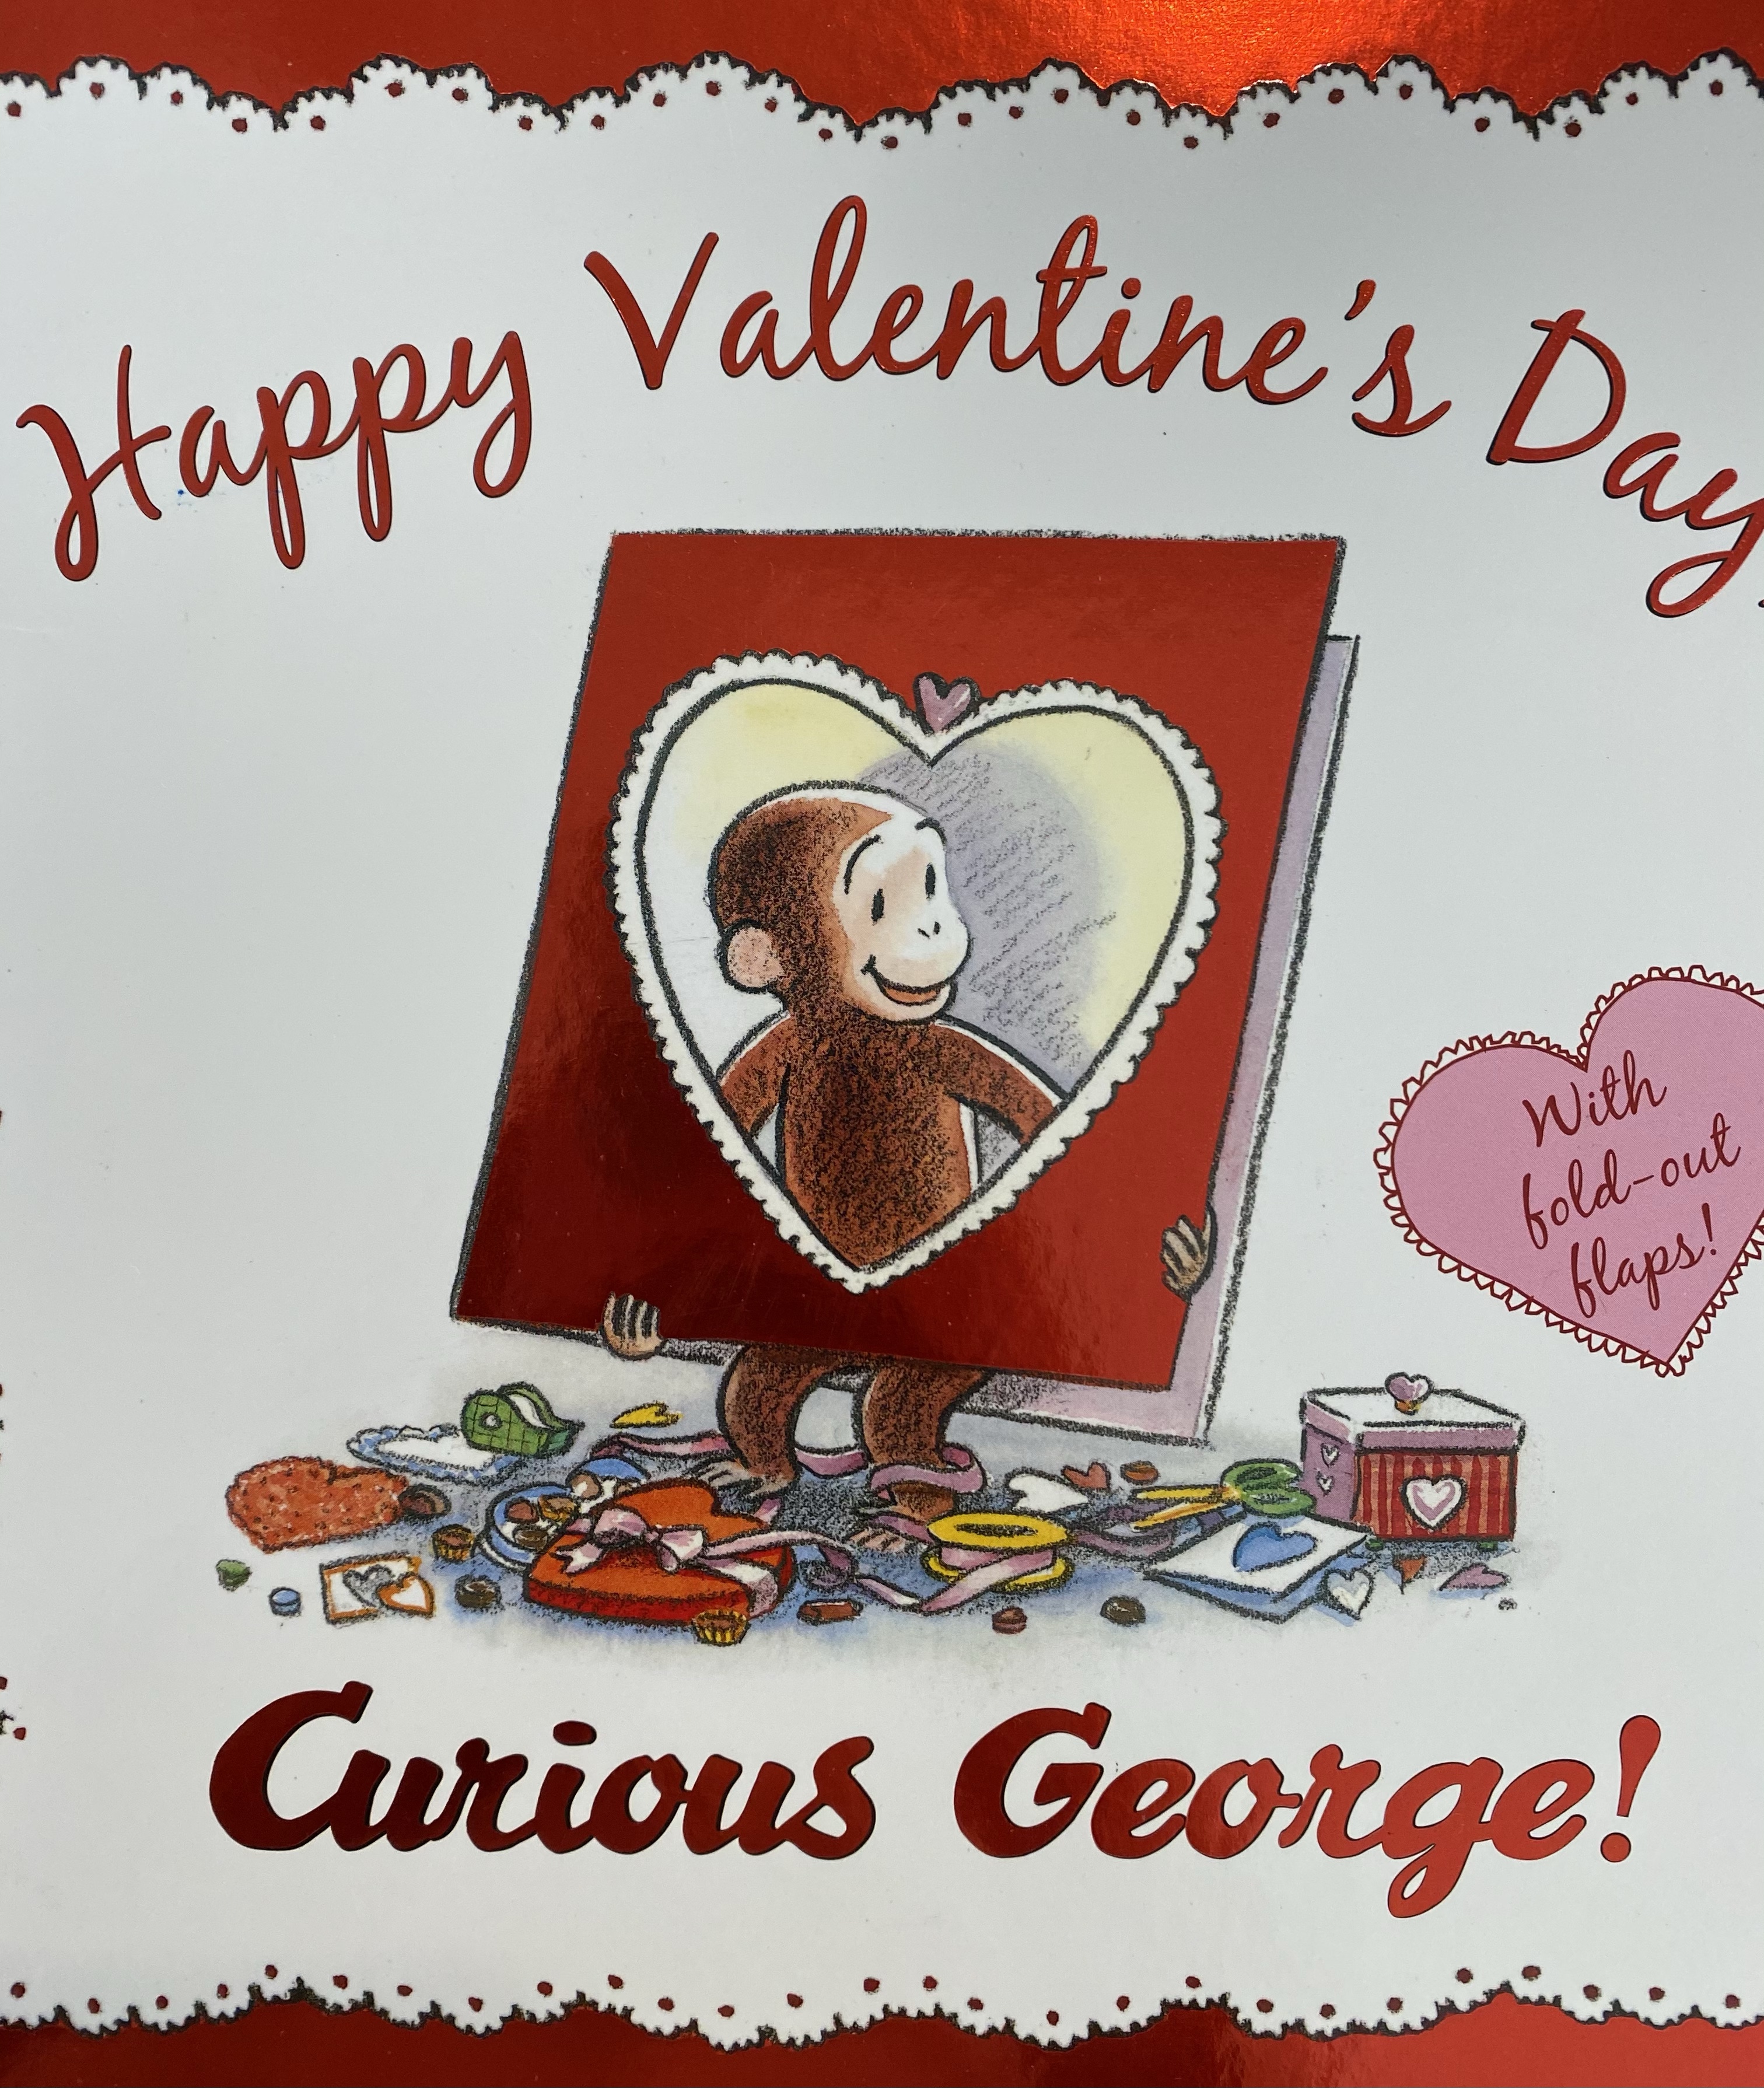
-Valentine book list:


–Math:
-Candy heart adding: Candy hearts are so much fun to use as math manipulatives! Plus your little might just be more motivated if they get a treat out of their practice time! LoL So for this activity, I had my little sort a box of candy hearts by color. Then I wrote the colors on a sheet of construction paper with plus signs between them and lines above them- see photo below for an example. I had my little count how many of each color he had, then write the amount on the line. Then I had him add the numbers by counting up all the hearts in the equation and write his answer after the equal sign. Pro tip: If your little doesn’t know how to write some of their numbers yet, that’s ok! Just draw them with small dots and have them trace the dots.

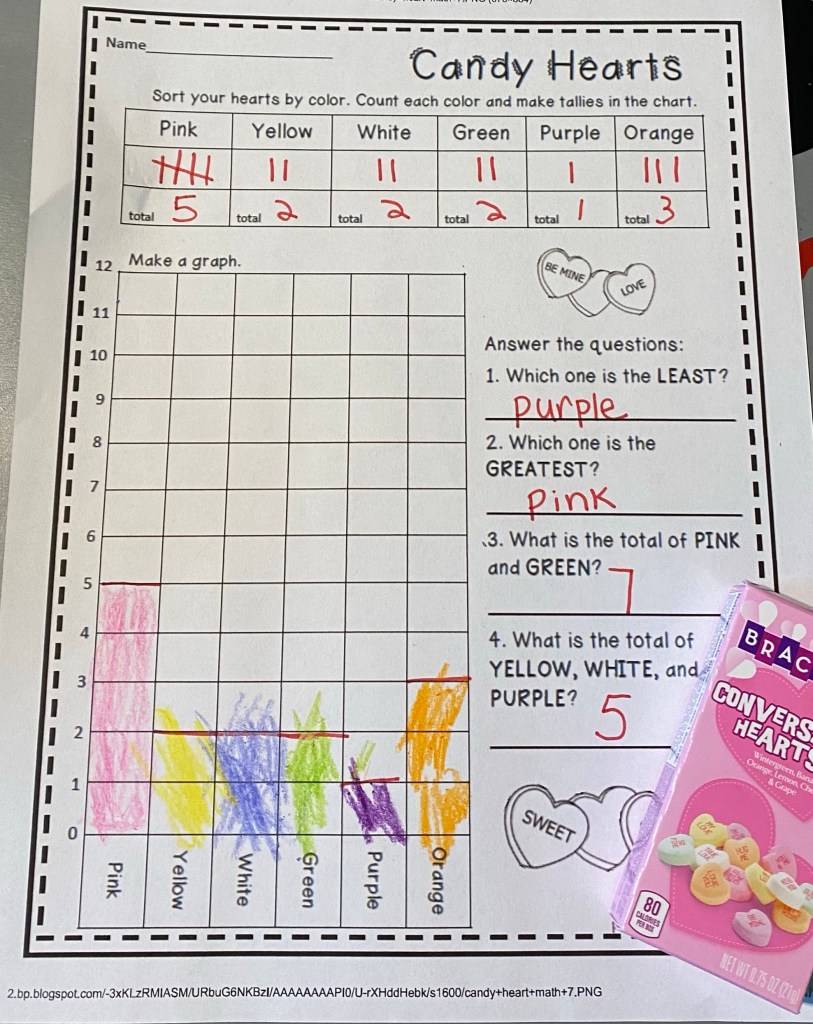
-Candy heart graphing: What is Valentine’s Day if you don’t graph candy hearts? LoL It’s a great activity, and of course the kids love it because they get a nice sugary snack after they’ve finished their work- I always save these for last when we’re doing activities as a little extra motivator for that exact reason! So basically, you just print and use this wonderful candy heart graphing worksheet as a guide- it has you counting the hearts with tallies (I did the tallies for my little since he’s only heard about them one other time), writing the amount of each tally with a number, coloring the graph to match the numbers, and then answering questions about the graph.
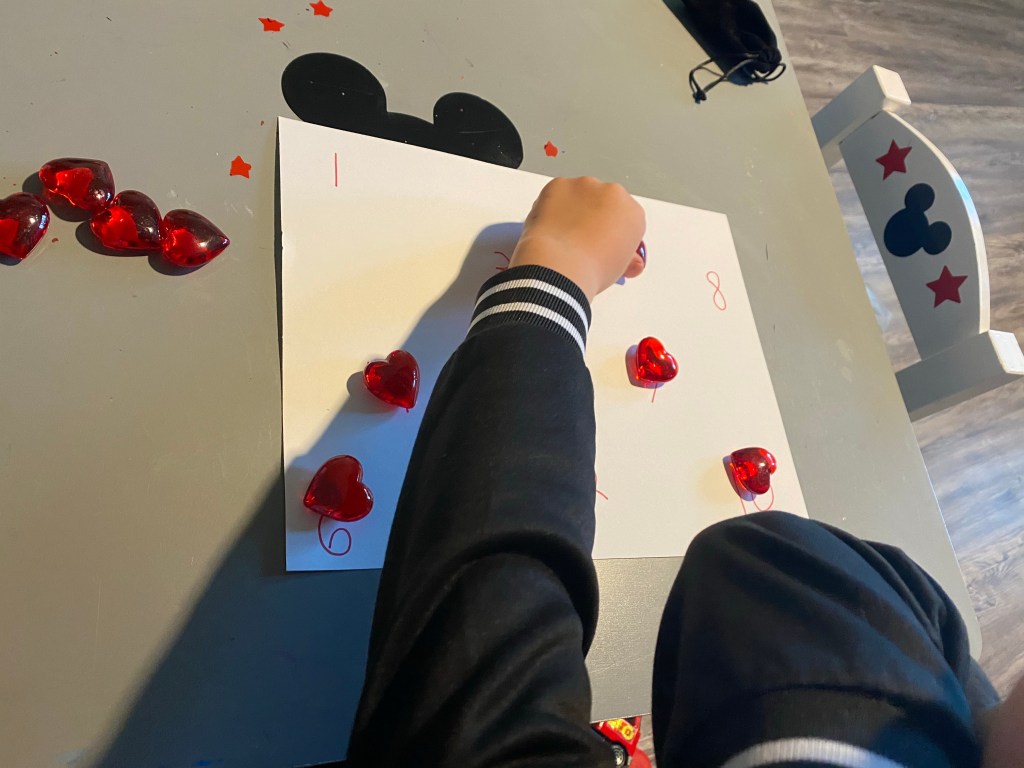
-Valentine roll and cover: I wrote the numbers 1-10 randomly on a sheet of paper then had my little roll a 10 sided dice and cover each number with a plastic heart “rocks” as he rolled.
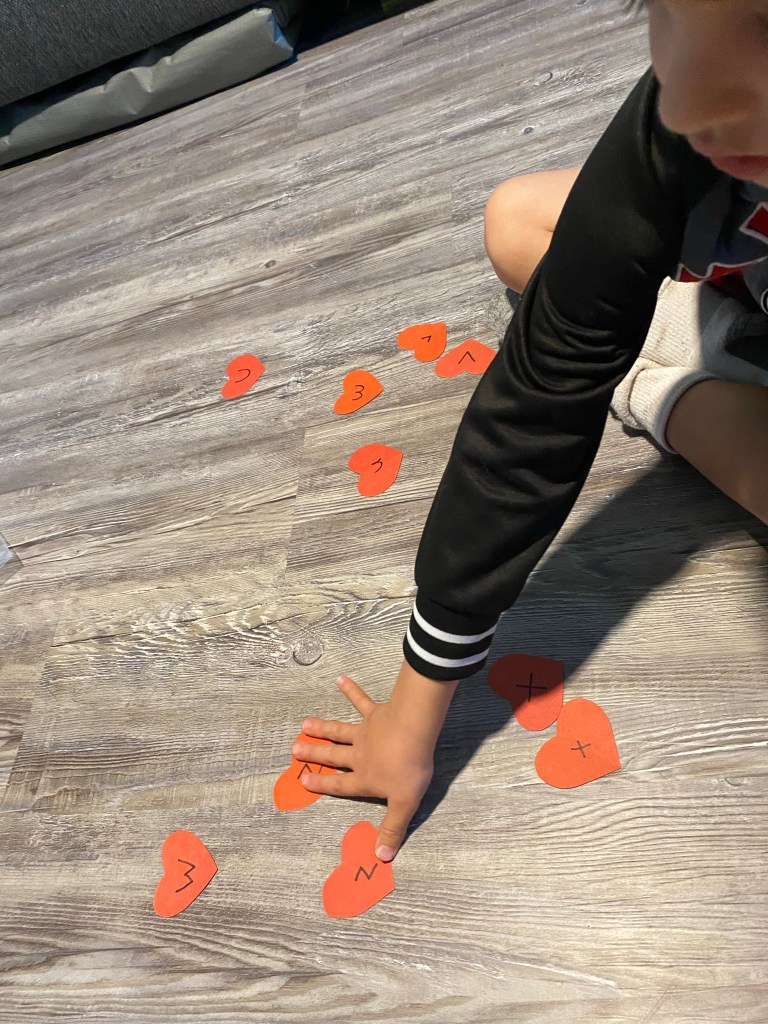
-Heart number ordering: I cut out 10 hearts and wrote the numbers 1-10 on them, then mixed them up and had my little put them in the correct order. These also make a great “heart jump” activity- you just tape them in order to the floor and have your little hop on them while they count!

–Social Studies:
-“What is love?” mobile: I asked my little what love meant then wrote his response on a large paper heart (he said hugging and kissing so I prompted him to go further by asking him what it meant when people say they “love pizza” or “love riding their bike” and wrote that down too.) Then I asked him who he loved and what he loved and wrote his responses on smaller hearts. I had him hole punch the top and bottom centers of each small heart, and the bottom of the large heart (I told him to do 3, but he got a bit carried away…) Then I tied the small hearts together with string (in hindsight I should’ve just had him tape the string to the back of the hearts…it would’ve been a LOT quicker! LoL) then tied them to the large heart to make a mobile!

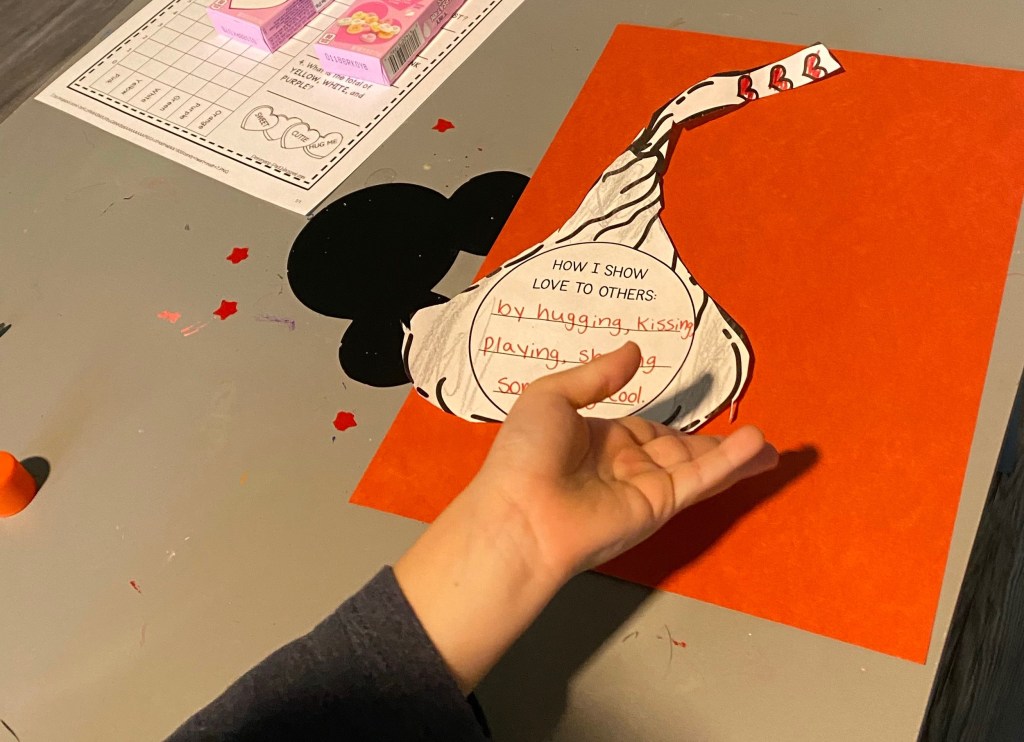
-How I show love: I printed this cute “how I show love activity” for free from Teachers Pay Teachers, then had my little think of ways he shows love. I wrote down what he said, then had him color it and cut it out. Then he glued it to a sheet of red construction paper for display!
-I love my friends: This week we’re learning about all the different kinds of love, which definitely includes love between friends. I printed this cute little “I Love My Friends” book from Teachers Pay Teachers, then had my little complete each prompt out loud while I wrote down his thoughts on each page. Then I had him illustrate each page. I’m going to let him choose a friend to give it to for Valentine’s Day!

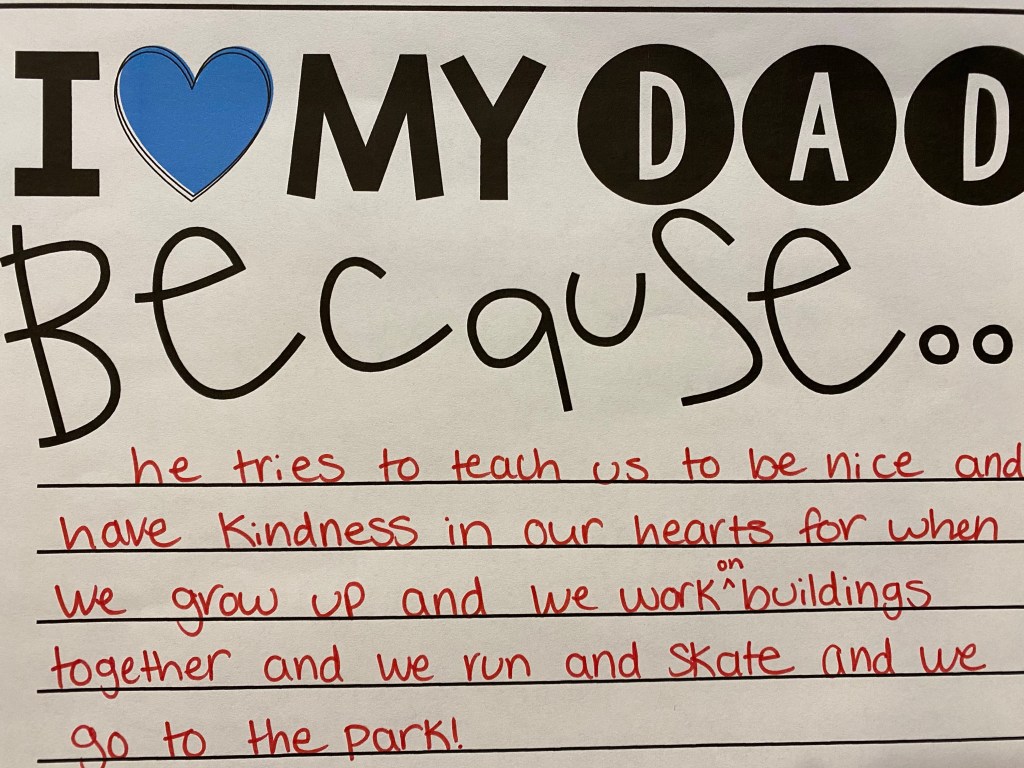
-I love my daddy: I printed these “I love my Dad because…” pages from Teachers Pay Teachers and asked each of my littles why they loved Daddy then wrote down what they said as part of his Valentine’s Day gift from them! They always come up with the cutest things!
–Art:
-“Love you to pieces” craft: I gave my little sheets of purple, red and pink paper along with some scissors to cut pieces of them off. I drew a heart on a sheet of cardstock, then had him glue the pieces into the heart so it was fully covered. Then I wrote “I love you to pieces!” on the top of the page! I got this idea from Pinterest!

-Valentine cocoa bombs: I’m not sure if these count as “art”, but cooking is an art I guess so I’m including them! LoL Plus they’re crazy delicious and great for gifting! So, if you’re on trend you probably have heard of hot cocoa bombs this past Christmas season. I got some to try and they were super yummy- but kind of on the pricier side, especially after paying for shipping- so I got to thinking…I wonder how hard they are to make? Turns out they’re not hard at all according to this cocoa bomb recipe I found online at Taste of Home! All you need is a silicone cocoa bomb mold, some chocolate chips, and whatever you’d like to fill them with (I used caramel syrup, strawberry syrup and mini marshmallows). So first, pop your molds in the freezer for 15 minutes so they’re chilled. Then, melt your chocolate chips on the stovetop over medium heat (too high makes your chocolate chalky rather than smooth). When the chips are fully melted, take out your molds, have your little sprinkle half of them with Valentine sprinkles, and spoon a large spoonful of melted chocolate into each one. Work the chocolate up the sides of the mold using a spoon so it makes a bowl shape. When the mold is full, pop it back in the freezer to solidify. When your chocolate bowls are solid, take them back out of the freezer and caaaarefully pop the chocolate out of the mold. Have your little fill the plain sides with mini marshmallows and either caramel or strawberry syrup. Melt the edges of the tops (the ones with sprinkles) a bit on a hot pan, and gently push them on top of the filled halves. If you like, you can further seal them by rubbing some melted chocolate along the seam to smooth it out. Place each bomb in a cup cake wrapper, then in a cellophane bag and tie with a bow and a tag that reads “We think you’re the bomb!” Presto- a yummy Valentine treat perfect for friends, family, teachers- you name it! To enjoy, just melt them either in a cup filled with piping hot milk, or simmer in a pan of milk on the stovetop. Happy sipping!

–Supply/shopping list:
- ABC magnets
- candy hearts
- plastic heart “rocks” or beads
- dice
- a hanger
- string
- red, pink and white craft supplies
- chocolate chips
- cocoa bomb mold
- Valentine sprinkles
- caramel or strawberry syrup
- mini marshmallows
- small cellophane bags
- cup cake liners
- Valentine ribbon
