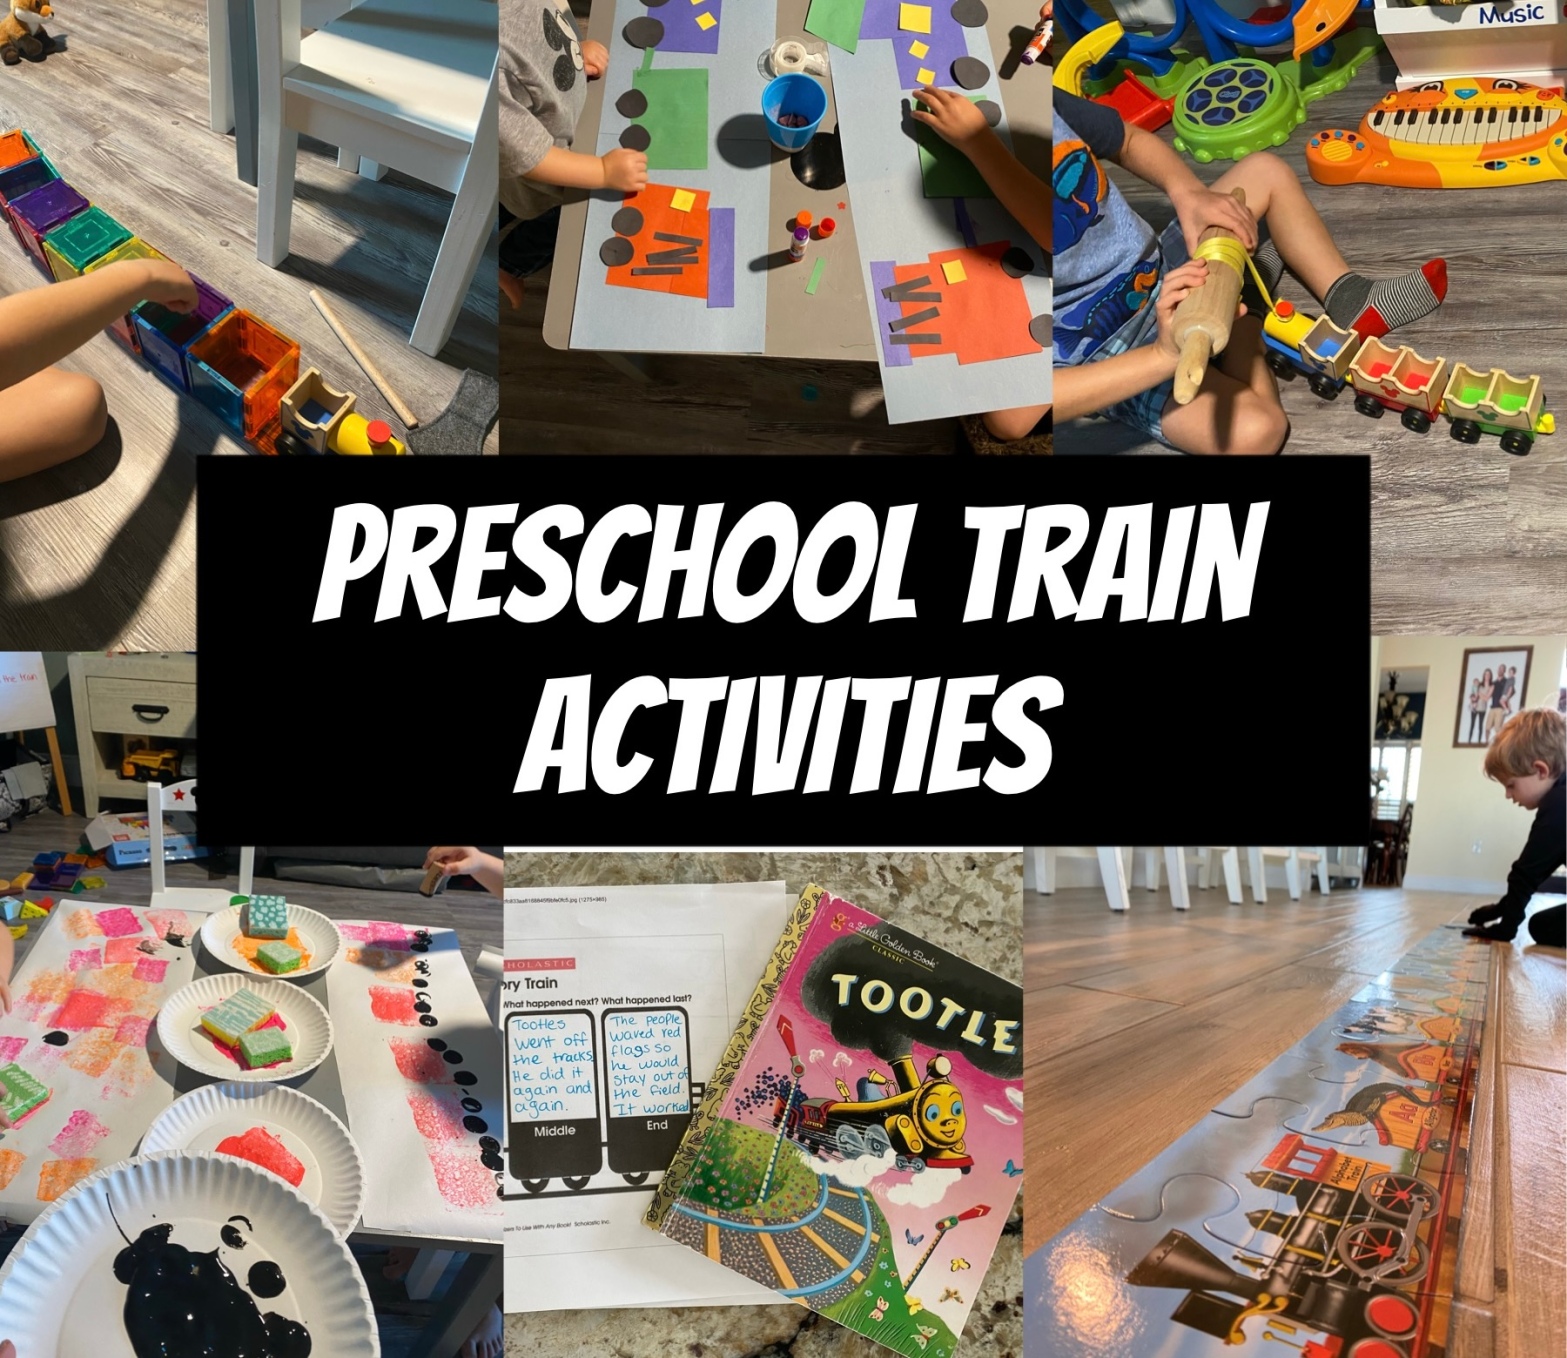
My boys- especially my youngest- love trains and were so excited when they saw me prepping the lessons for this week! (Am I the only one who can’t keep my little’s paws off the new books and activities until Monday? LoL) Anyway, here are some fun lessons celebrating the mode of transportation that helped goods and people more easily traverse the country before the invention of the automobile. Don’t forget to chug on over to my toddler post “Chugga Chugga Choo Choo!” for more fun art and learning ideas like building a track with blocks and giant train track name play.
–Literacy:
-“Little Red Caboose” song: I can’t remember if it was my brother or myself who sang this song back in elementary school, but it stuck so I had to bust it back out for train week! I shortened it a little (mainly because I ran out of space on my chart paper and didn’t want to rewrite the whole thing…), but my littles still enjoyed singing it each morning during our daily calendar time! You can check out this YouTube video if you need the tune, or you can just recite it like a poem!

-Train name practice: I saw this idea on Toddler Approved and knew it would be a hit with my boys! You just make train cars using each letter of your little’s name, hang them on the wall, then write the corresponding letters on sticky notes and have them match the letters. To make this more preschool appropriate, I did both uppercase and lowercase for each letter and we reviewed the letter names as he matched them.

-ABC train puzzle: Melissa and Doug are my favorite toy brand by far- so of course when I saw their ABC train puzzle at the library a few years ago I had to get one! We got it out for train week and my littles and I worked together to put it together (you could have your little work alone, but I had mine identify what letter came next in the train as I showed him the next puzzle piece to reinforce letter recognition). The boys are always so impressed with how long this thing is when it’s finished too even though we’ve done it several times!

-T is for train: I printed this T is for train handwriting practice page and had my little work on writing his capital and lowercase T’s while we said the letter’s name and sound again and again to reinforce letter recognition. (I would do a little chant as he wrote like “Tee! Tee! T! T! Tee! A line with a cross bar- Tee Tee Tee!”) Also at the end of each line I’d ask him what letter he was working on.

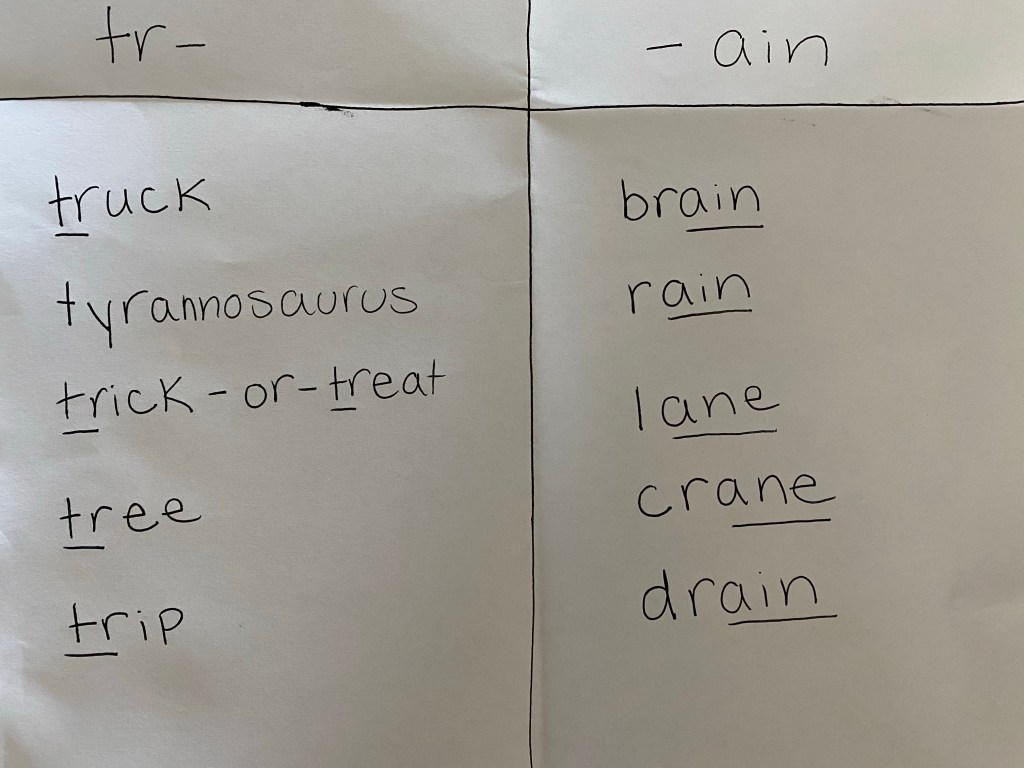
-Tr- and -ain word families: I made a graphic organizer by folding a sheet of paper in half from side to side, then folding down about an inch of the top, opening it up and tracing the lines. I wrote tr- and -ain at the top of the page, then had my little come up with words that began with the tr- sound and words that ended with the -ain sound. I wrote down the words he thought of on the respective sides of the paper.
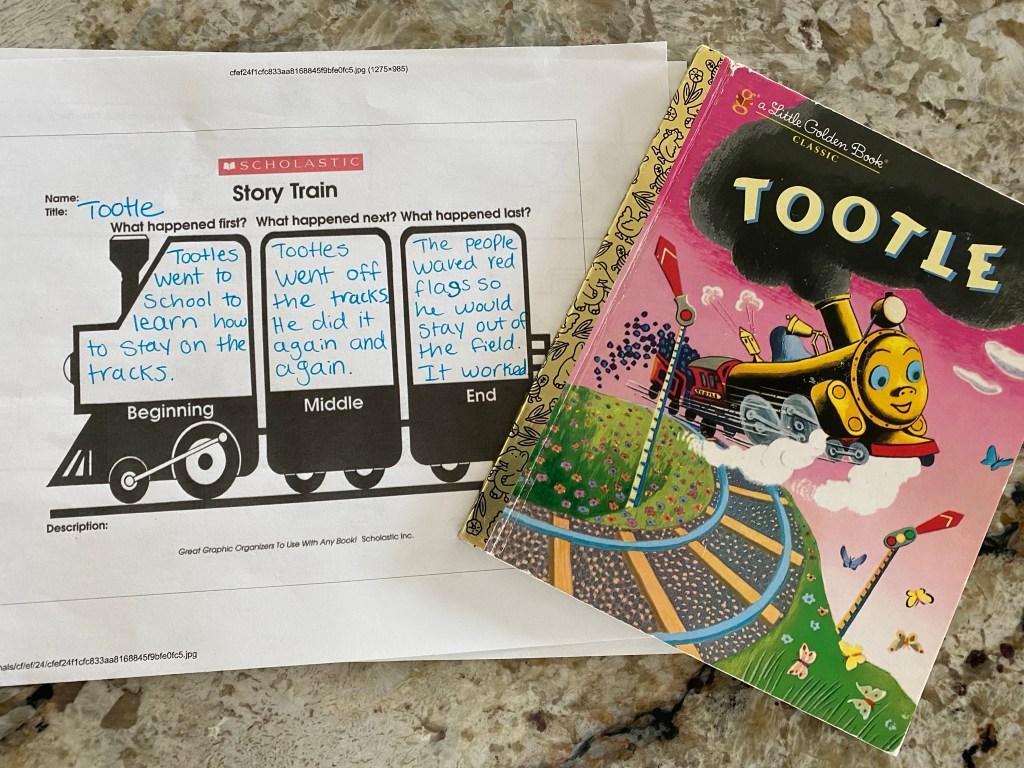
-Train graphic organizer and story: With all of their cars, trains make the perfect beginning, middle and end graphic organizers, so of course I printed one to do with my little this week! We read the story “Tootle” (but any fictional train story with a plot will do!) then I had my little retell me what happened in the beginning, middle and end and wrote down his answers on the page.
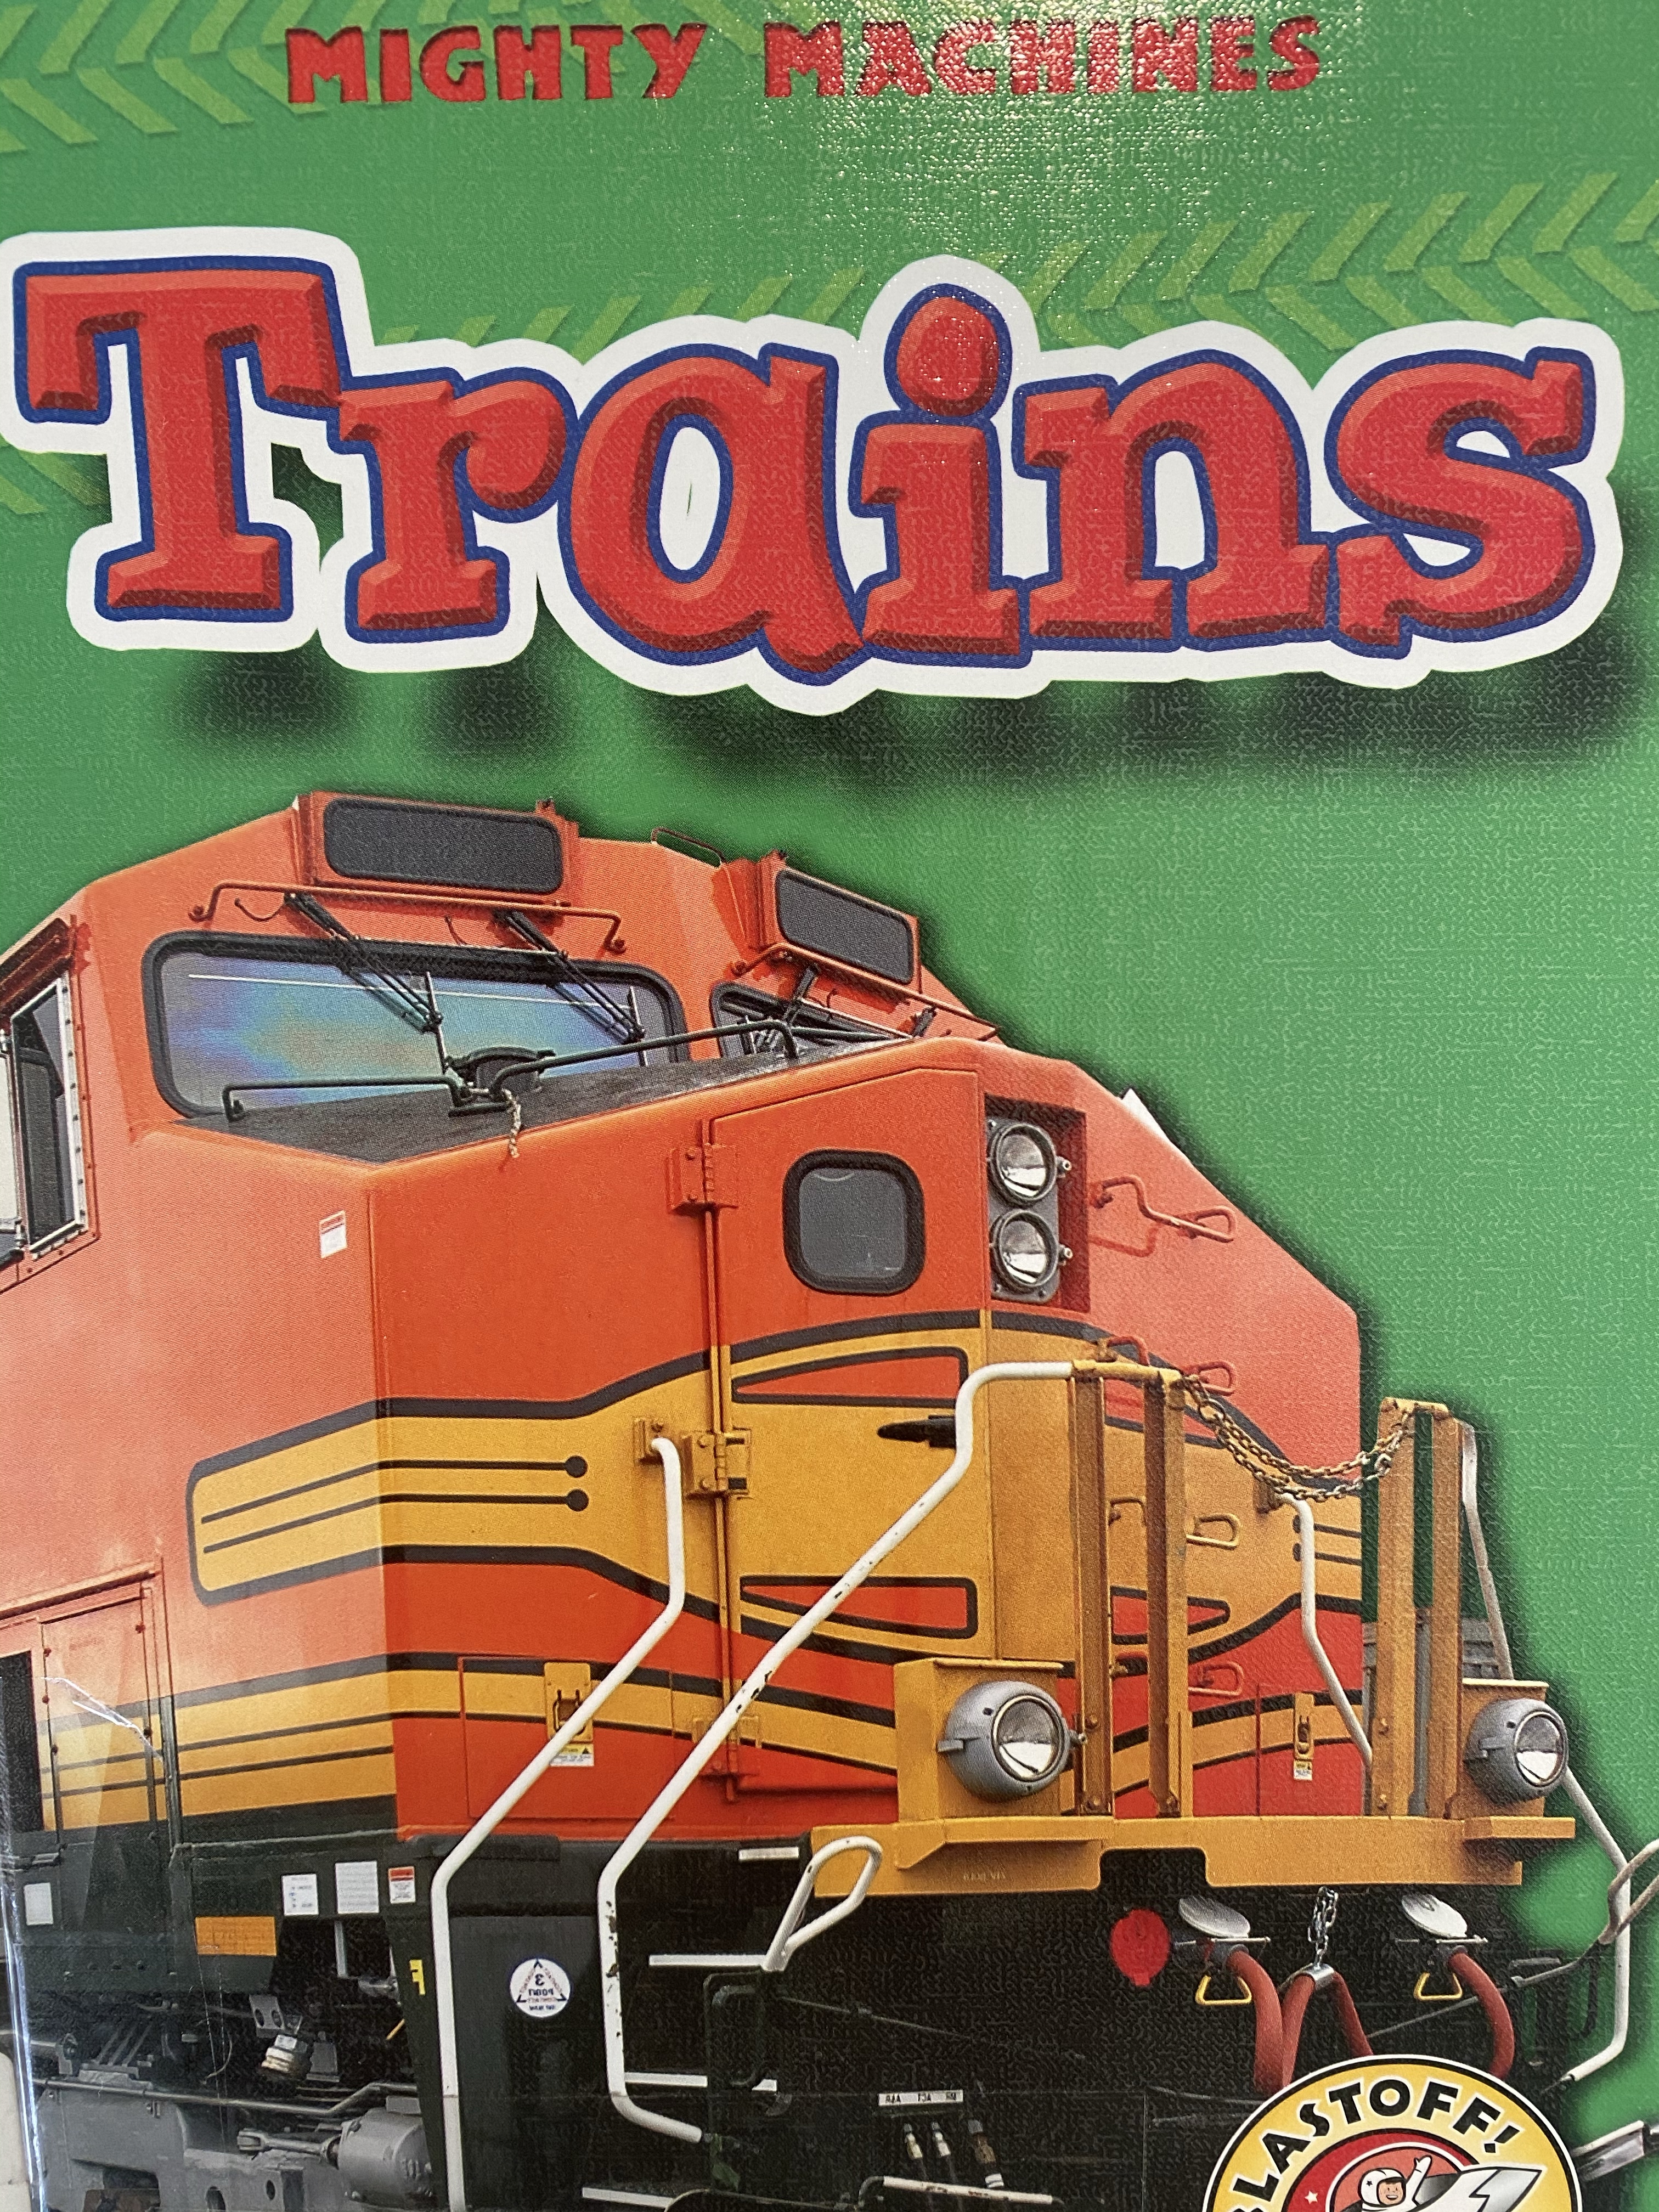
-Train book list:


–Math:
-Train car roll and build: This was SUCH a fun activity- mostly because my littles got some Picasso Tiles for Christmas and they’re totally obsessed with building with them! (You could also just use blocks!) So basically you just have your little roll a 10 sided dice and identify the number, then build that many train cars to go behind a toy engine! I helped him build so we could practice more numbers more quickly, but he did the rolling, number identification, and counting. I got the inspiration from Turner Tots, but we did the activity in 3D rather than flat since we have enough tiles!

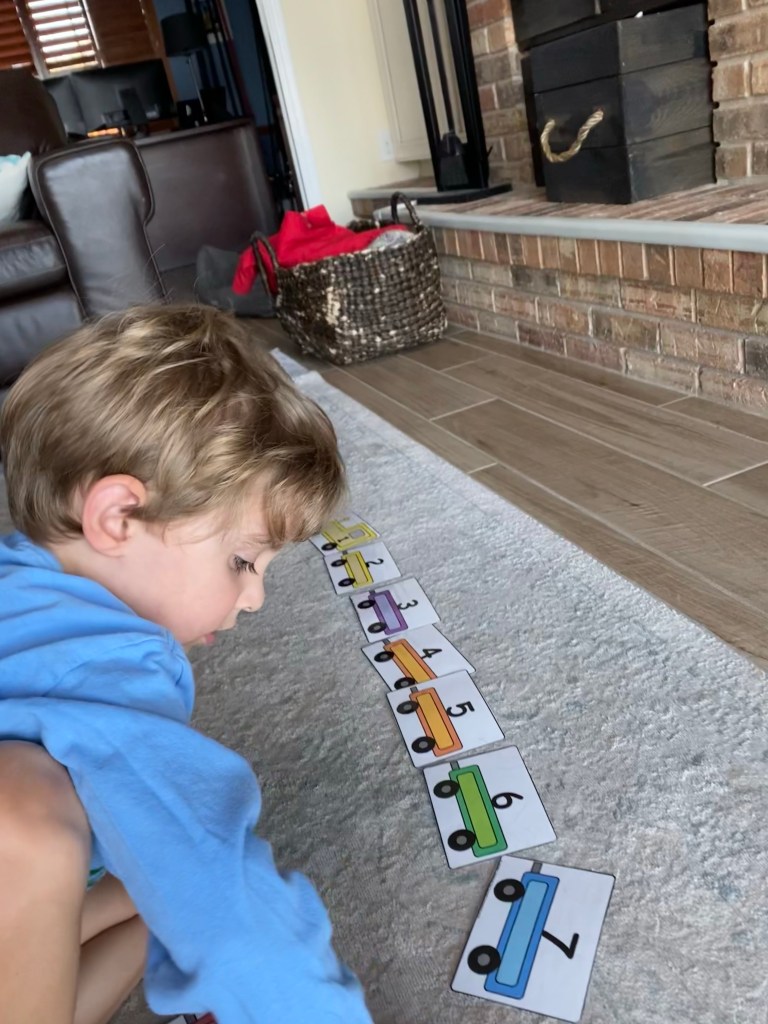
-Number ordering train: I printed this 1-10 number train from Teachers Pay Teachers, then laminated it and cut it out. I had my little place the numbers in the correct order to build a train.
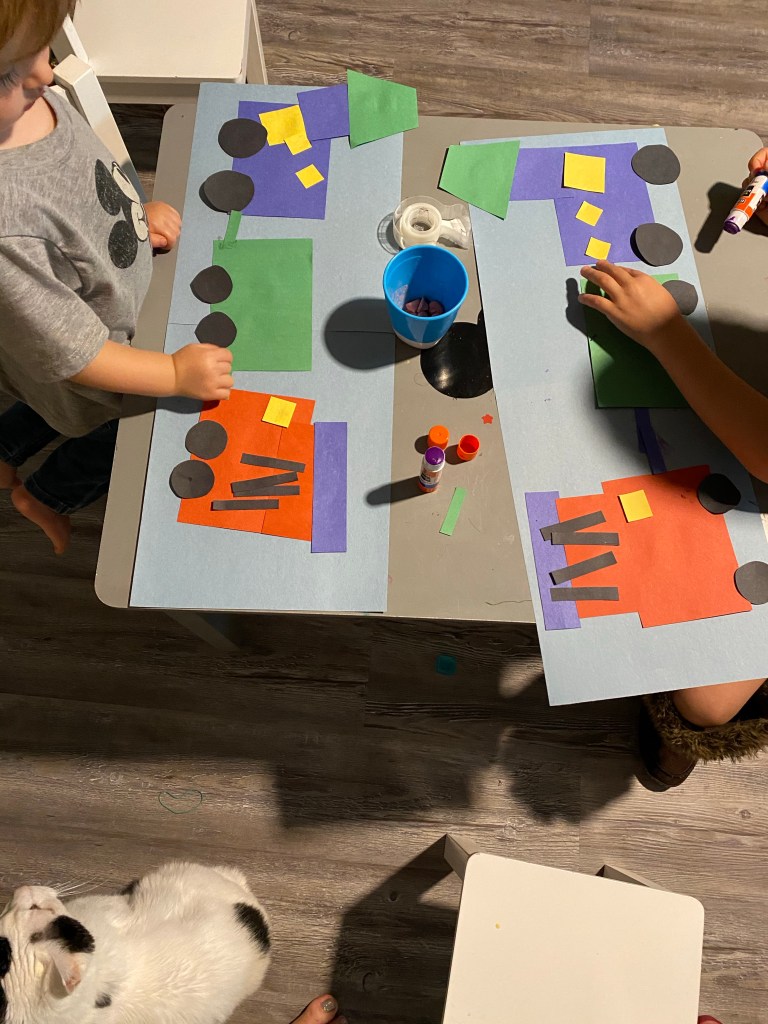
-Build a shape train: I cut out shapes for my littles to put together to make a picture of a train. I ended up taping two sheets of paper together for the background because it turned out to be too long for one sheet of paper, but they came out so cute! To help build shape recognition, I used shape words as I gave them oral instructions on how to put the train together (ie. First, find the large blue rectangle and glue it to the front of you paper for the engine.)
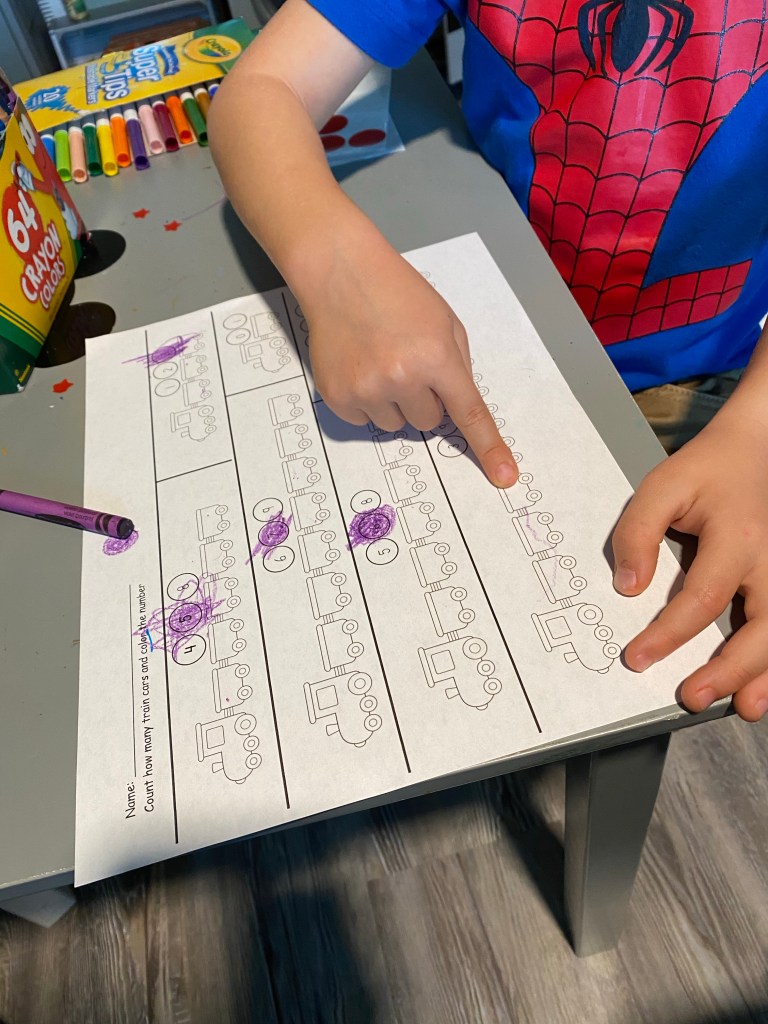
-Train car count and color: I printed this train car count and color page from Teachers Pay Teachers then had my little count the cars in each train (not including the engine), find the correct number and color it in!
–Science:
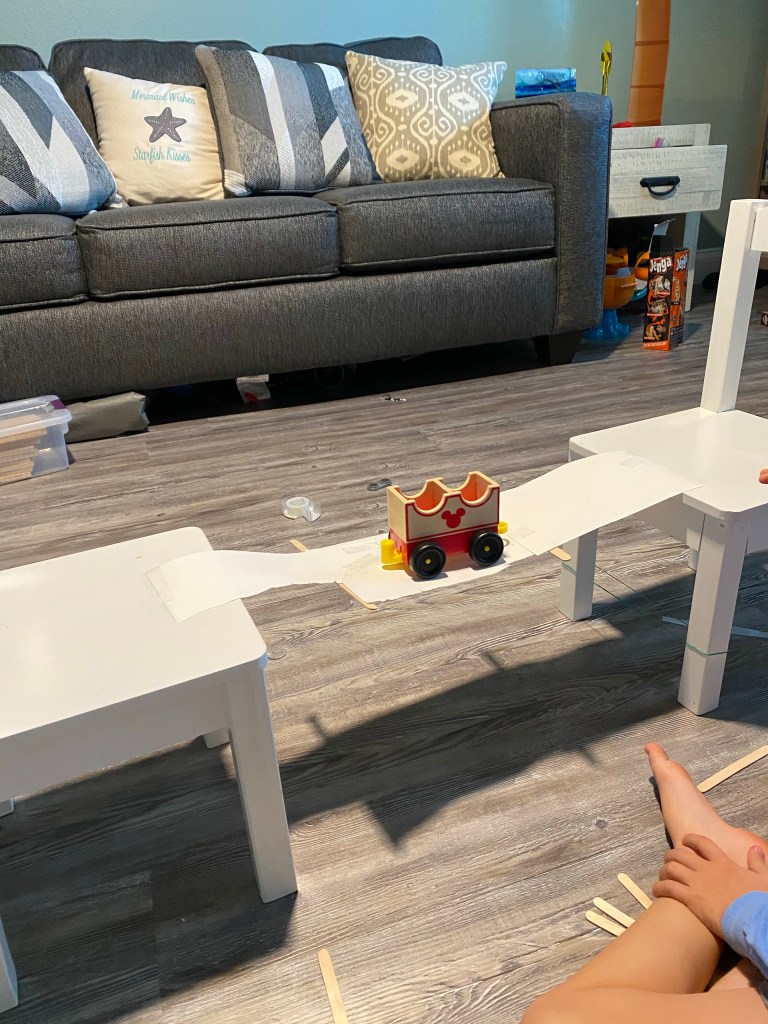
-STEM bridge building: I gave my little the challenge to build a bridge that would support one of our toy train cars (which are rather heavy and made of wood) between two chairs. I gave him 2 sheets of cardstock, scissors, tape, popsicle sticks, a paper towel tube and pipe cleaners to work with. His first few attempts were unsuccessful (which honestly is kind of the point of these activities, isn’t it? To build, test, adjust, build, test, adjust until you get it right?! That’s engineering after all!) so I asked him what went wrong and how he could fix it to make his design better. He engineered for about 30 minutes before coming up with a design that worked. I got this idea from Turner Tots.
-Force and motion tunnel play: I made 3 tunnels- a short one, a medium one, and a long one- by taping construction paper to the floor in arches. Then I had my littles try to push a toy train through each tunnel. We discussed how a push is a type of force, and I asked if they needed more or less force to make it through the longer tunnels as they played and explored. We concluded that the more force you put on an object, the further and faster it goes.

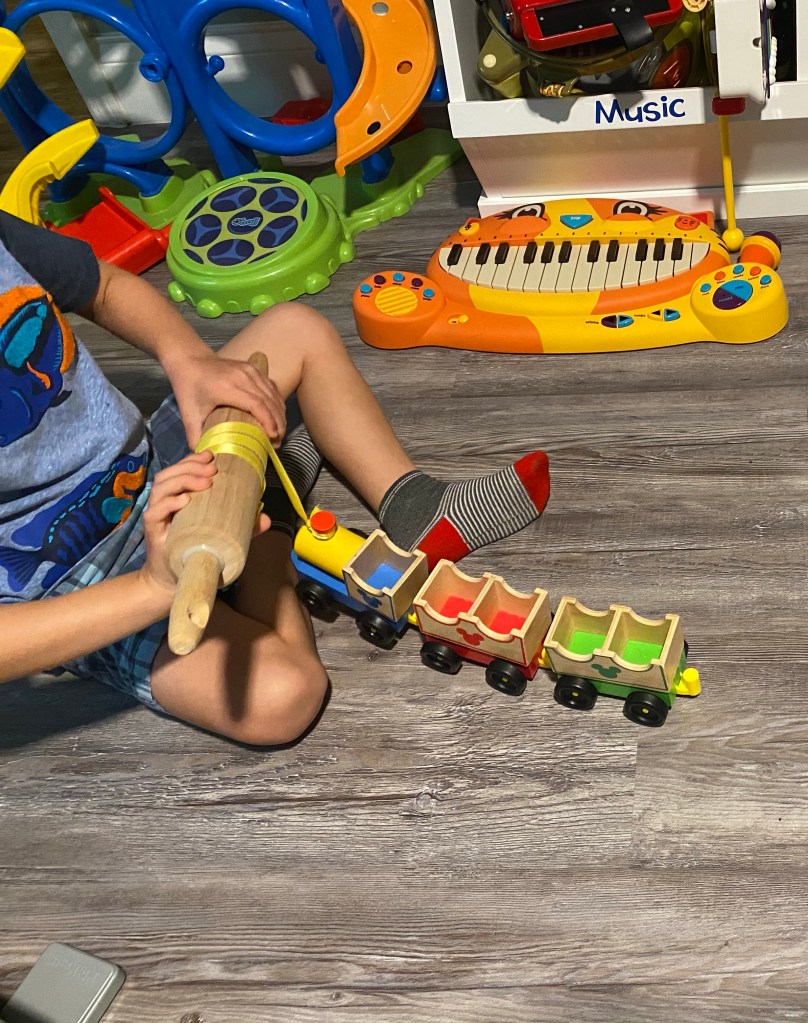
-Rescue the train pully activity: I discussed with my little what a pully is and how they work, then we built a simple one out of a rolling pin and some ribbon and used it to pull along our toy train. I got this idea from J Daniel 4’s Mom.
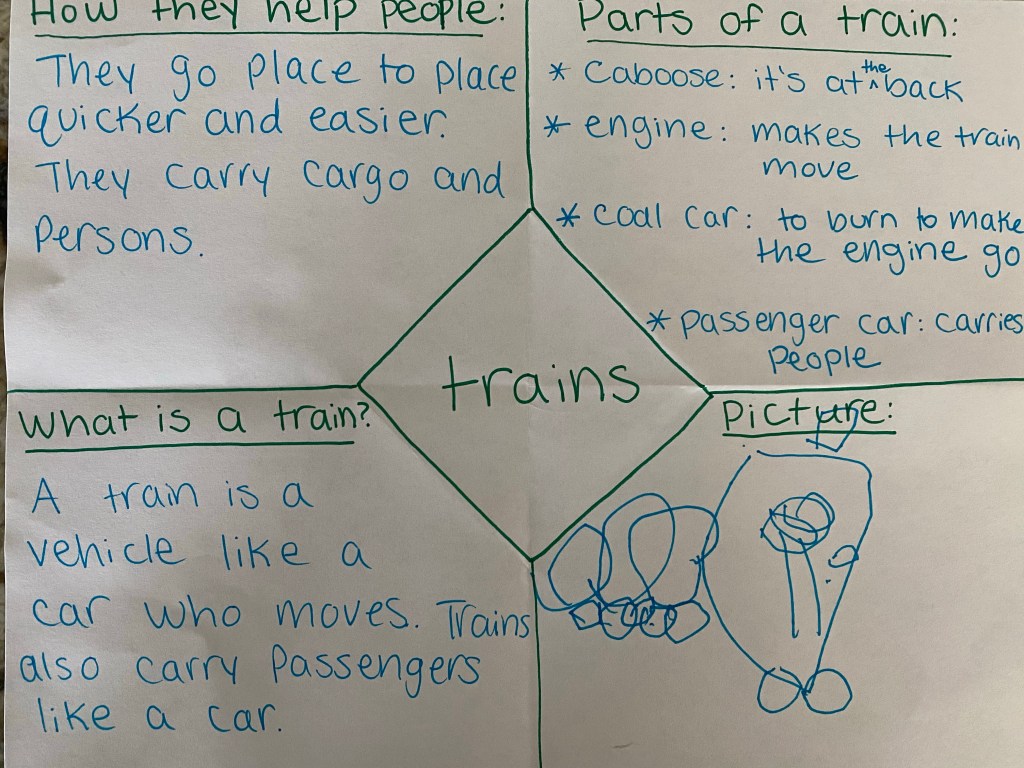
-Train foldable unit wrap up: I made a foldable graphic organizer by folding a paper in half side to side, then top to bottom, then folding the center corner (where all the folds meet) down, opening it up and tracing all the lines. I wrote “trains” in the center, then headings in each corner- “How they help people”, “Parts of a train”, “What is a train?” and “Picture”. Then I had my little answer each section as a final knowledge wrap up for the week’s lessons.
–Art:
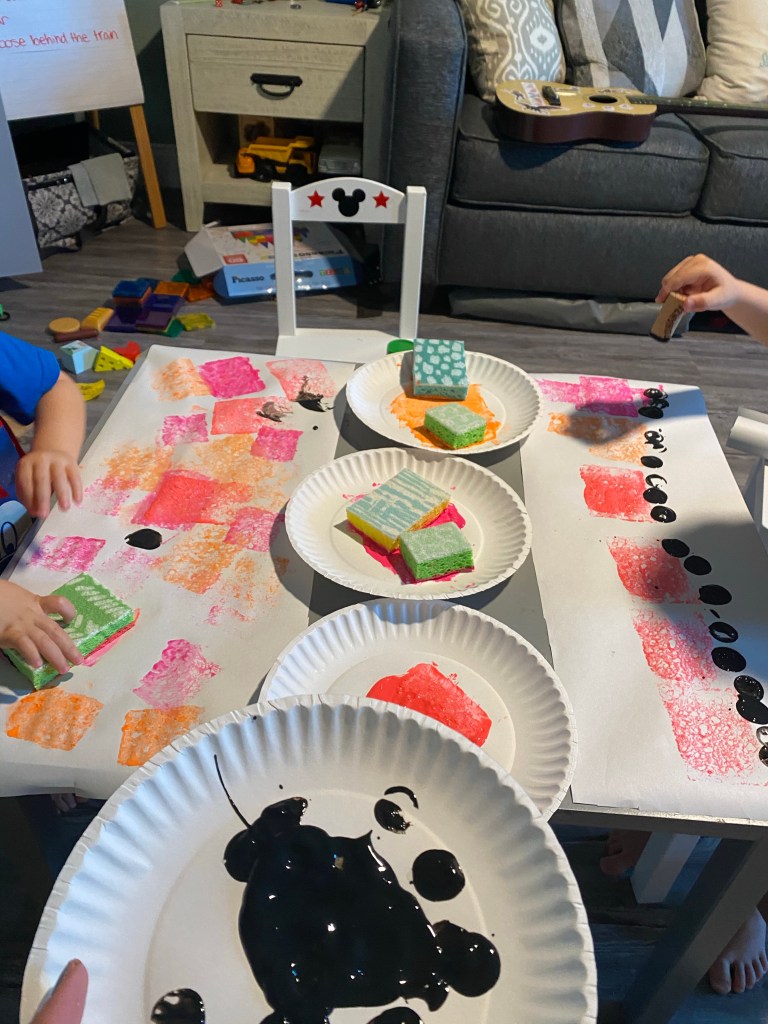
-Train sponge painting: I had my littles pick some colors, poured each color on its own paper plate, smeared a rectangular sponge in them (I cut one sponge in half so they’d have large and small rectangles to explore with- the smaller rectangles were great for adding on a smokestack to the engine!), then taped long pieces of easel paper to the table and let them use the sponges to make trains! I also gave them a wine cork and some black paint to make wheels (you could also use a bottle cap, but the cork was great for giving them something to grip while they stamped circles)!
–Supply/shopping list:
- the book “Tootles” or other train story
- ABC train puzzle
- Picasso tiles or blocks
- 10 sided dice
- rolling pin
- toy train
- string
- plastic cups
- toilet paper tubes
- popsicle sticks
- tape
- pipe cleaners
- sponges
- roll of easel paper
- wine cork or bottle cap

One thought on “All Aboard!”