
It’s been winter for a few weeks, but it’s finally COLD outside here in the south! We don’t get any snow here, but we’re definitely feeling the season in January and February. I thought it would be fun to celebrate winter with a week full of cozy activities featuring snowflakes, hot cocoa and mittens- so bundle up and join us for winter week! Don’t forget to sled on over to my toddler post “Winter Wonderland” for more fun and frosty ideas like a play snow sensory bin and a cute mitten handprint craft!
–Literacy:
-“I Want a Hot Cup of Cocoa” song: I remember singing this song back in 4th grade in Mrs. Cyr’s music class and ever since then it’s stuck- so I decided to bring it back for winter week and sing it each day with my littles! You can ask Alexa to sing it if you don’t know the tune, or hop on YouTube for a video with lyrics. It’s super catchy so I’m sure you’ll learn it (and be singing it around the house!) in no time! I wrote the lyrics and pointed to them as we sang too to build sight word recognition. We did this song daily during our calendar time.

-Writing letters in the snow: If you’ve been following me for awhile and save your sensory play mediums like I do, you probably have some “fairy dust” laying around from Disney week this past summer (it was made from sugar with silver and gold sprinkles). It looks remarkably like snow, so I just used it again for this activity (if you don’t have any- no worries! Plain sugar works, or sugar with sprinkles thrown in). I gave my little a set of winter themed capital letters (which I had printed from the link to the left and laminated) and had him practice writing them in a cake pan of “snow”. I got the idea from Modern Preschool.

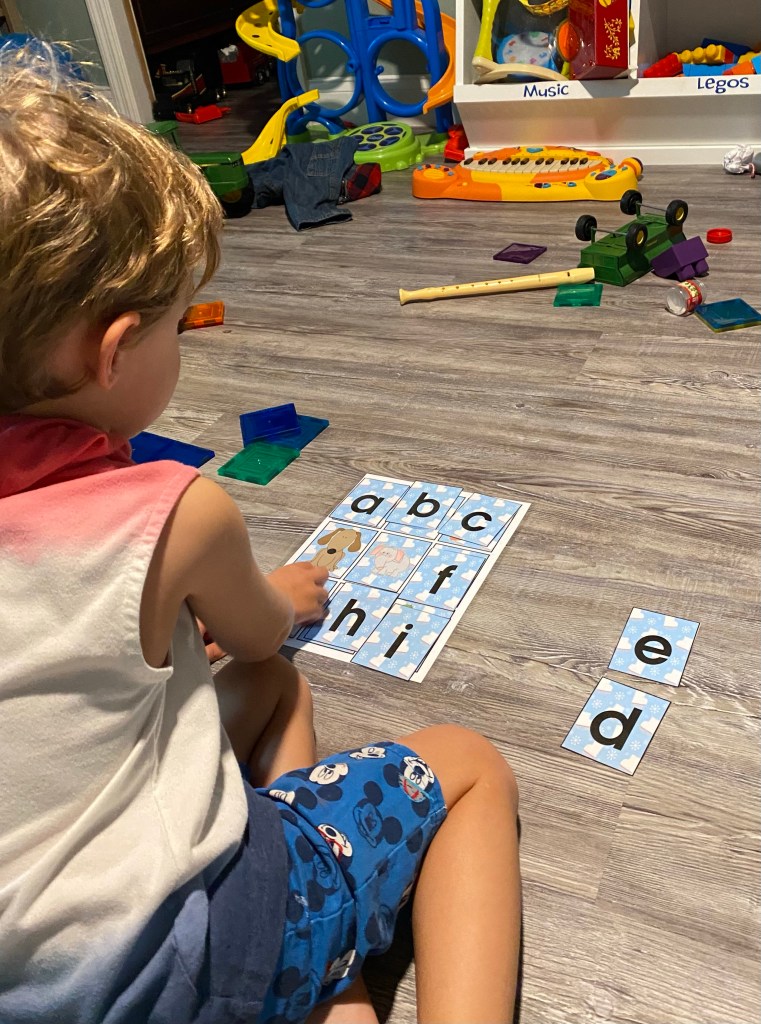
-Winter letter sound match: I printed this winter sound match activity from Teachers Pay Teachers (it’s the same file that I got the letters from in the activity above if you’ve already printed it!) then laminated and cut out the letter cards. I gave my little the cards that went with one picture sheet at a time and had him “read” the picture, identify the beginning sound in the word, then find the letter that matched the sound. Since he practiced the capital letters in the activity above, we just focused on the lowercase letters for this activity, but you could have your little match both if you wanted!
-Mitten letter match: I printed and laminated a set of letter match mittens from Teachers Pay Teachers then split them into 3 groups so my little wasn’t looking at 58 letters all at once- that would be a bit overwhelming! Then I had him match the uppercase to the lowercase letters and identify the letter’s name when he found its match.

-“The Mitten” story and activities: We read the classic story “The Mitten” by Jan Brett, then completed some comprehension activity pages from Teachers Pay Teachers when we were finished. For the story elements page I asked my little what the title, author, setting etc. were and wrote down his answers. For the sequencing activity, he colored each of the characters, cut them out, and glued them in the correct order of appearance to the mitten.


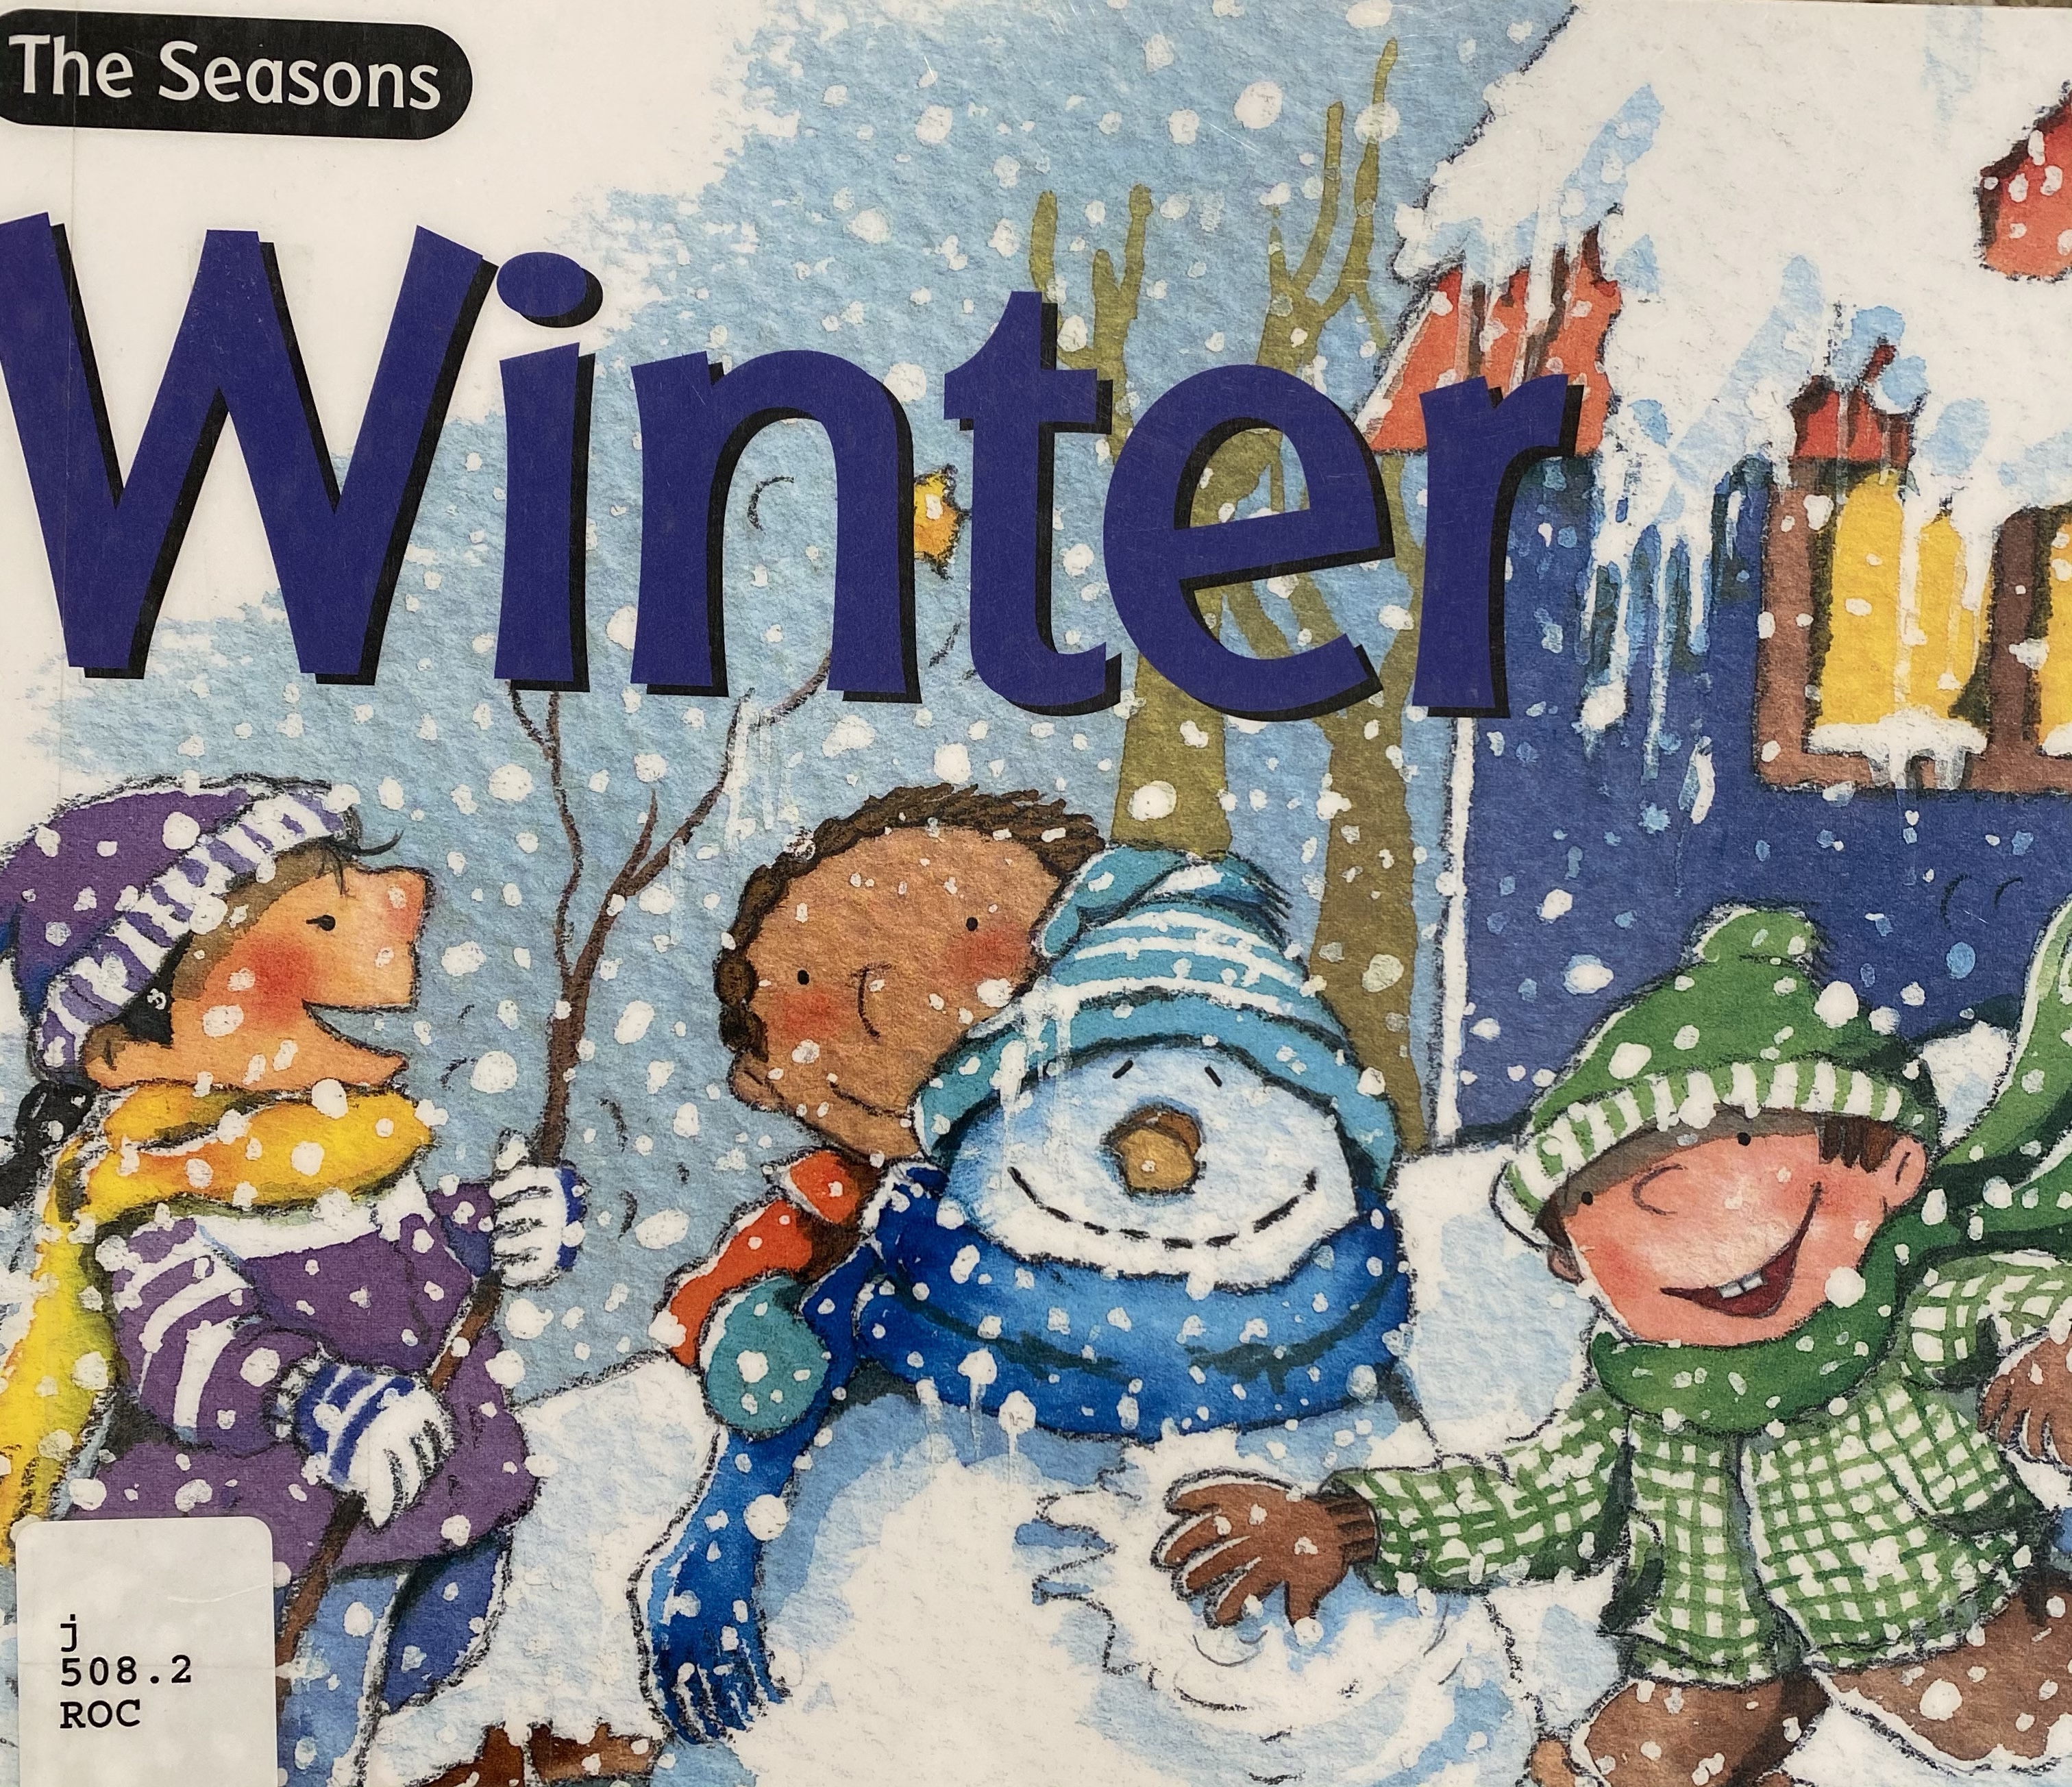
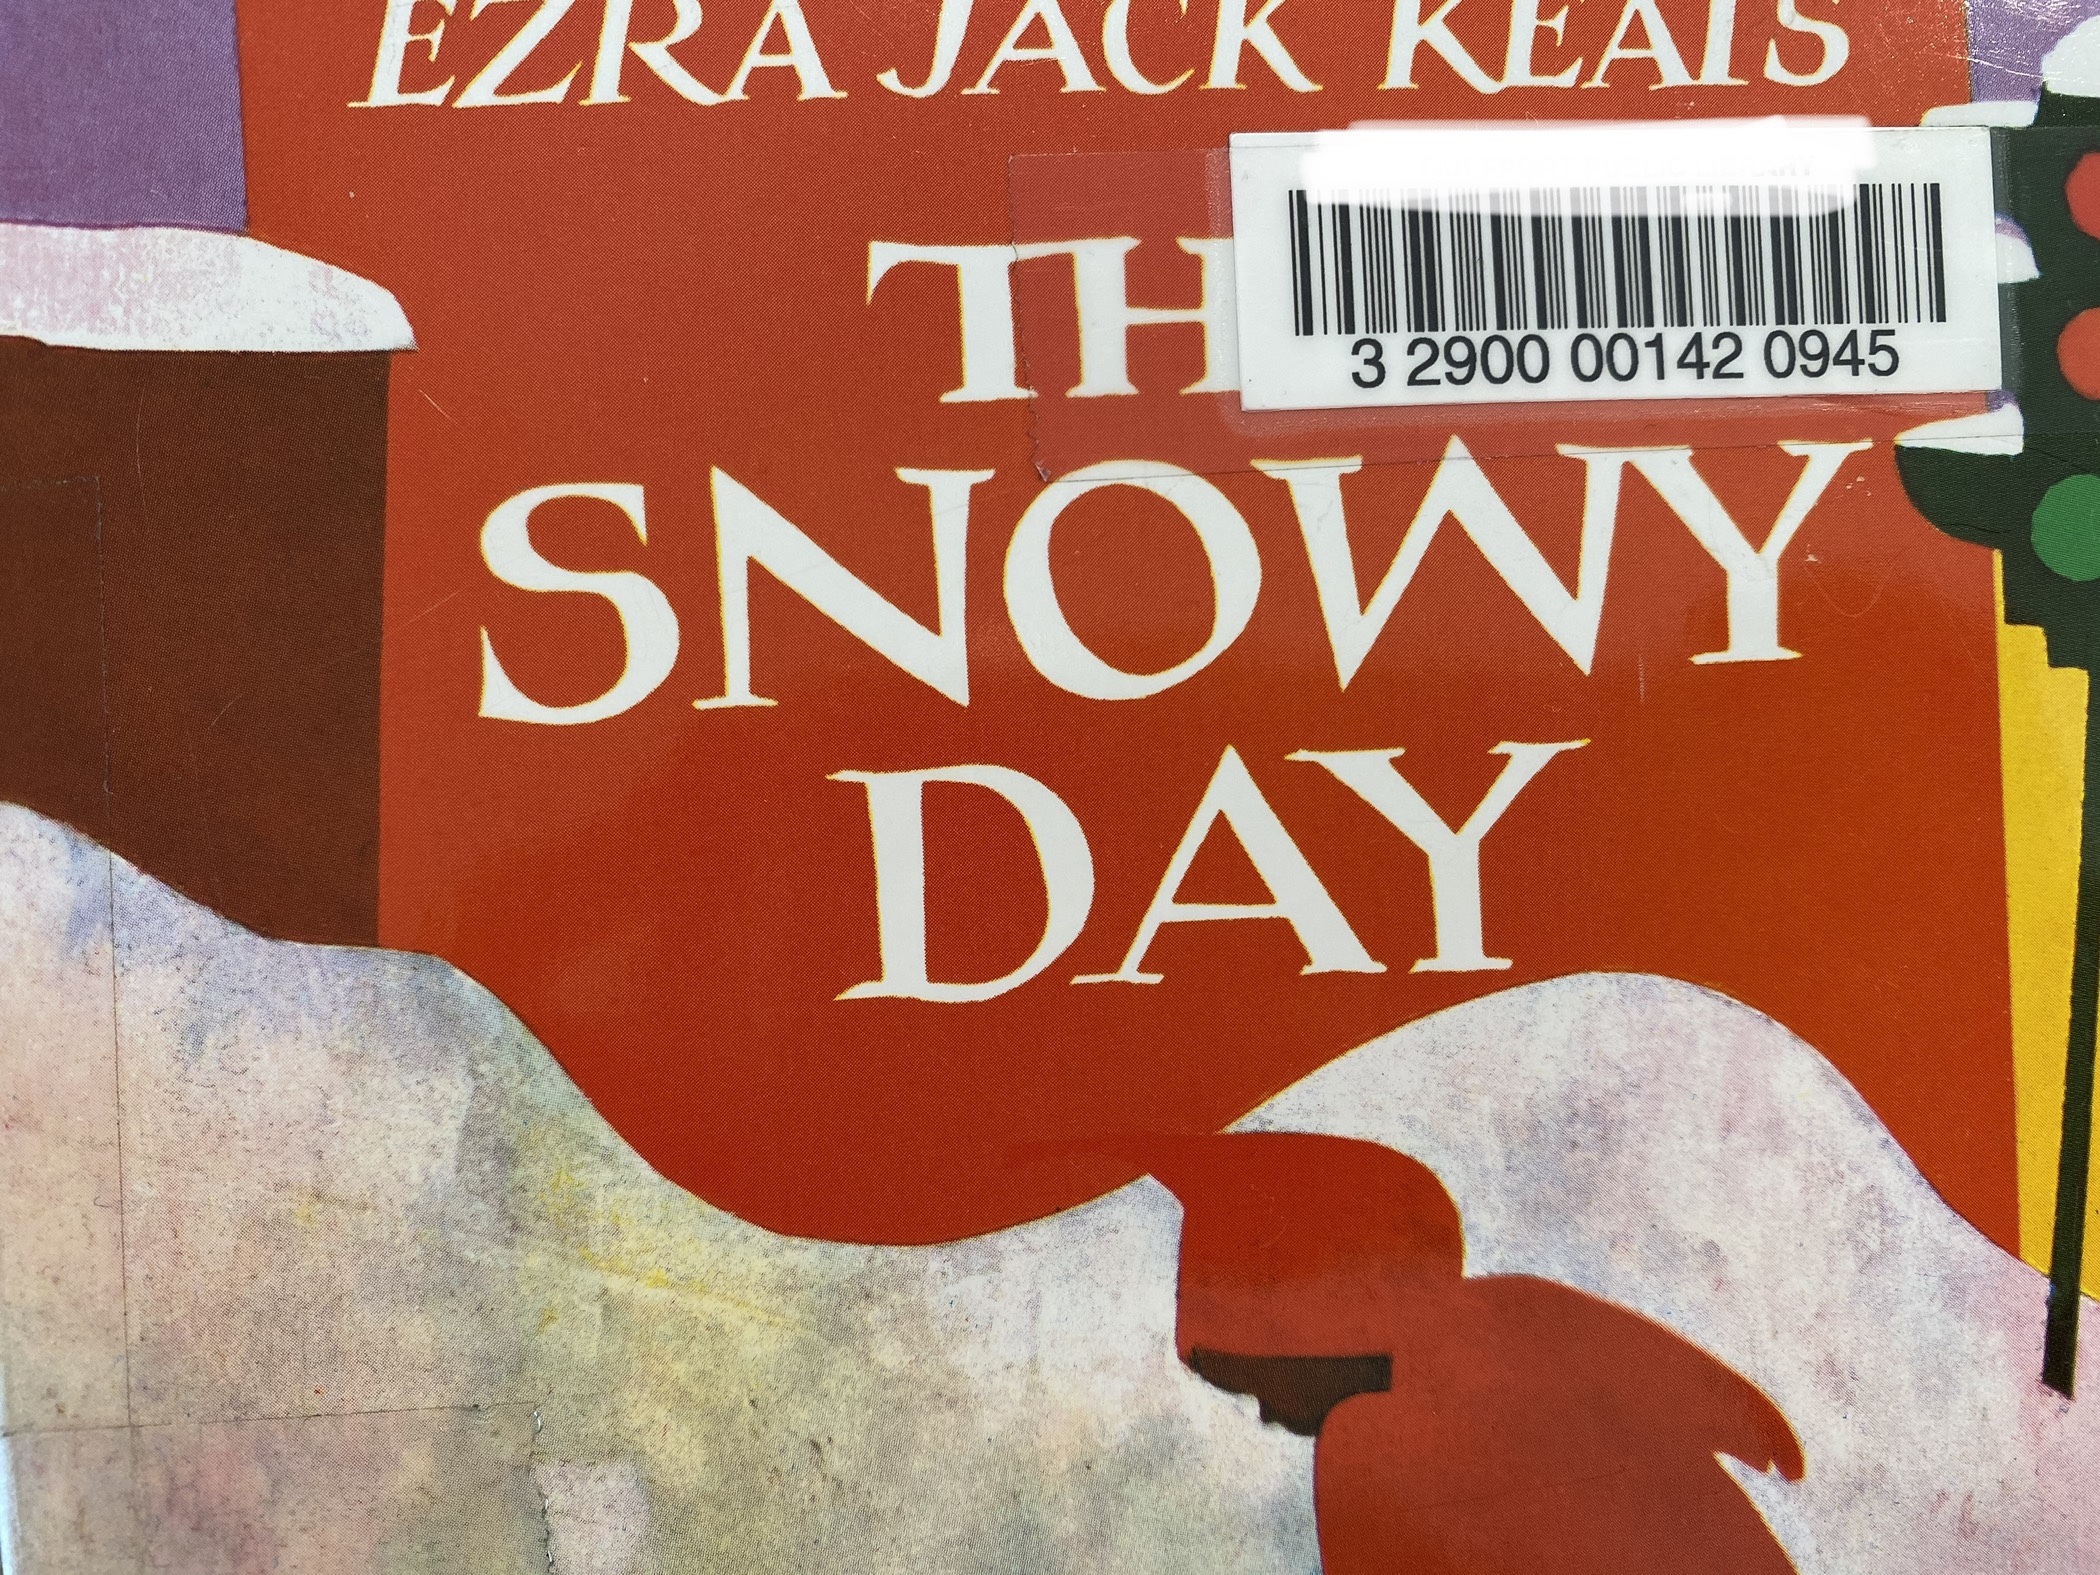
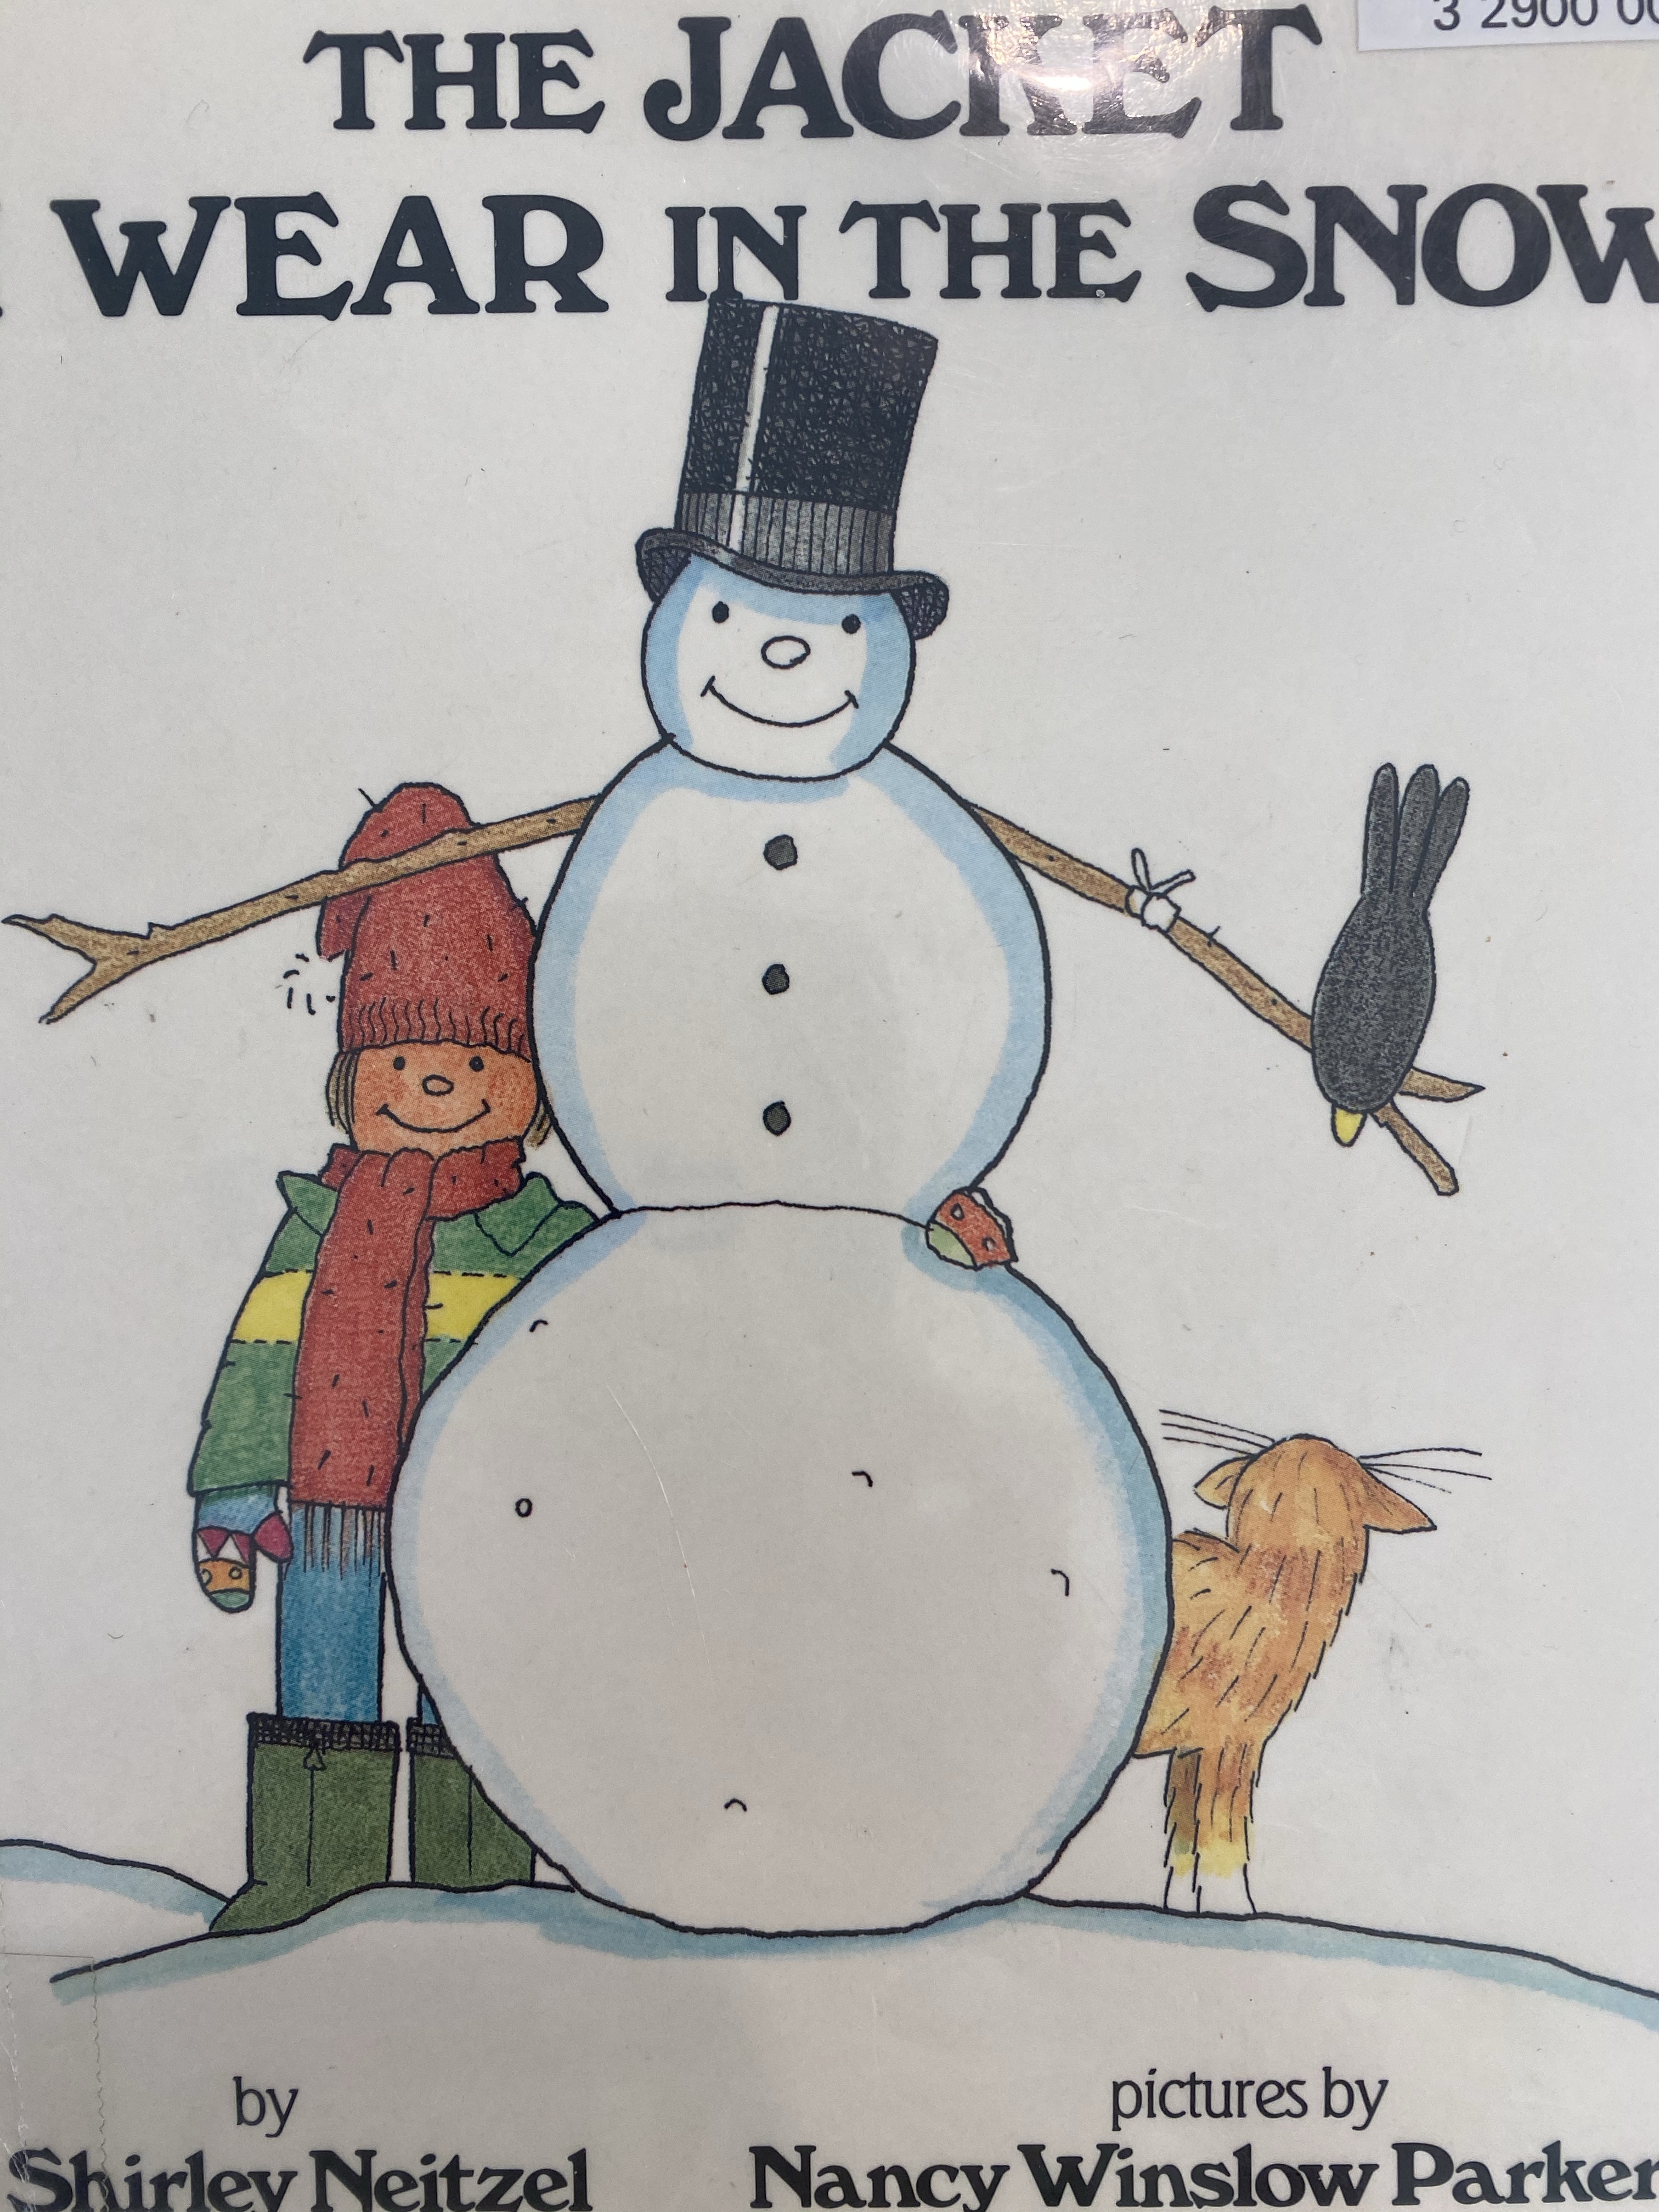
-Winter book list:


–Math:
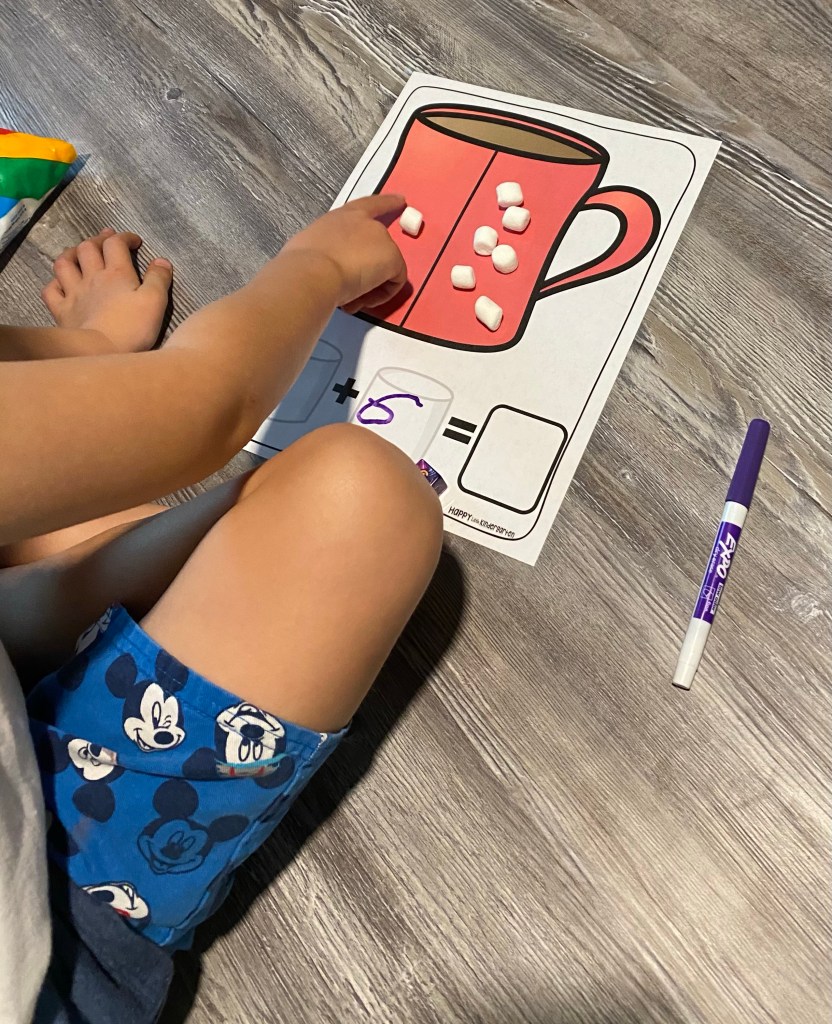
-Hot cocoa adding: I printed this cute hot cocoa adding page from Teachers Pay Teachers and laminated it to make it dry erase (you could also tuck it in a page protector if you don’t have a laminator!) Then I had my little roll a dice to get each of the numbers for the addition sentence. He wrote each number down in the boxes, then showed it with mini marshmallows on each side of the mug, then counted all the marshmallows together to get his answer.
-Winter eraser count: I got a set of wintery erasers (snowflakes, penguins, and polar bears) from Target’s dollar spot, then had my little count how many were in the set.

-Mitten number match counting: I cut out a set of mittens and wrote the numbers 1-10 at the bottom of them. Then I had my little identify each number and count out the winter mini erasers from the activity above to match the number. You could also use snowflake confetti for this activity. I got this idea from Jocelyn Kebbell on Pinterest.

-Mitten roll and color: I printed this mitten roll and color worksheet from Teachers Pay Teachers, then had my little roll our 20 sided dice (you can also use 3 regular dice like the page recommends), identify the number then find and dot it on the page.

-Symmetry paint and press: We reviewed what symmetry is and how snowflakes are symmetrical because if you fold them in half, each side will be the same. Then we did a symmetry painting activity. There are two ways to do this depending on your child’s fine motor skill level- the first is to fold a paper in half then have them paint half of a snowflake on one side, fold and press the paper in half so their painting transfers, then open it up to a symmetrical snowflake. You can also squirt some paint down the center of the page, fold it in half and have your little press it outward from the crease to the open edge. Then open it to find a symmetrical picture (my little’s turned out looking like a snow angel, which was perfect!)

–Science:
-Where do animals go in winter?: Different animals survive in different ways when the weather gets cold- some migrate, some hibernate, and some forage for or store up food all winter long. We watched an online story reading of the book “Animals in Winter”, then I had my little color and cut out the animals from this work page and glue them on their correct winter home. (We had to google a few like snake and raccoon and learned they hide in various places, so I had my little just pick one).

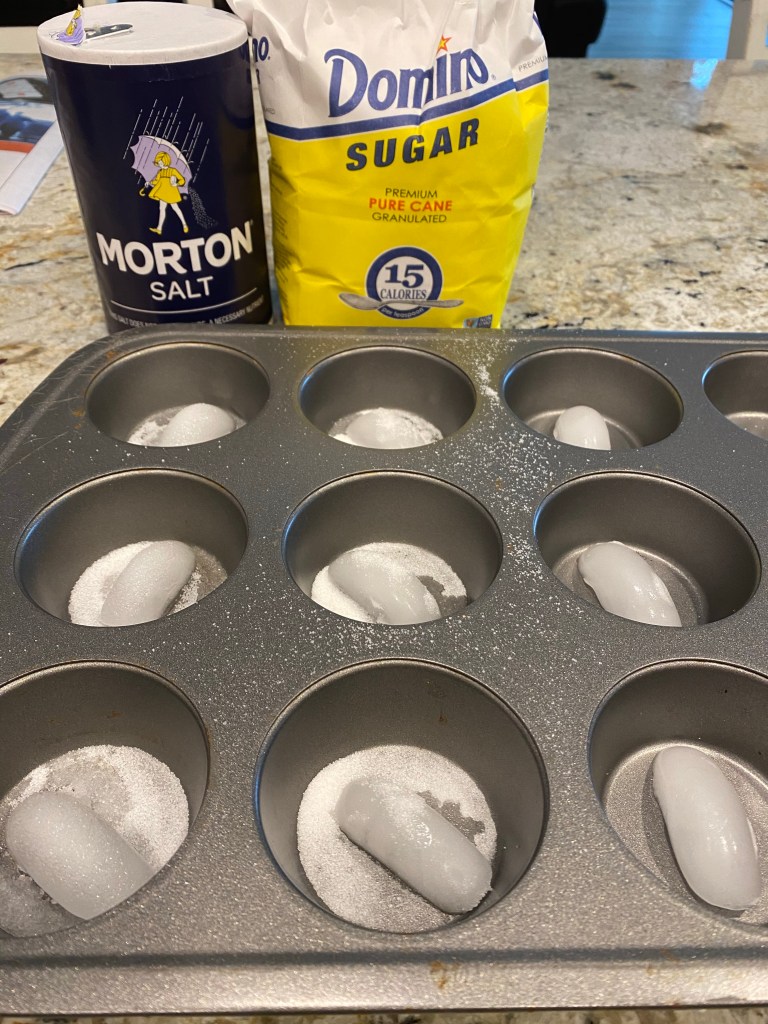
-Sugar, salt and nothing ice melting experiment: Our inquiry question for this experiment was “What are the effects of sugar and salt on ice compared to plain ice?” (a good inquiry question is never a “yes” or “no” or one word answer). I asked my little what he thought might happen if we put sugar, salt and nothing on ice cubes. Then we set up our experiment by placing ice cubes in each section of a muffin tin (so they wouldn’t float around as they melted). We added a teaspoon of salt to each of the first 3 tins, a teaspoon of sugar to the next 3 and left the ice cubes plain in the last 3. Then we observed and discussed what was happening. The sugar and the salt both made the ice melt quicker (which totally surprised me- I knew about salt…but sugar? Super cool!) but the salt appeared to “eat away” at the top of the ice, whereas the sugar just sped up the melting process.
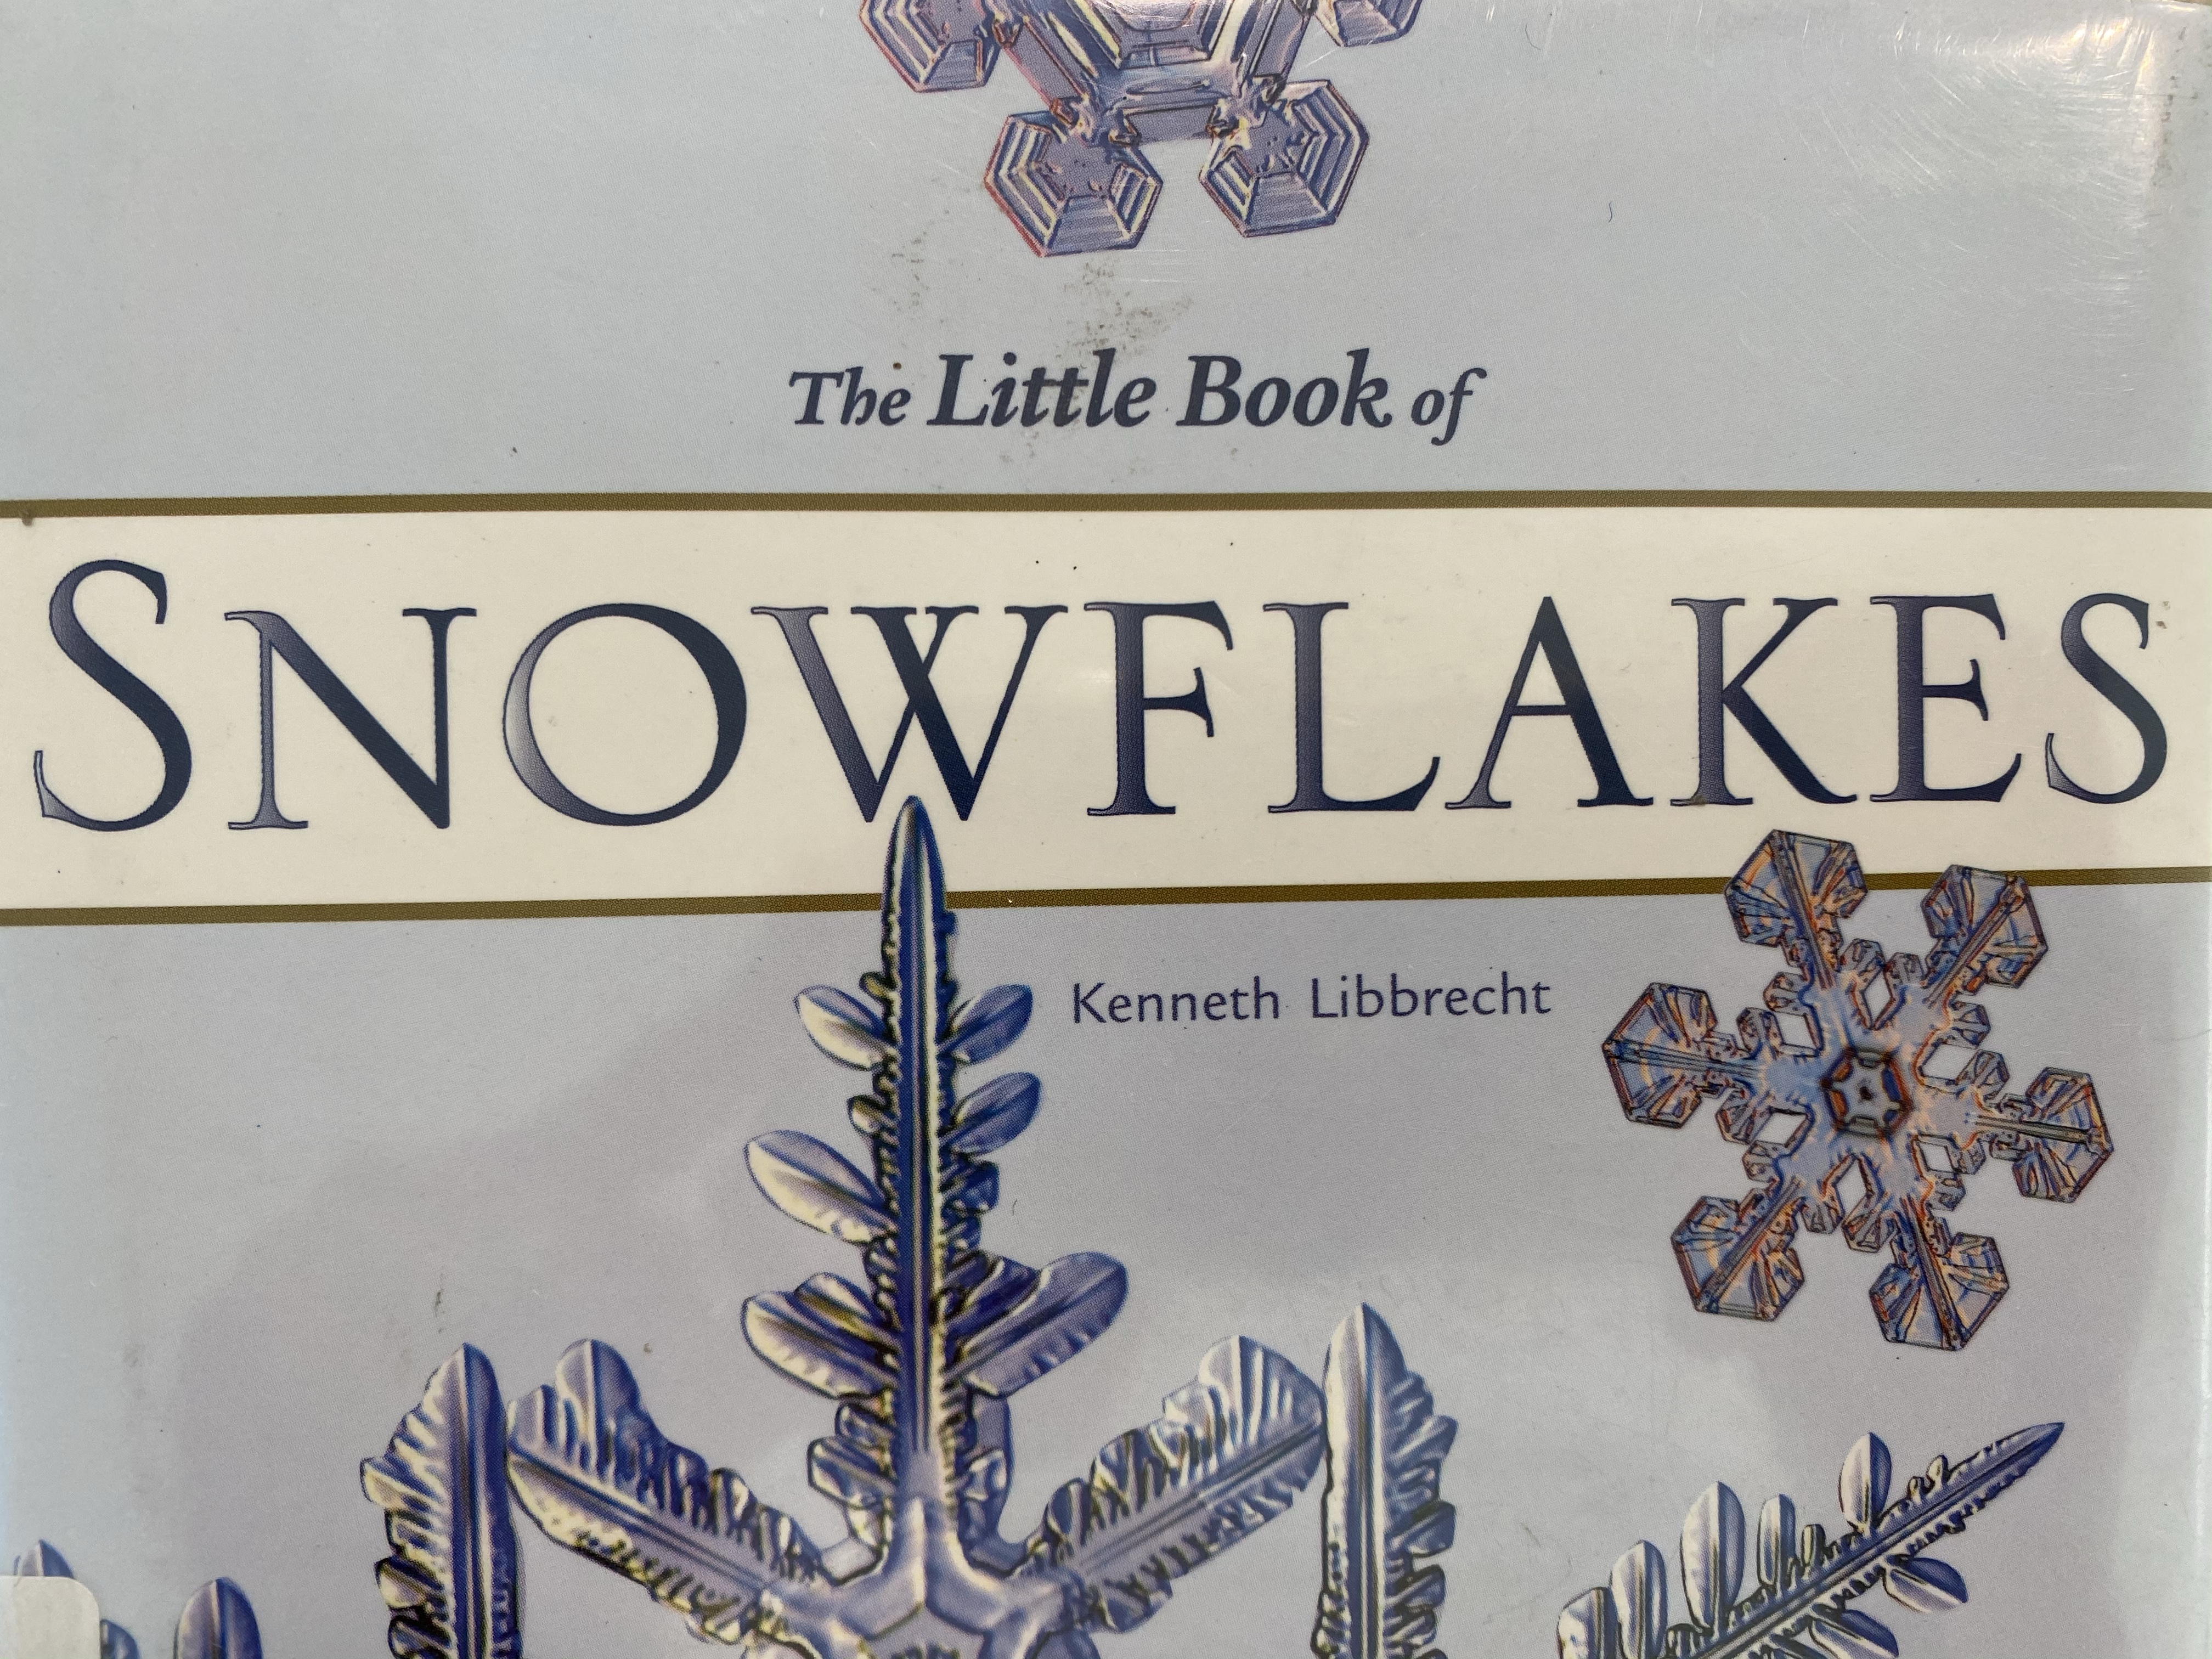
-STEM design a snowflake: First, we looked at this amazing book called Snowflakes we got from the library and talked about them as we flipped through it- it’s a book of mostly photographs of snowflakes taken under a microscope and they are amazingly intricate and beautiful! Then, I asked my little what he noticed about the snowflakes- they all have 6 sides and are fairly symmetrical (the same on each side if you were to fold them in half). Next, I gave him a bunch of craft supplies (popsicle sticks, pipe cleaners, beads, pom poms, fake jewels, etc.) and asked him to make a snowflake- it was a little difficult for him to create a 6 sided one, so this may be better suited for older children, but he still had fun trying! He did end up making one, but it was one of the flakes that looks more like a Tie fighter from Star Wars, which we learned are more common than the fancy ones anyway! I got this idea from Carly and Adam.


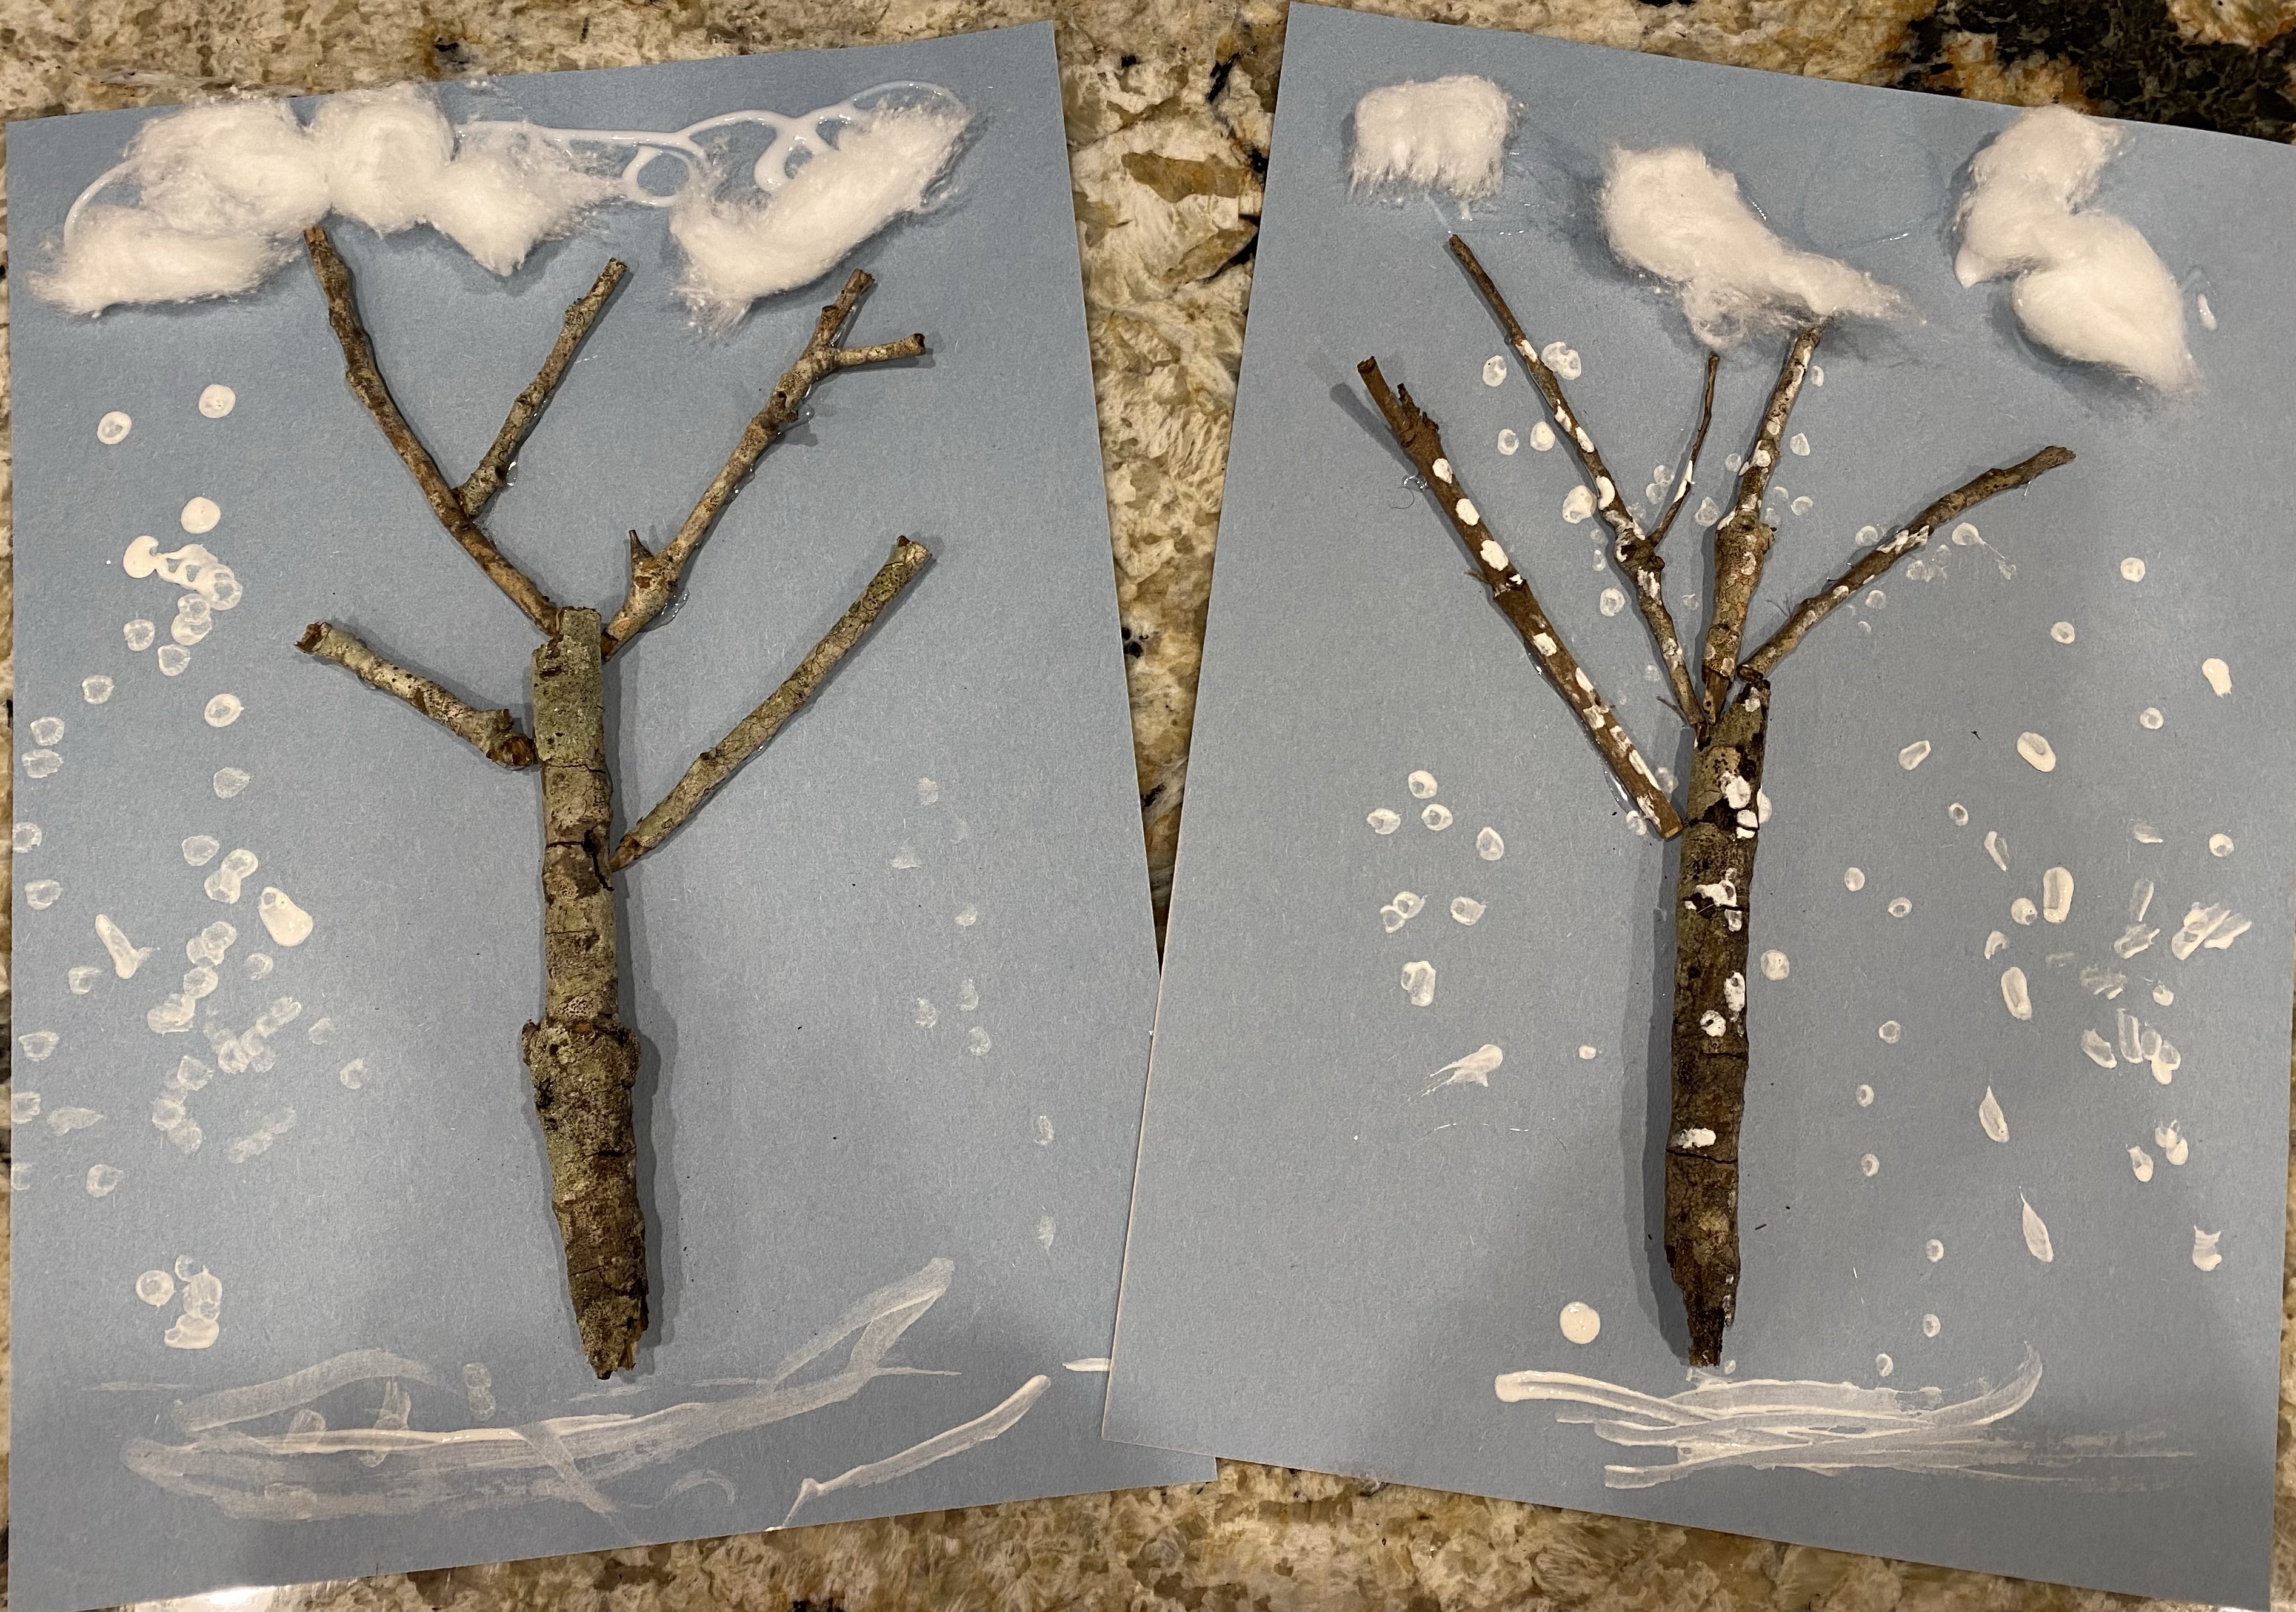
-Winter trees: We discussed how some plants, including many trees, go dormant in the winter. This means their leaves fall off and the tree doesn’t grow much- kind of like animals who are hibernating. Then we collected some sticks and I hot glued them to a piece of construction paper to make a leafless winter tree. Next, I asked my little where trees grow from- the ground! So he painted a snowy ground under his tree. Then I asked what happens in winter- it snows! He used a Q-tip to paint snow all around and on his tree. Then I asked where snow comes from- the clouds! So he added some cotton ball fluff for clouds at the top of his page. I got this idea from Fantastic Fun and Learning.

–Art:
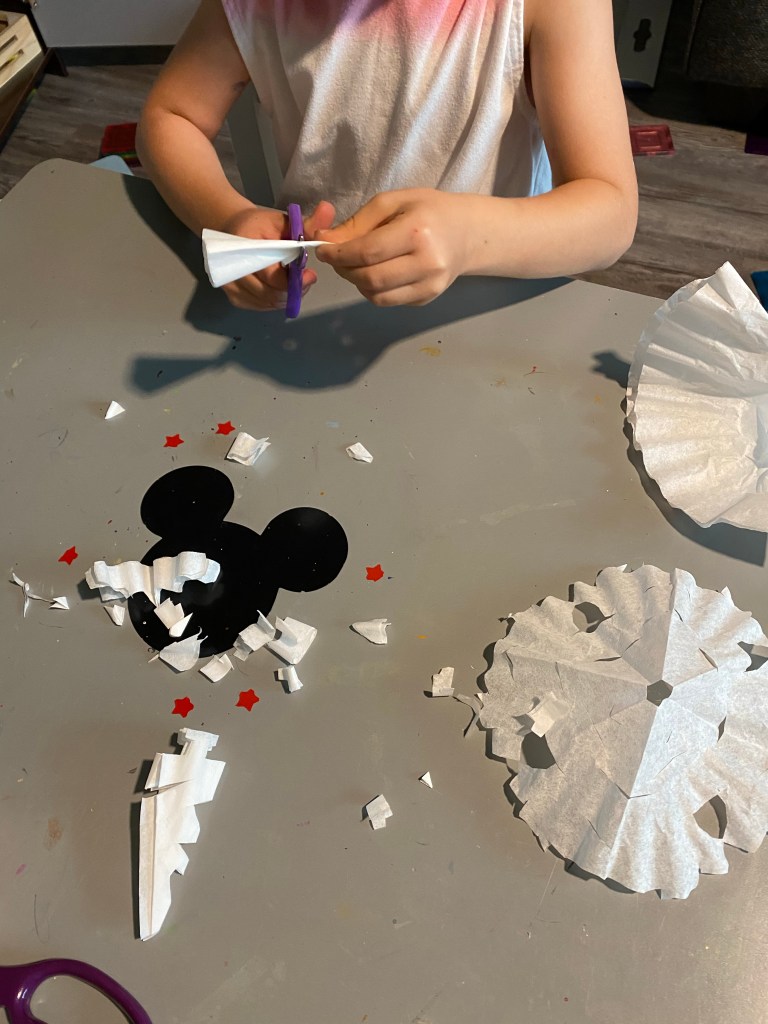
-Coffee filter snow flakes: Coffee filters are perfect for making snowflakes with for a few reasons- first, they’re already round so you don’t have to trim them round. Second, they’re nice and thin so after folding them in half a few times, they’re still easy for littles to cut through-but they aren’t so thin they tear, which is nice too! Third, they’re delicate, so they turn out more like a real snowflake! To do this craft, just fold a coffee filter in half 3 times, then have your little cut out holes from each side (triangles and squares are easiest). When they’ve finished, open up the snowflake to see what it looks like!
–Supply/shopping list:
- sugar
- arctic mini erasers or snowflake confetti
- mini marshmallows
- popsicle sticks
- pipe cleaners
- Q-tips
- beads
- salt
- pencil
- string
- ice cubes
- bowl
- water
- sticks
- coffee filter
