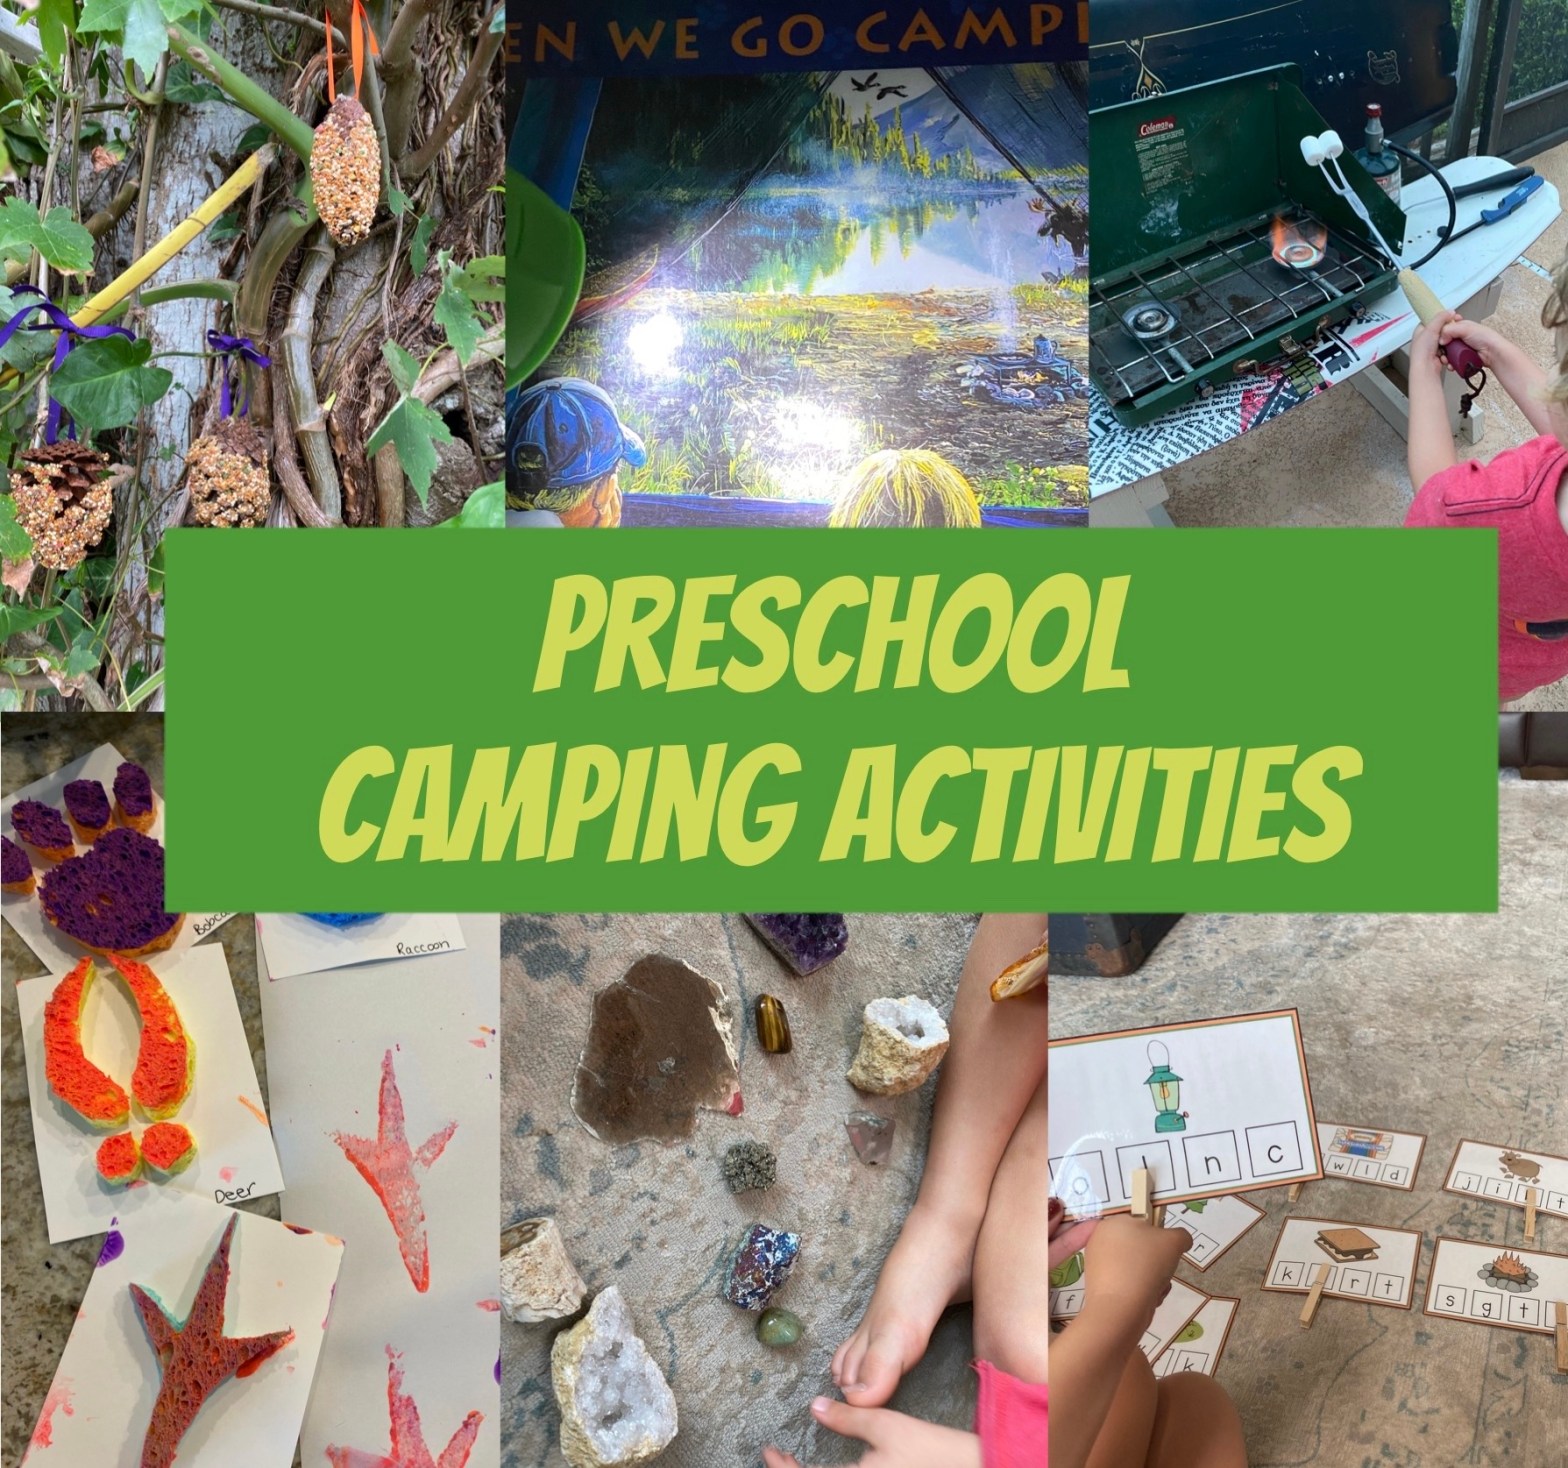
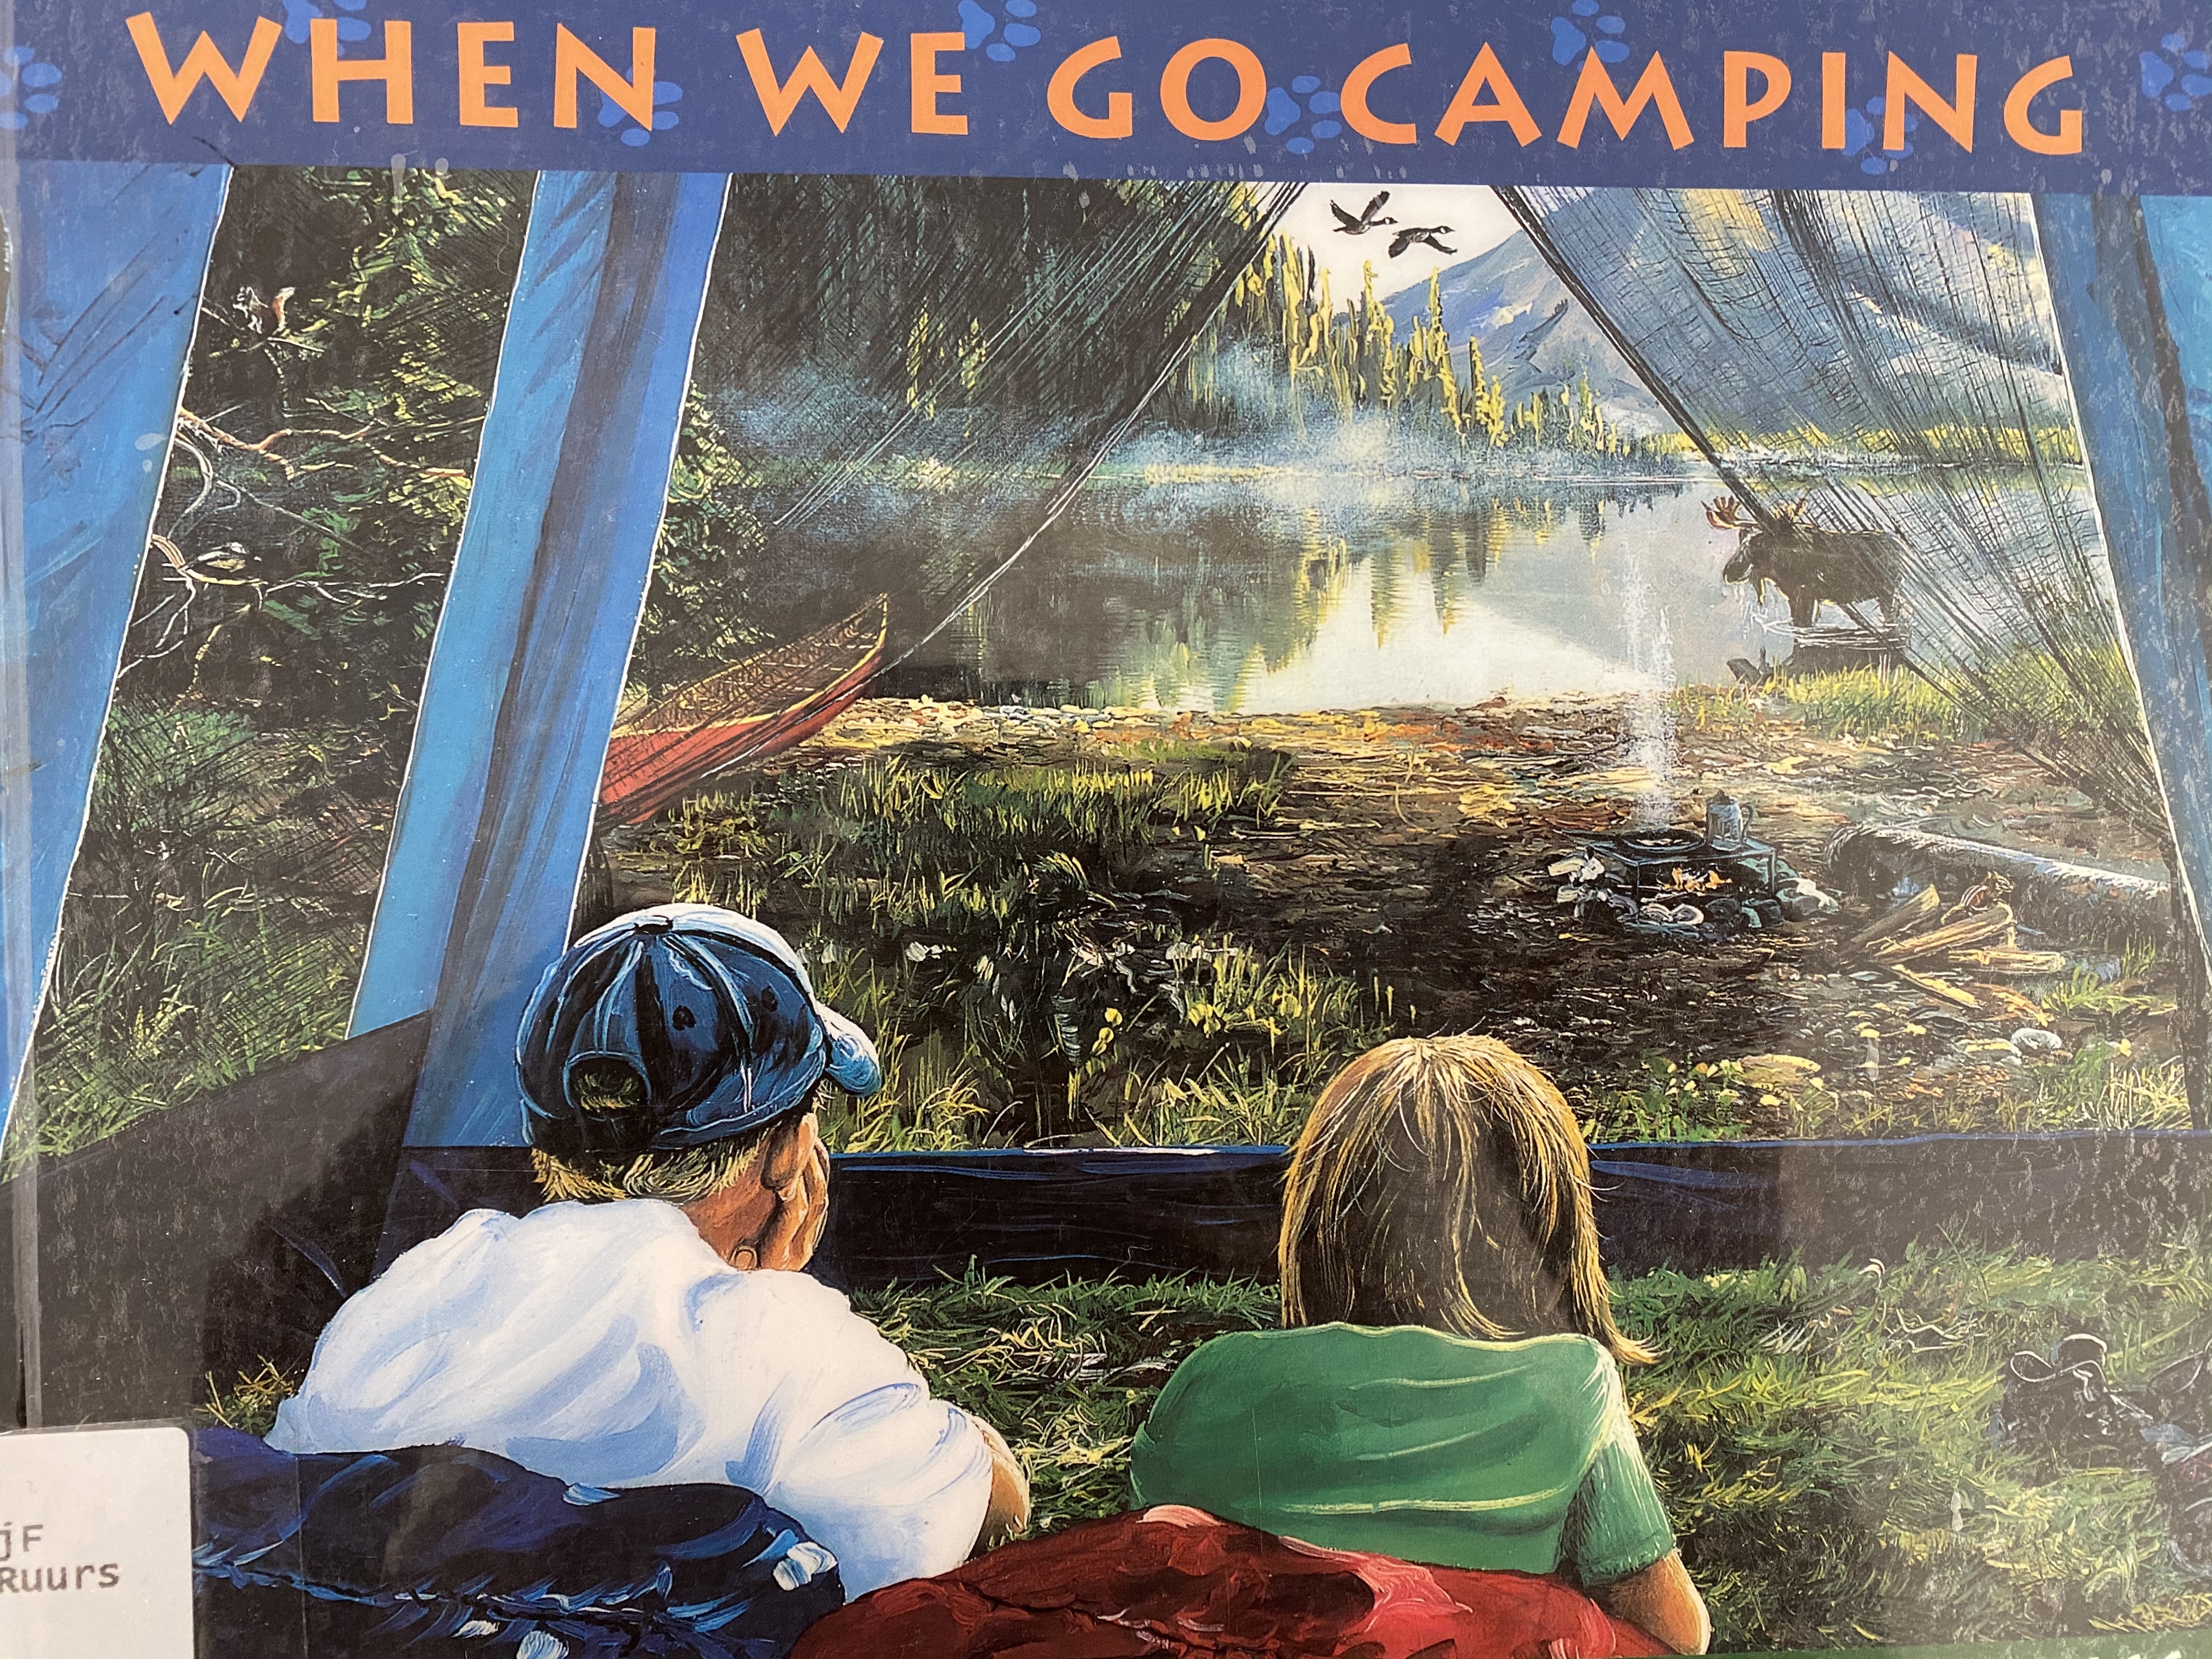
I know most people think of camping as a summer thing, but here in the south it’s just TOO HOT! LoL Camping is much more tolerable in the fall when the weather isn’t so…swampy. hahaha Hence our lovely fall camping theme this week! Don’t forget to check out my toddler post Cozy Up To The Campfire for even more fun ideas your preschooler will love like painting with s’mores (whaaaat!?) and making a handprint campfire!
–Literacy:
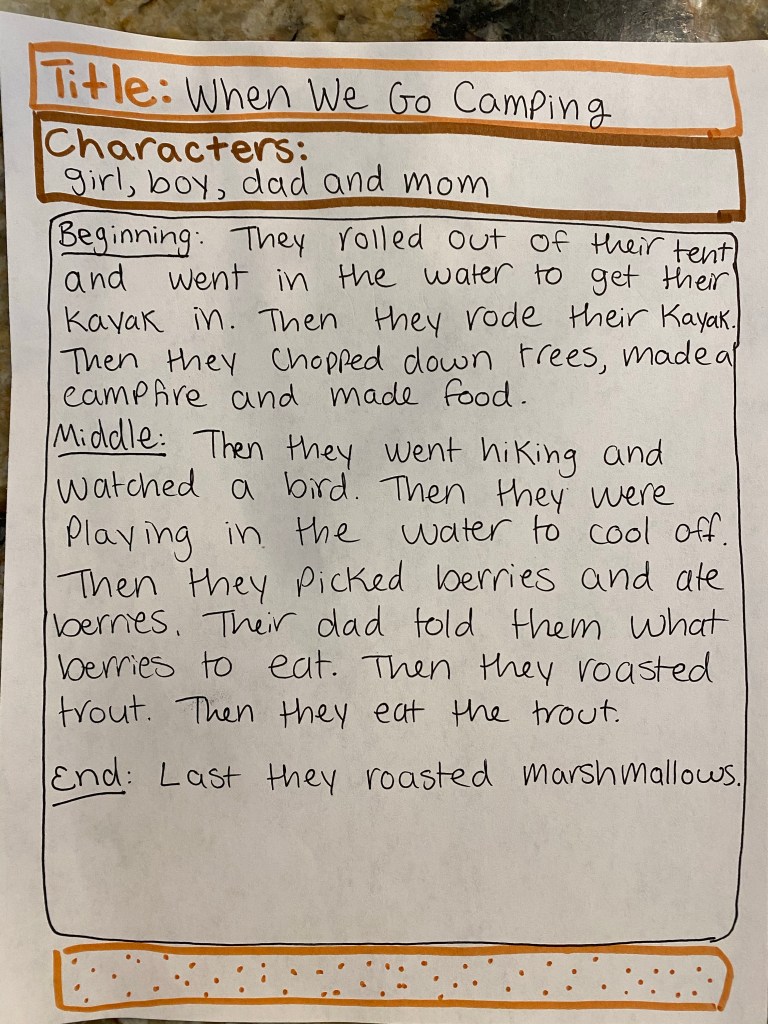
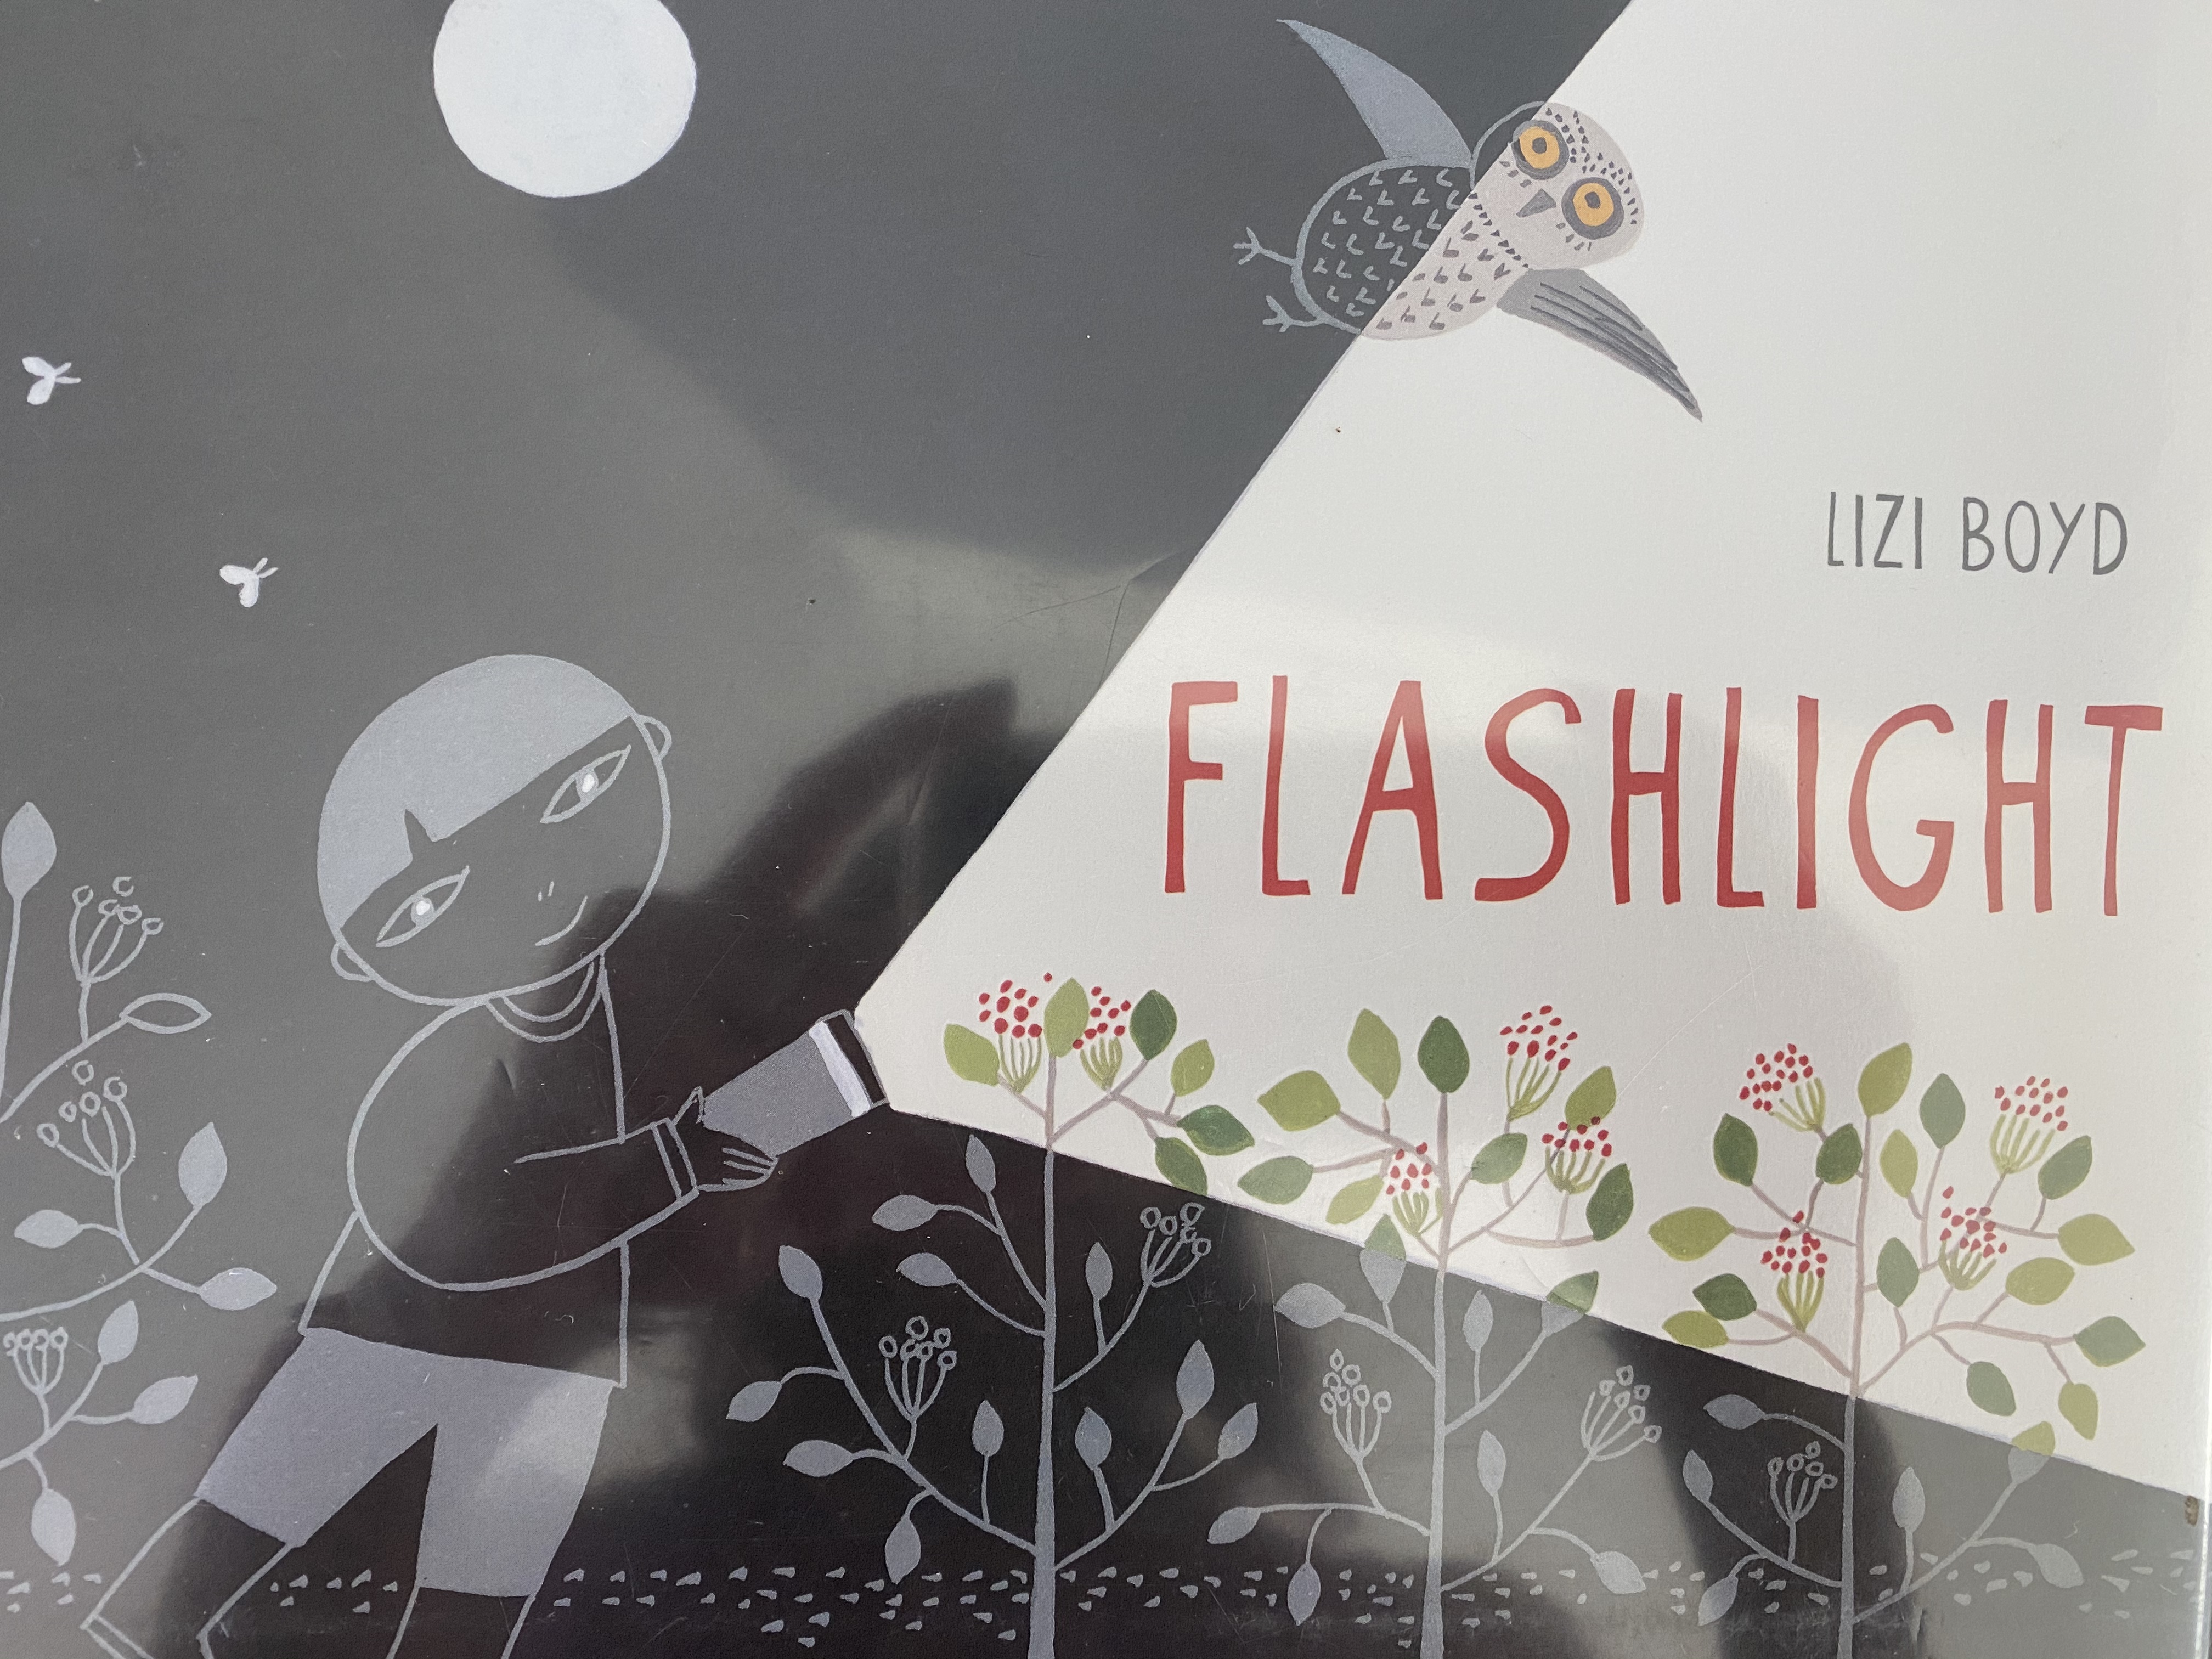
-Flashlight reading: My little loved this activity! We cozied up in our play tee pee (but building a blanket fort would also make for a great dark reading space!), turned on our flashlight and read a camping story!

-S’more graphic organizer: I drew this s’more retelling graphic organizer, then had my little use the pictures in the story we read with our flashlight to retell the story. I wrote down what he said, then read it back to him when he had finished.
-Beginning sound practice: I got these awesome free printable cards at Teachers Pay Teachers! They have images of camping items like a tent, a s’more, a bear, etc. that your little can read (yes, reading the pictures is a thing we actually teach at school! After all, they often help tell the story, right!?). Then, have them identify the beginning letter and sound and clip it at the bottom of the card. If they get stuck, you can say something like, “That’s right! That is a tent! Tent starts with T and T says ttt- can you find the T on the card?”

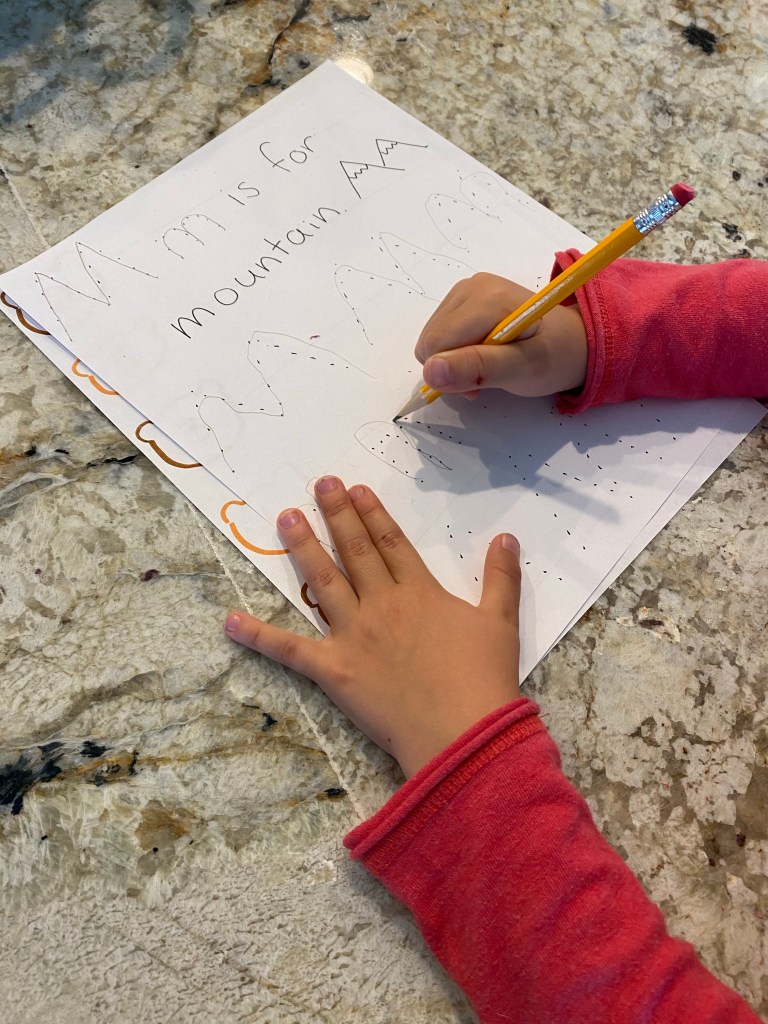
-M is for Mountain: I made this writing practice page by drawing Ms with dots. Then my little used a pencil to trace the letters!
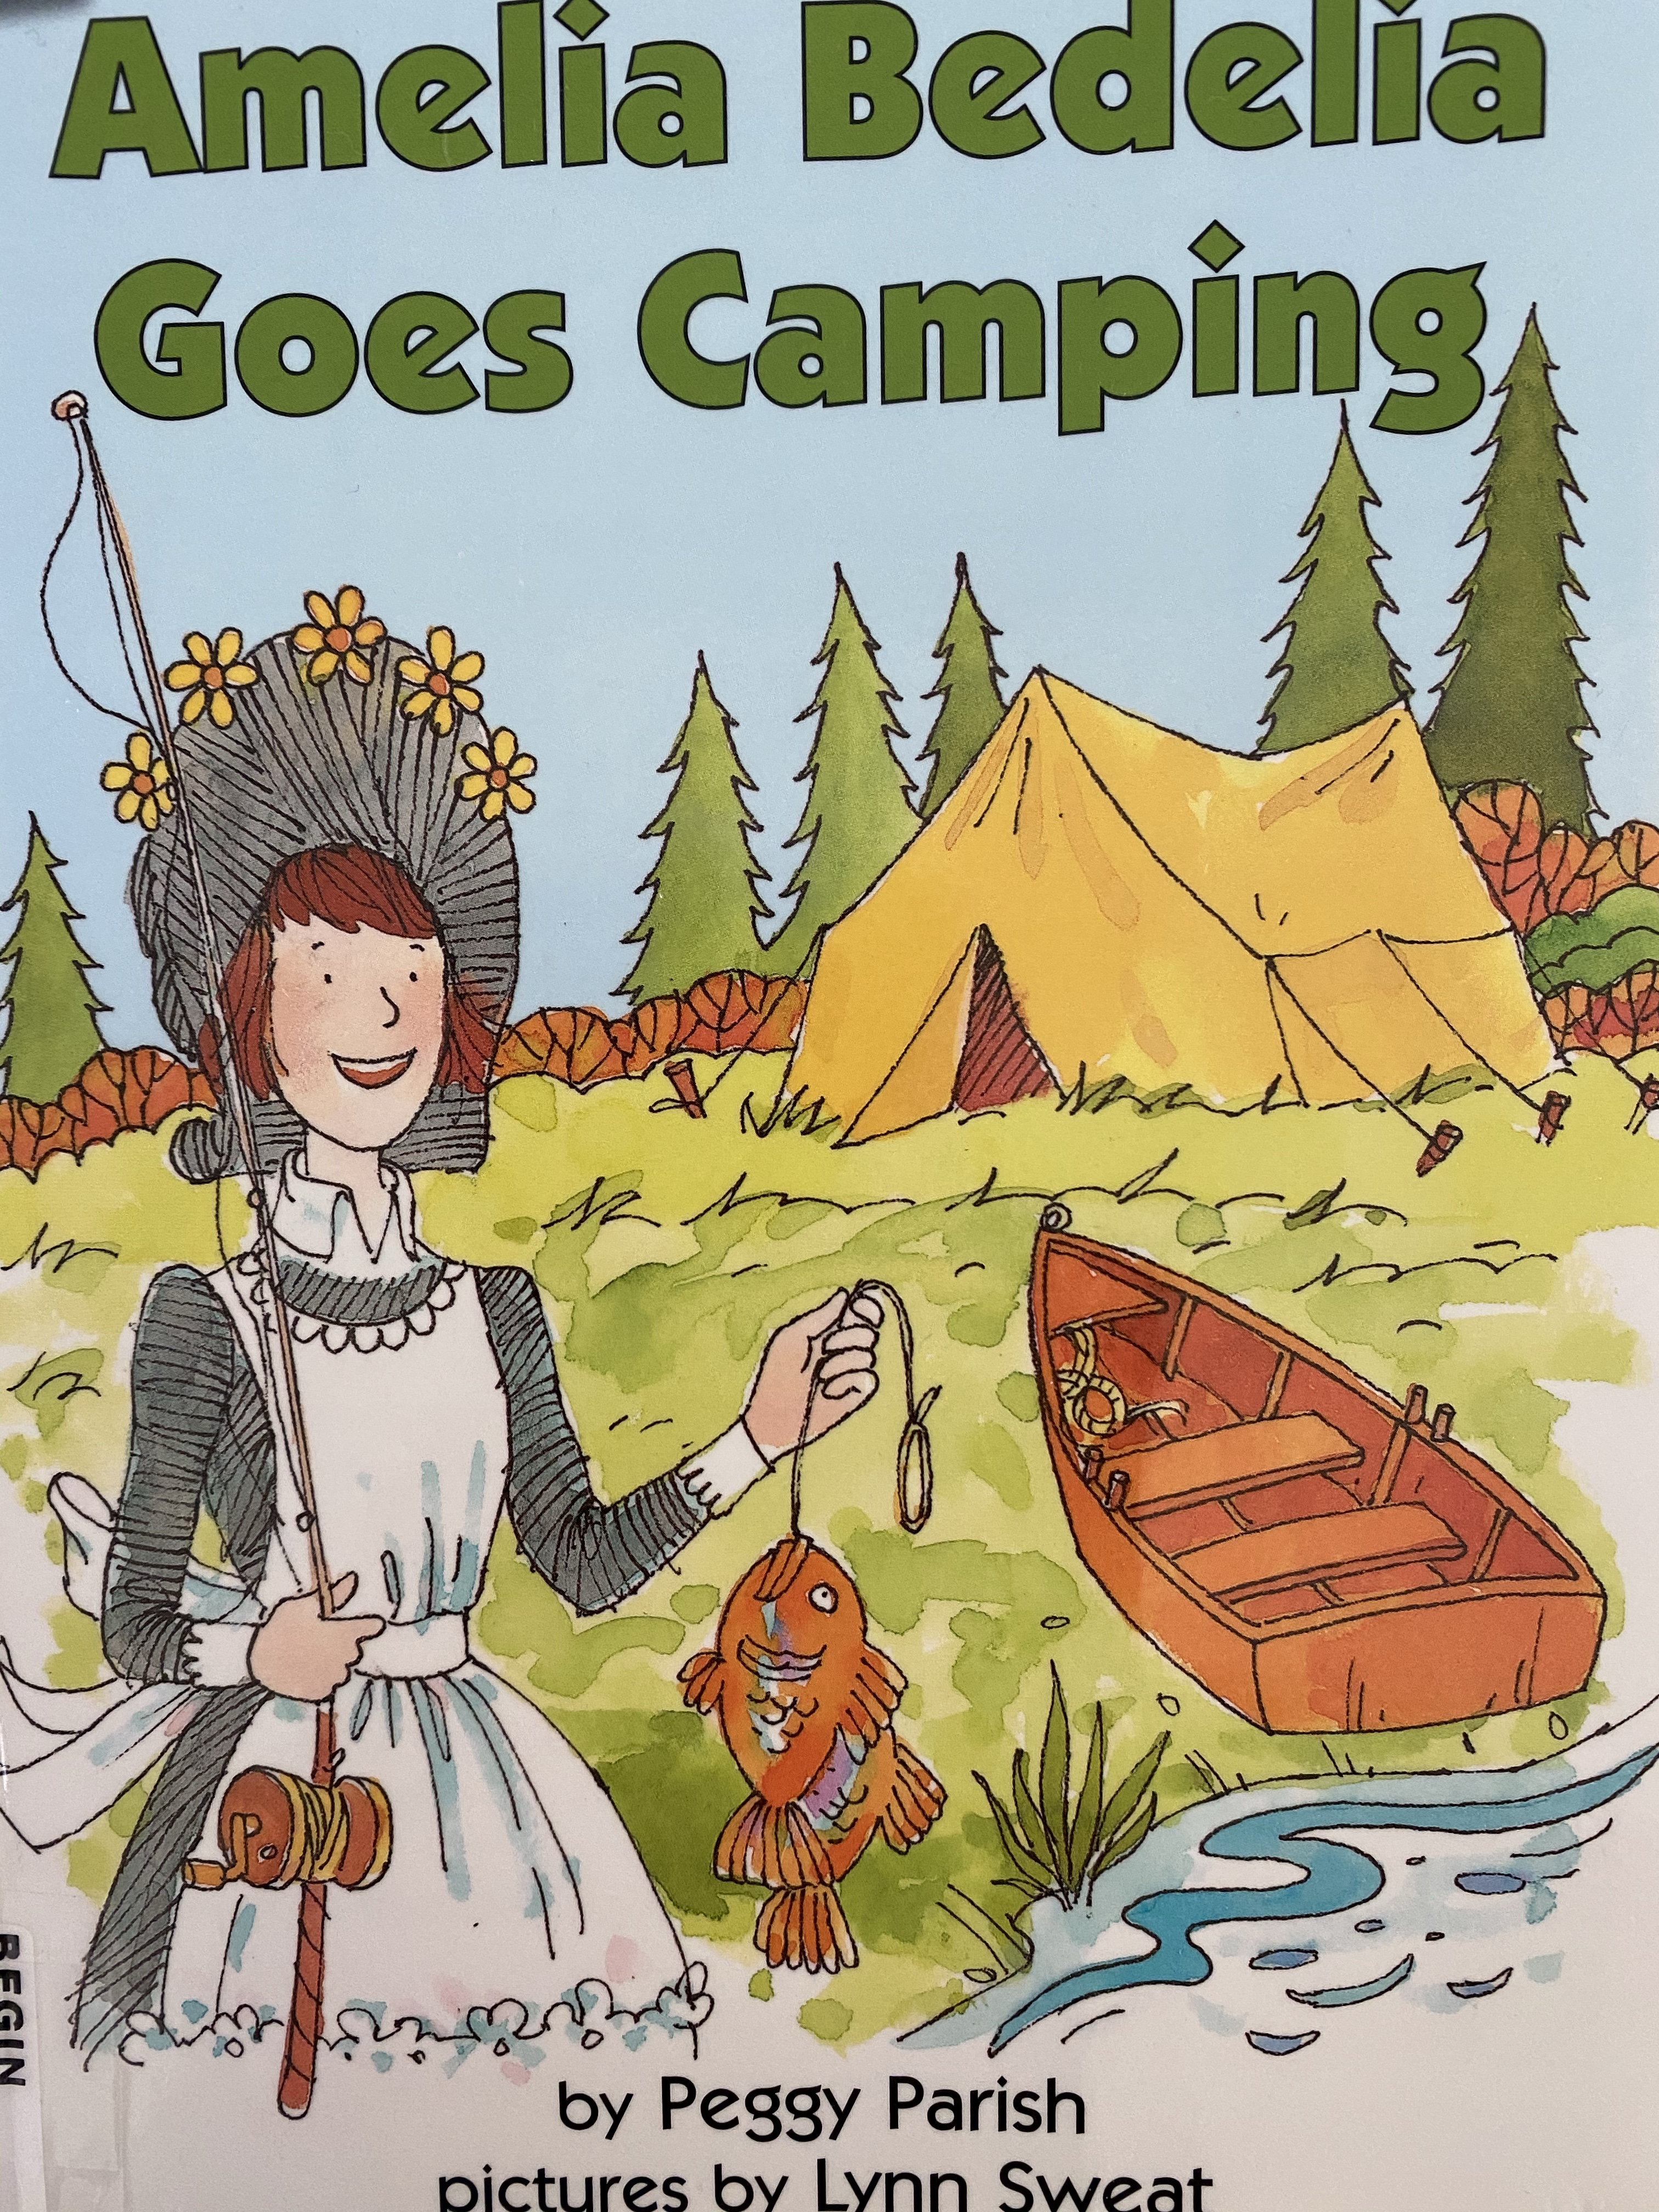
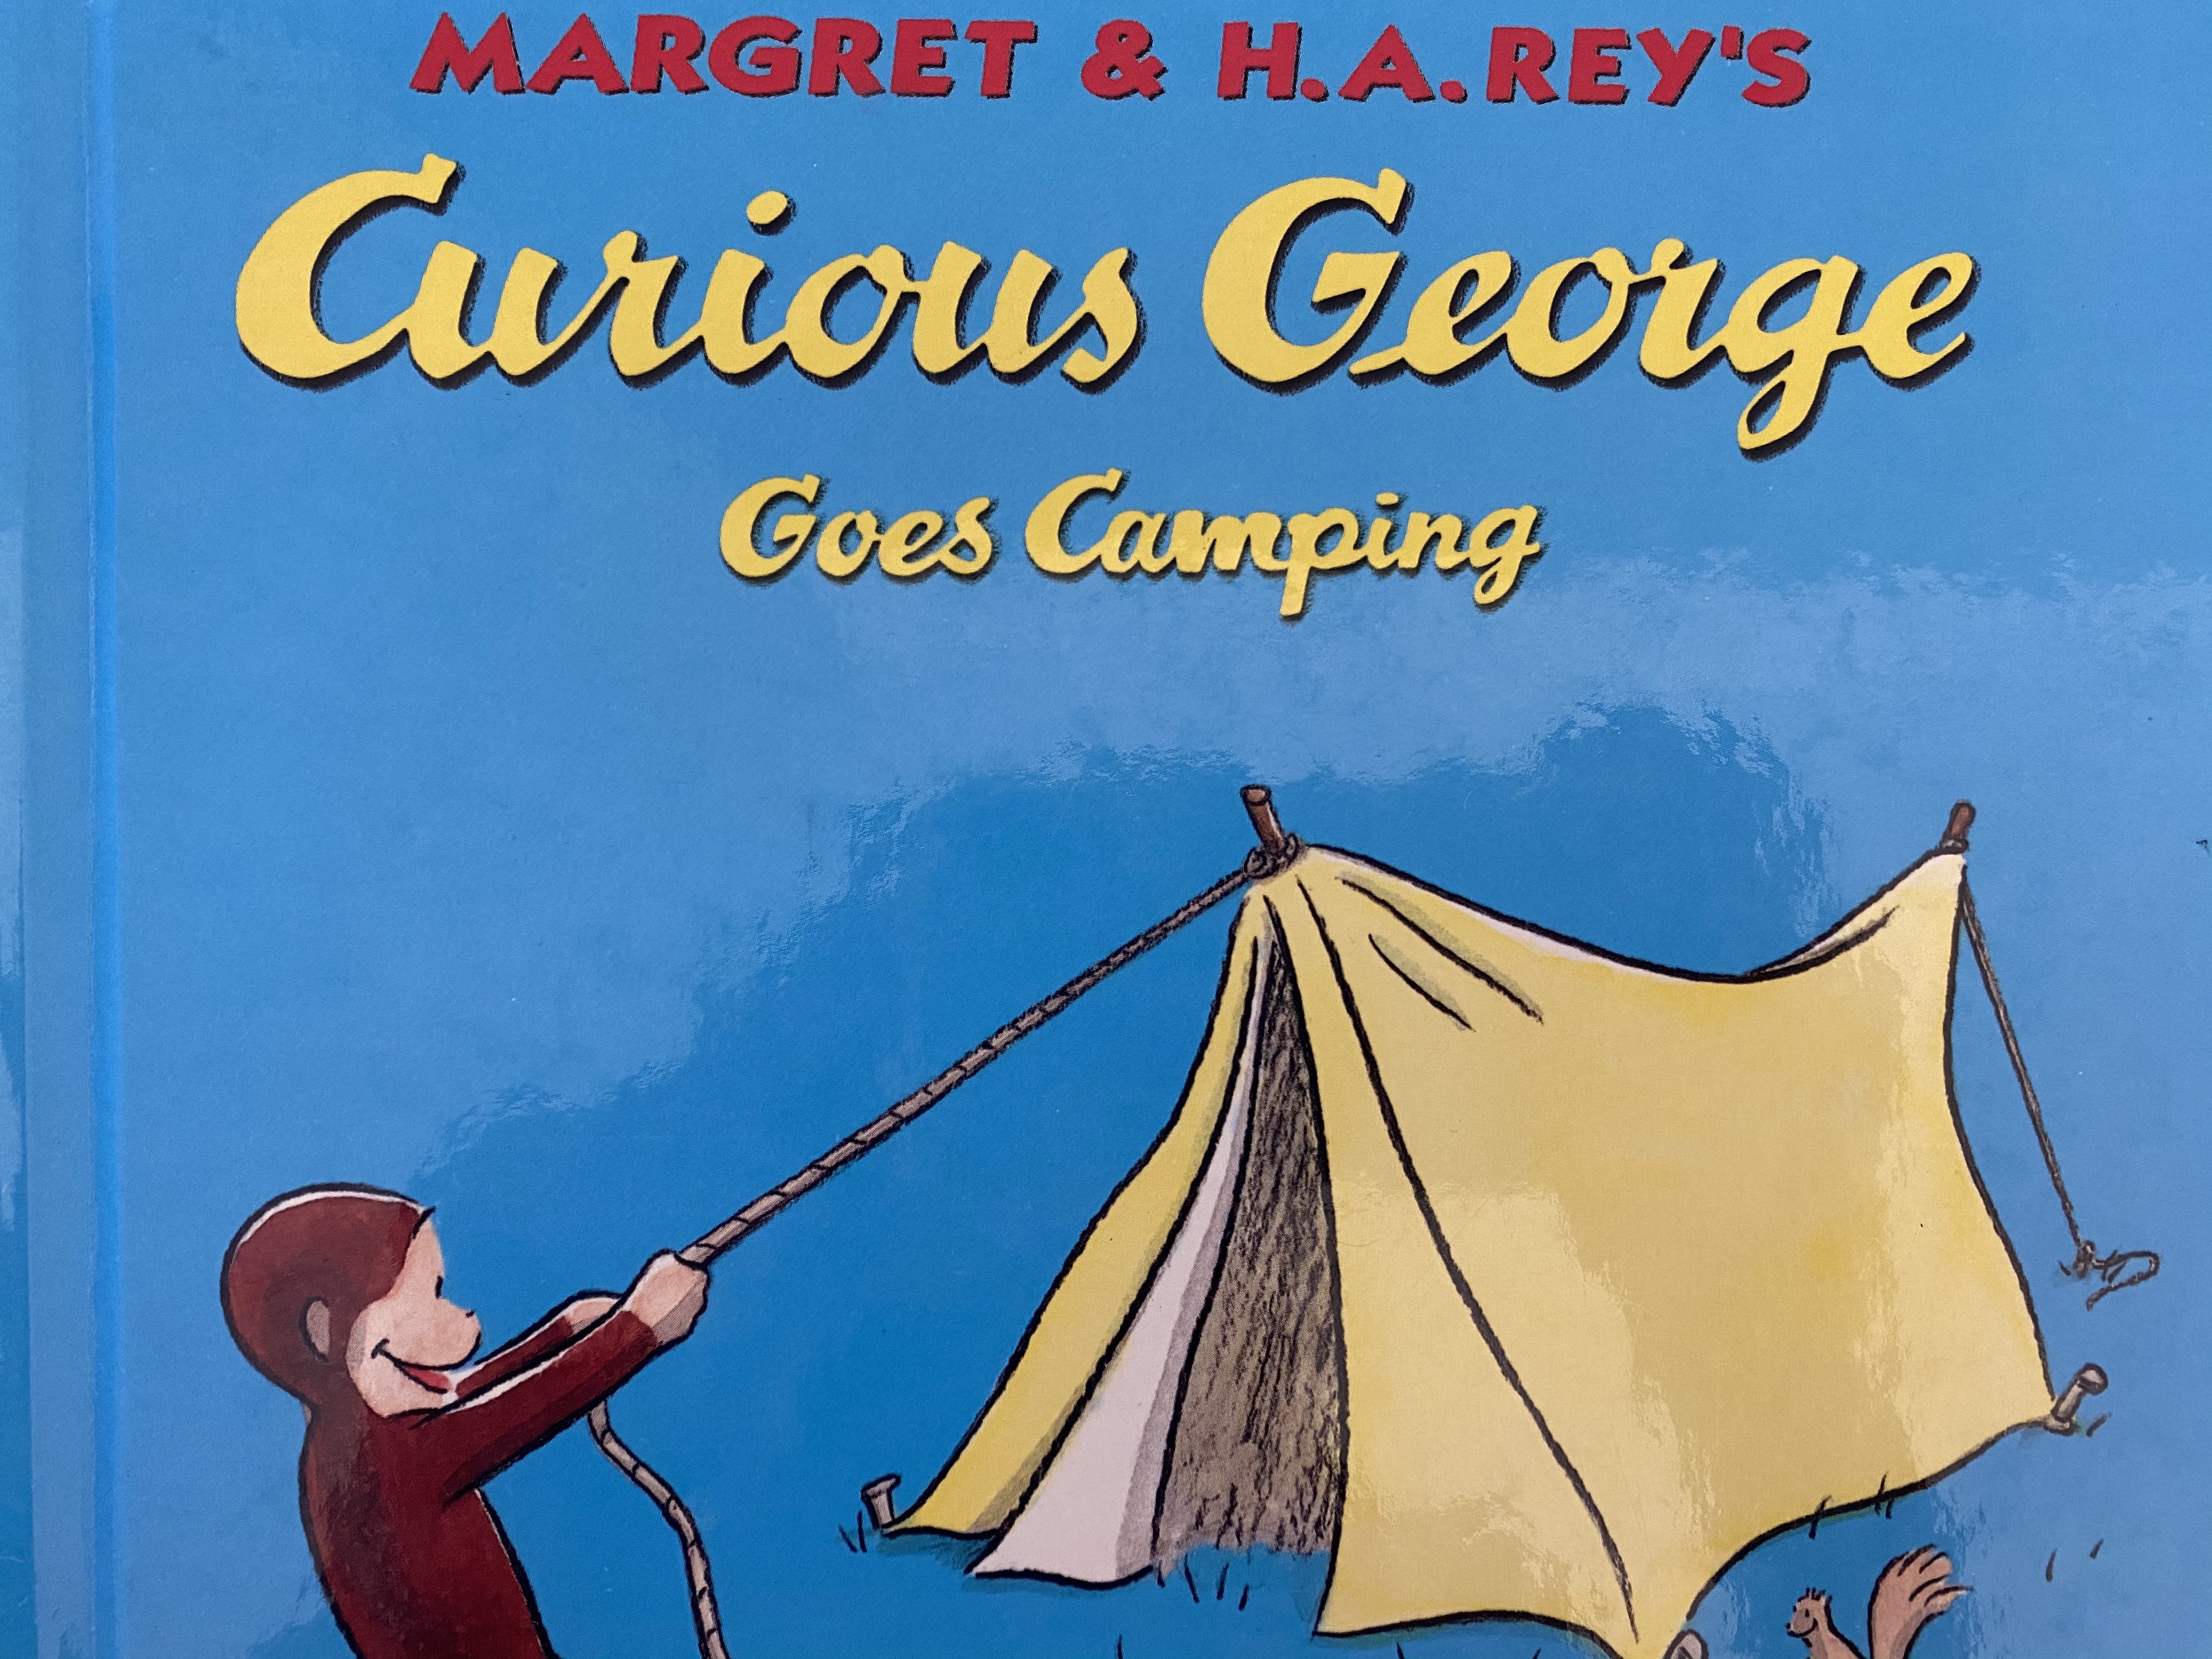
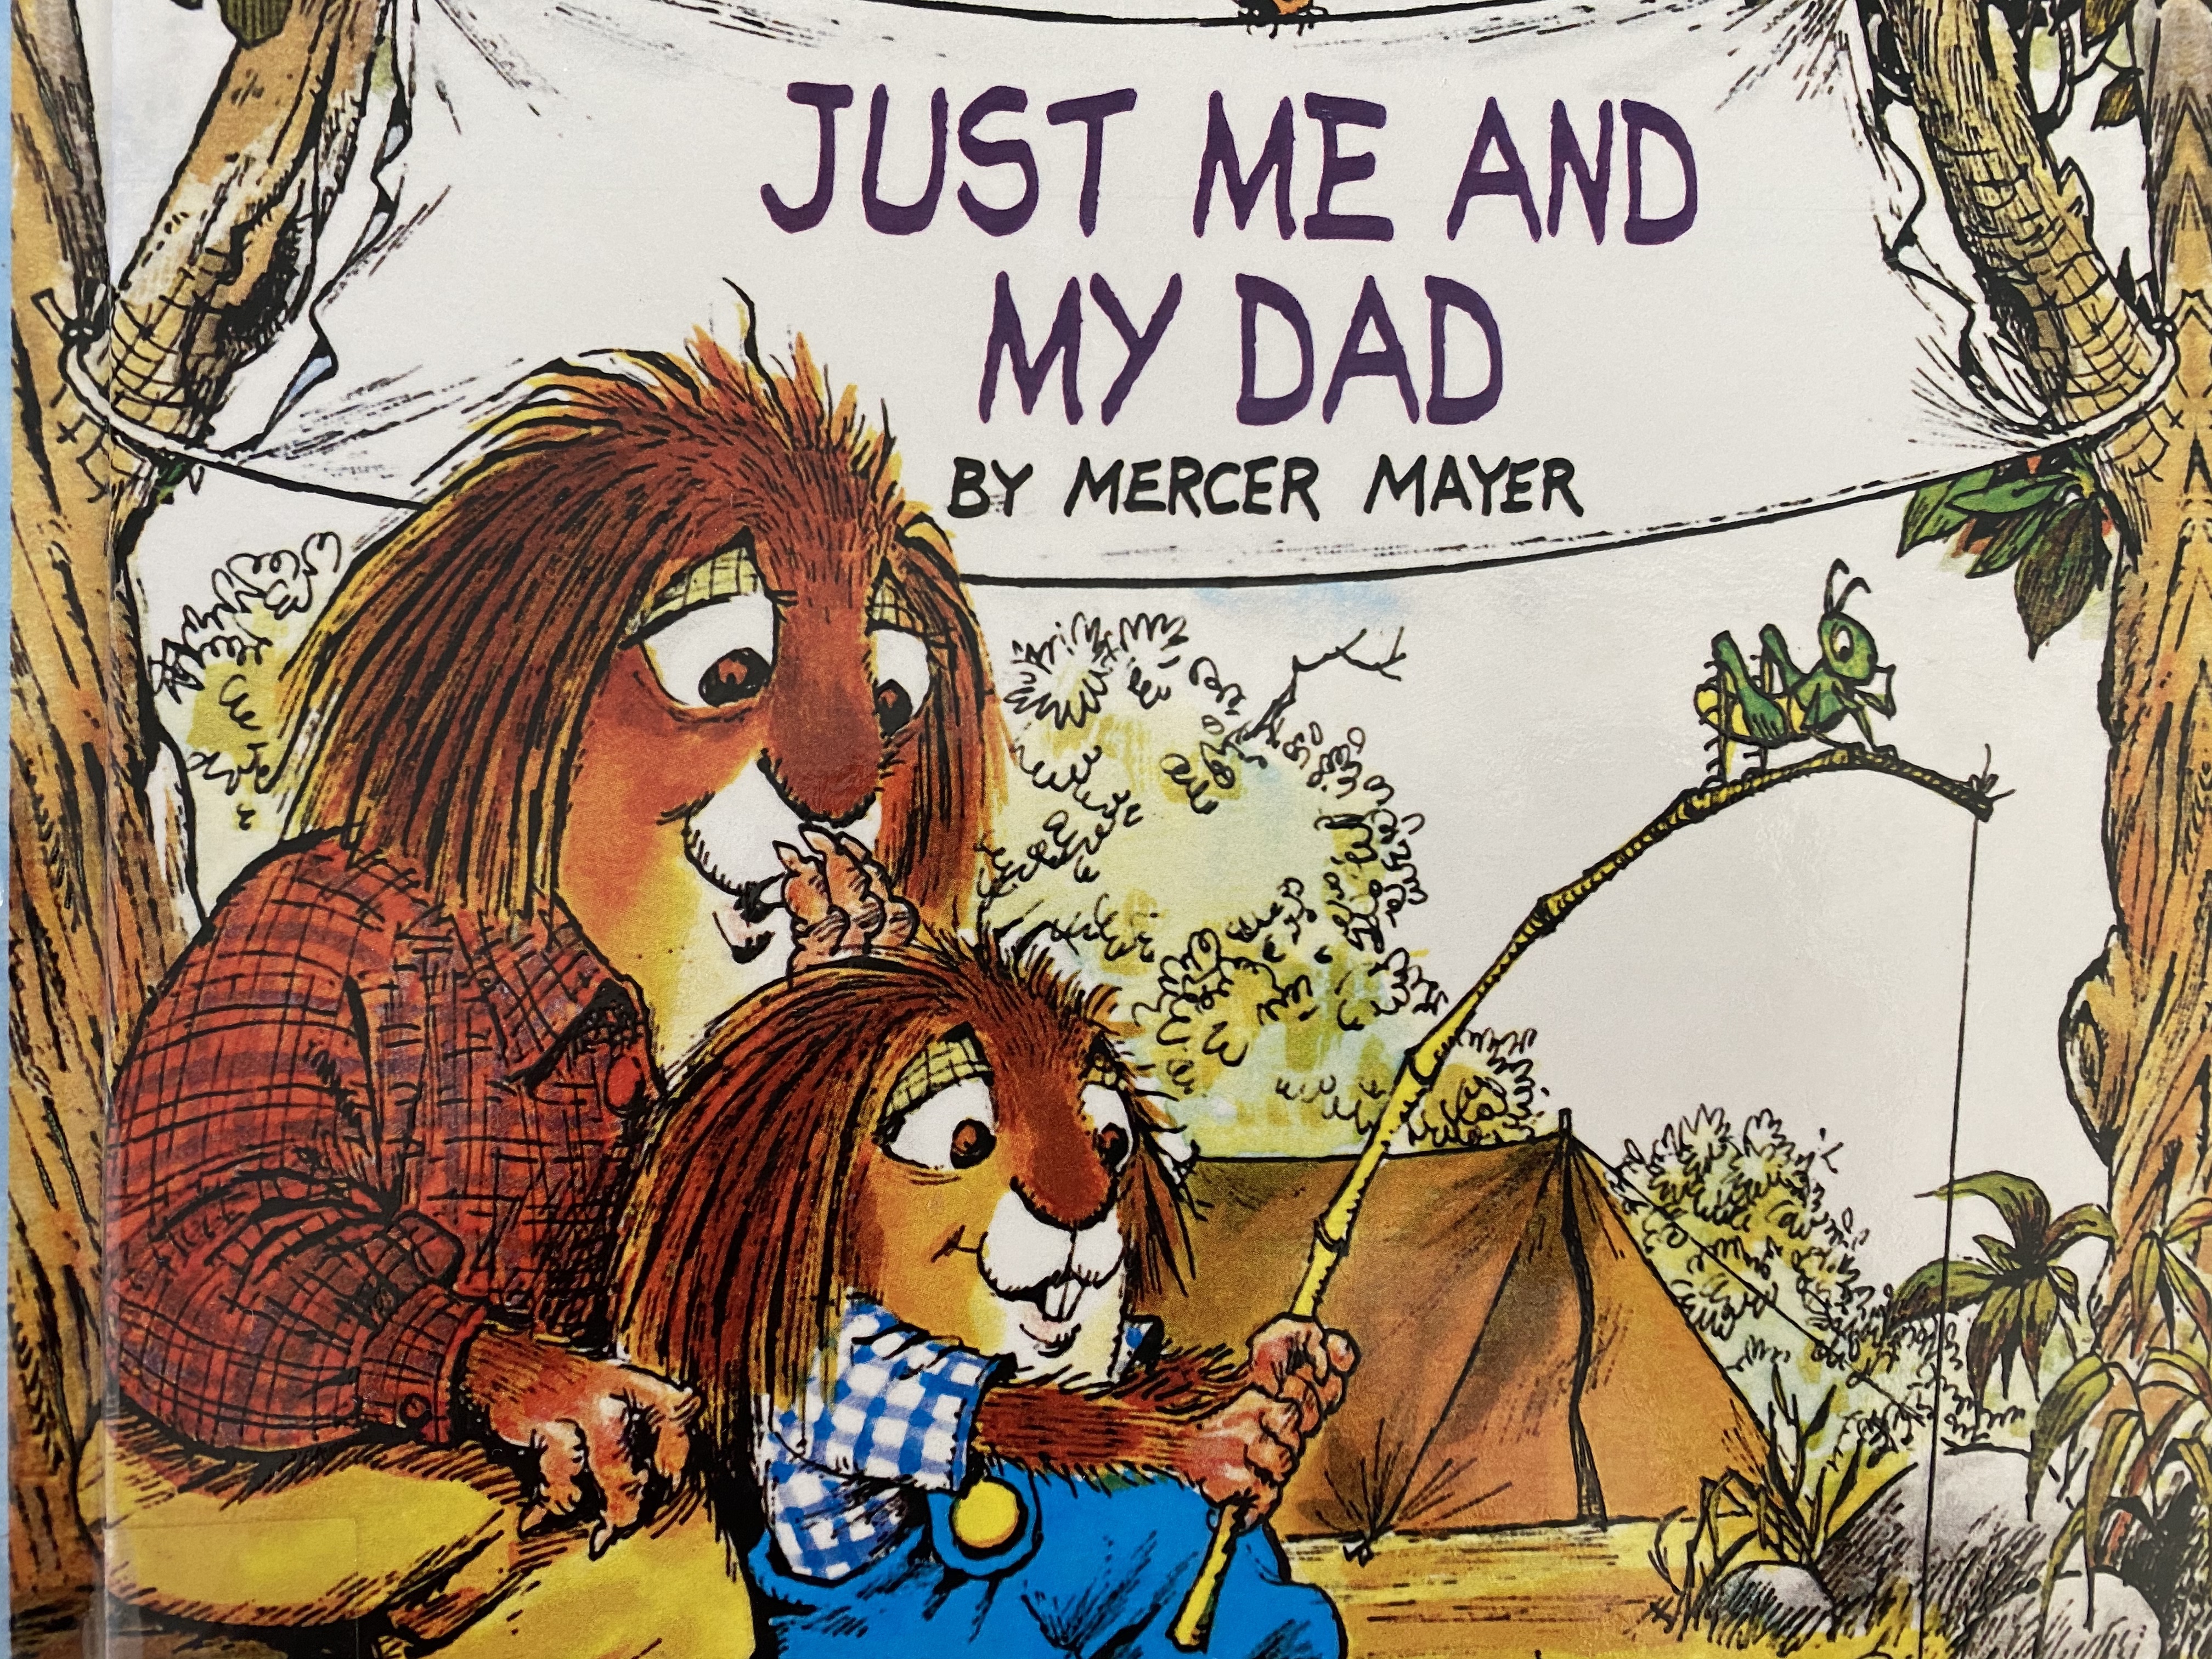
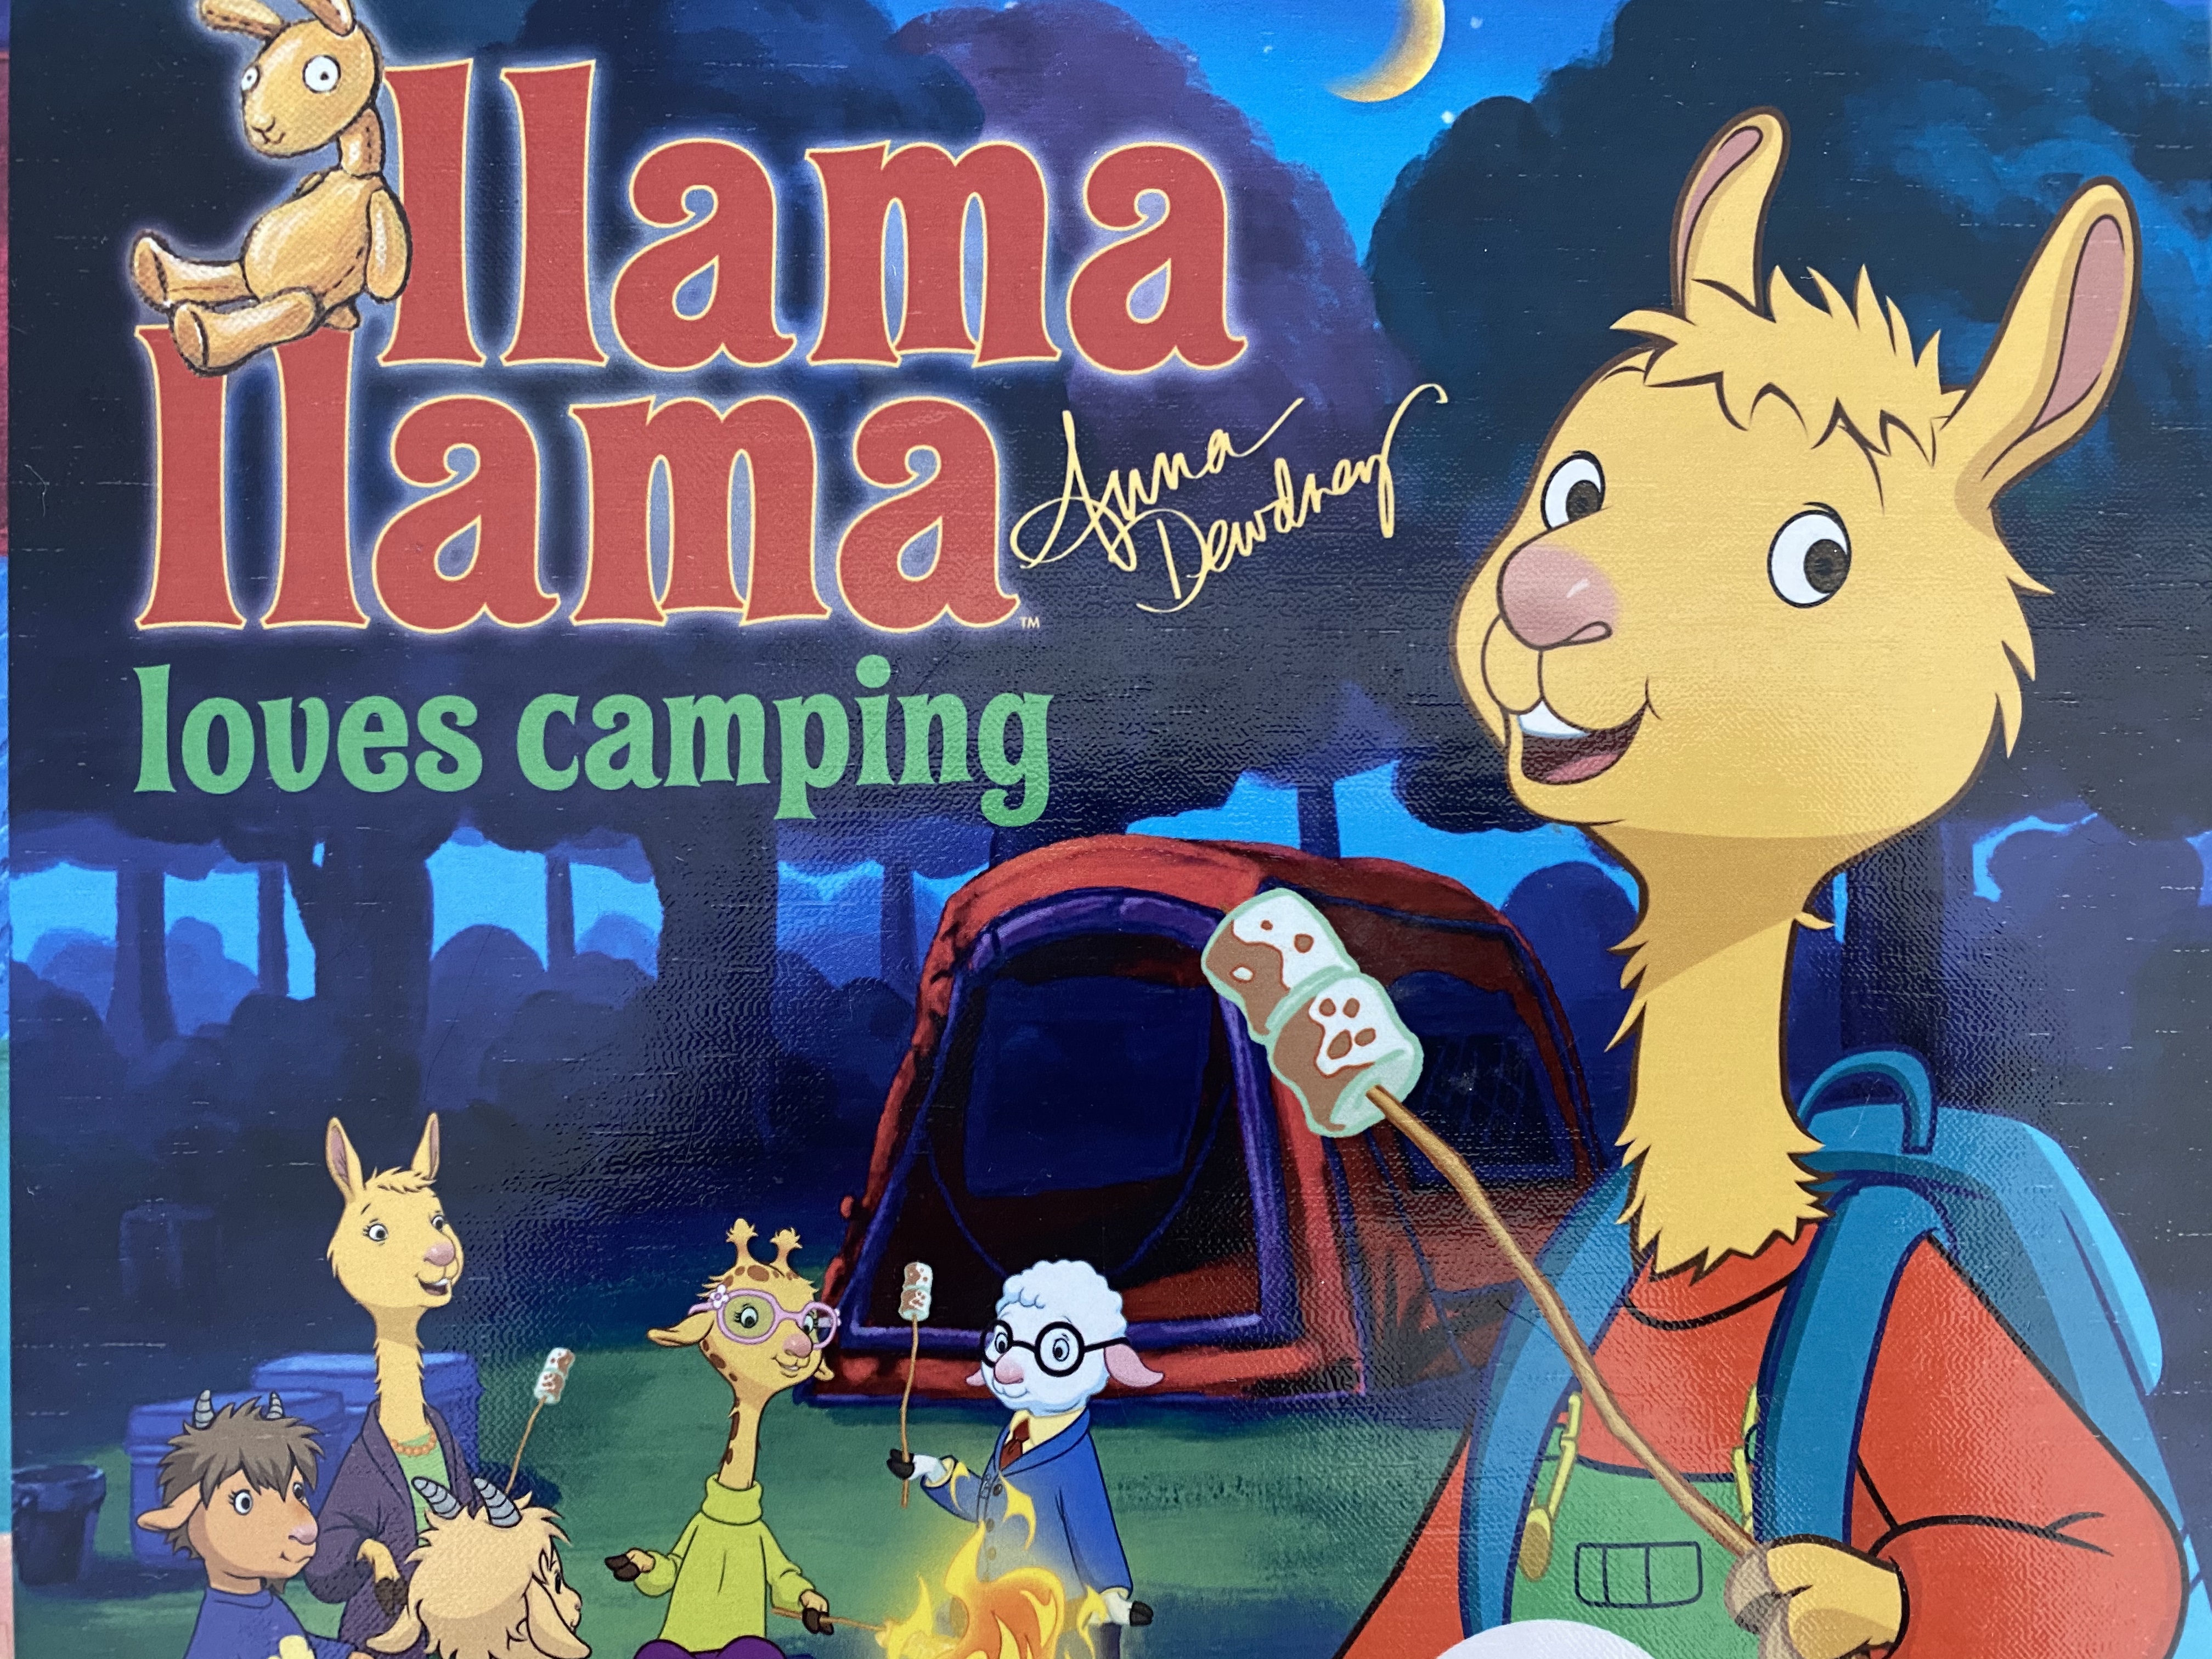
-Booklist: Here are the camping books we read this week!


–Math:
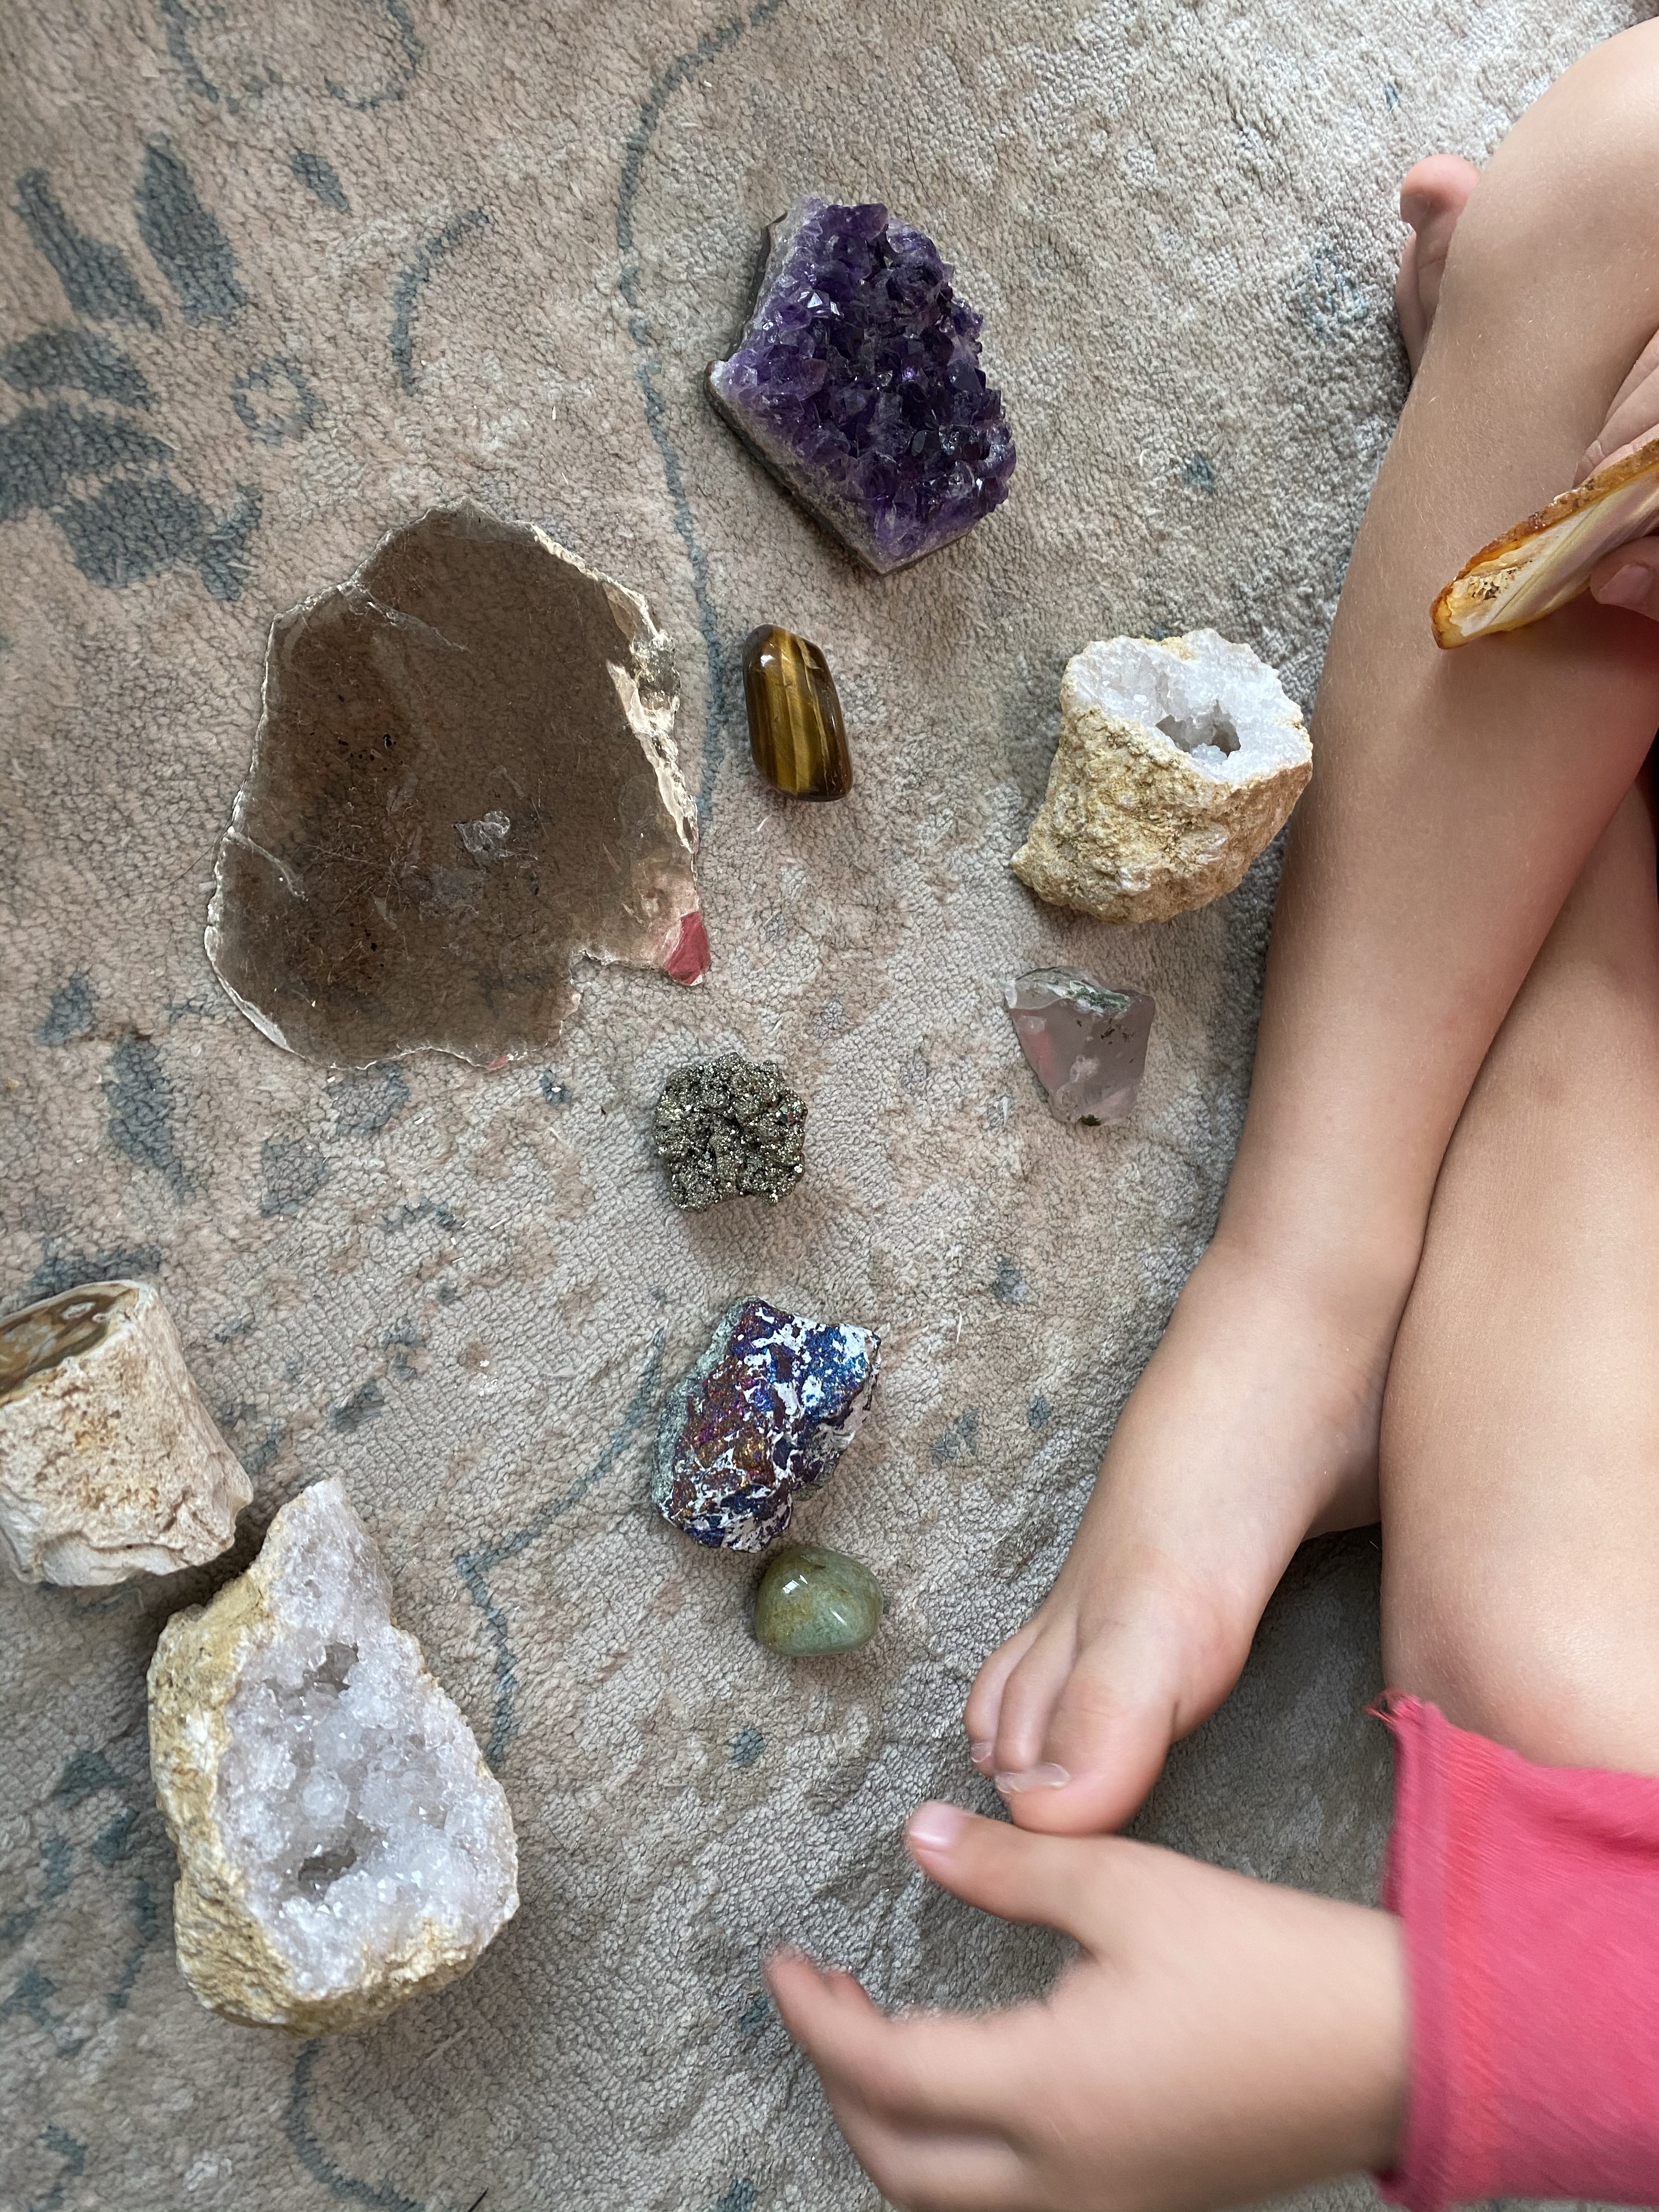
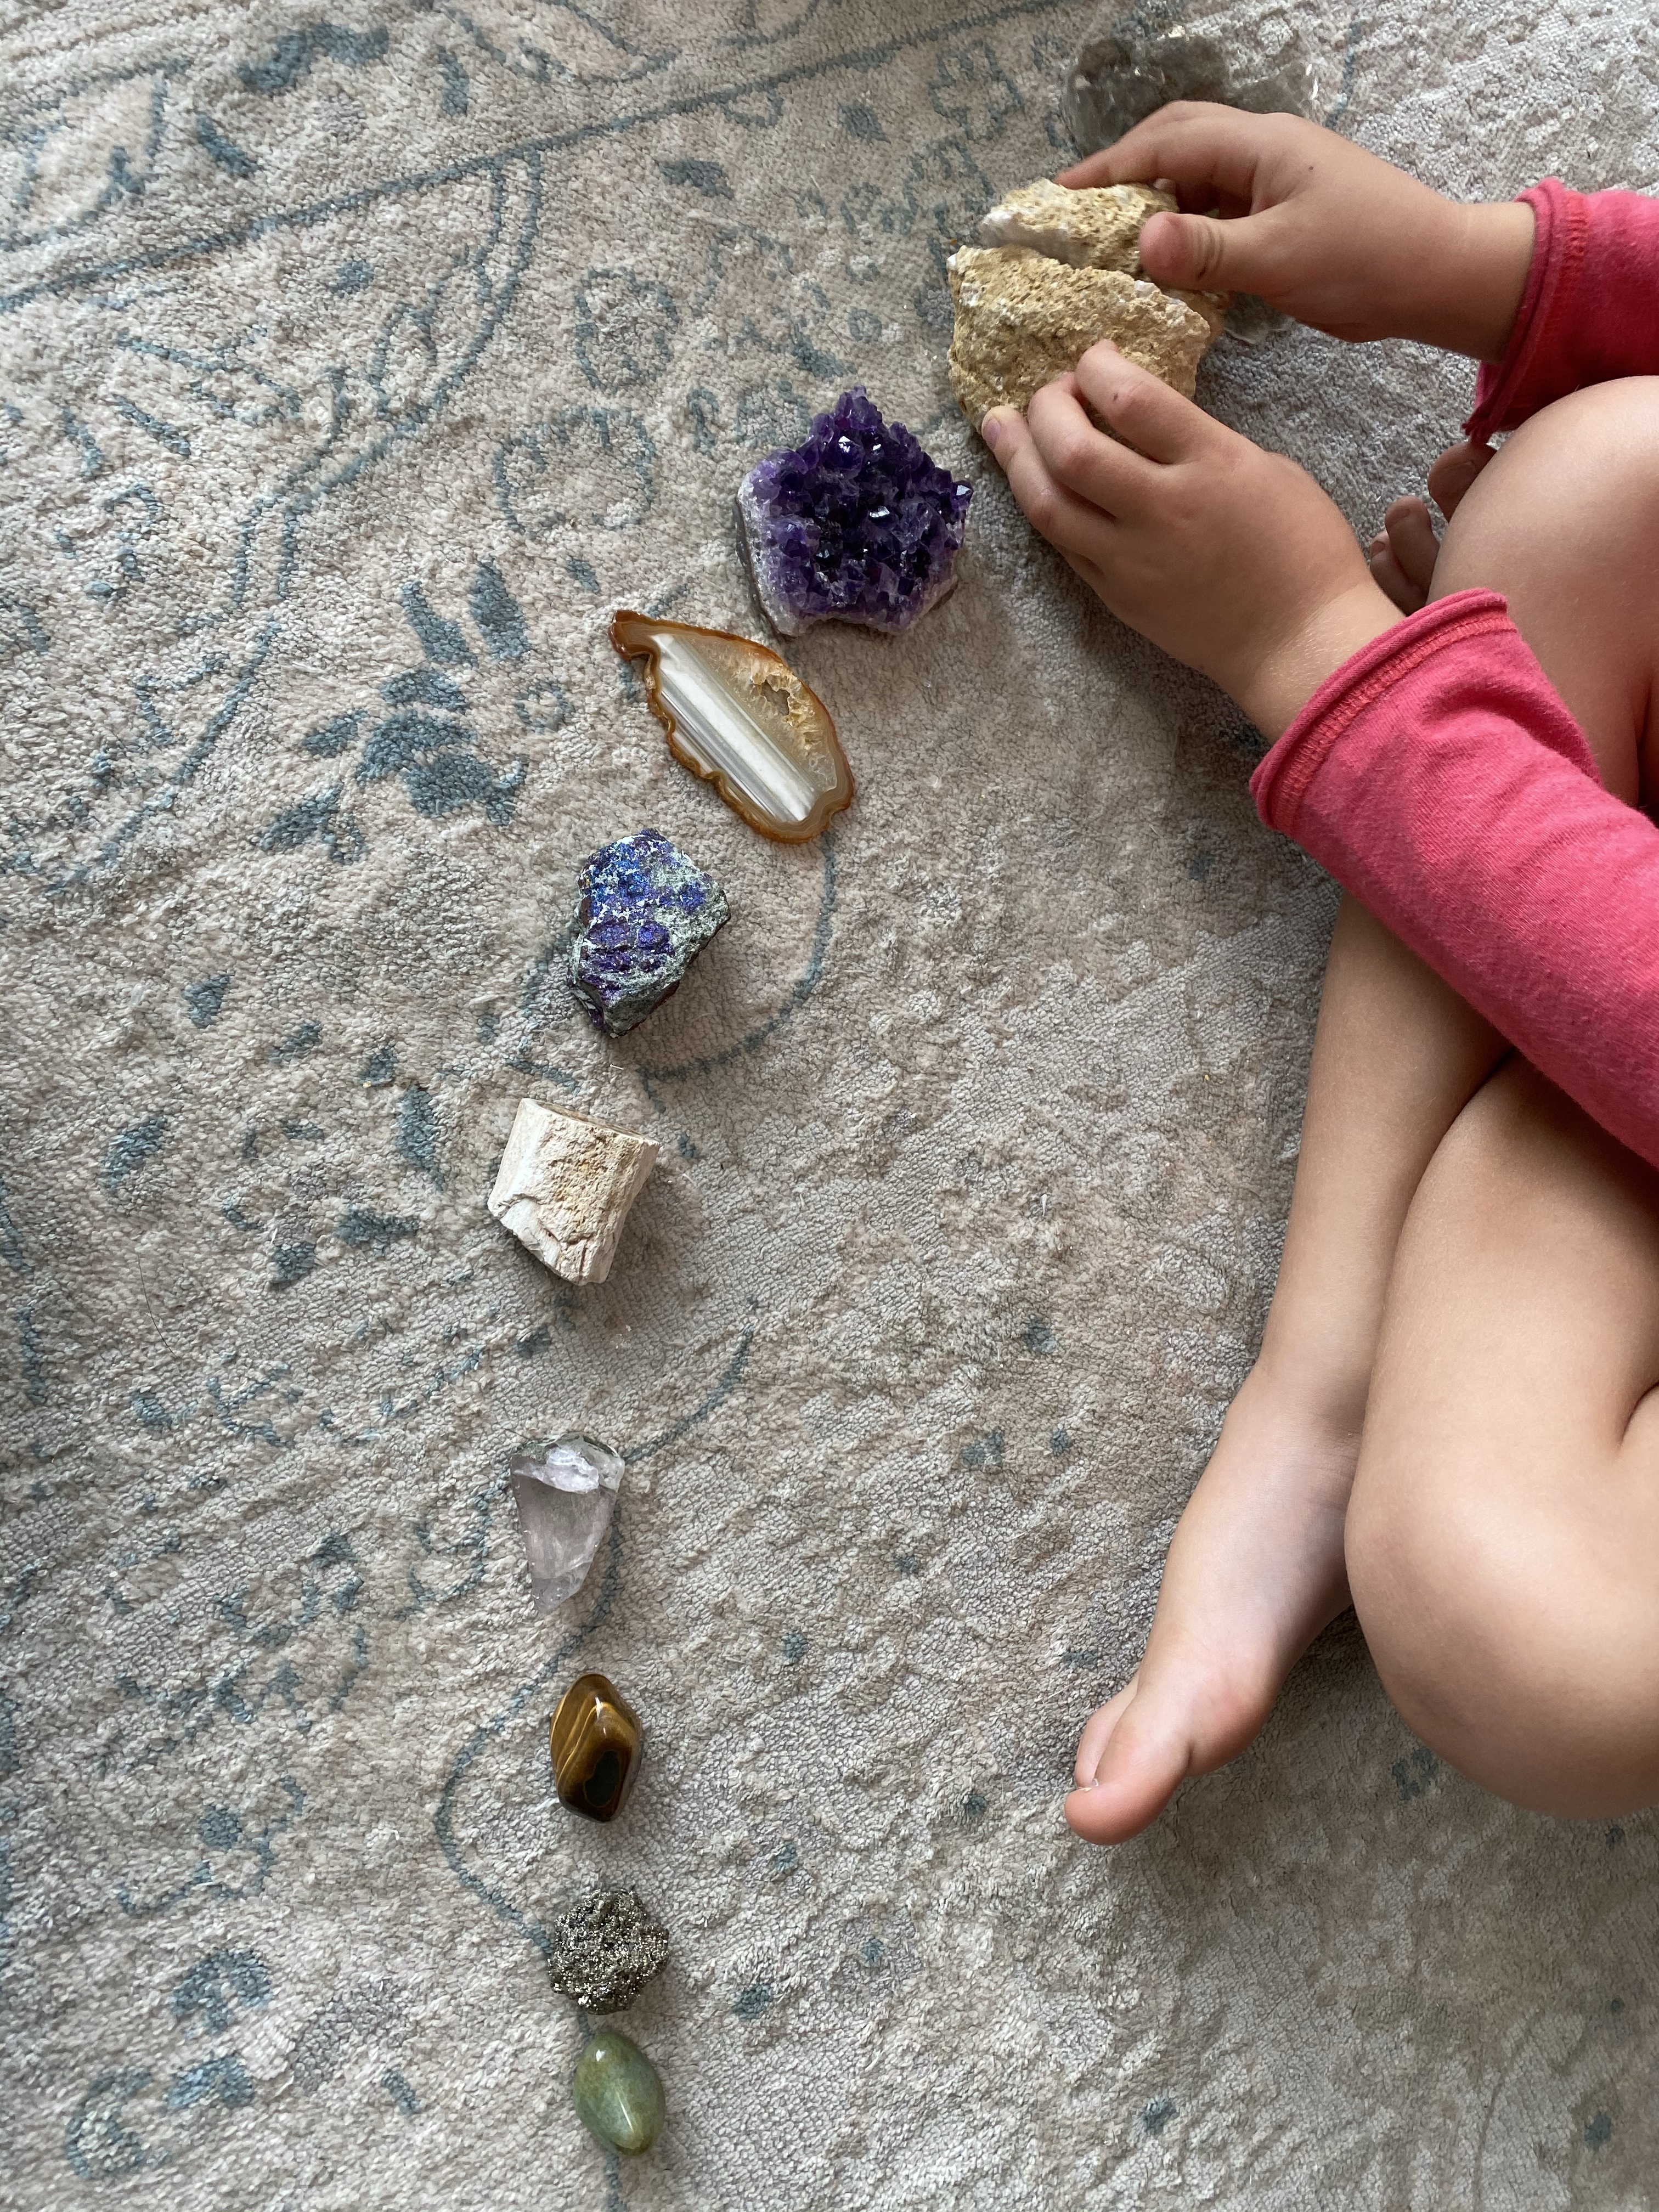
-Rock collection size sort: I busted out my rock collection and told the boys what each rock is called- the one in my hand below is my favorite! It’s called peacock ore and has unbelievably beautiful colors- it blows my mind that it’s found like that in nature! We used that as a springboard to talk about how awesome God is, creating all these beautiful rocks for us to admire! Then I had my little put them in order from smallest to largest. This could be done with rocks you find outside too!

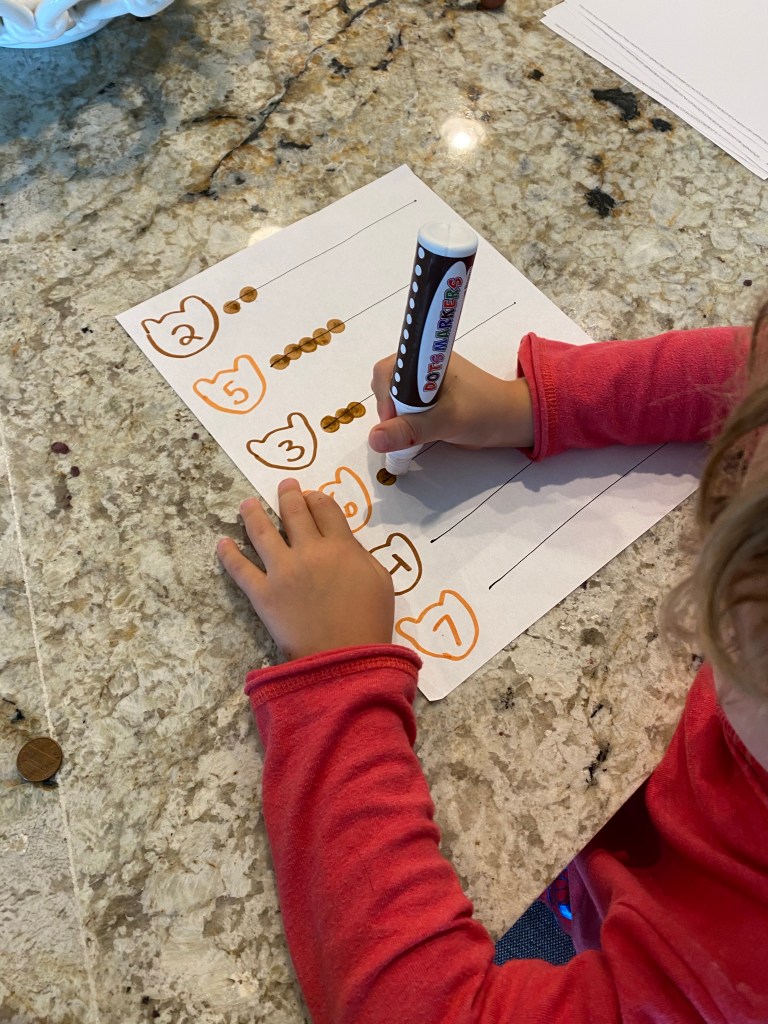
-Bear track counting practice: I drew some bear head silhouettes on a sheet of paper and put numbers in each one with a line next to them. Then I had my little identify the numbers and use a dotter to make “bear tracks” along the line that matched the number!
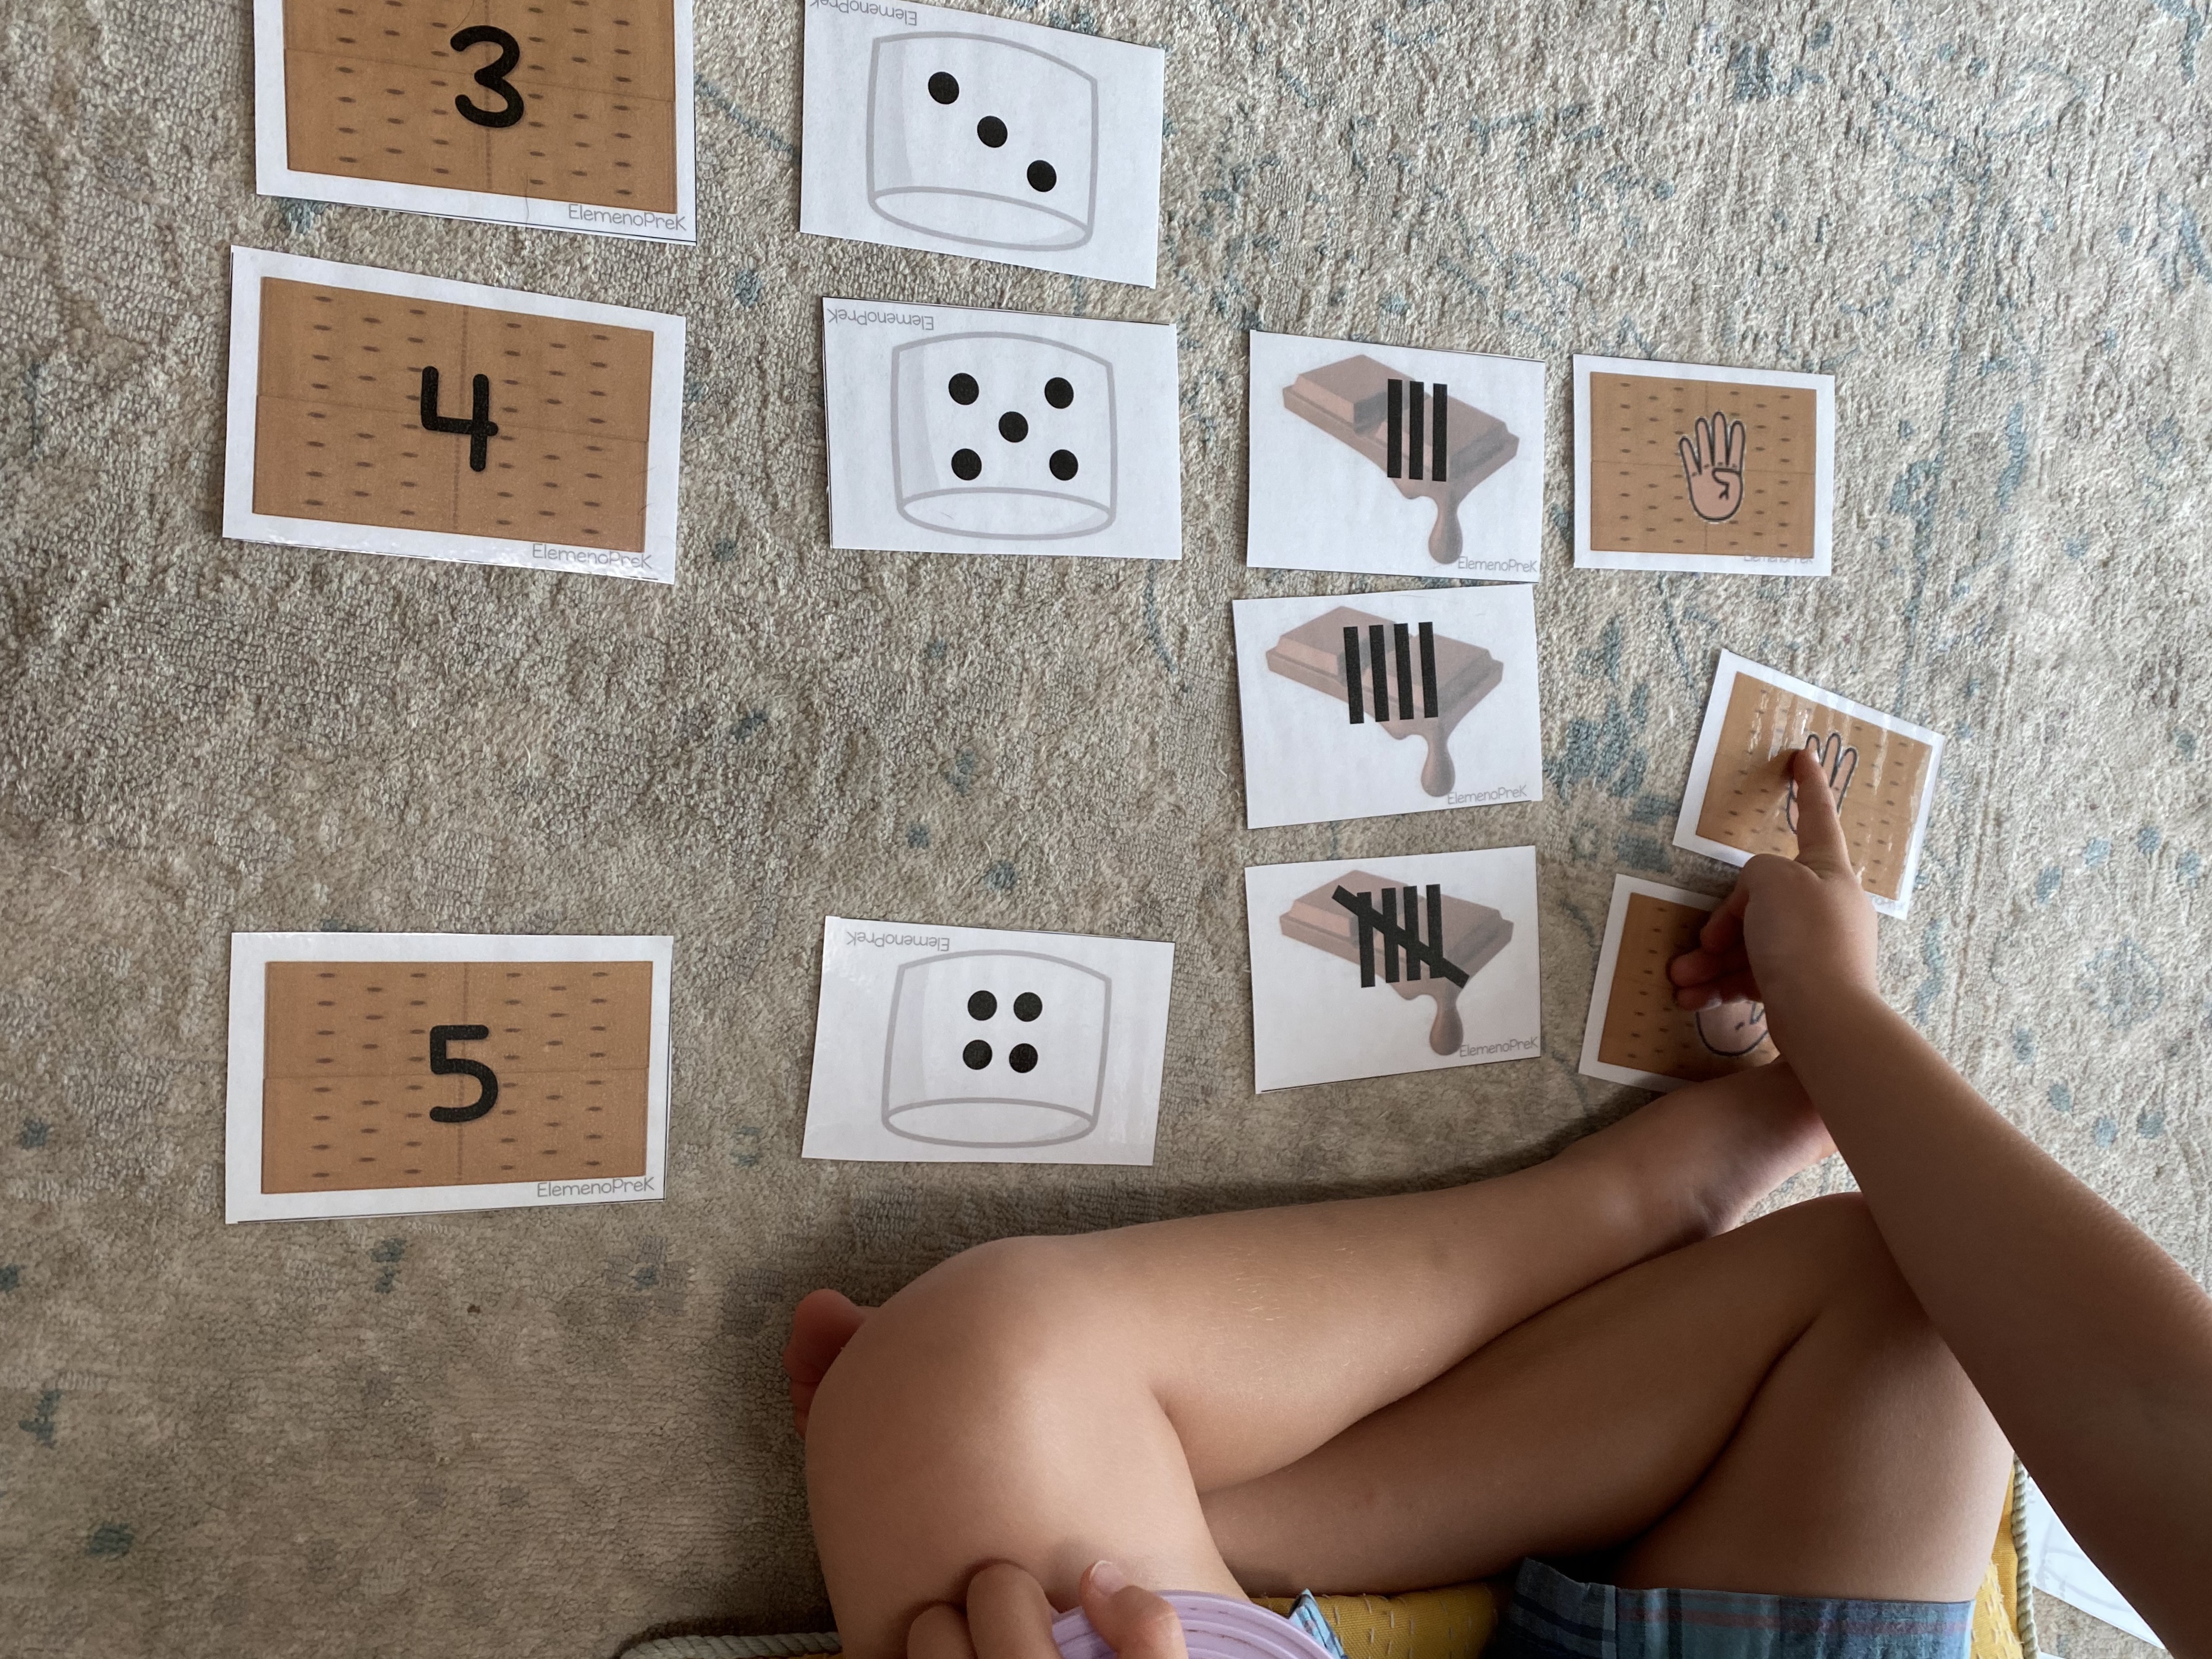
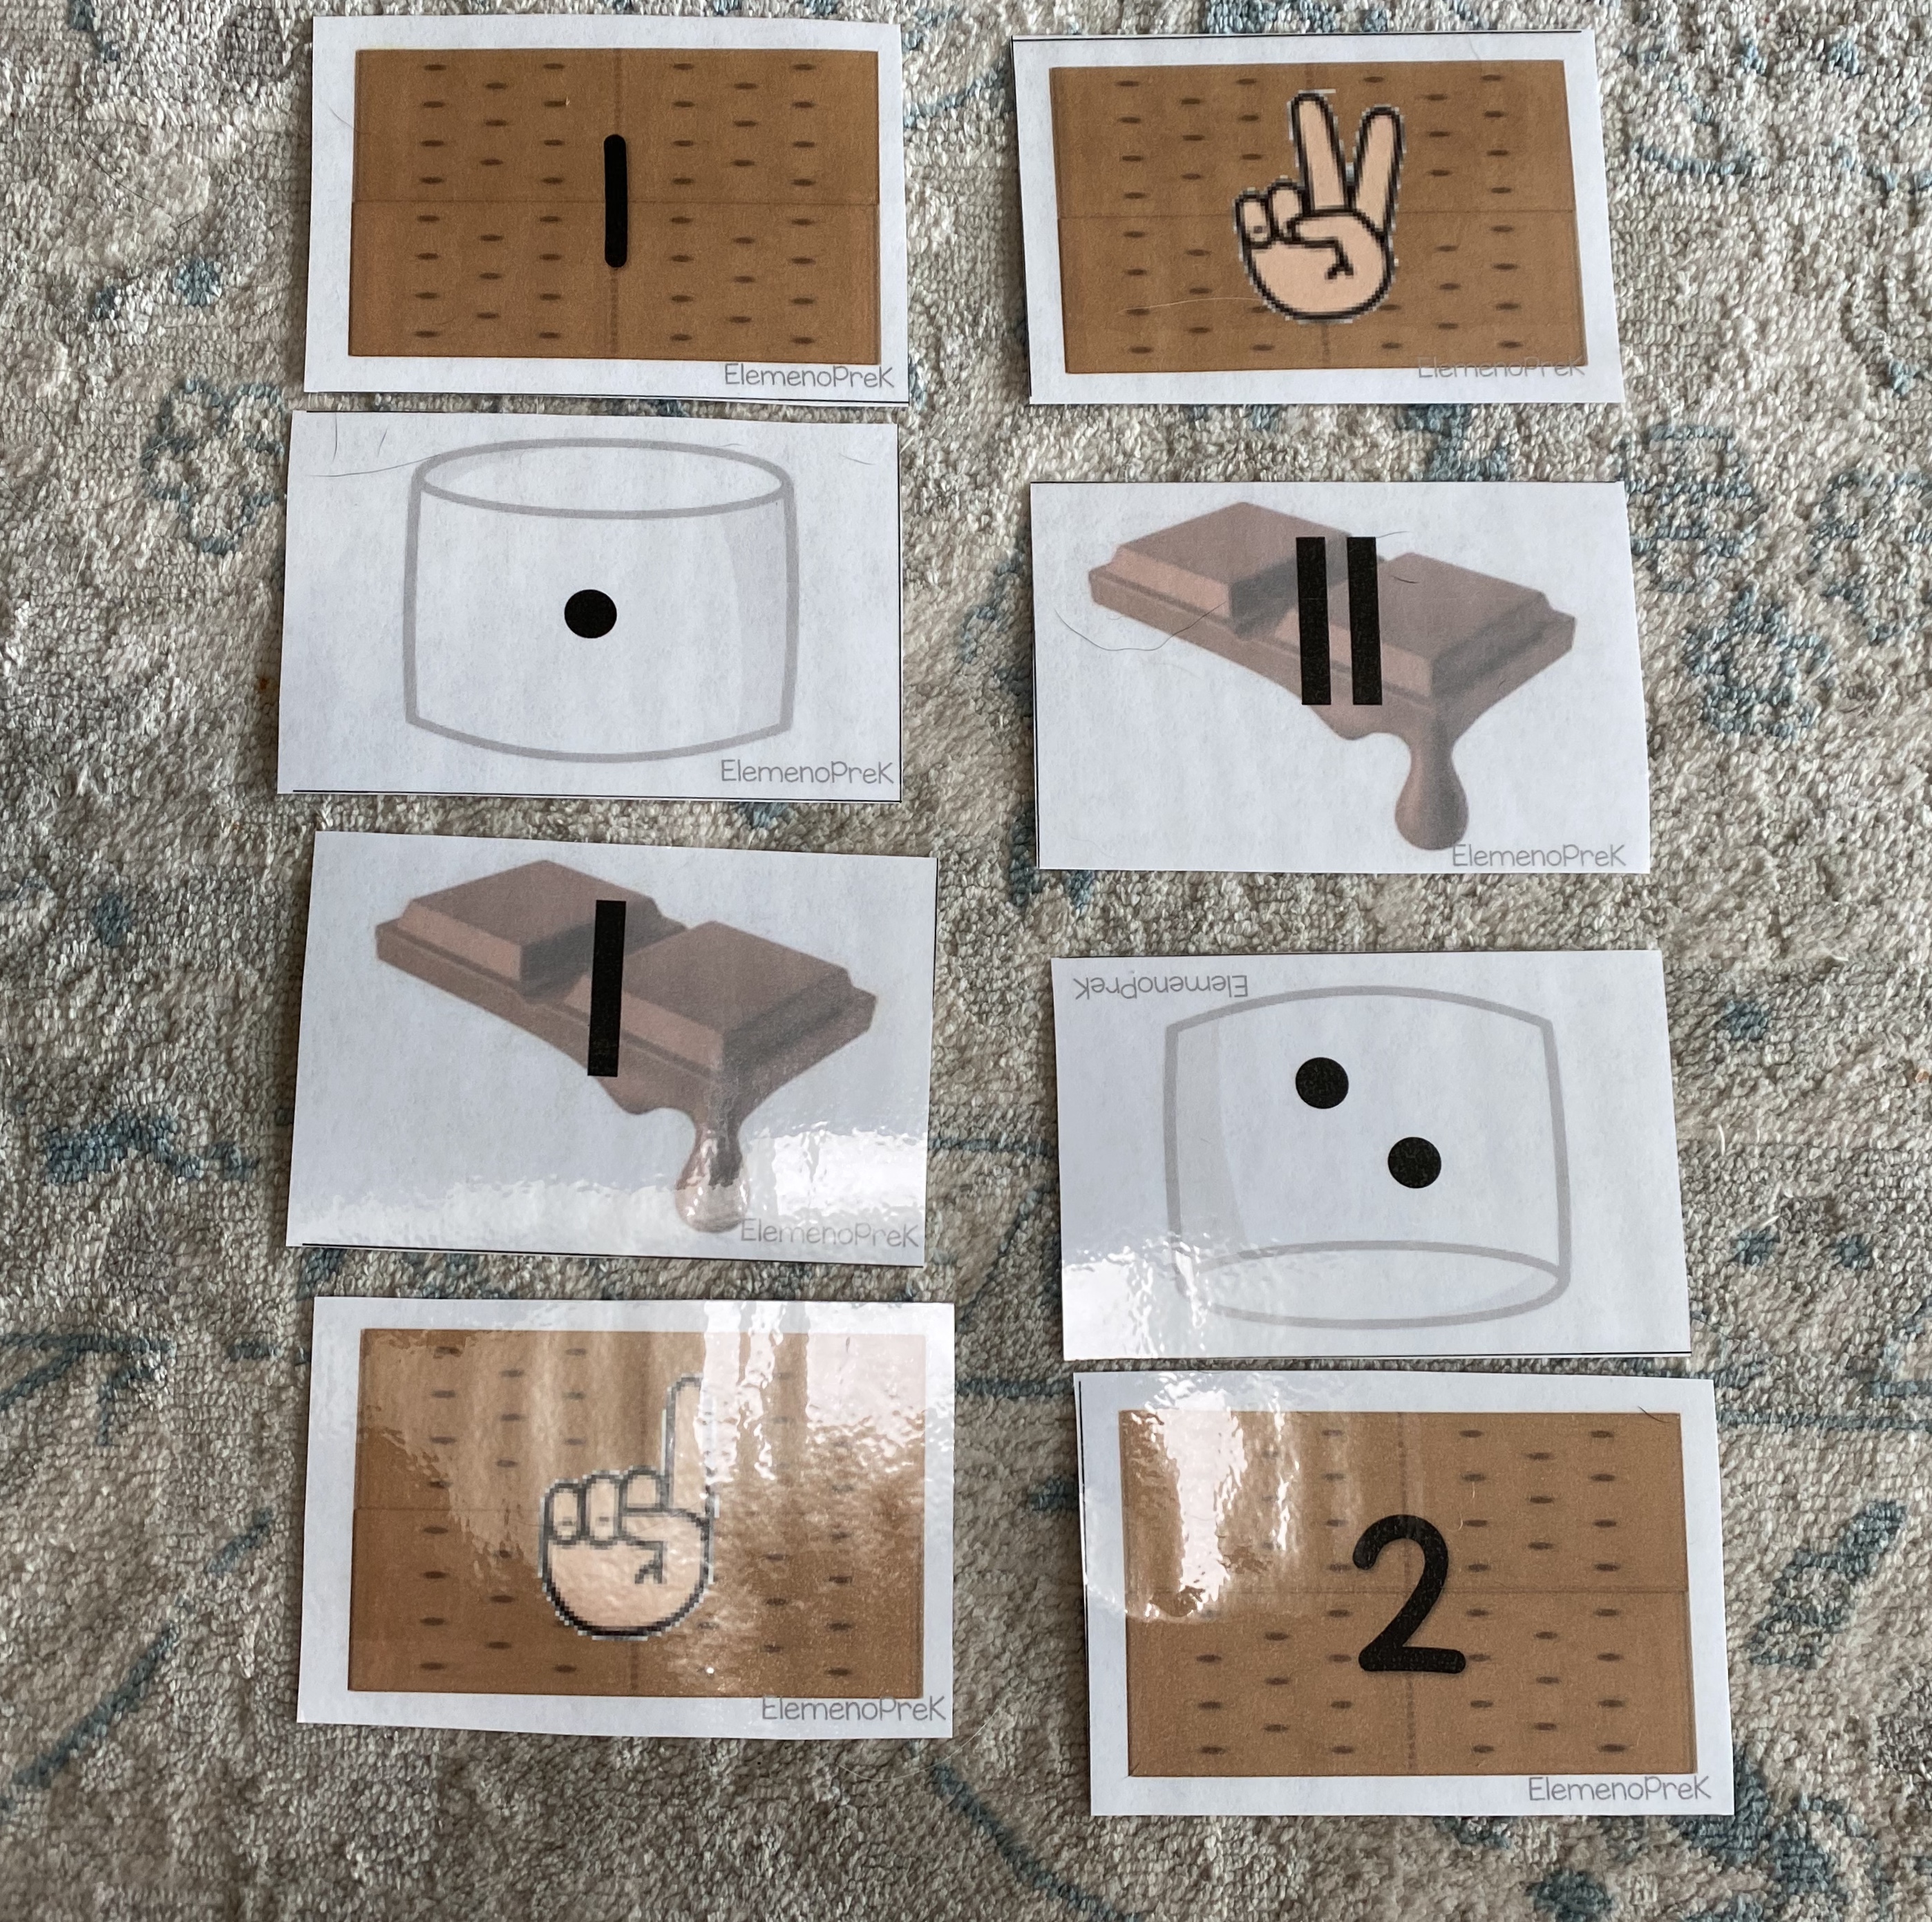
-Number recognition s’mores: I got this cute idea from Teachers Pay Teachers (for free of course!) You just print and laminate the cards, then scramble them up and place them in rows (see photo). Next, have your little find all the cards that show 1, then 2 and so on and put them together to make s’mores! We worked on numbers 1-5 and then 6-10 so it wouldn’t be so overwhelming with 40 cards to sort through!
-Tent roll, count, dot: This was another gem I found for free on Teachers Pay Teachers! They had two sheets- one for one dice with numbers 1-6 and one for two dice with numbers 1-12. I picked the 2 dice page because I wanted to work on the numbers 1-10. Instead of using a traditional dice, we used our 12 sided dice because I also really wanted to focus on number recognition rather than counting, which my little is already good at. I had my little roll the dice, identify the number (or I would help him), then find it on the page and put a dot on it. He loves anything with dice rolling so this one was a hit!

–Science:
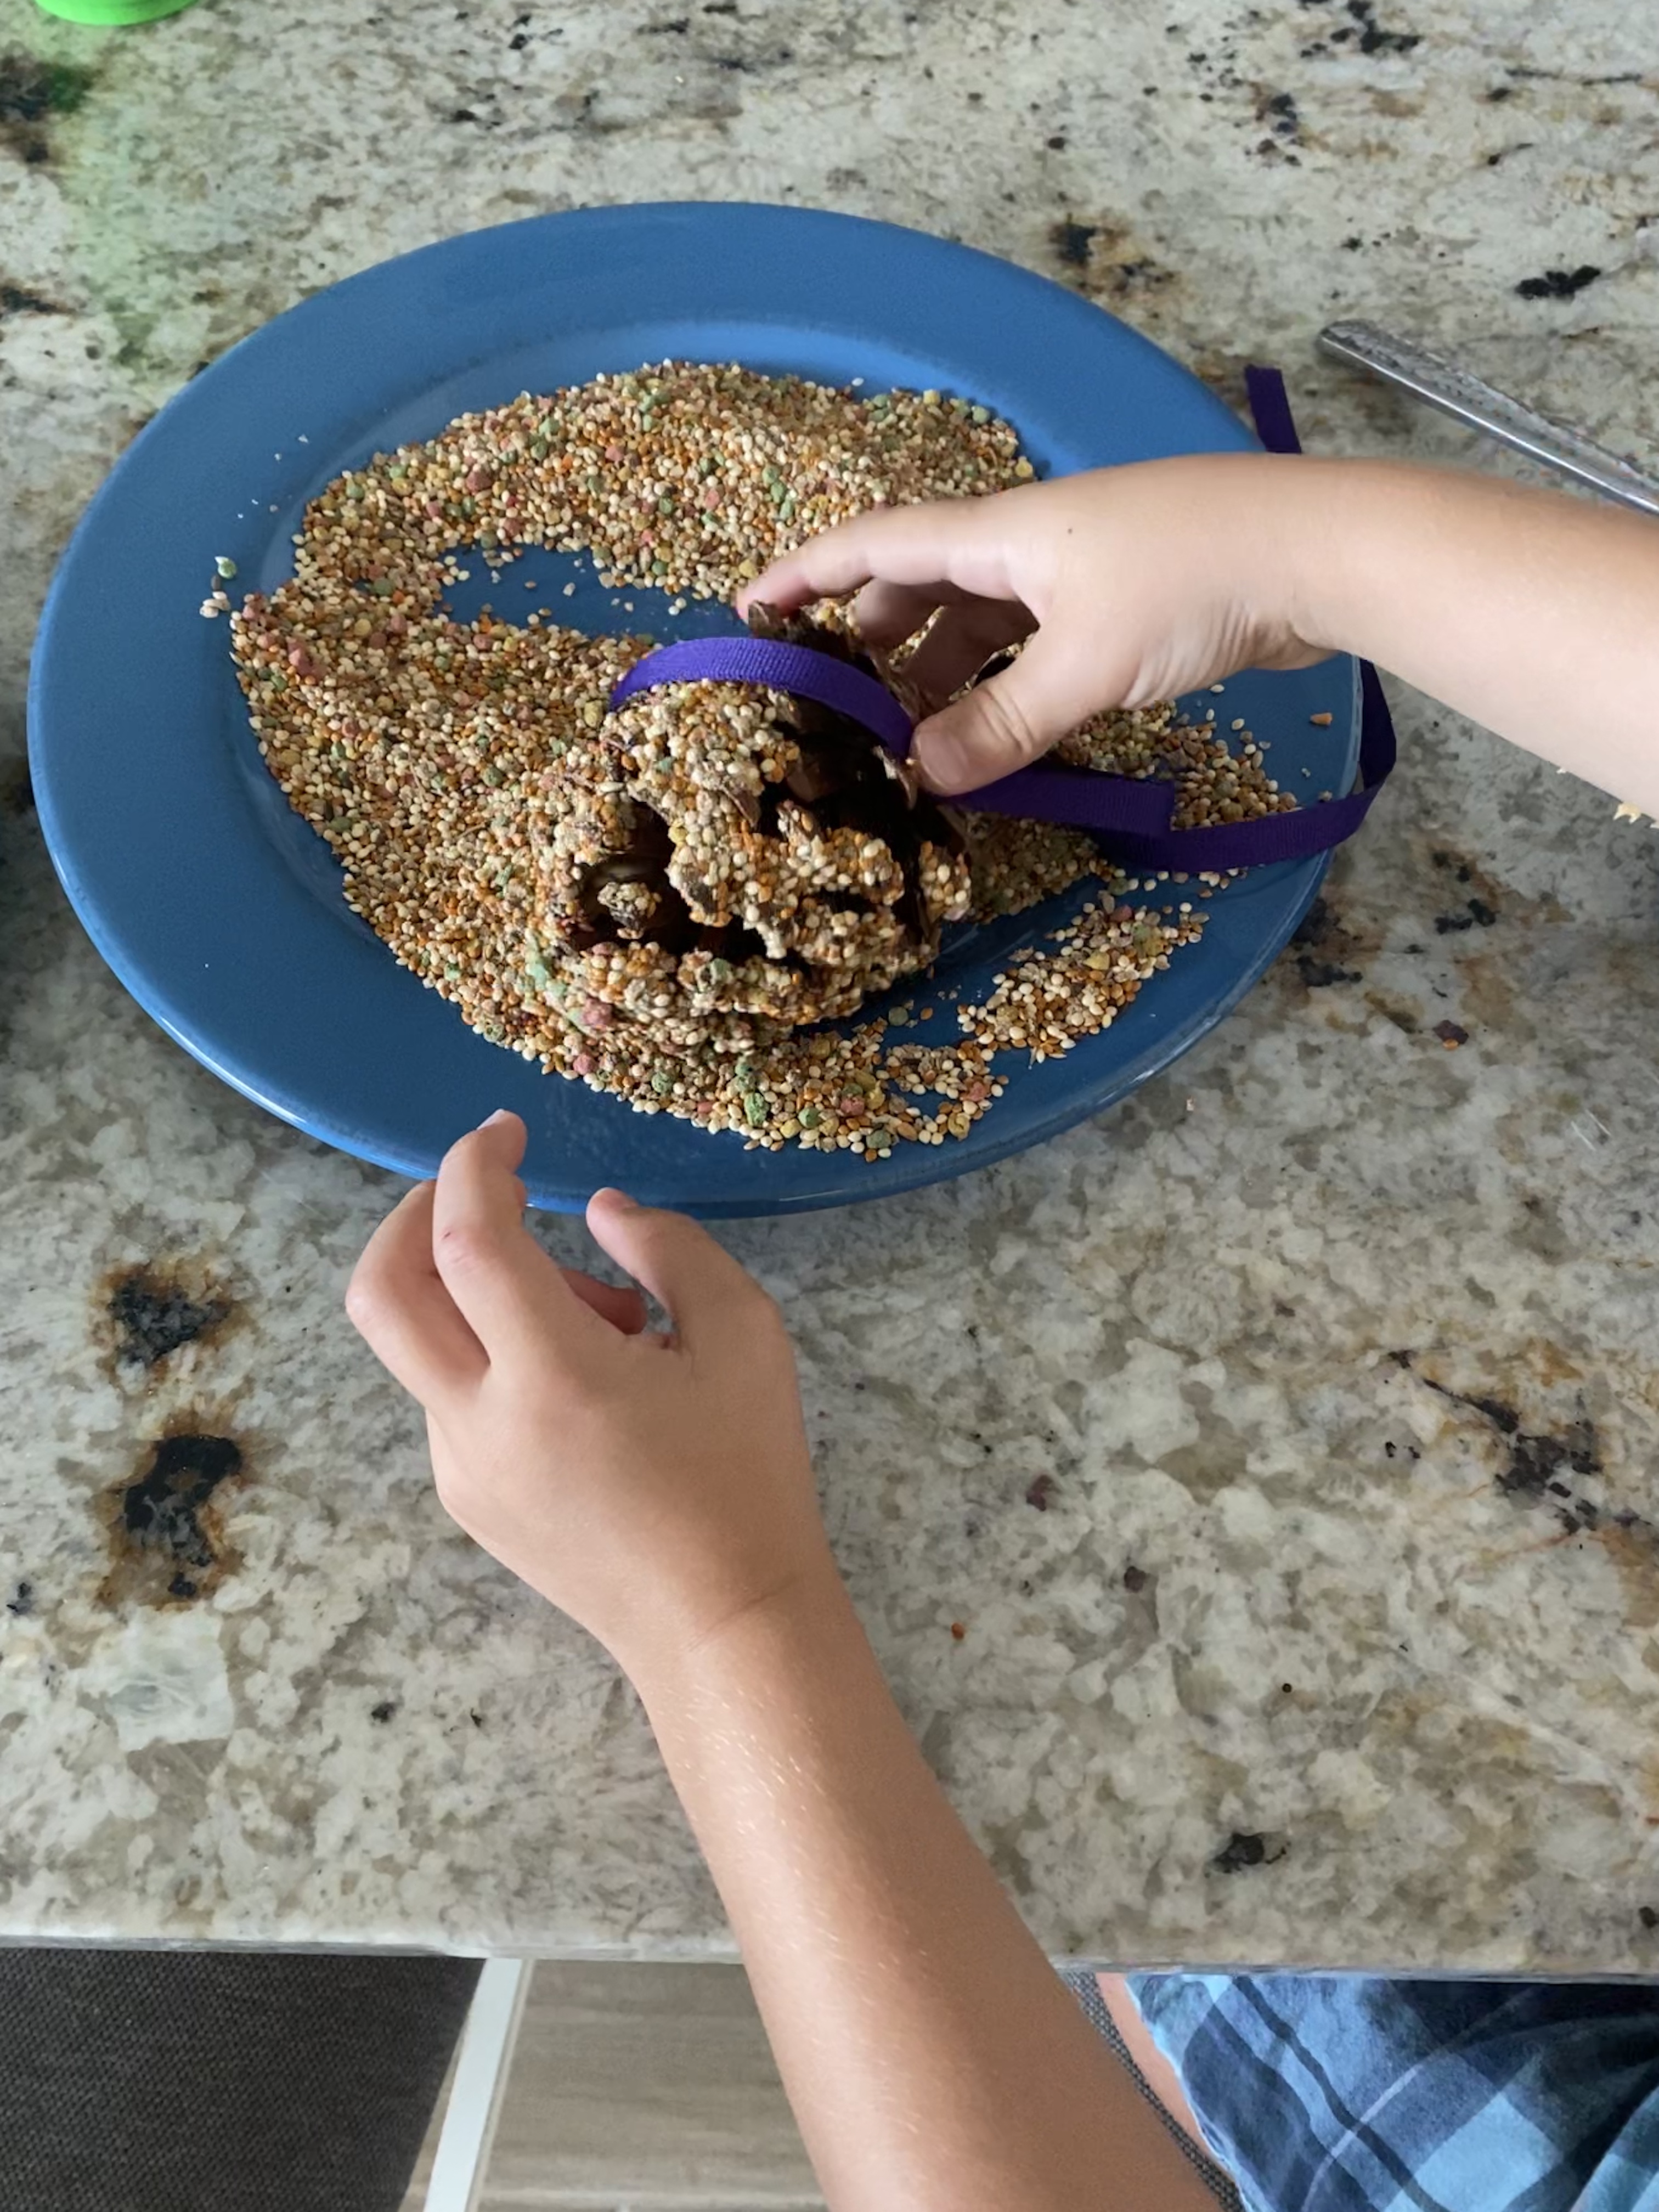
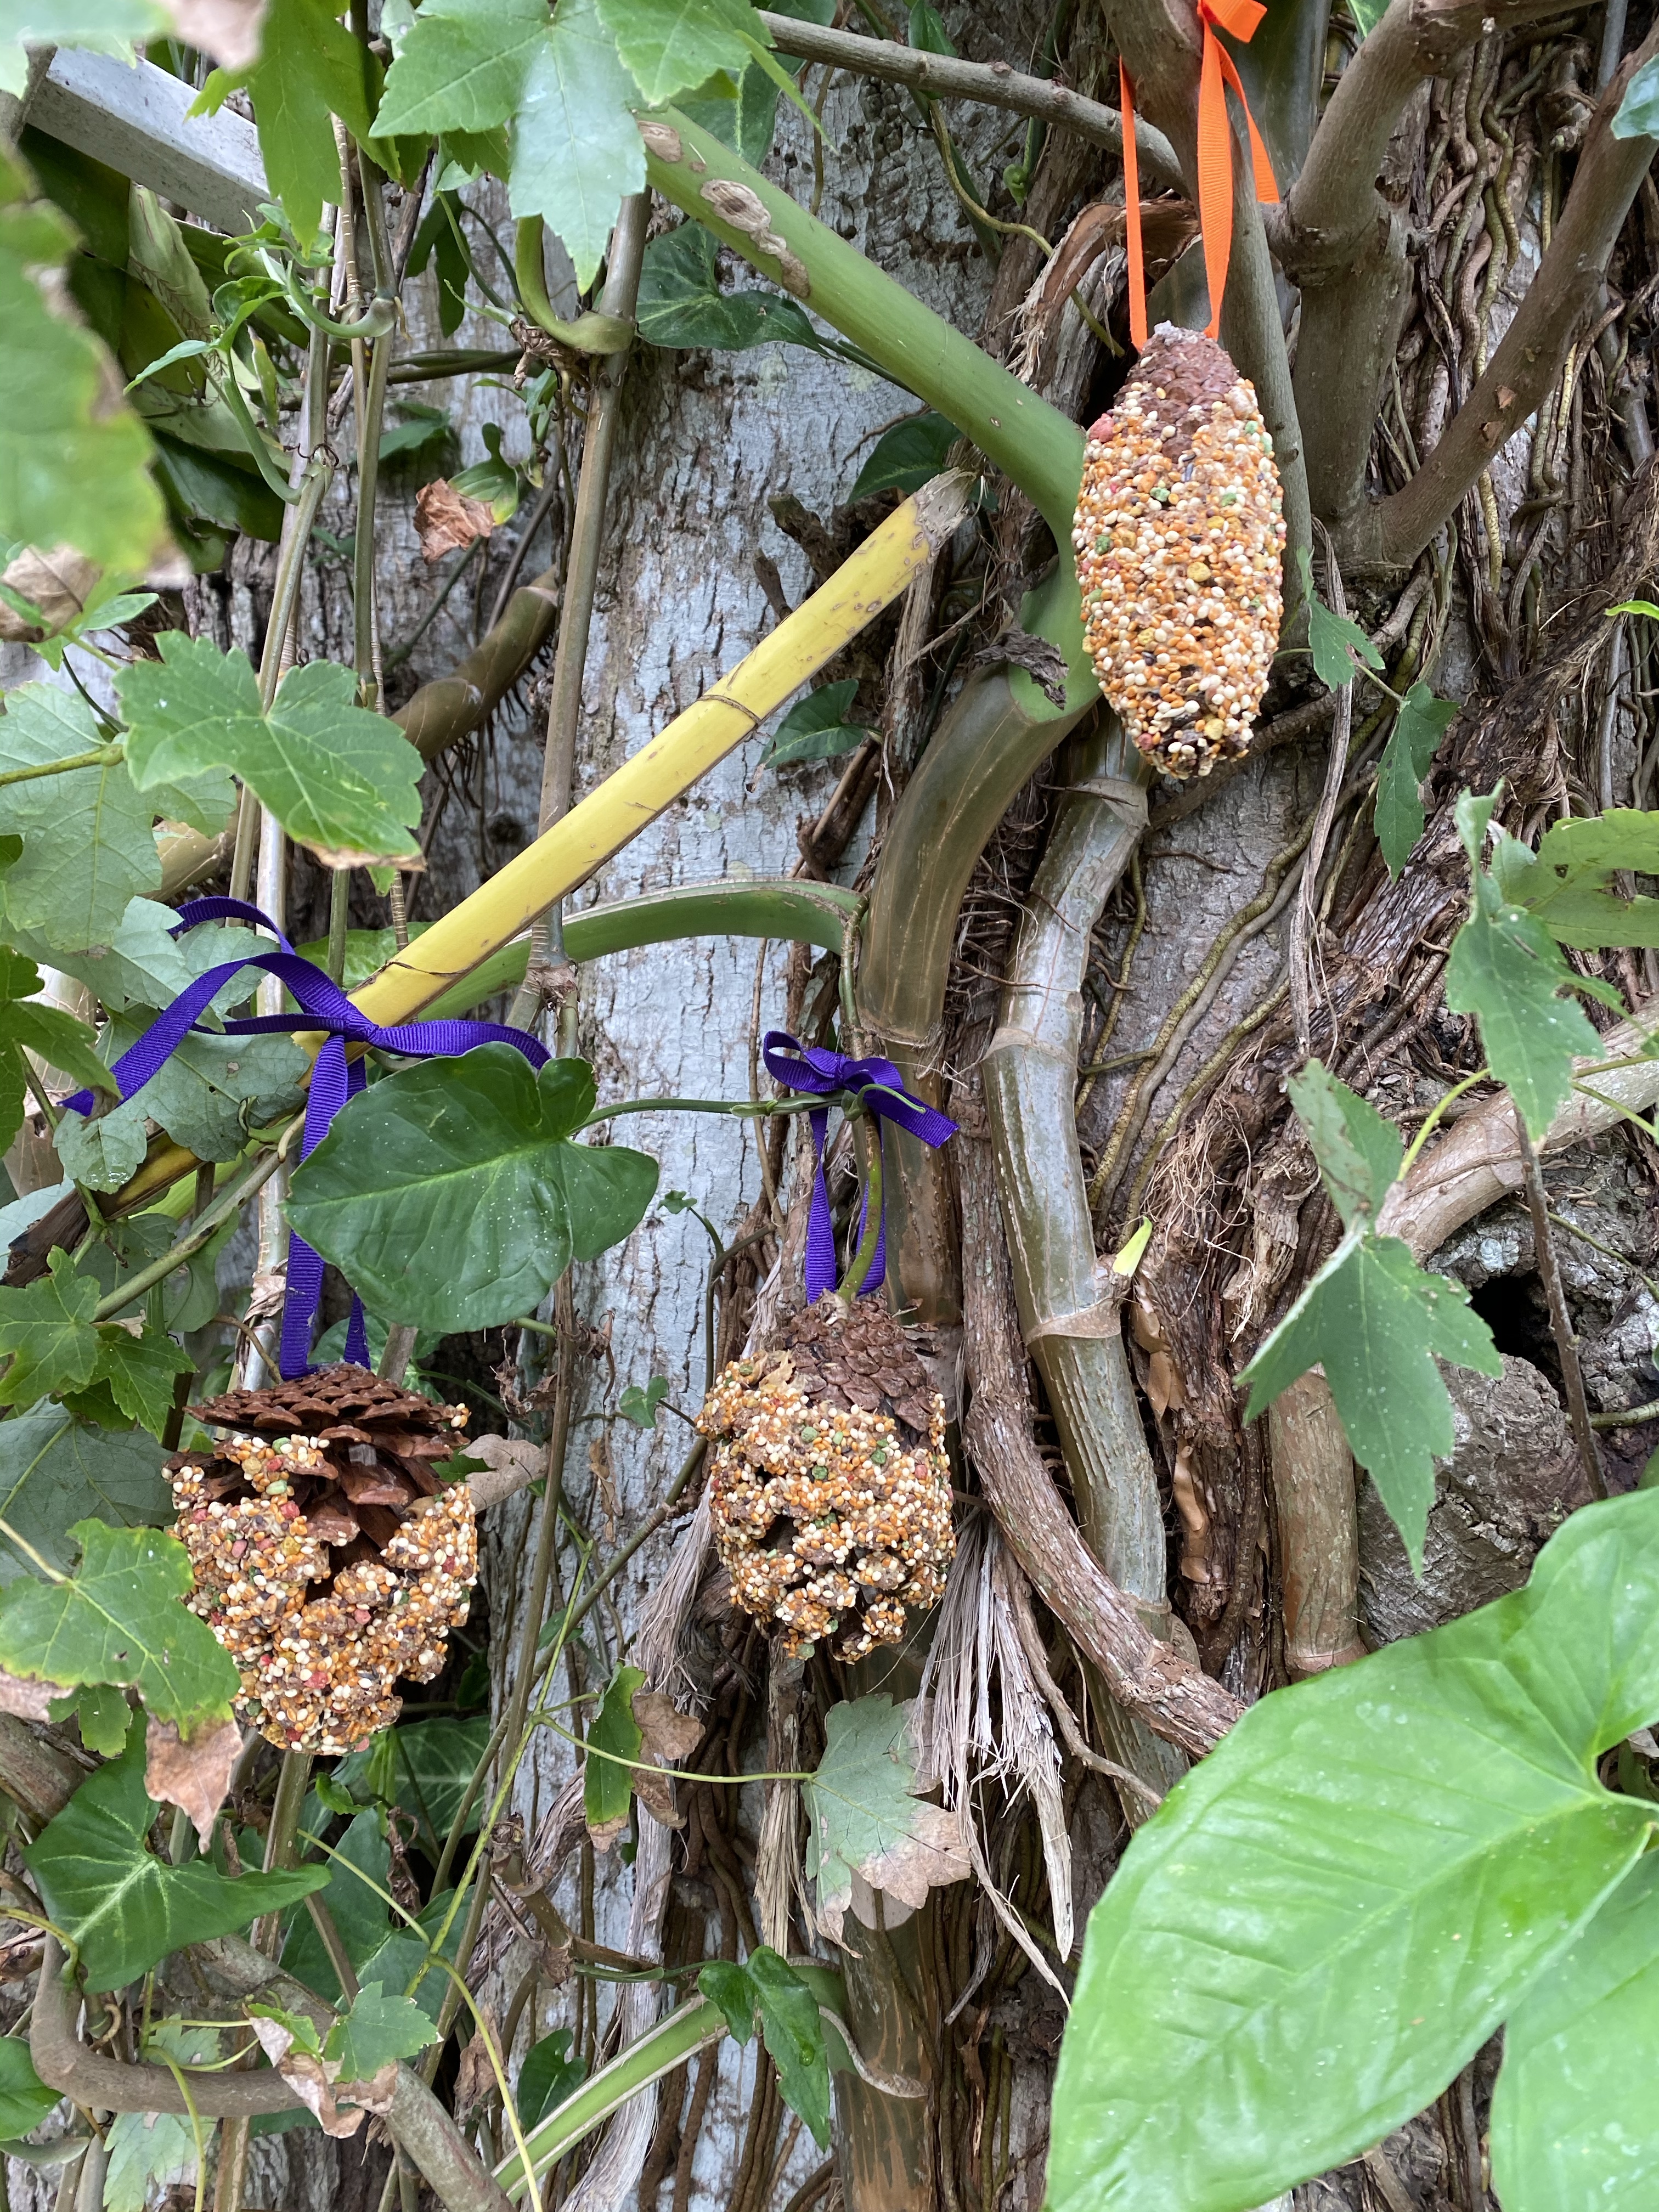
-DIY bird feeders: I totally remember making these in elementary school! We lived in freezing cold Northern Maine, and we hung them in the forest behind our school so the birds would have food for the winter! You just find a few pinecones, hot glue ribbon or string to the top of each one, then have your little cover them with peanut butter, and roll them in bird seed. When they’re finished, hang them in a nearby tree and watch your feathered friends feast! This is a great spring board for discussing what makes an animal a bird- we talked about bird features as we made our feeders! Although I made these as a kid, I got my inspiration to do them with my little from Mudpies and Manicures!

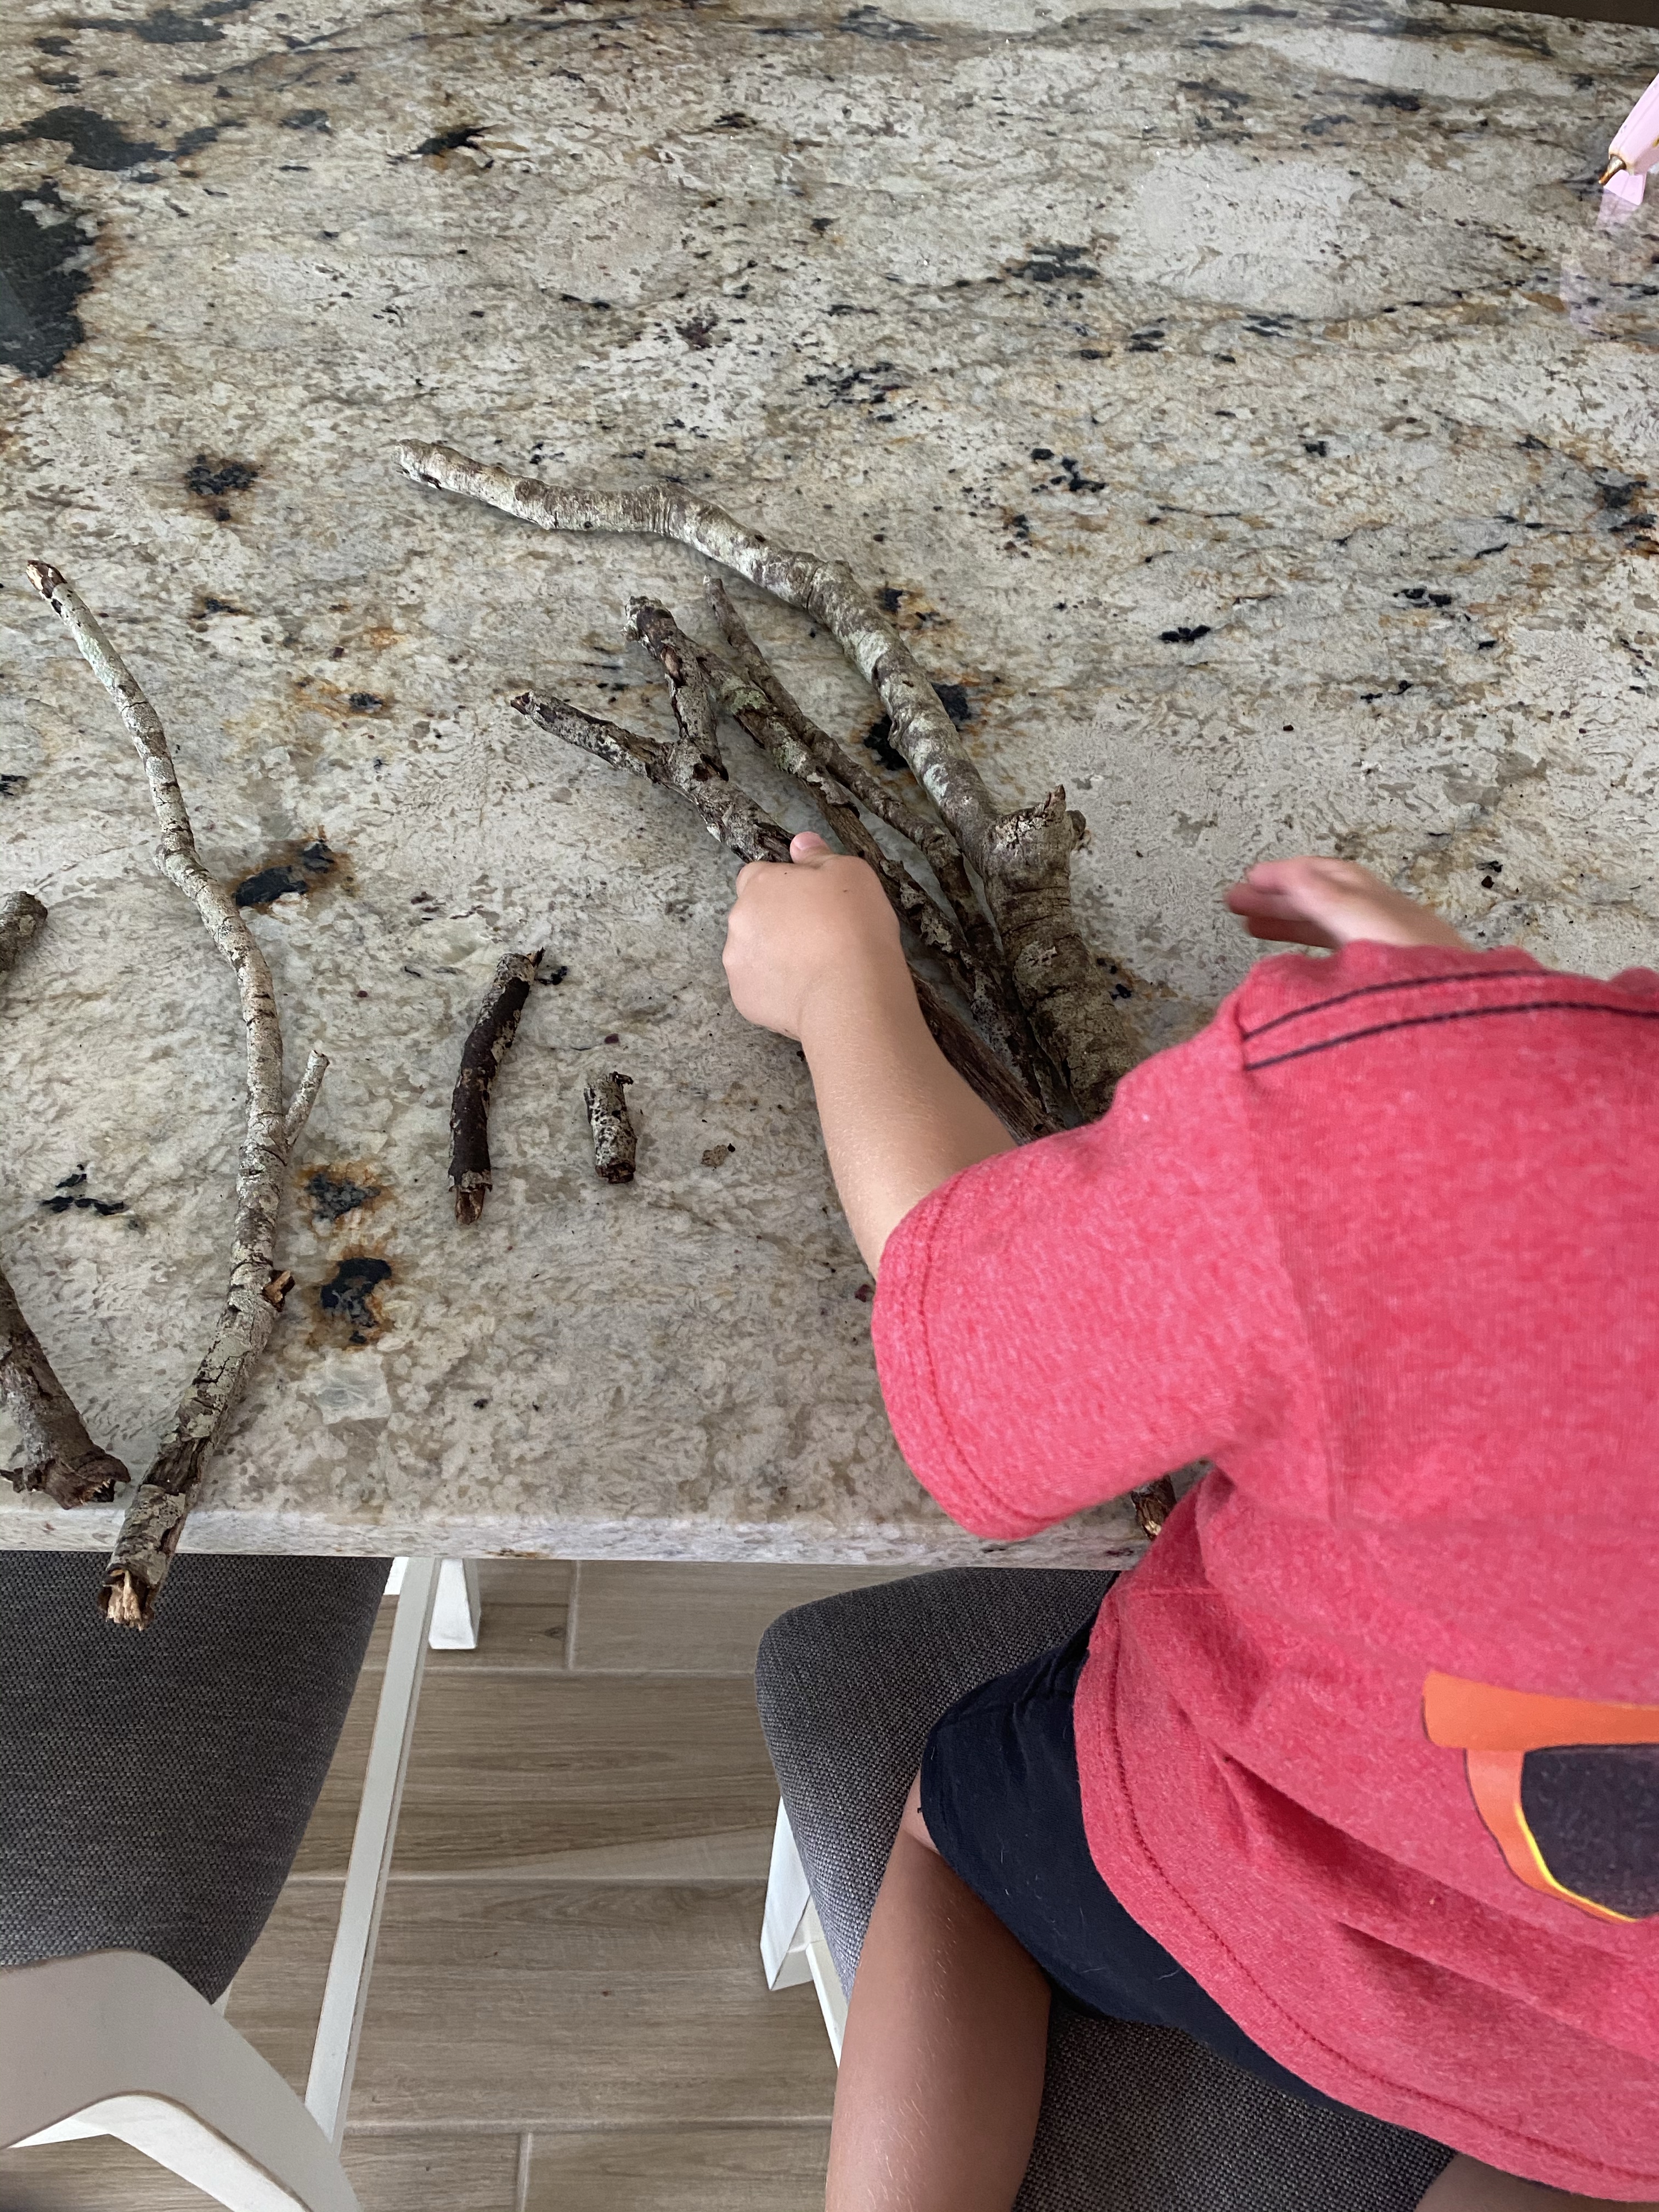
-STEM challenge- build a stick raft: My little LOVED this activity! I gave him the challenge “Build a raft out of sticks from the yard that will allow your stormtrooper action figure to float.” Then I gave him 2 minutes to gather up as many sticks from the yard as he could. Next, I had him think about what size sticks would make a good raft and had him sort out the good, sturdy ones from the tiny, spindly ones. Then I had him organize the sticks so that they could be glued together securely (I did the gluing with hot glue after he had finished). Finally we tested the raft out in our pool (a bath tub would also work!)- success!

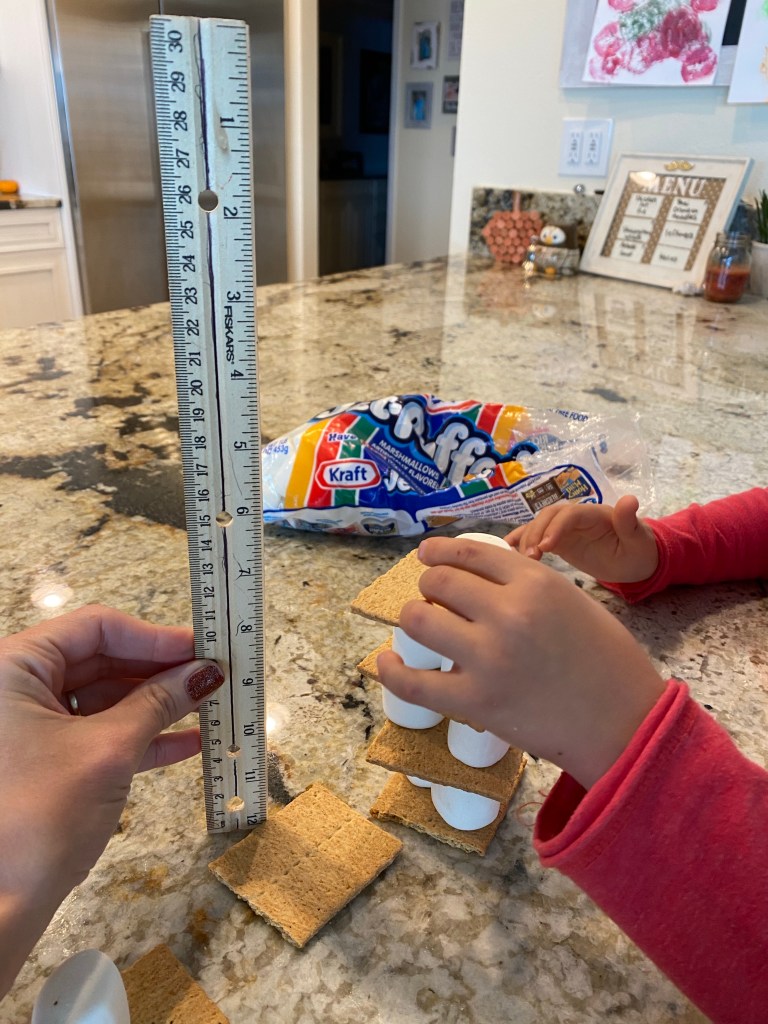
-STEM s’more towers: I gave my little the challenge “Build a tower out of graham crackers and marshmallows that is 6 inches tall”. Then I let him build (we discovered two marshmallows made each level sturdier than one- three probably would’ve been even better). I got this idea from Fun A Day!
-S’more science: You can’t have camping week without making s’mores! My sweet husband even busted out our camping stove after dinner so we could actually toast them over an open flame (although an electric burner or toaster TOTALLY works too!) As we roasted, we talked about the states of matter and I asked my little which one the marshmallow was and why. After he toasted, I had him describe how cooking the marshmallow changed it by looking at the cooked one vs. a “raw” one. We reviewed how adding heat causes some solids to melt into a liquid, but observed that although the marshmallow was melted and gooey, it wasn’t a liquid because it didn’t flow or feel wet, and still held a bit of its own shape. We compared that to the chocolate on the s’more which became a liquid after it was heated by the marshmallow. Who know science could taste so good!?

–Art:
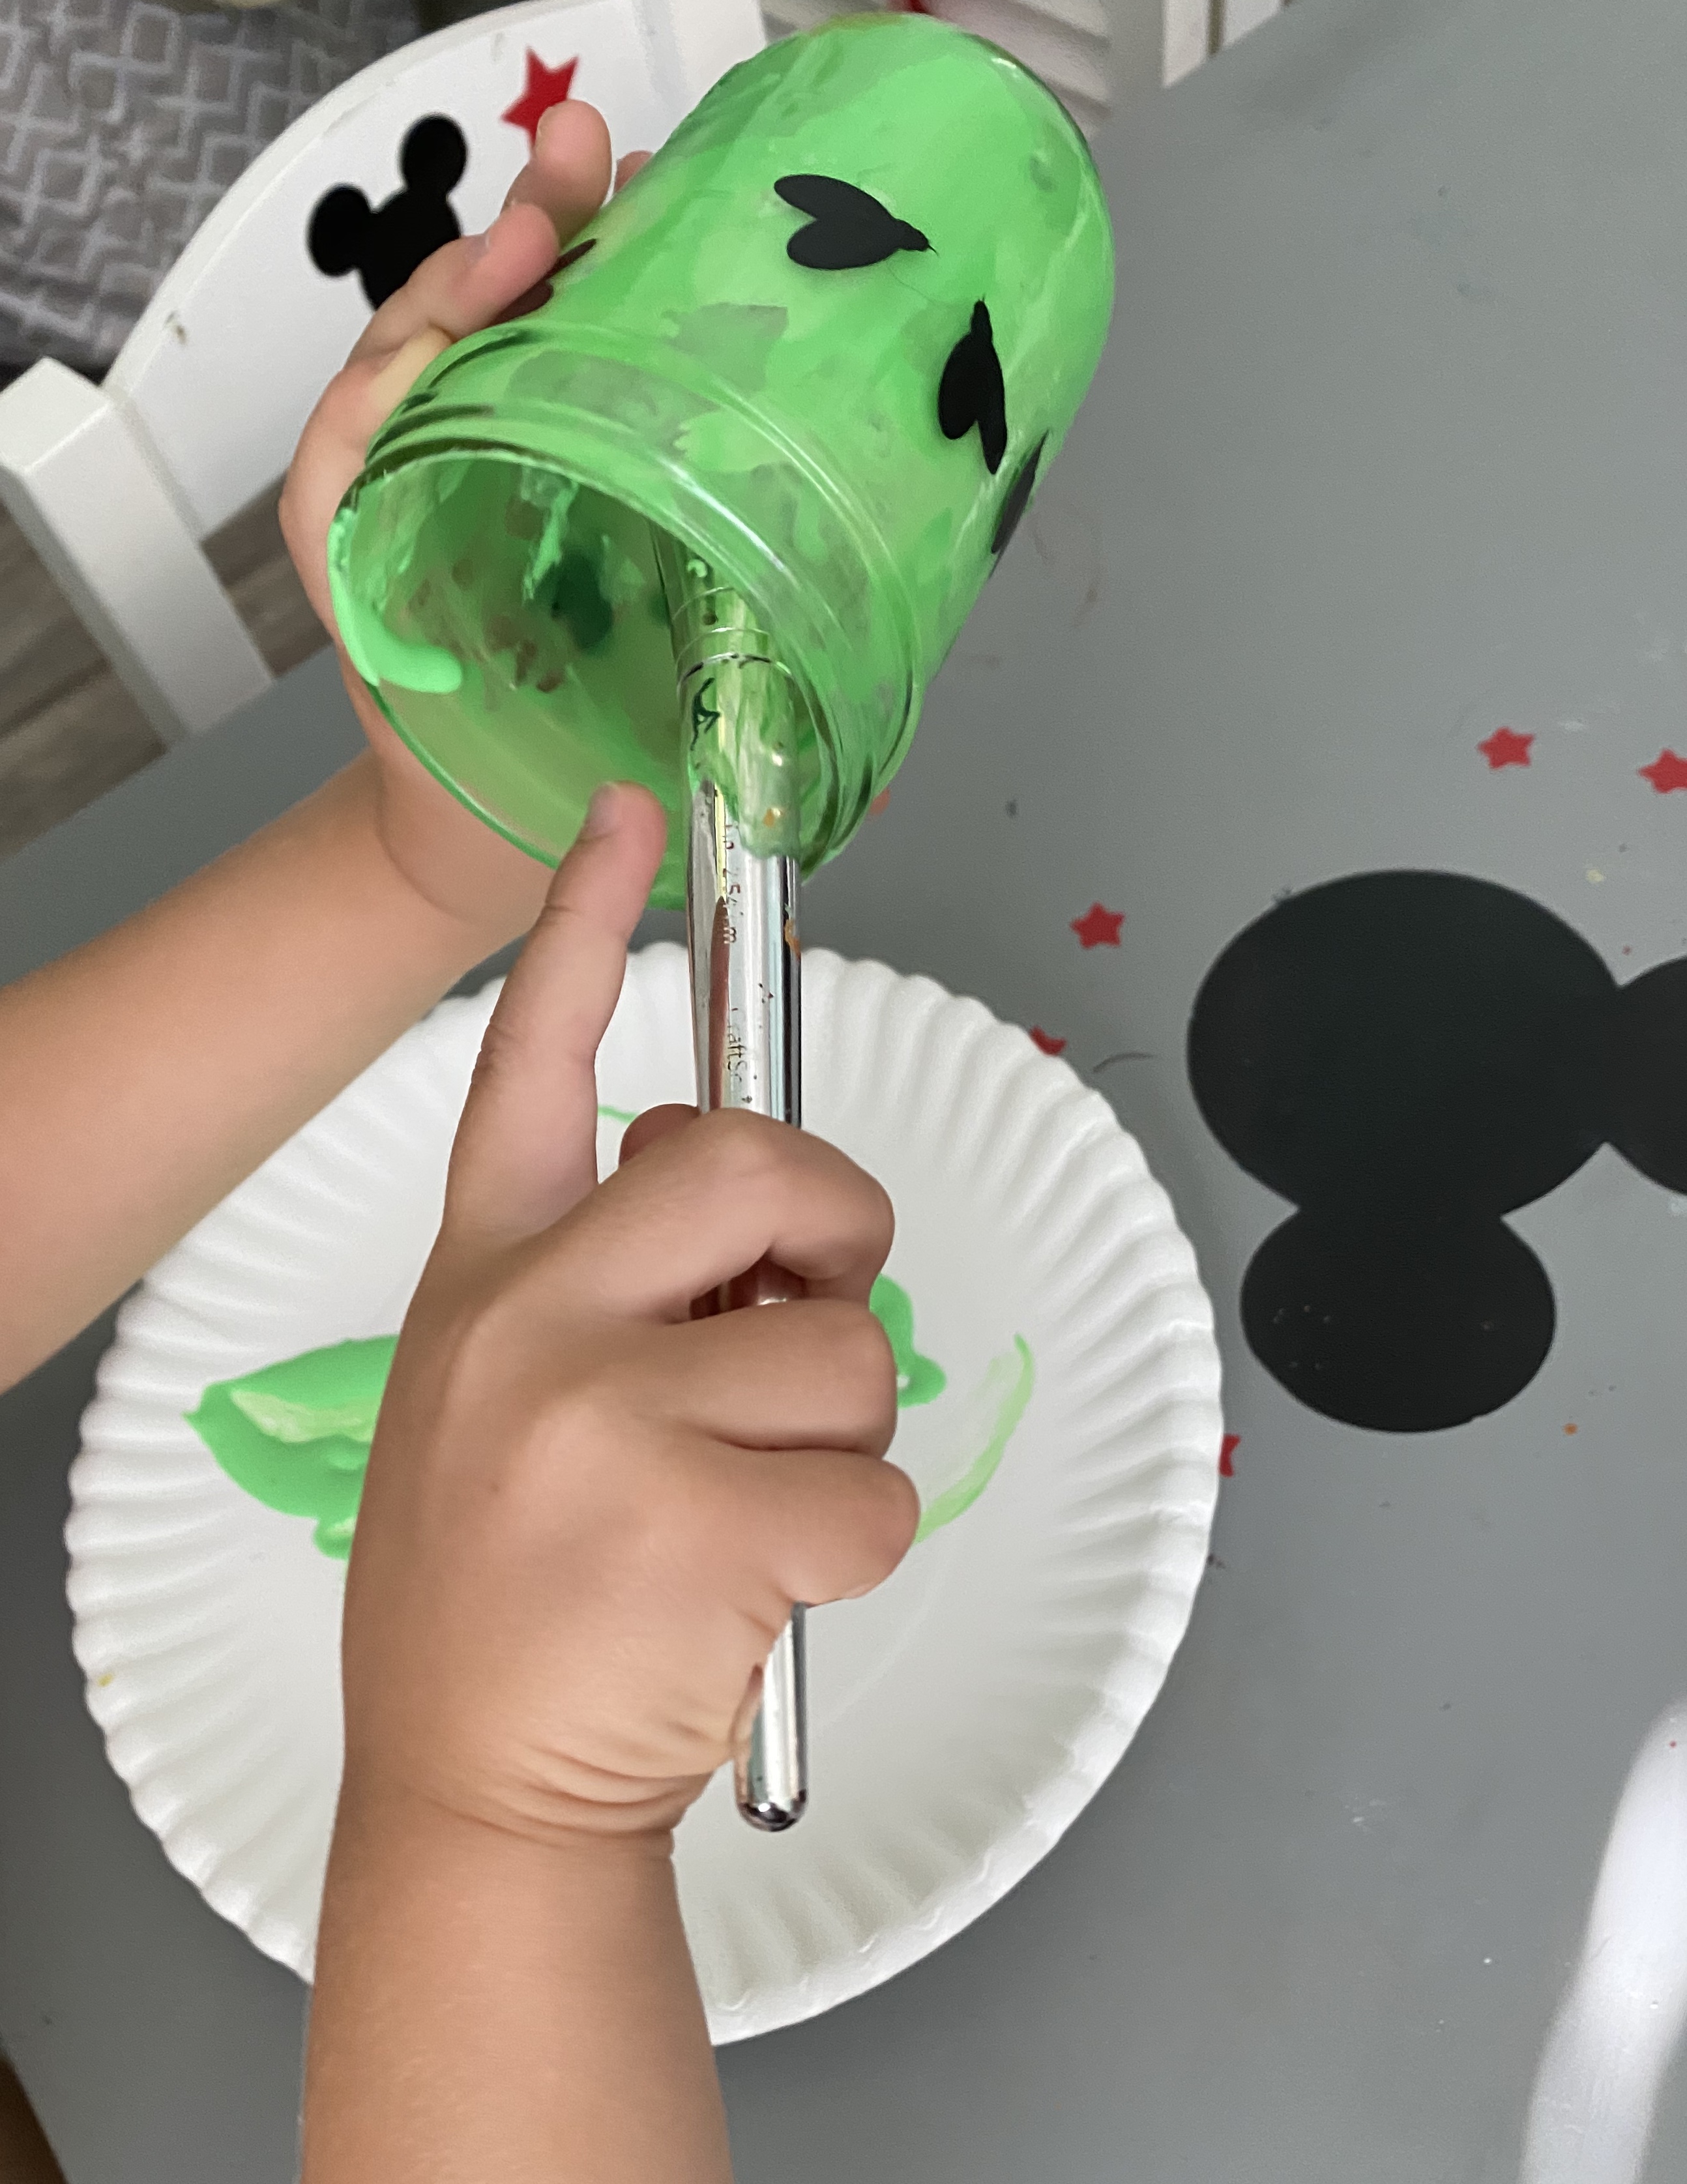
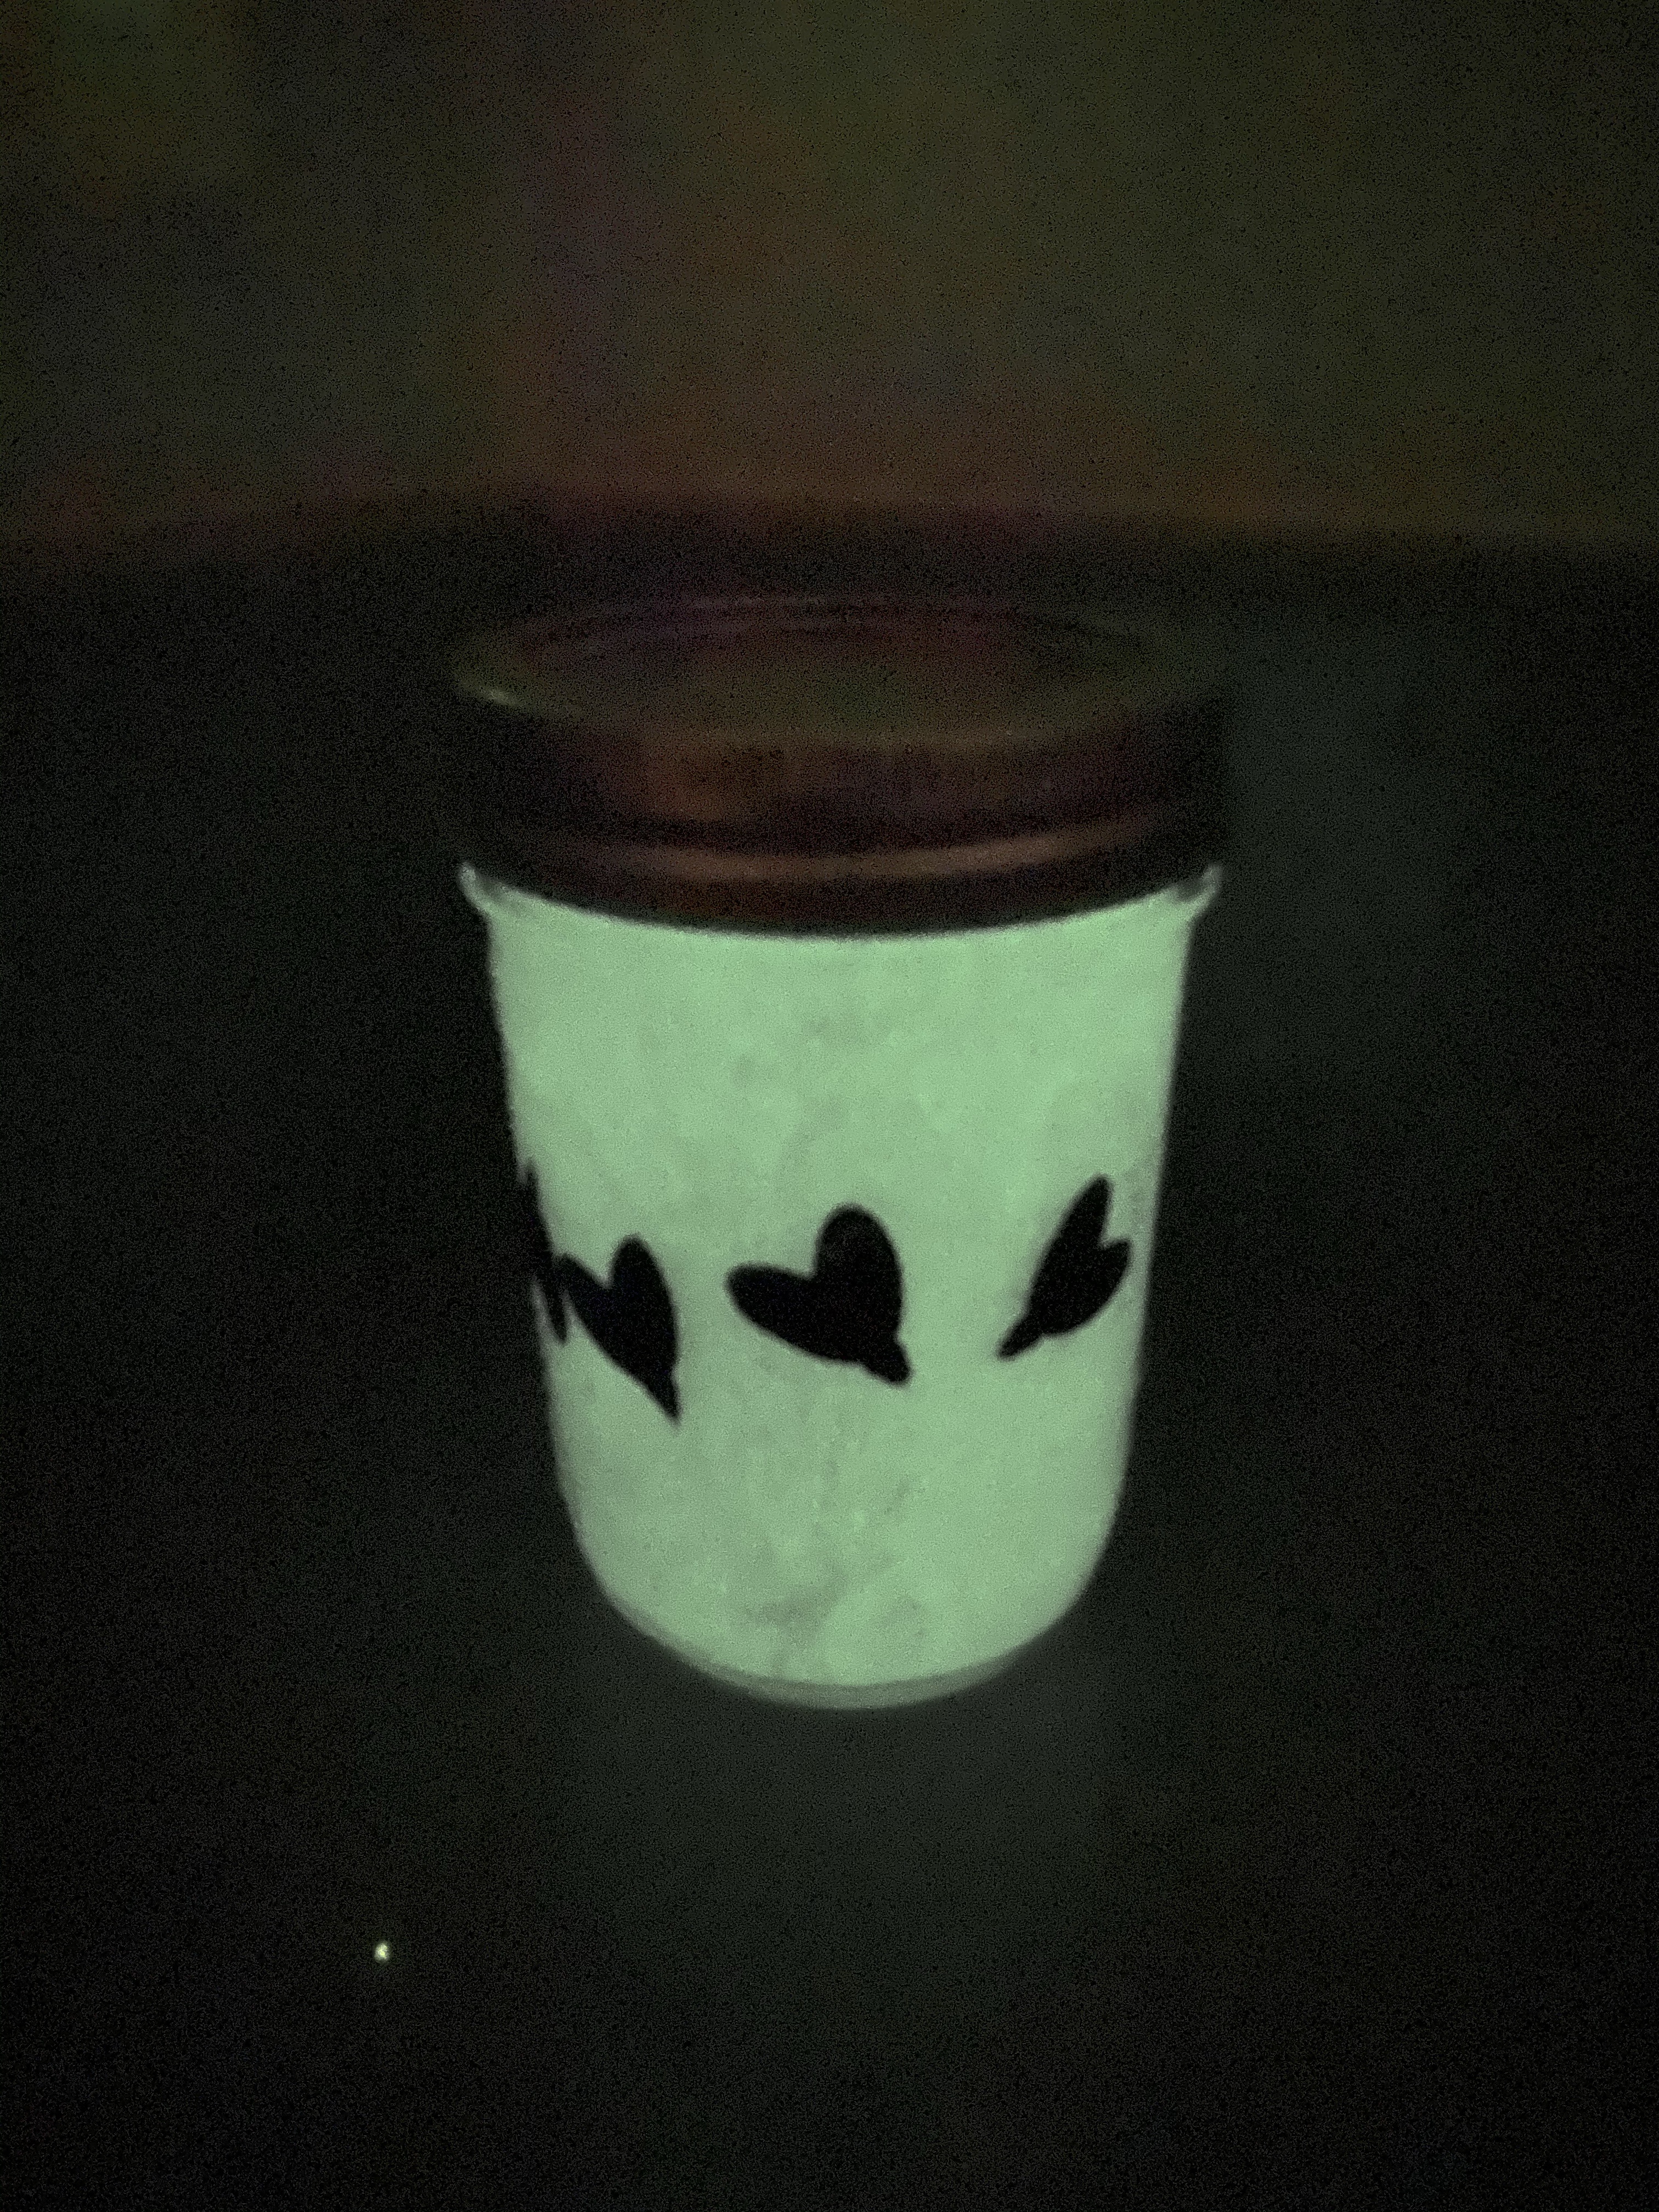
-Glowing firefly jar: I got this adorable idea from A Girl and a Glue Gun– you just have your little paint the inside of a mason jar with glow paint (we got our jar and paint from Walmart with our grocery pick up order!)- you should do 2-3 coats to make it really glow bright! Then my little added some cute firefly silhouette stickers I cut out using my Silhouette vinyl cutter (you could also paint some on, or draw them with a sharpie!). In the original blog post she skipped the stickers and added a little metal wire handle, which was also cute!
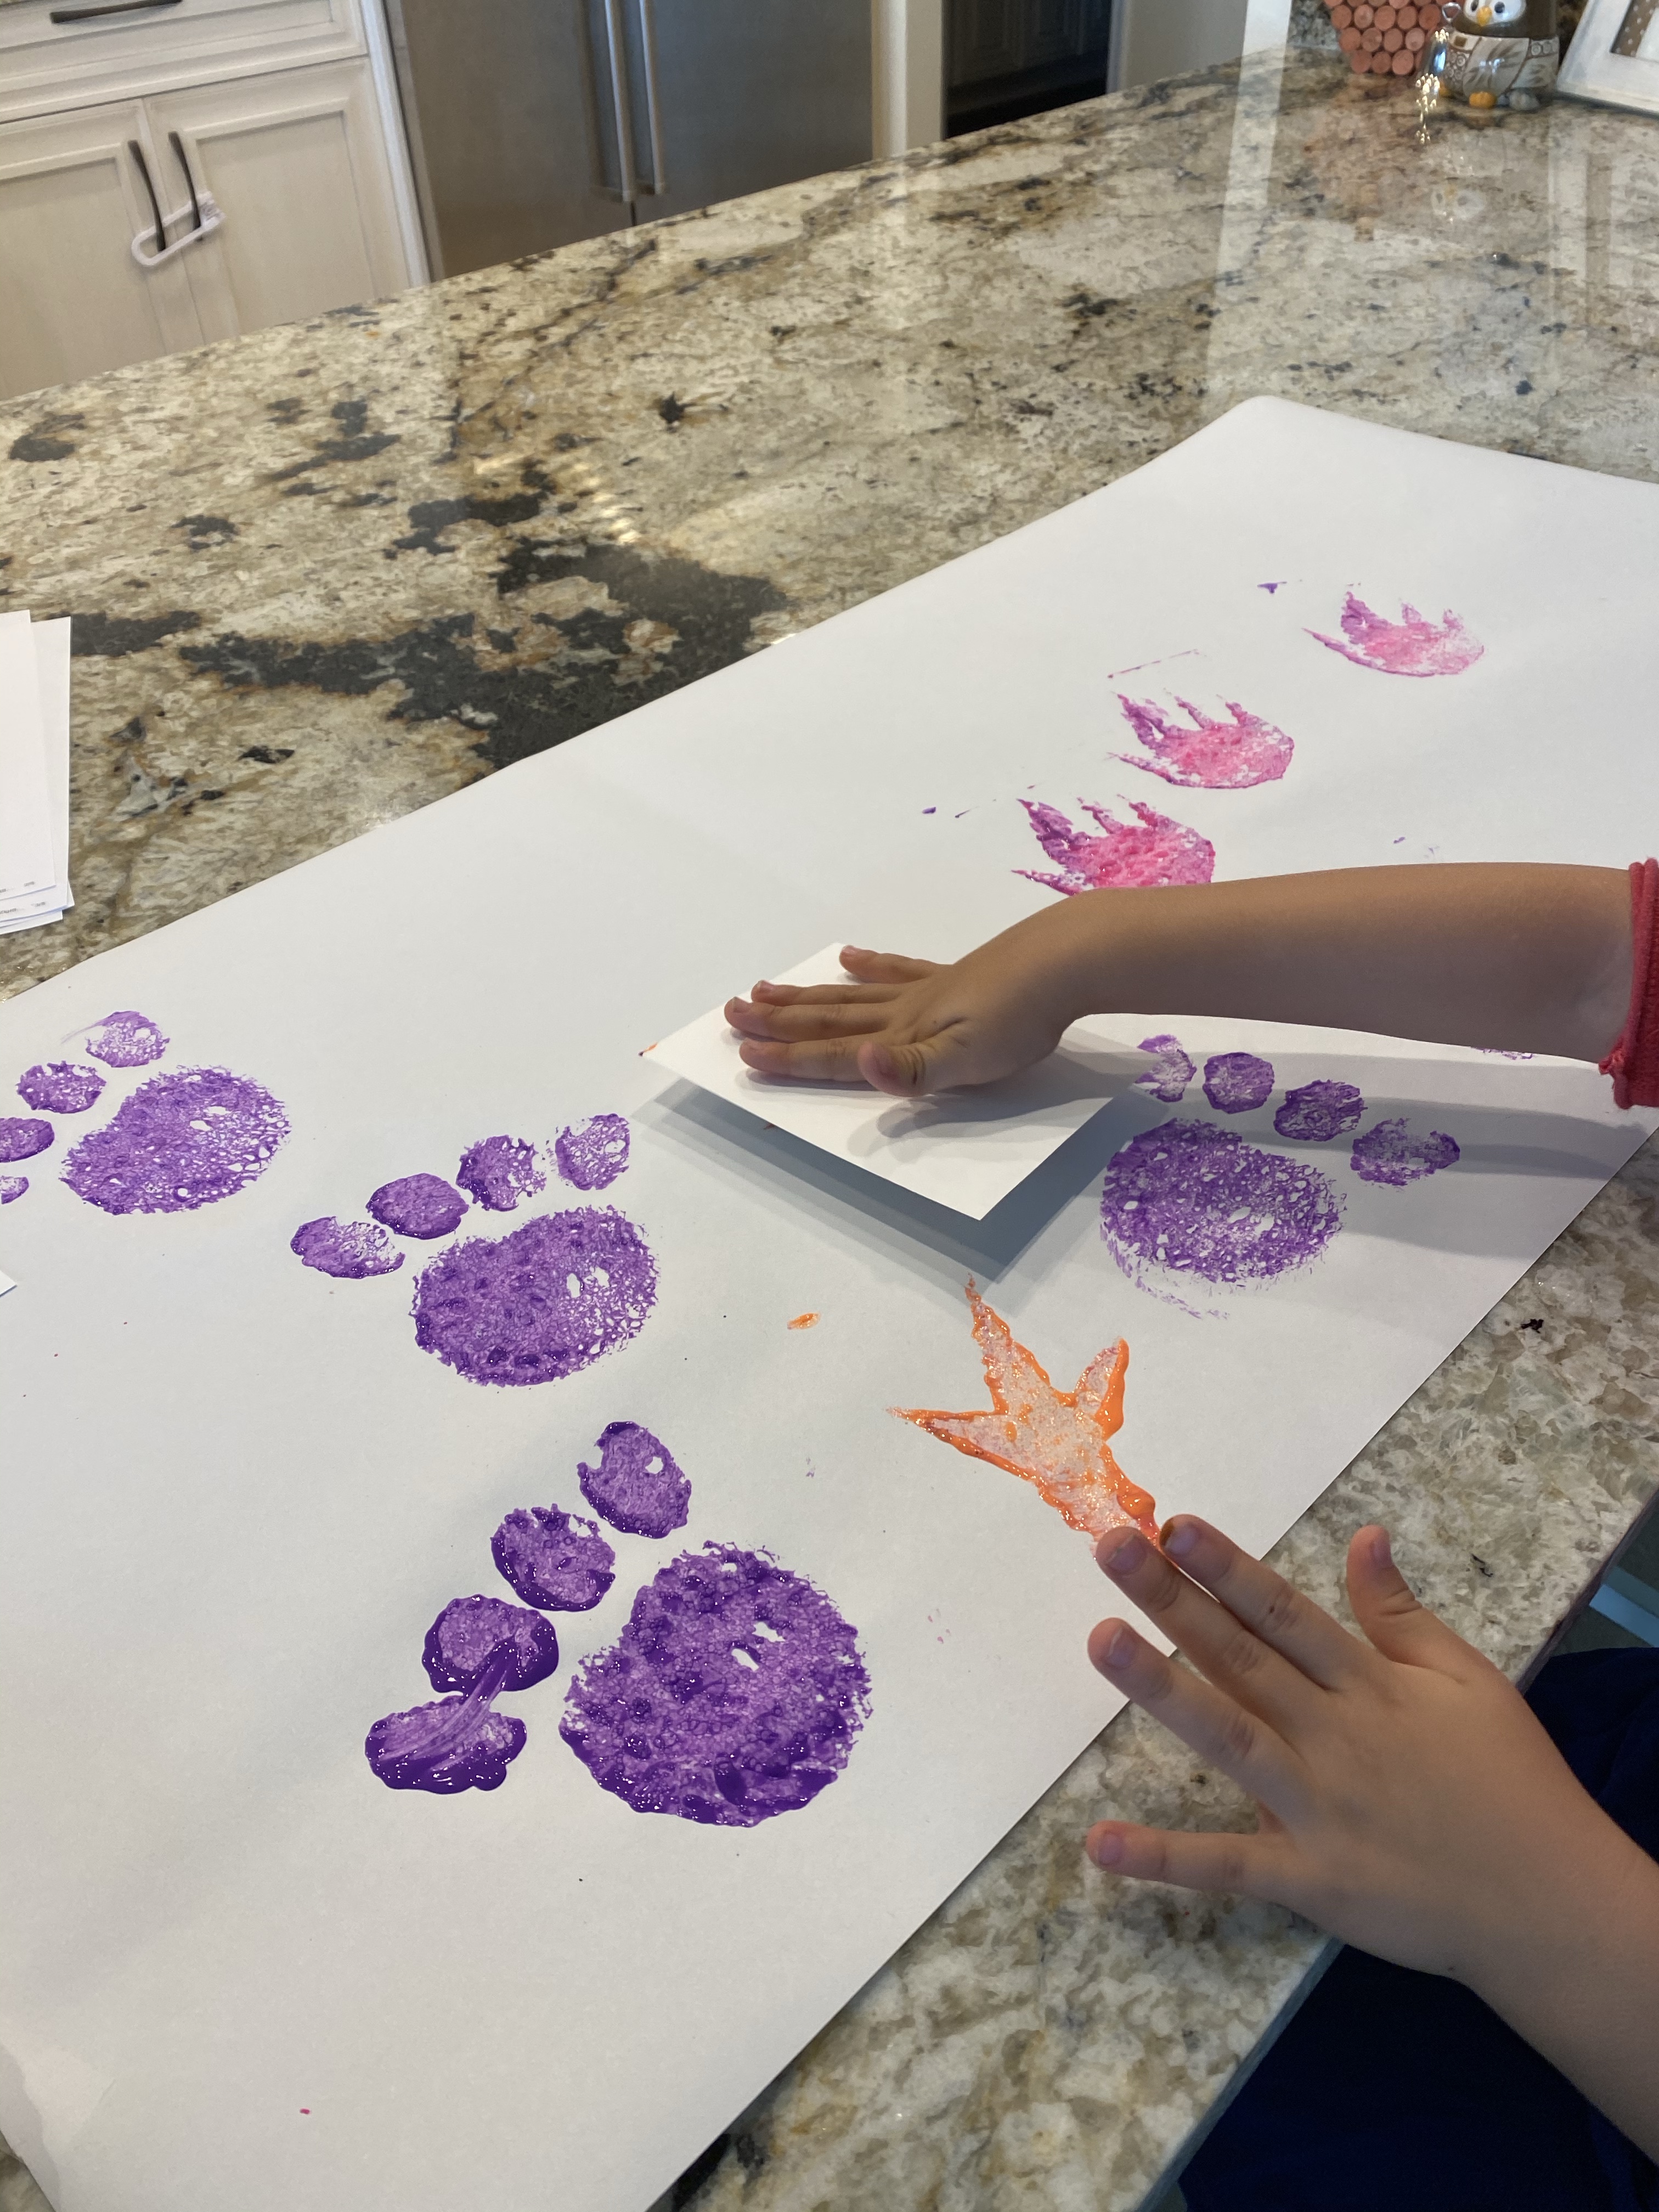
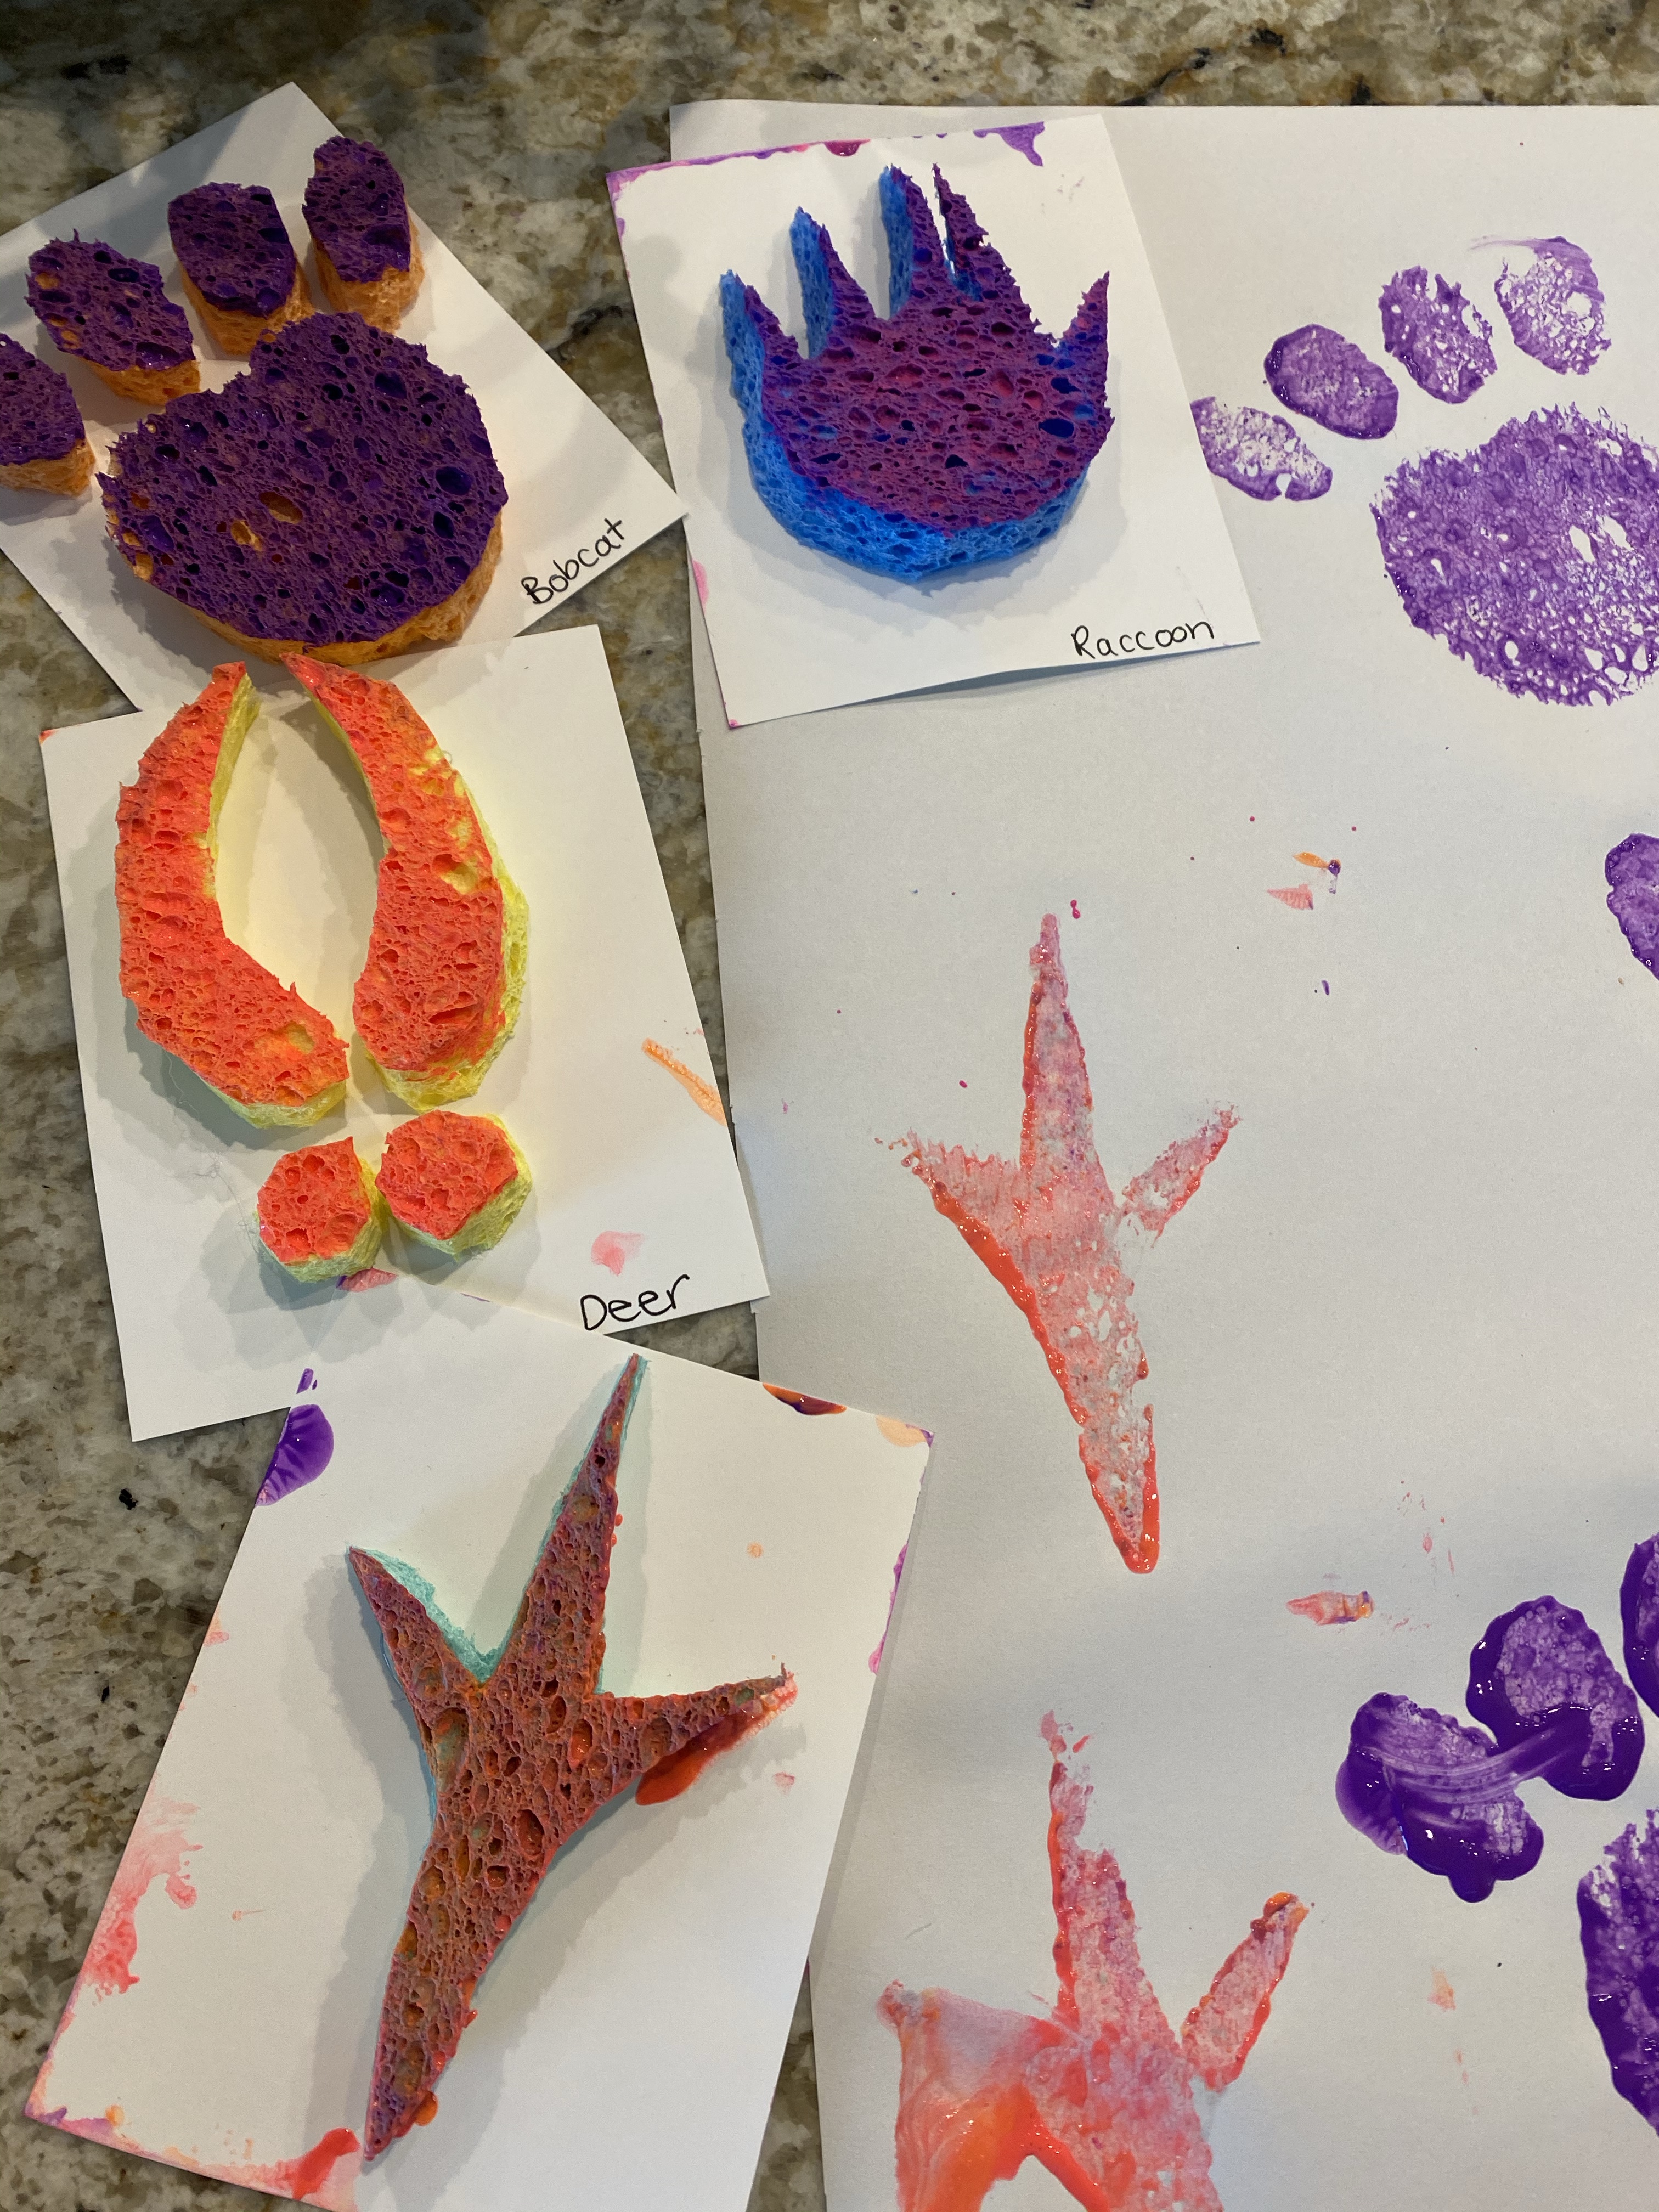
-DIY animal track stamps: I posted this on my toddler page too, but I think it’s more suited for prek since the stamps are pretty big and hard to manage- my toddler could do it, but he needed help! Anyway, you just make animal track stamps by cutting out their shapes from sponges and hot gluing them to pieces of card stock. We talked about which animal made each track, then I let the boys stamp away on our giant roll of easel paper!

–Supply/shopping list:
- flashlight
- various rocks
- pinecones
- bird seed
- peanut butter
- yarn or ribbon
- marshmallows
- chocolate
- graham crackers
- sticks
- hot glue
- mason jar
- glow paint
- dot marker
- sponges
- roll of easel paper
