
The first day of fall is coming up next week (September 22nd!) and I just can’t wait to dive in to the warm colors, spicy-sweet smells, cozy fabrics, and cooler days that come along with it (even though where we live that “cooler days” thing isn’t going to happen until December…but I can pretend, right?!) I seriously love this season- it’s the start of school and all of my favorite holidays are on the horizon, which always makes me feel cozy and content! We got married in the fall…both of our boys were born in the fall…it’s just the very best time of year! Don’t forget to pop over to my toddler post “Autumn Leaves and a Nice Cool Breeze” for some seriously fun art and sensory play ideas like indoor leaf raking (for those of you who don’t get piles on your lawn just yet!) and leaf wreath making! So without further adieu, let’s jump into a giant leaf pile and get started!
–Literacy:
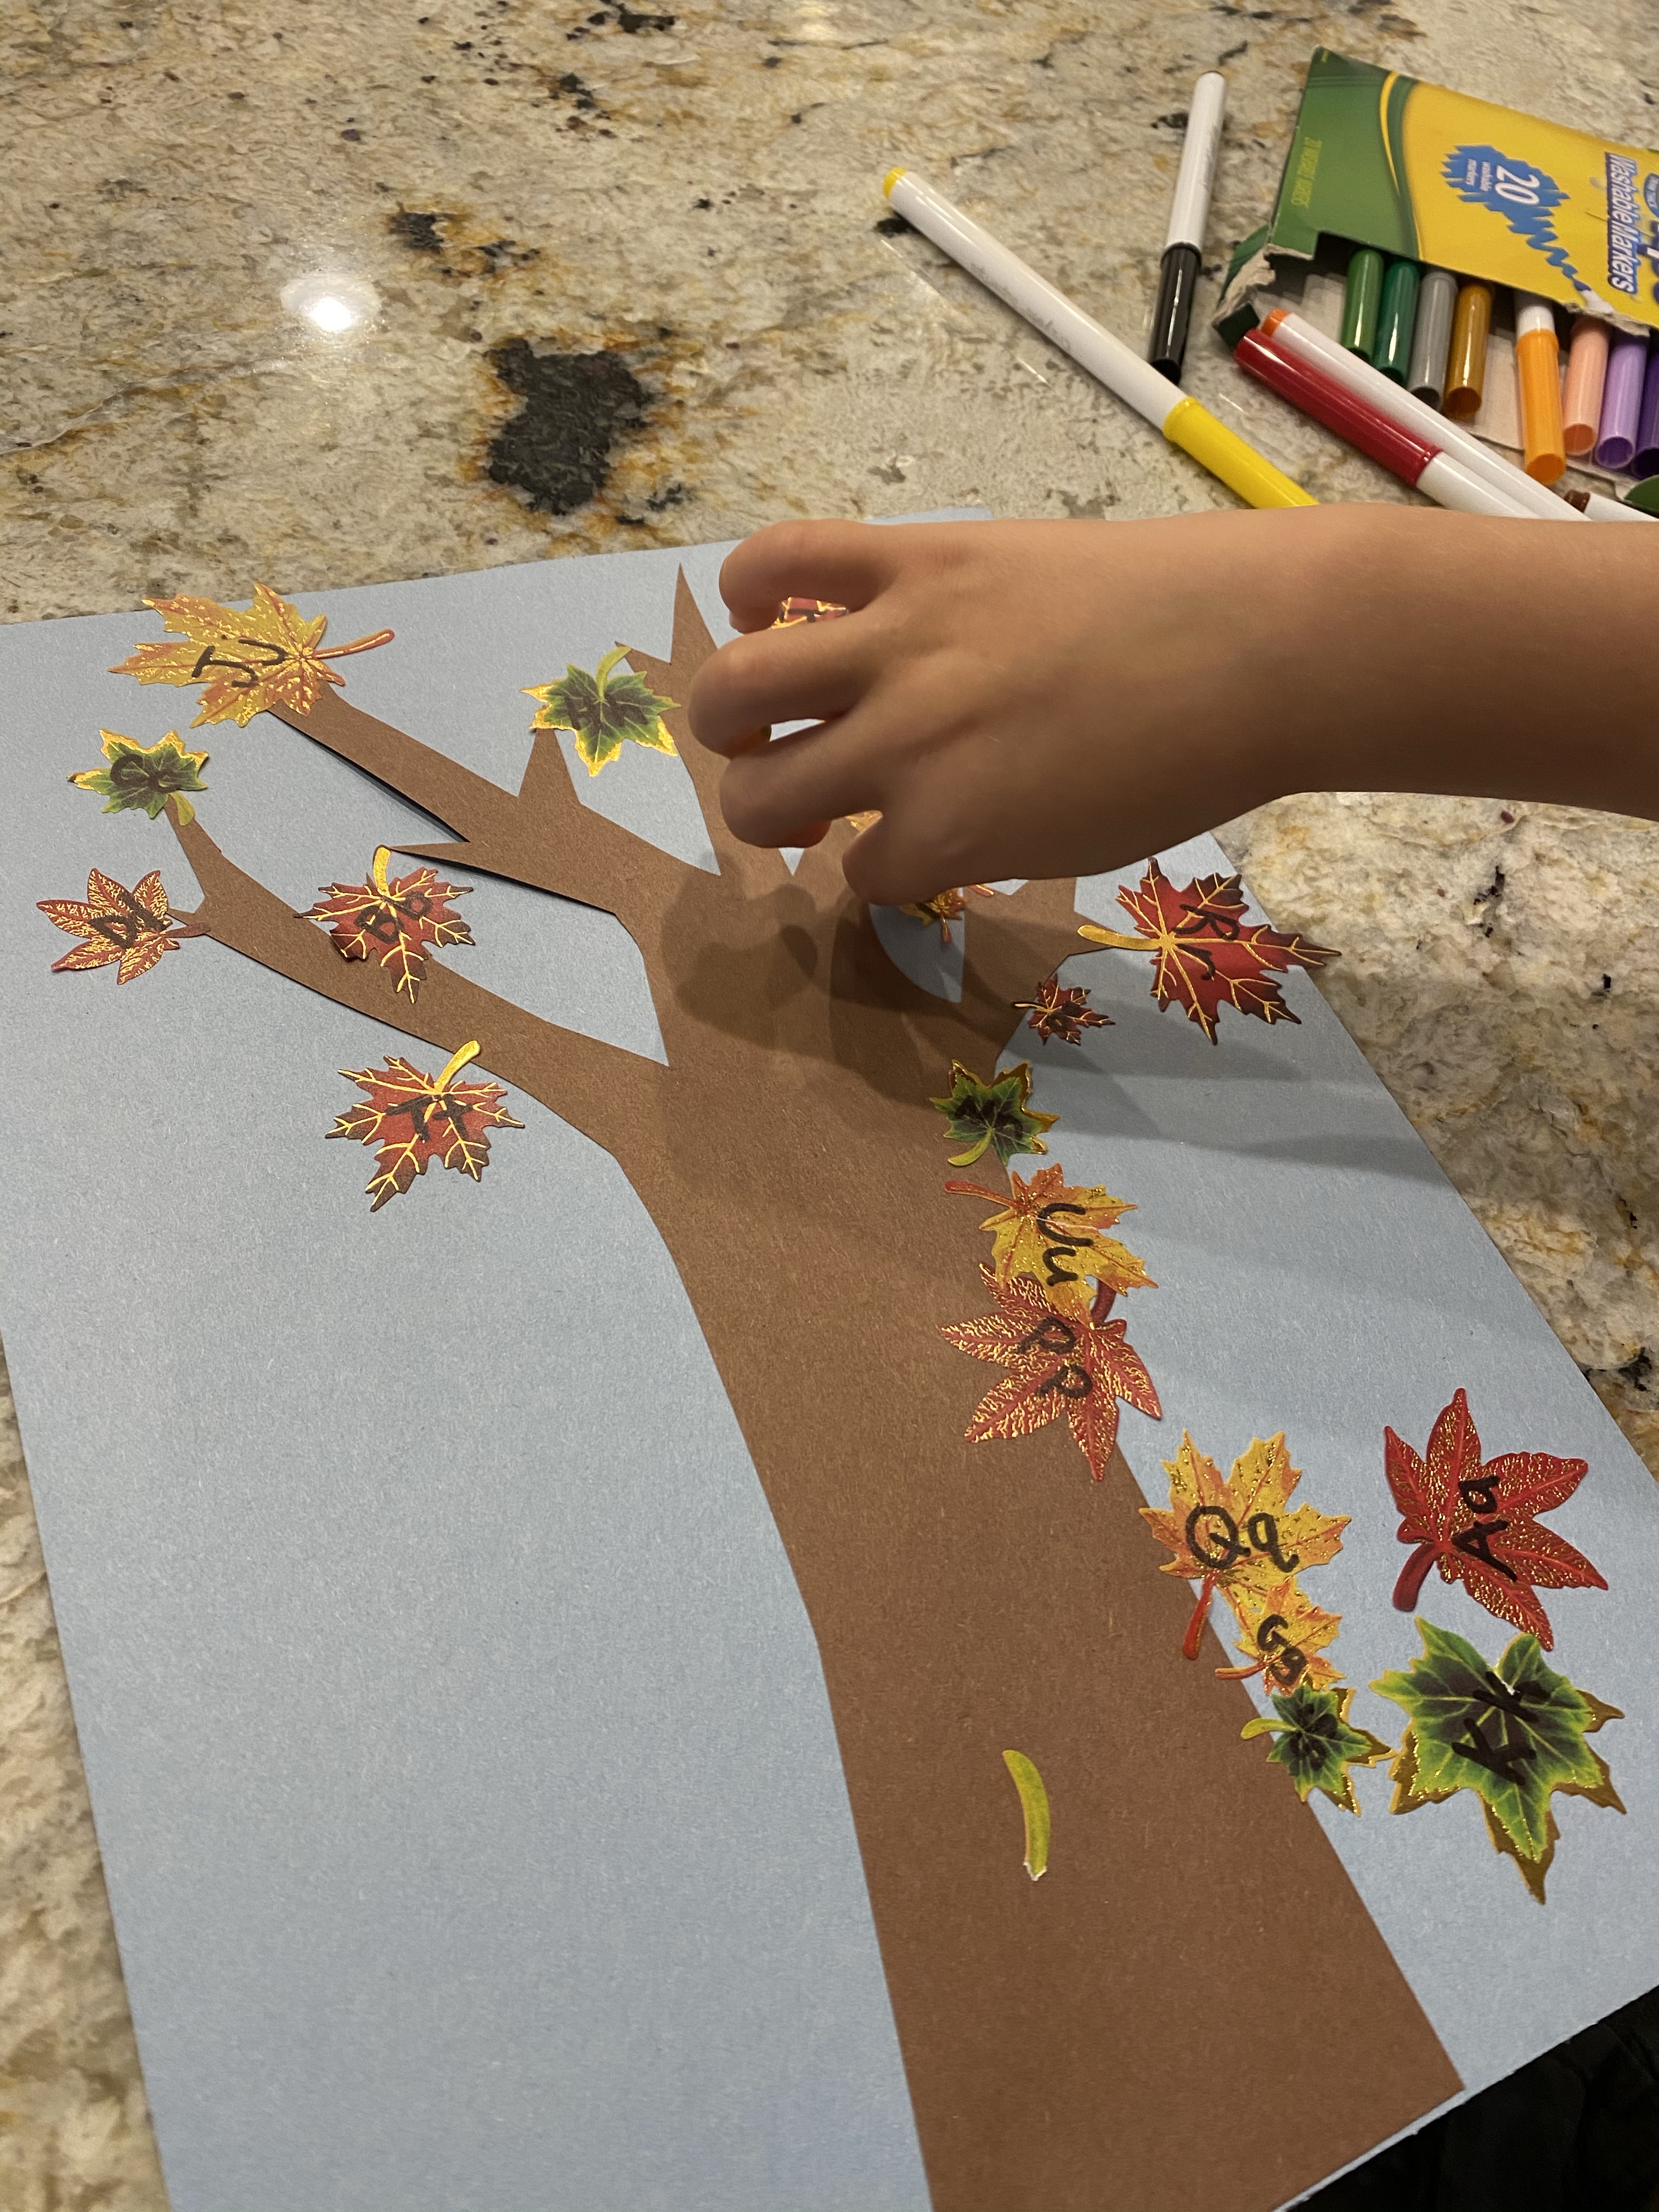
-ABC fall leaf tree: I got some fall leaf stickers at Walmart and wrote the alphabet on them. I cut out a tree trunk and stuck it to a piece of blue paper, then had my little stick the leaves on the tree. As he peeled them off, we reviewed the letters and their sounds.

-F- and -all families phonetics practice: Phonetics are SO important for early readers (and older readers for that matter- ever come across a city name that you had to sound out? Exactly!), and although we work on them daily with our calendar time routine, I like to throw in some during the rest of our school day too! I made a foldable graphic organizer by folding a paper in half, then folding the top down about an inch, unfolding it and tracing my fold lines. I wrote F- and -all at the top, then explained to my little that the word fall starts with the ffff sound and asked if he could think up any other ffff words. I helped him along when he got stuck (ie. What do you call someone you like to play with? Your ffff….” and he would reply “Friend!”) Then we focused on the end of the word -all. I asked him if he could think of any words that rhymed with fall, and wrote them down as he spouted them off (he always has an easier time with rhyming words than beginning sounds for some reason!) since some of the -all words are spelled differently at the end, that spurred a great discussion on how some sounds can be spelled with different letters.

-Fall color name practice: I wrote my little’s WHOLE name (he’s been excited to write his middle name too!) using dots, tucked it in a page protector, then had him trace it using fall colored expo markers. We reviewed the letter names as he wrote.

-L is for leaves: I made this page by polkadotting large capital and lower case letter “L’s”, tucking it in a page protector, then having my little practice writing them with a dry erase marker.

-Book list: Here are the fall themed books we read this week!


–Math:
-Leaf number ordering: I wrote the numbers 1-10 with a black sharpie on silk leaves then had my little identify each number as he counted and put them in order. If your little knows their digits through 10, you can extend this to 20 or 30!

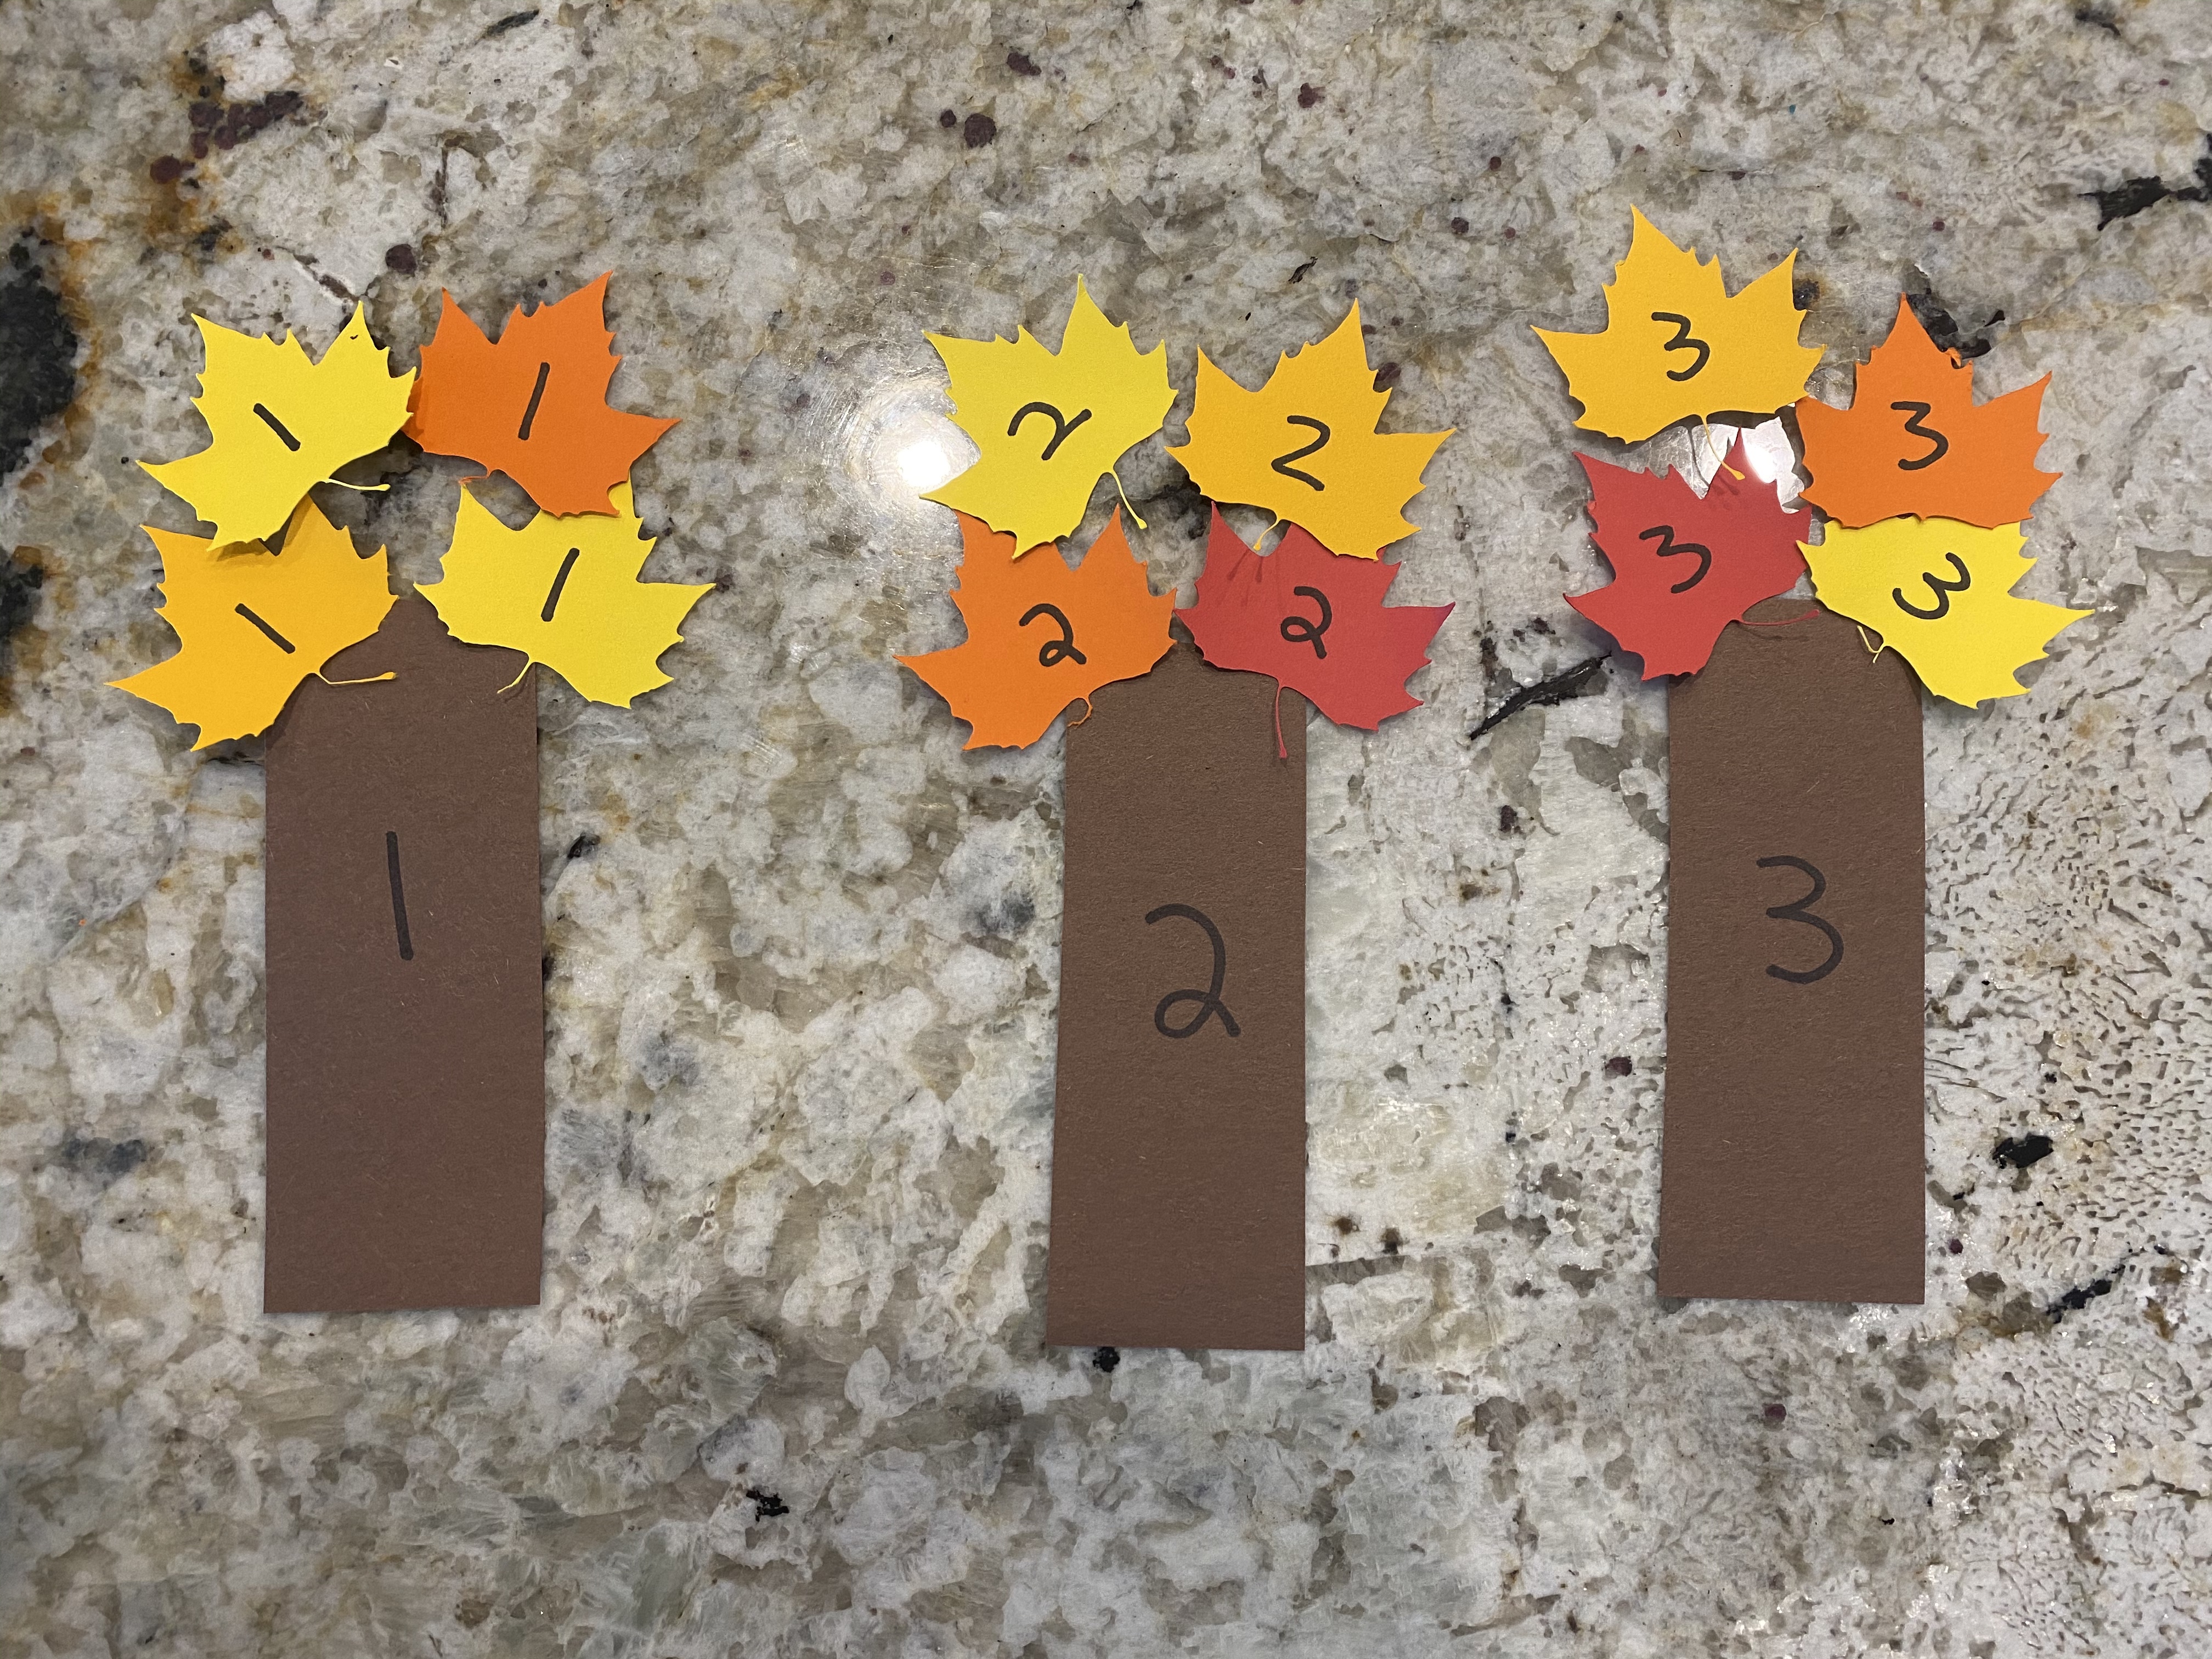
-Fall leaf number matching trees: I cut out brown rectangles and labeled them 1-10. Then I used my Silhouette Portrait cutting machine to cut out some small fall leaves from cardstock. (If you don’t have one and are in any way crafty, they are AWESOME! It’s like a dye cut machine that can cut any shape from any thin material! I have the smaller, less expensive one and it’s seriously my favorite crafting tool!) I labeled the leaves 1-10, with 4 leaves for each number. Then I had my little match the leaves to their tree trunks. We reviewed the numbers’ names as we went! I got the idea from A Dab of Glue Will Do, and just modified it to make more realistic trees!

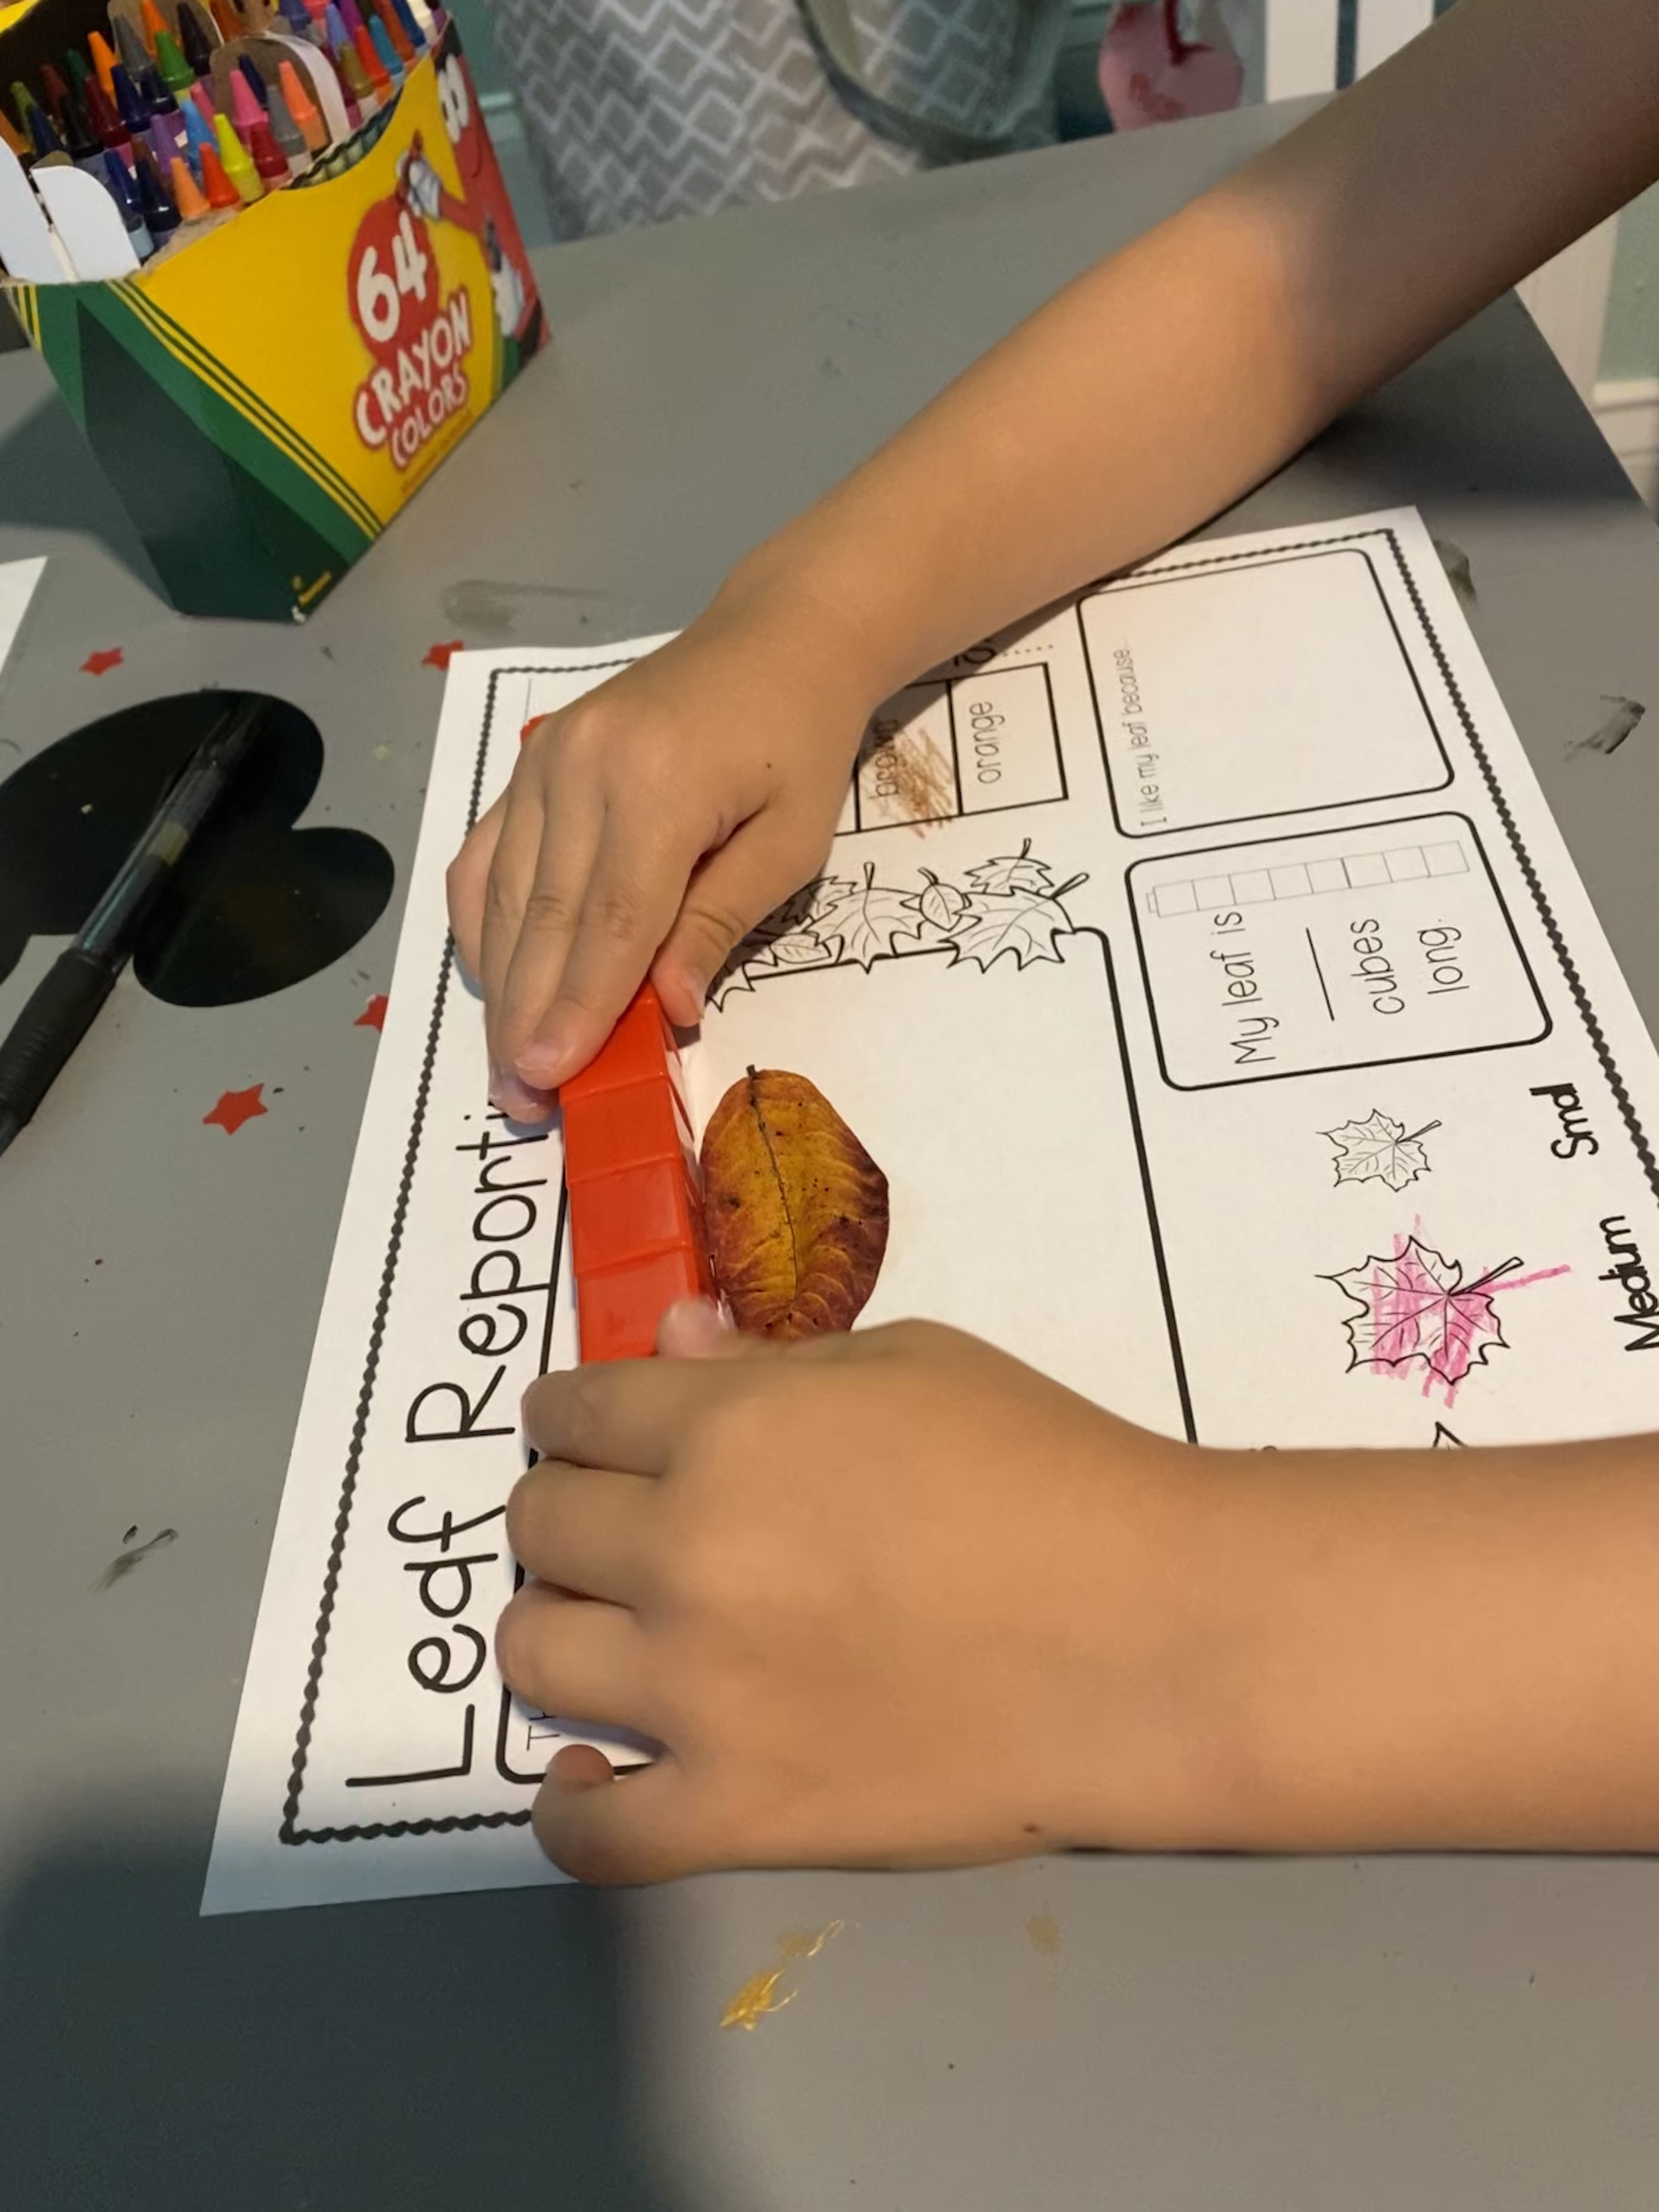
-Fall leave sort and measure: I cut out some different sized leaves from cardstock using Anyway, after I cut out the leaves, I had my little sort them from largest to smallest. Then he used unifix cubes to measure the leaves by putting the cubes at the end of the leaf, and counting how many cubes it took to get to the other end. You could also use a ruler if you don’t have cubes! I got this idea from Turner Tots!


-Design a cozy fall blanket using patterns: First I had my little choose what colors he wanted his “blanket” to be. Then I cut strips from two of the colors (we used the third as a background to glue them on) and had him glue them down in a pattern (he chose blue, red, black- since the background was black, I showed him how he could leave a space for the black to show through). Then I cut some thinner strips of the base paper (black) and had him glue those down in the opposite direction to make squares so the blanket looked a little more “plaid”. You could also do this with just two colors- just play around with the design and have fun!

–Science:
-Leaf investigation: We found a fall leaf on our nature walk last Friday and my little used it to conduct an investigation. We talked about how scientists look at things closely and describe them, then record their observations so other people can know about what they learned. We used this free printable from Teachers Pay Teachers to help us study our leaf.

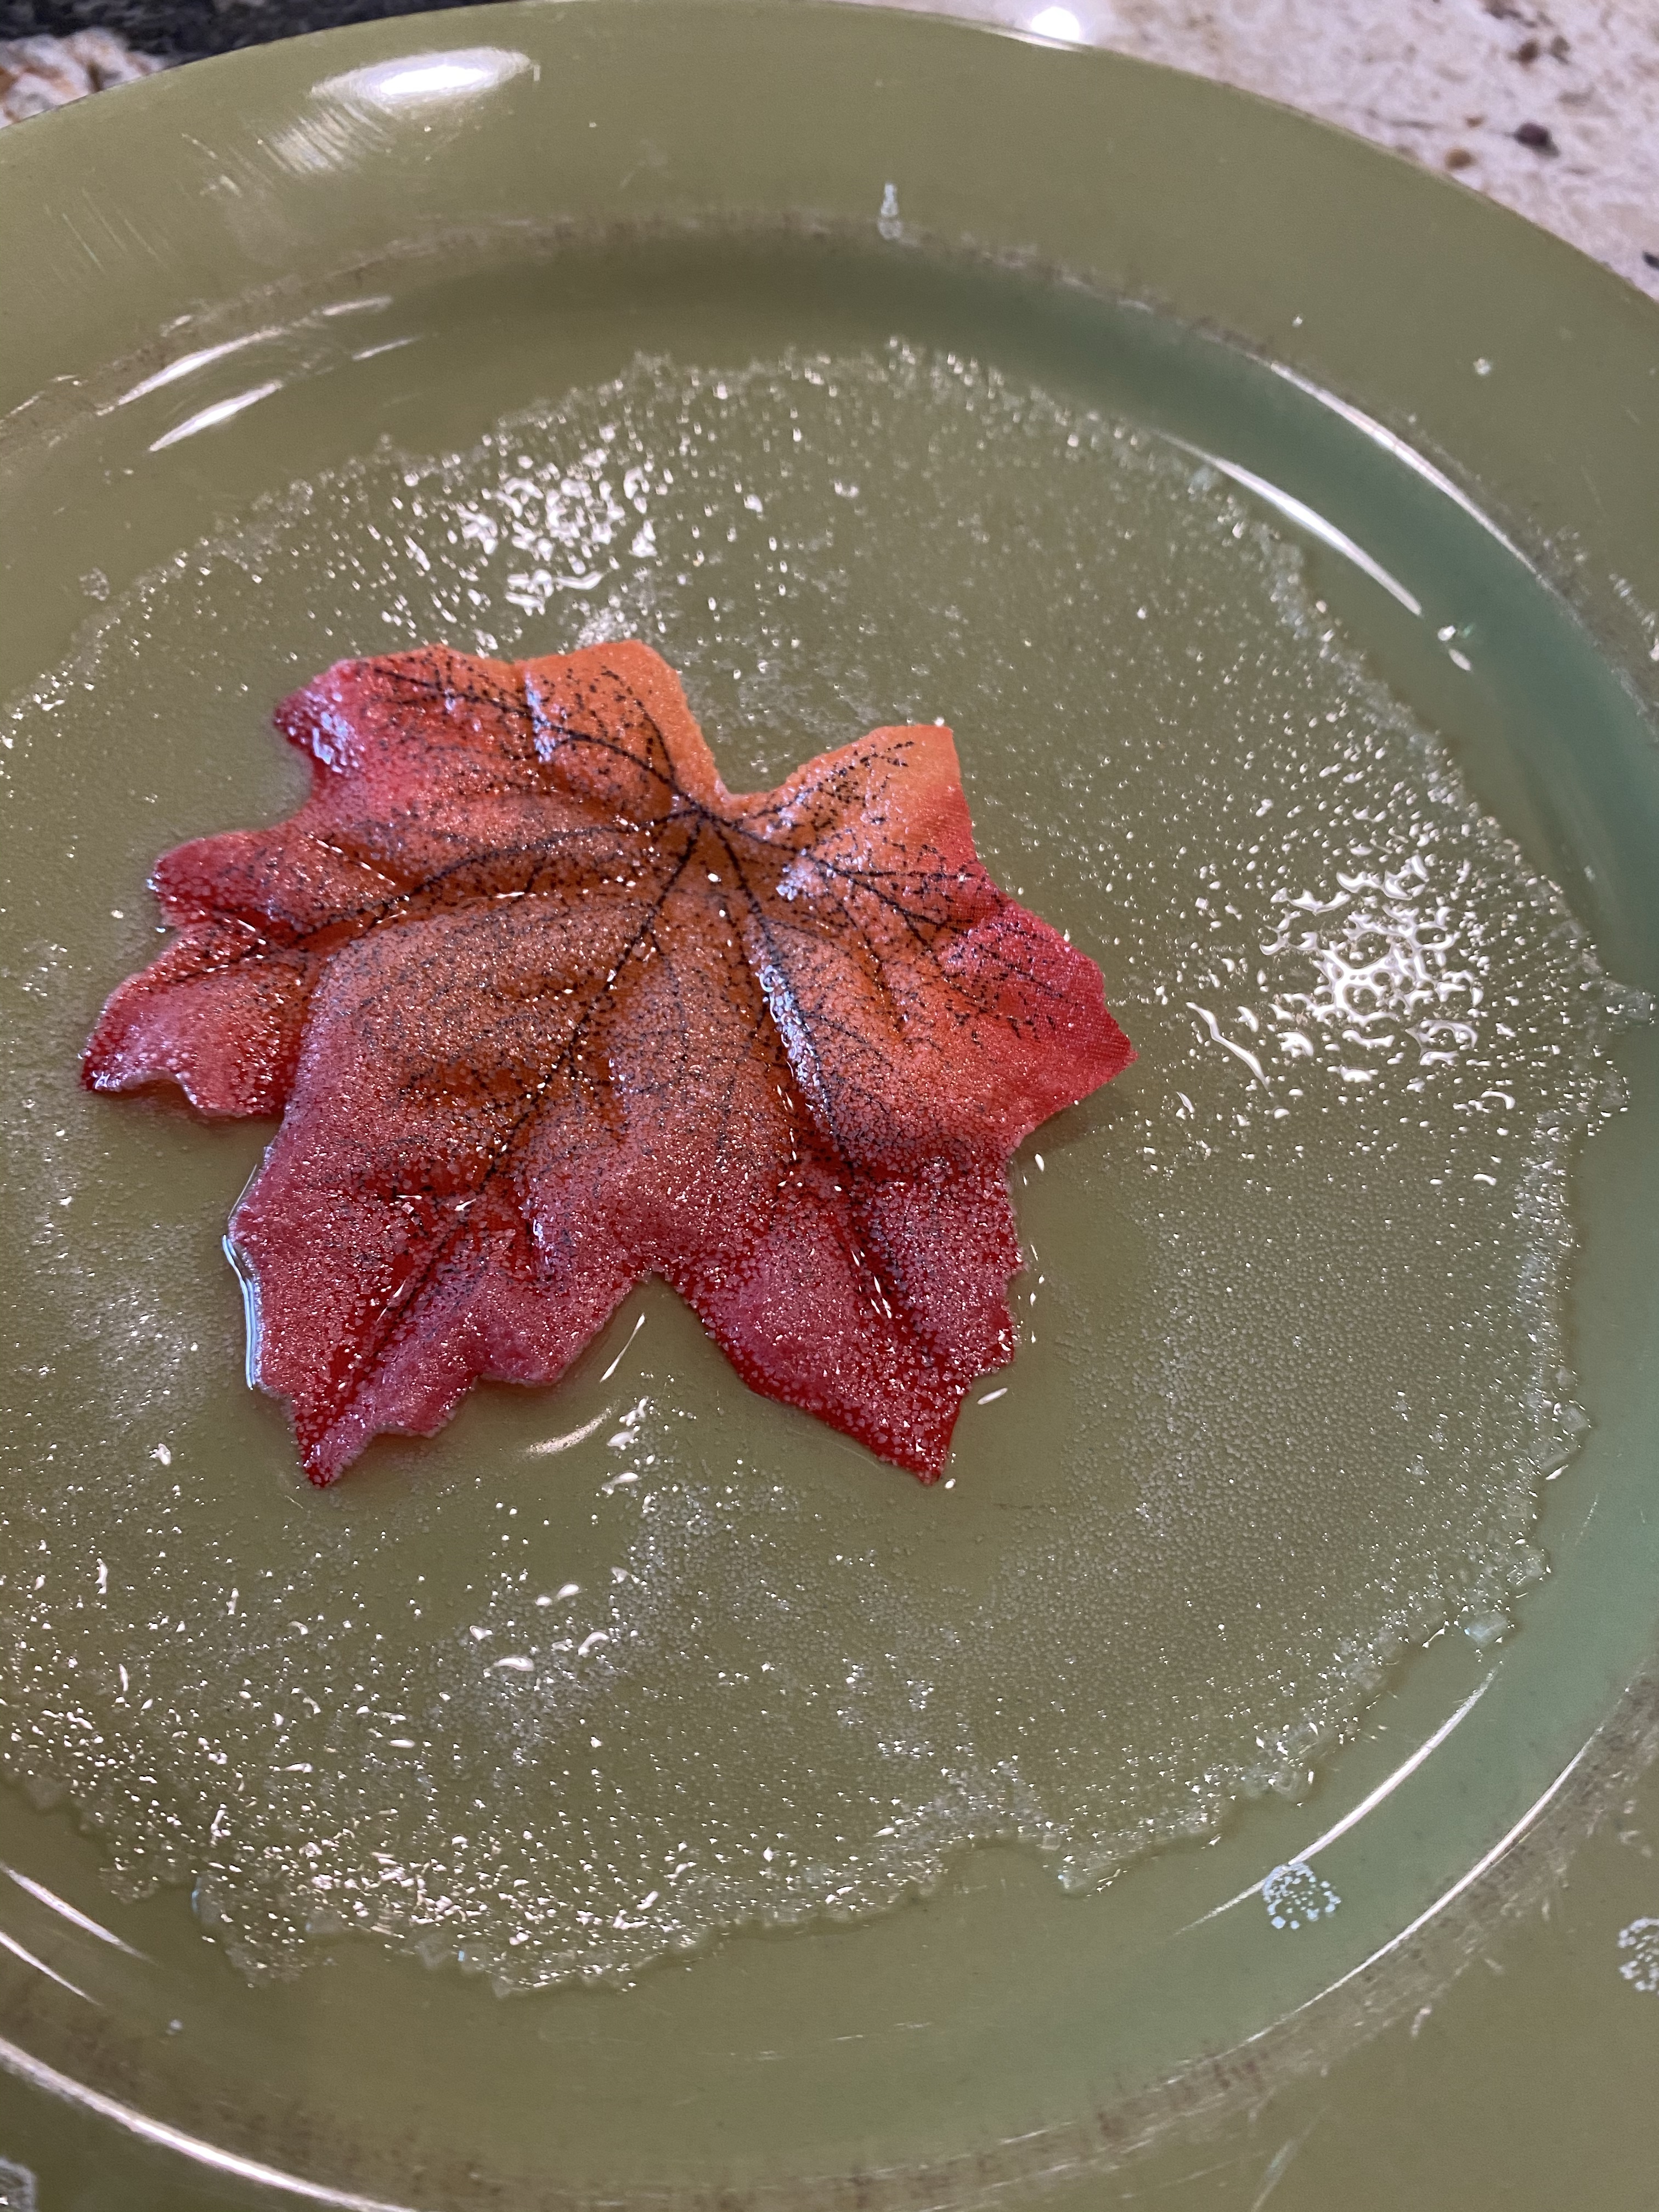
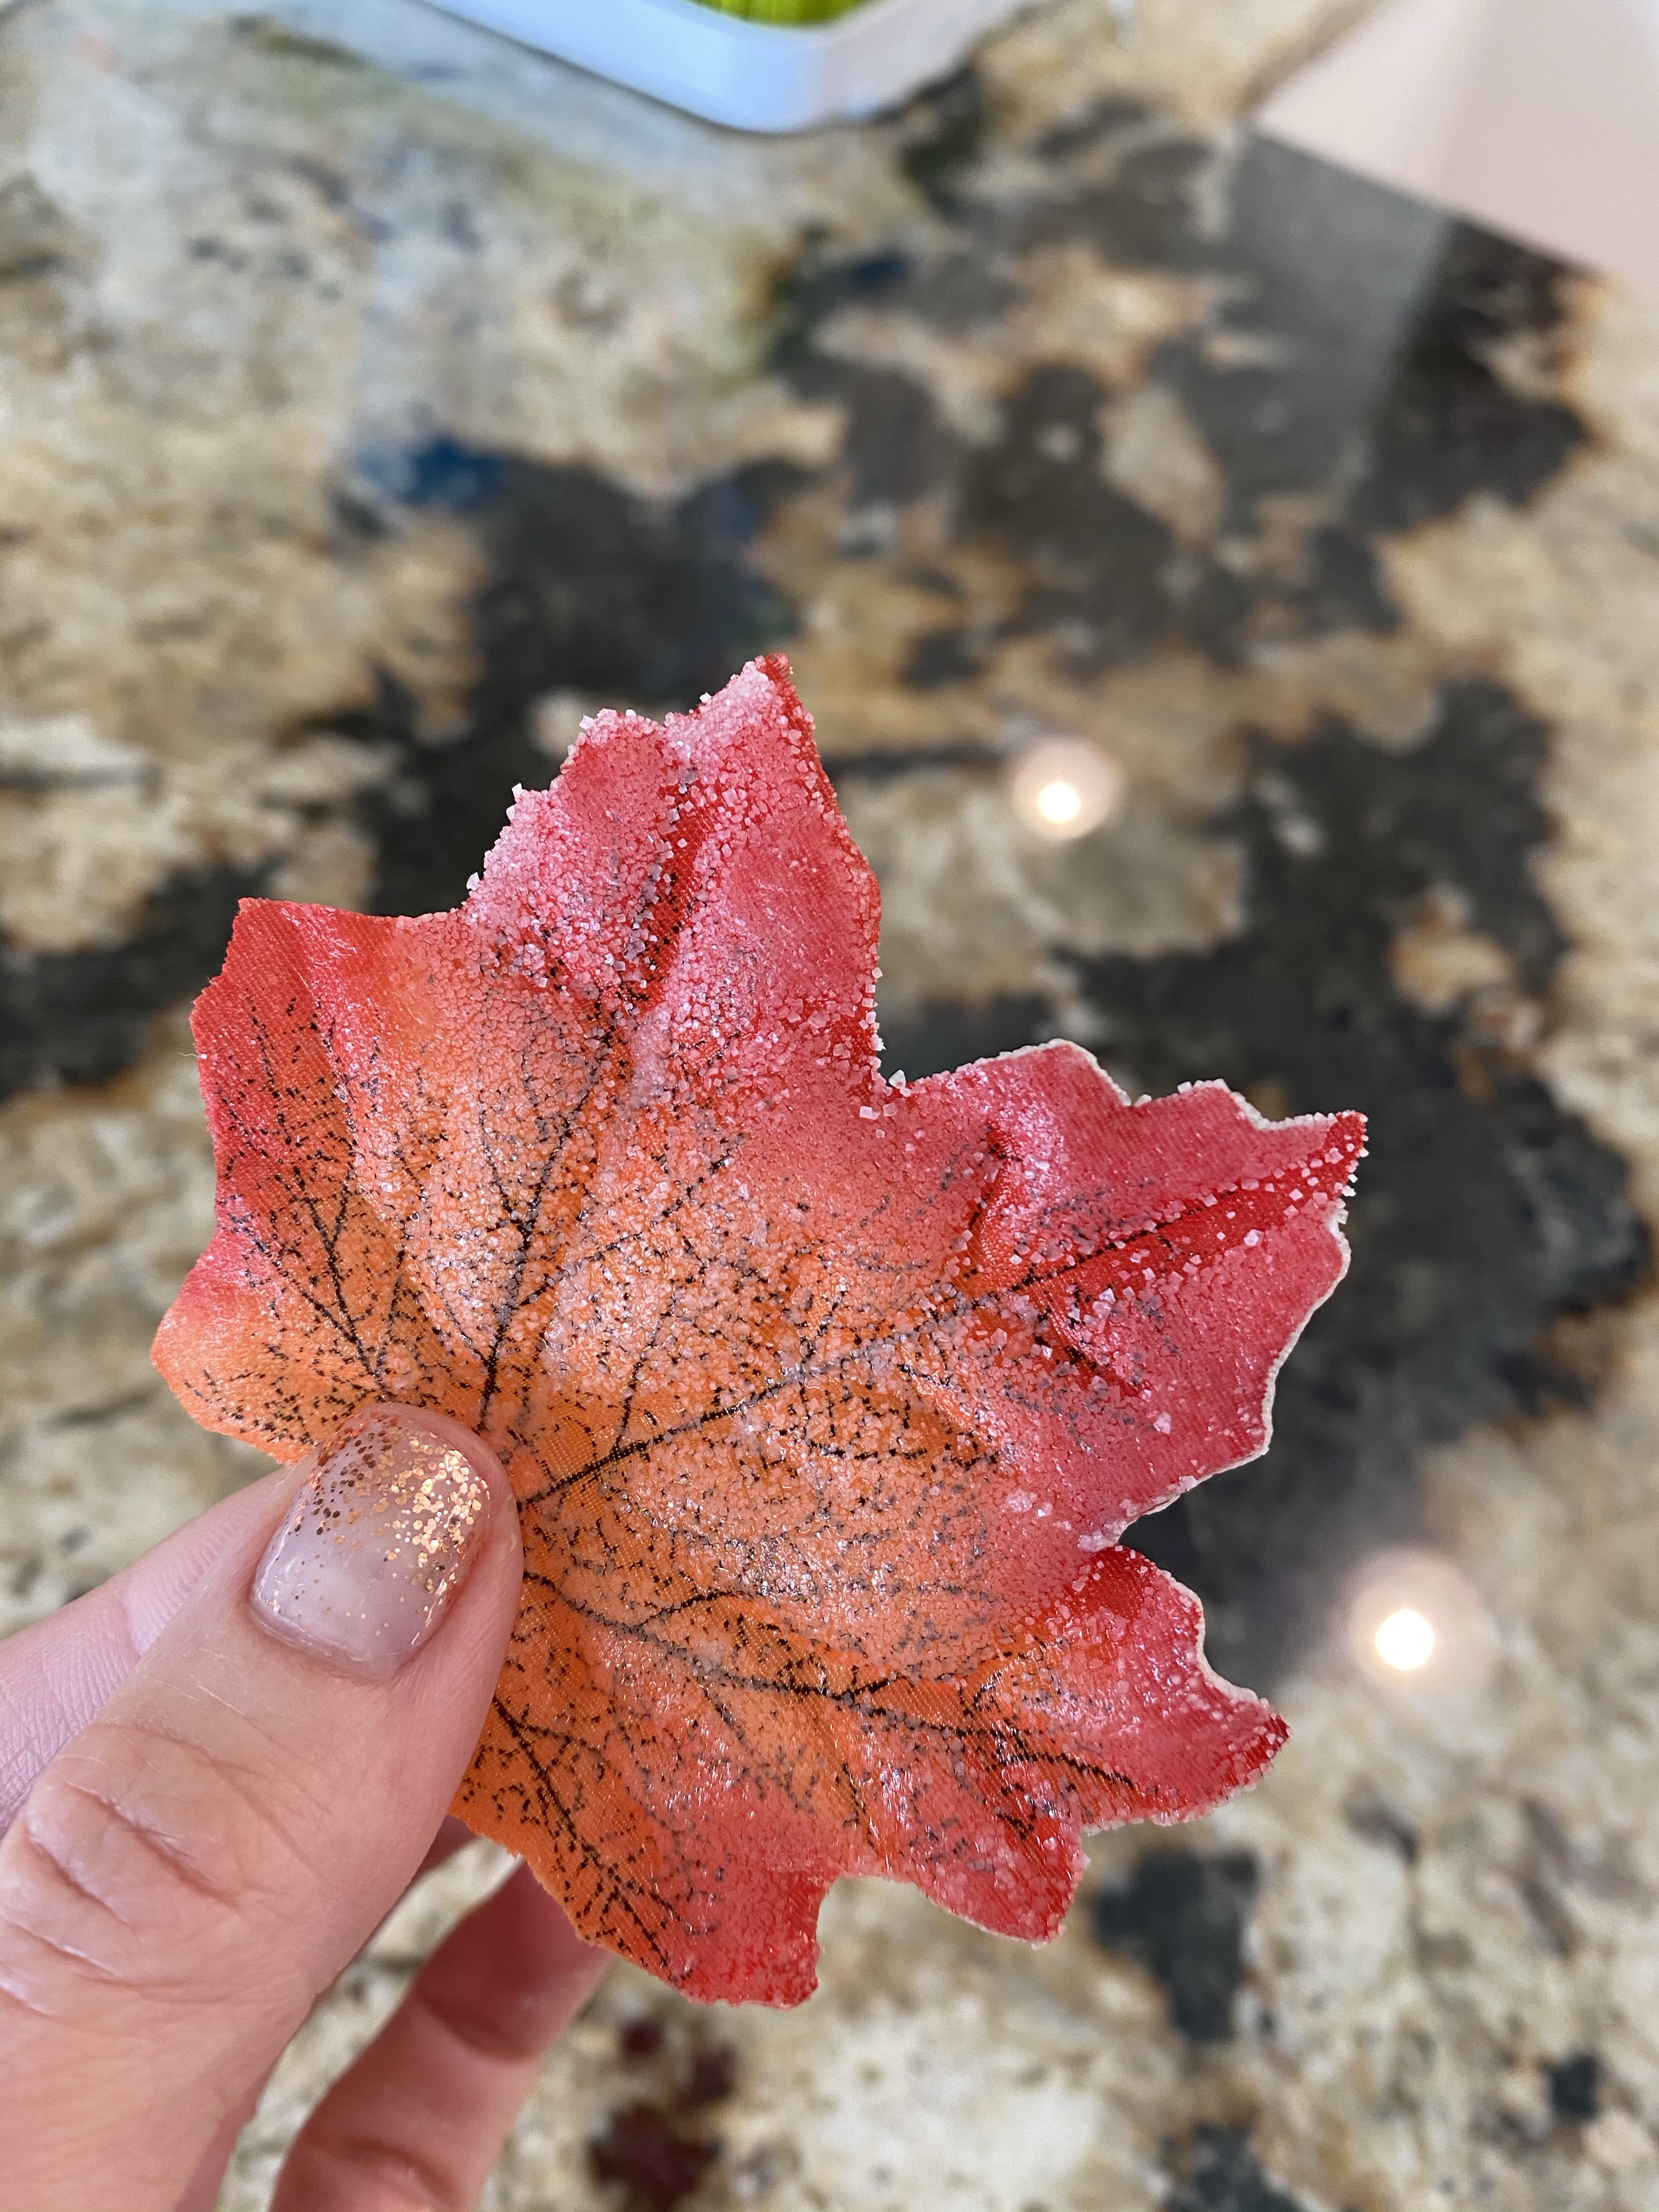
-“Frost” experiment: Since we don’t really get fall or frost until December where we live (actually, I don’t think my littles have ever SEEN frost! LoL) we discussed what frost is and how it forms (the water vapor in the air condenses or turns back into a liquid when the air cools at night, then lands on surfaces…and if the air cools off enough, it freezes making a thin layer of ice on everything in the morning!) Then I mixed salt into 1/2 a cup of boiling water until the water couldn’t hold anymore salt- you just keep sprinkling it in and stirring until there’s salt on the bottom of the bowl that won’t dissolve- this makes a “super saturated” solution. I placed one of our silk fall leaves on a plate, and spooned the water on it so it was just covered. Then we waited overnight and when we woke up- we had “frost”! (I did have to explain to my little it wasn’t real frost because he thought it was…which lead into a great discussion on saturated liquids and how crystals form!)

-Fall is…book making: This activity also incorporates writing, but I’m putting it under science since it focuses on what the season of fall entails. I asked my little to think about what fall is- what happens in fall? What do we do? I wrote his answers down on each page of a little book I made using a sheet of folded construction paper and a sheet of white paper. Then he illustrated each page based on what he “wrote”.

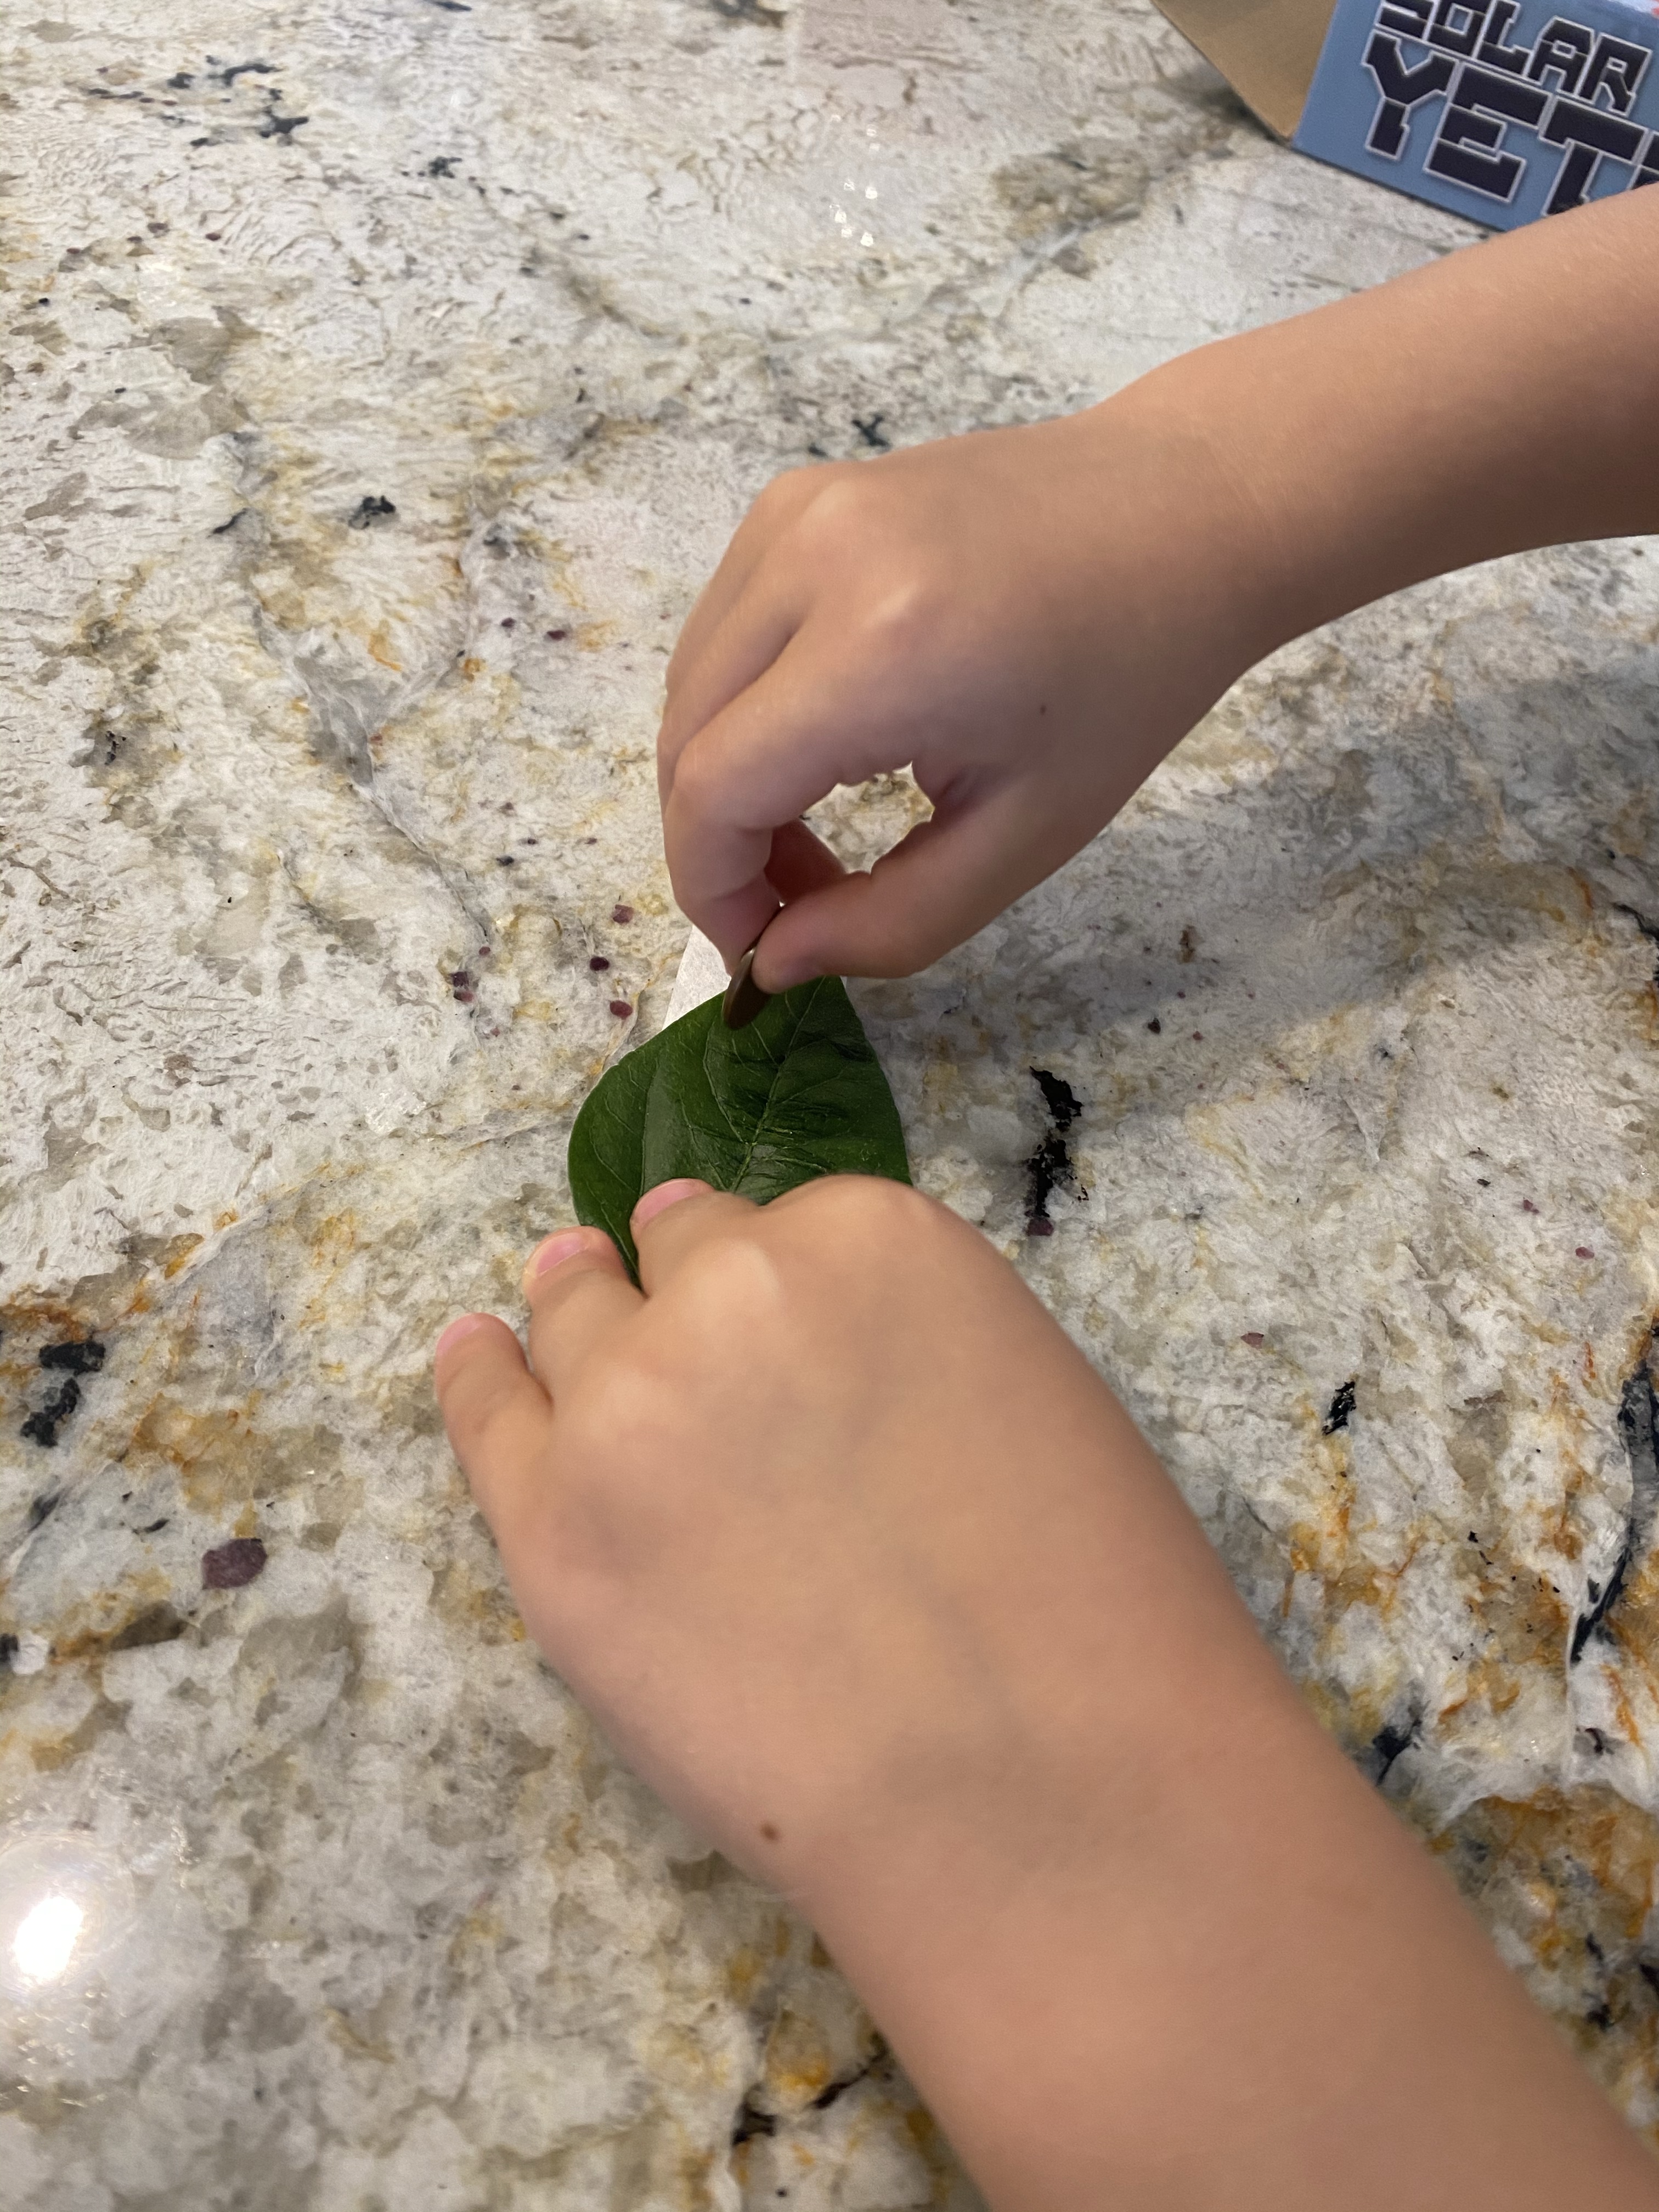
-Colors in a leaf experiment: So this was a flop and I’m guessing it’s because of the leaves we used (like I said- we live in a place that’s pretty much green year round!), but I’ve done this in my classroom before so I KNOW it works so I’m still posting it! You choose a leaf -preferably an oak, maple or other leaf that changes color in the fall- and place it on a strip of coffee filter. Roll a penny across it firmly to press the leaf juice into the coffee filter. Pour a bit of rubbing alcohol in a cup, wrap the strip around a pencil and tape to secure, place the tip of it in the alcohol and wait. As the alcohol travels up the strip, it should separate the colors in the leaf (ours just stayed green…lol). This is a great springboard for discussing why leaves change color in the fall:
The cooler weather and less light signal certain trees to “take a break” (go dormant) for the coming winter season. Since they will be resting, they stop making food. Since they make food in their leaves using green chlorophyll, they drop them since they’re no longer needed- but first the chlorophyll dies, leaving behind the other colors in the leaf that were always there! You just can’t see them because there’s SO much chlorophyll it blocks out the other colors- a good visual example of this is to draw a few red, orange and yellow polka dots in a small circle. Then fill in the rest of the circle with green dots. The other colors are there, but because the green is so prevalent, that’s what you see! Crazy right!?

–Art:
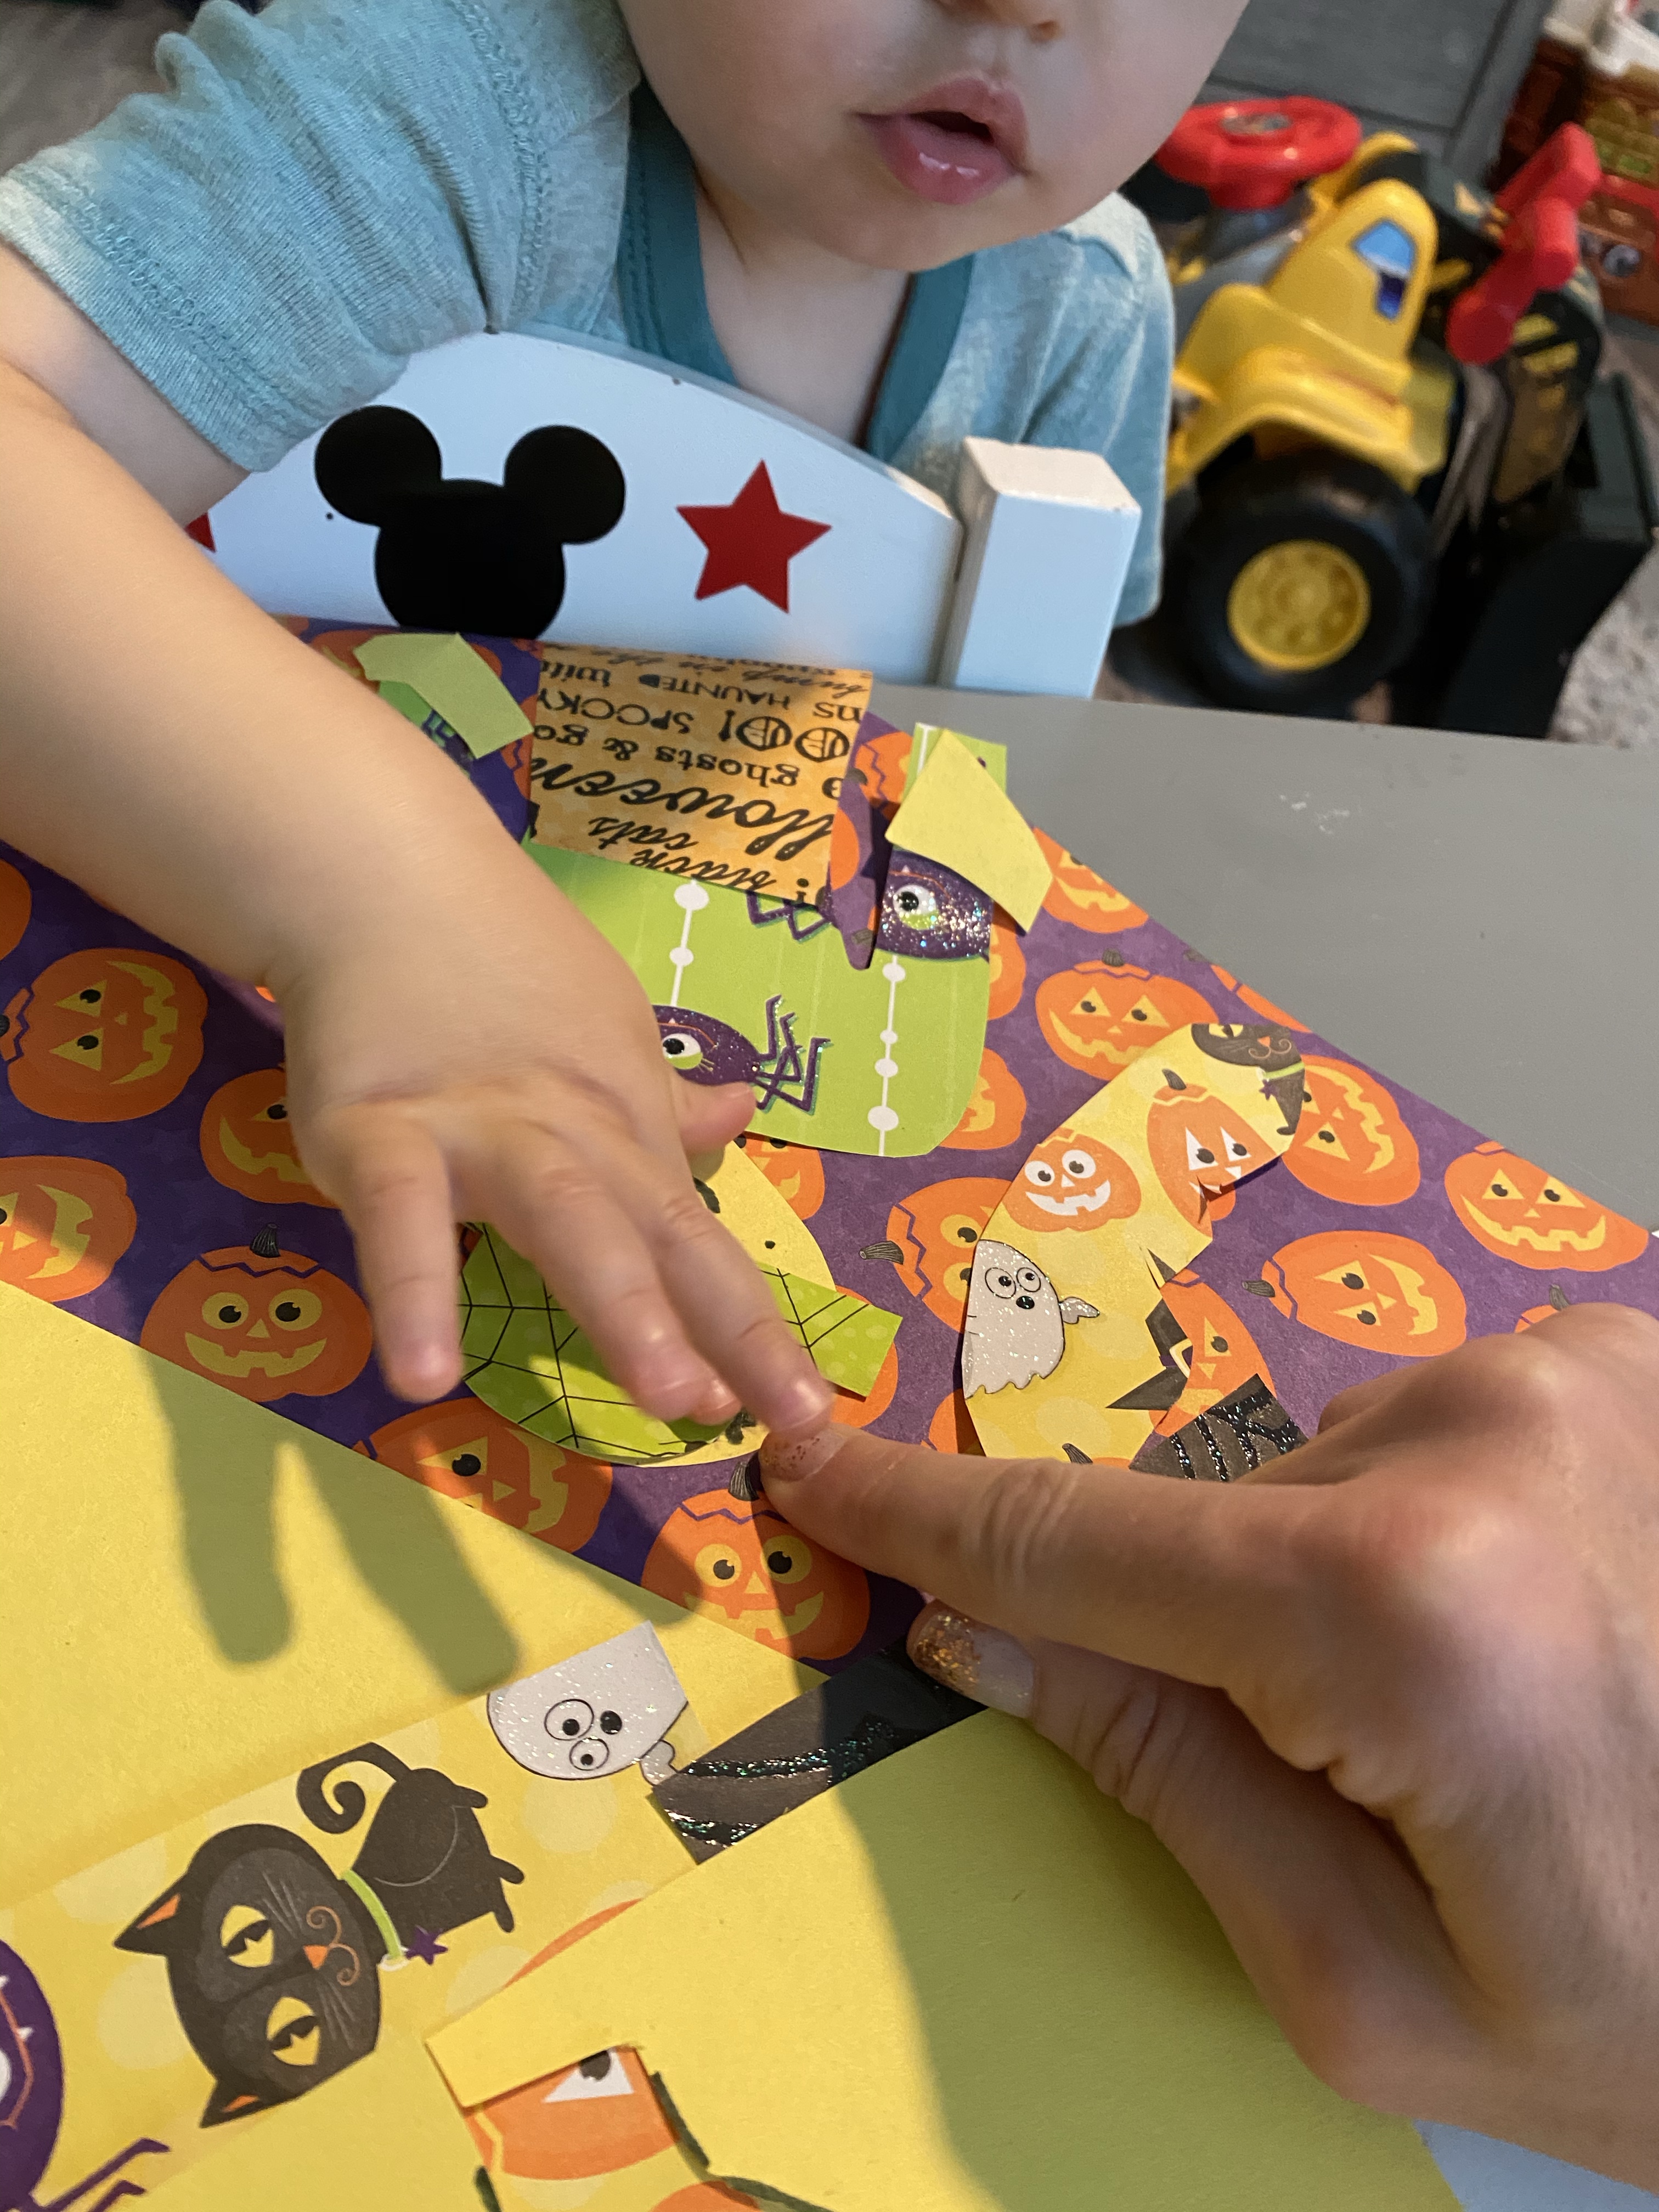
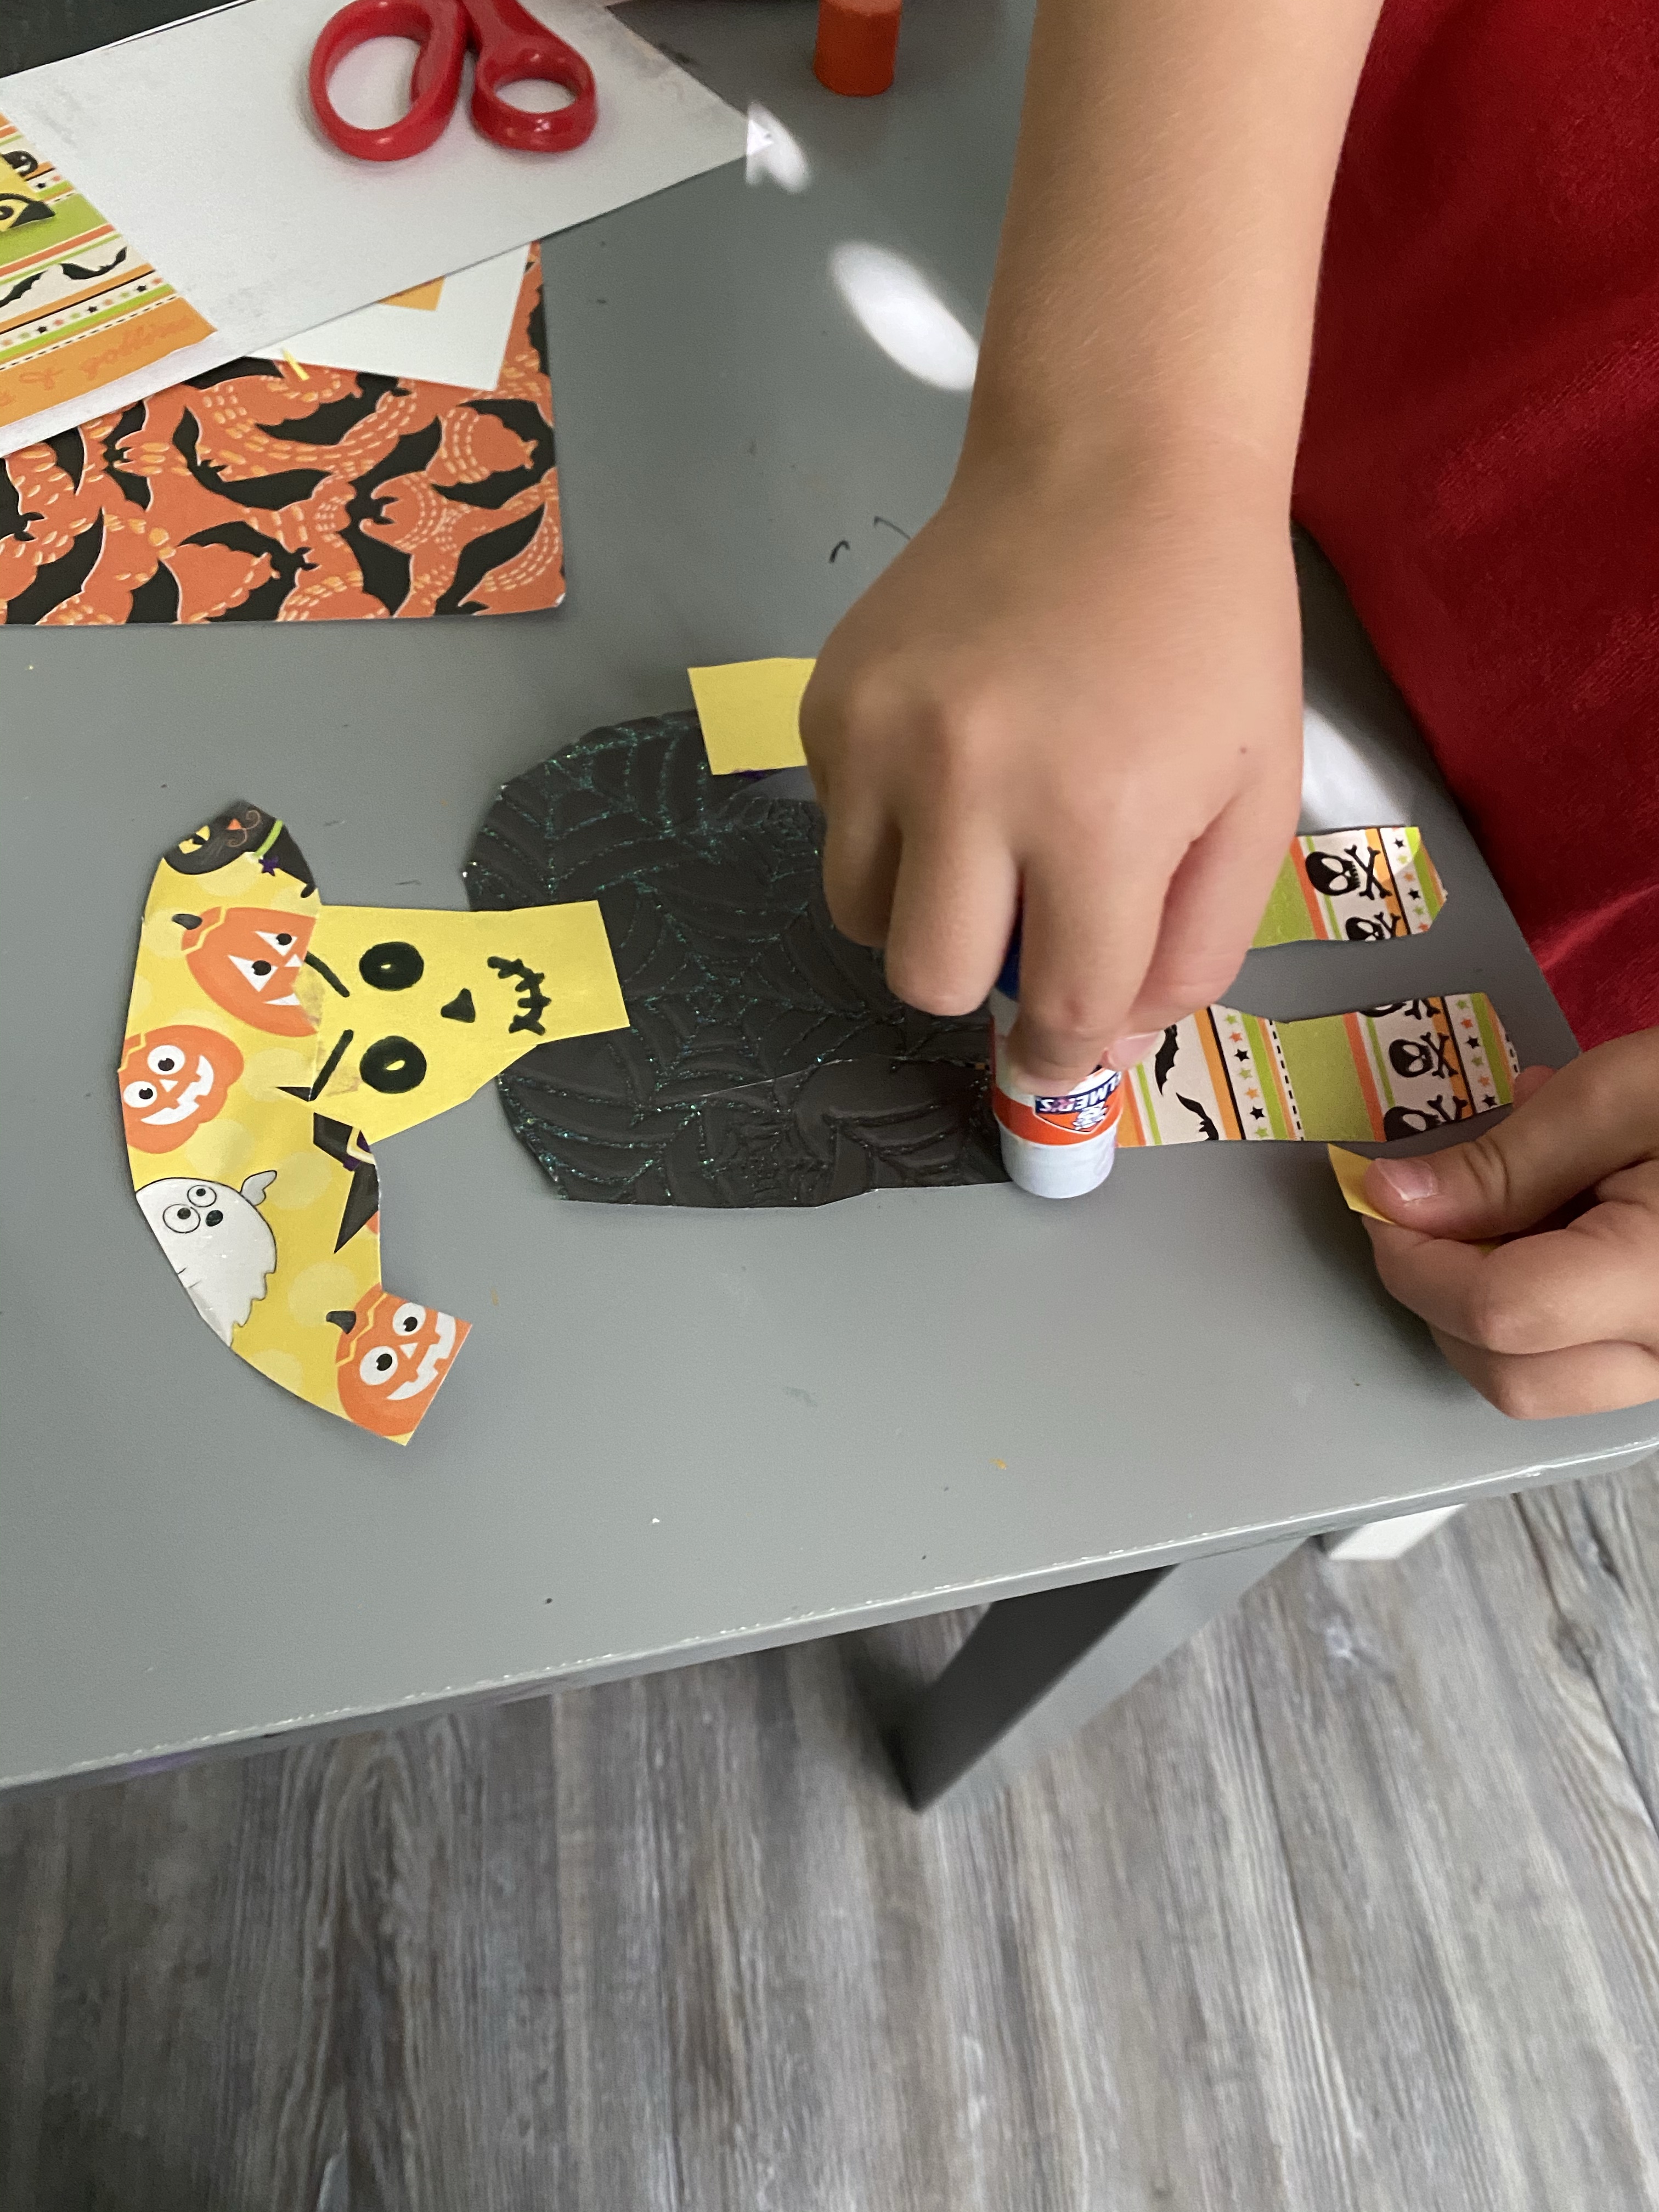
-Scarecrow crafting: I pulled out all my fun Halloween scrapbook paper (I know, it’s early, but it still makes for such cute scarecrows to use patterned paper!) and let each of my littles choose 3. For my preschooler, I drew pants and a shirt on the back of the colors he wanted, then had him cut them out. Then he cut out a hat from the third piece of paper (he wanted to do that on his own). Next, I had him cut out a head (which I drew) and do a fringe cut along a piece of yellow paper, which I trimmed to fit the scarecrow’s hands and feet. I drew a “scary face” on the head (at his request), then he glued all the pieces together! My toddler made one too, but I had to do all of the cutting (I did let him try the safety scissors while I held the paper for him- I used his cuts to make the hands and feet) and half of the gluing! LoL He glued on the hands, feet and hat by himself though!


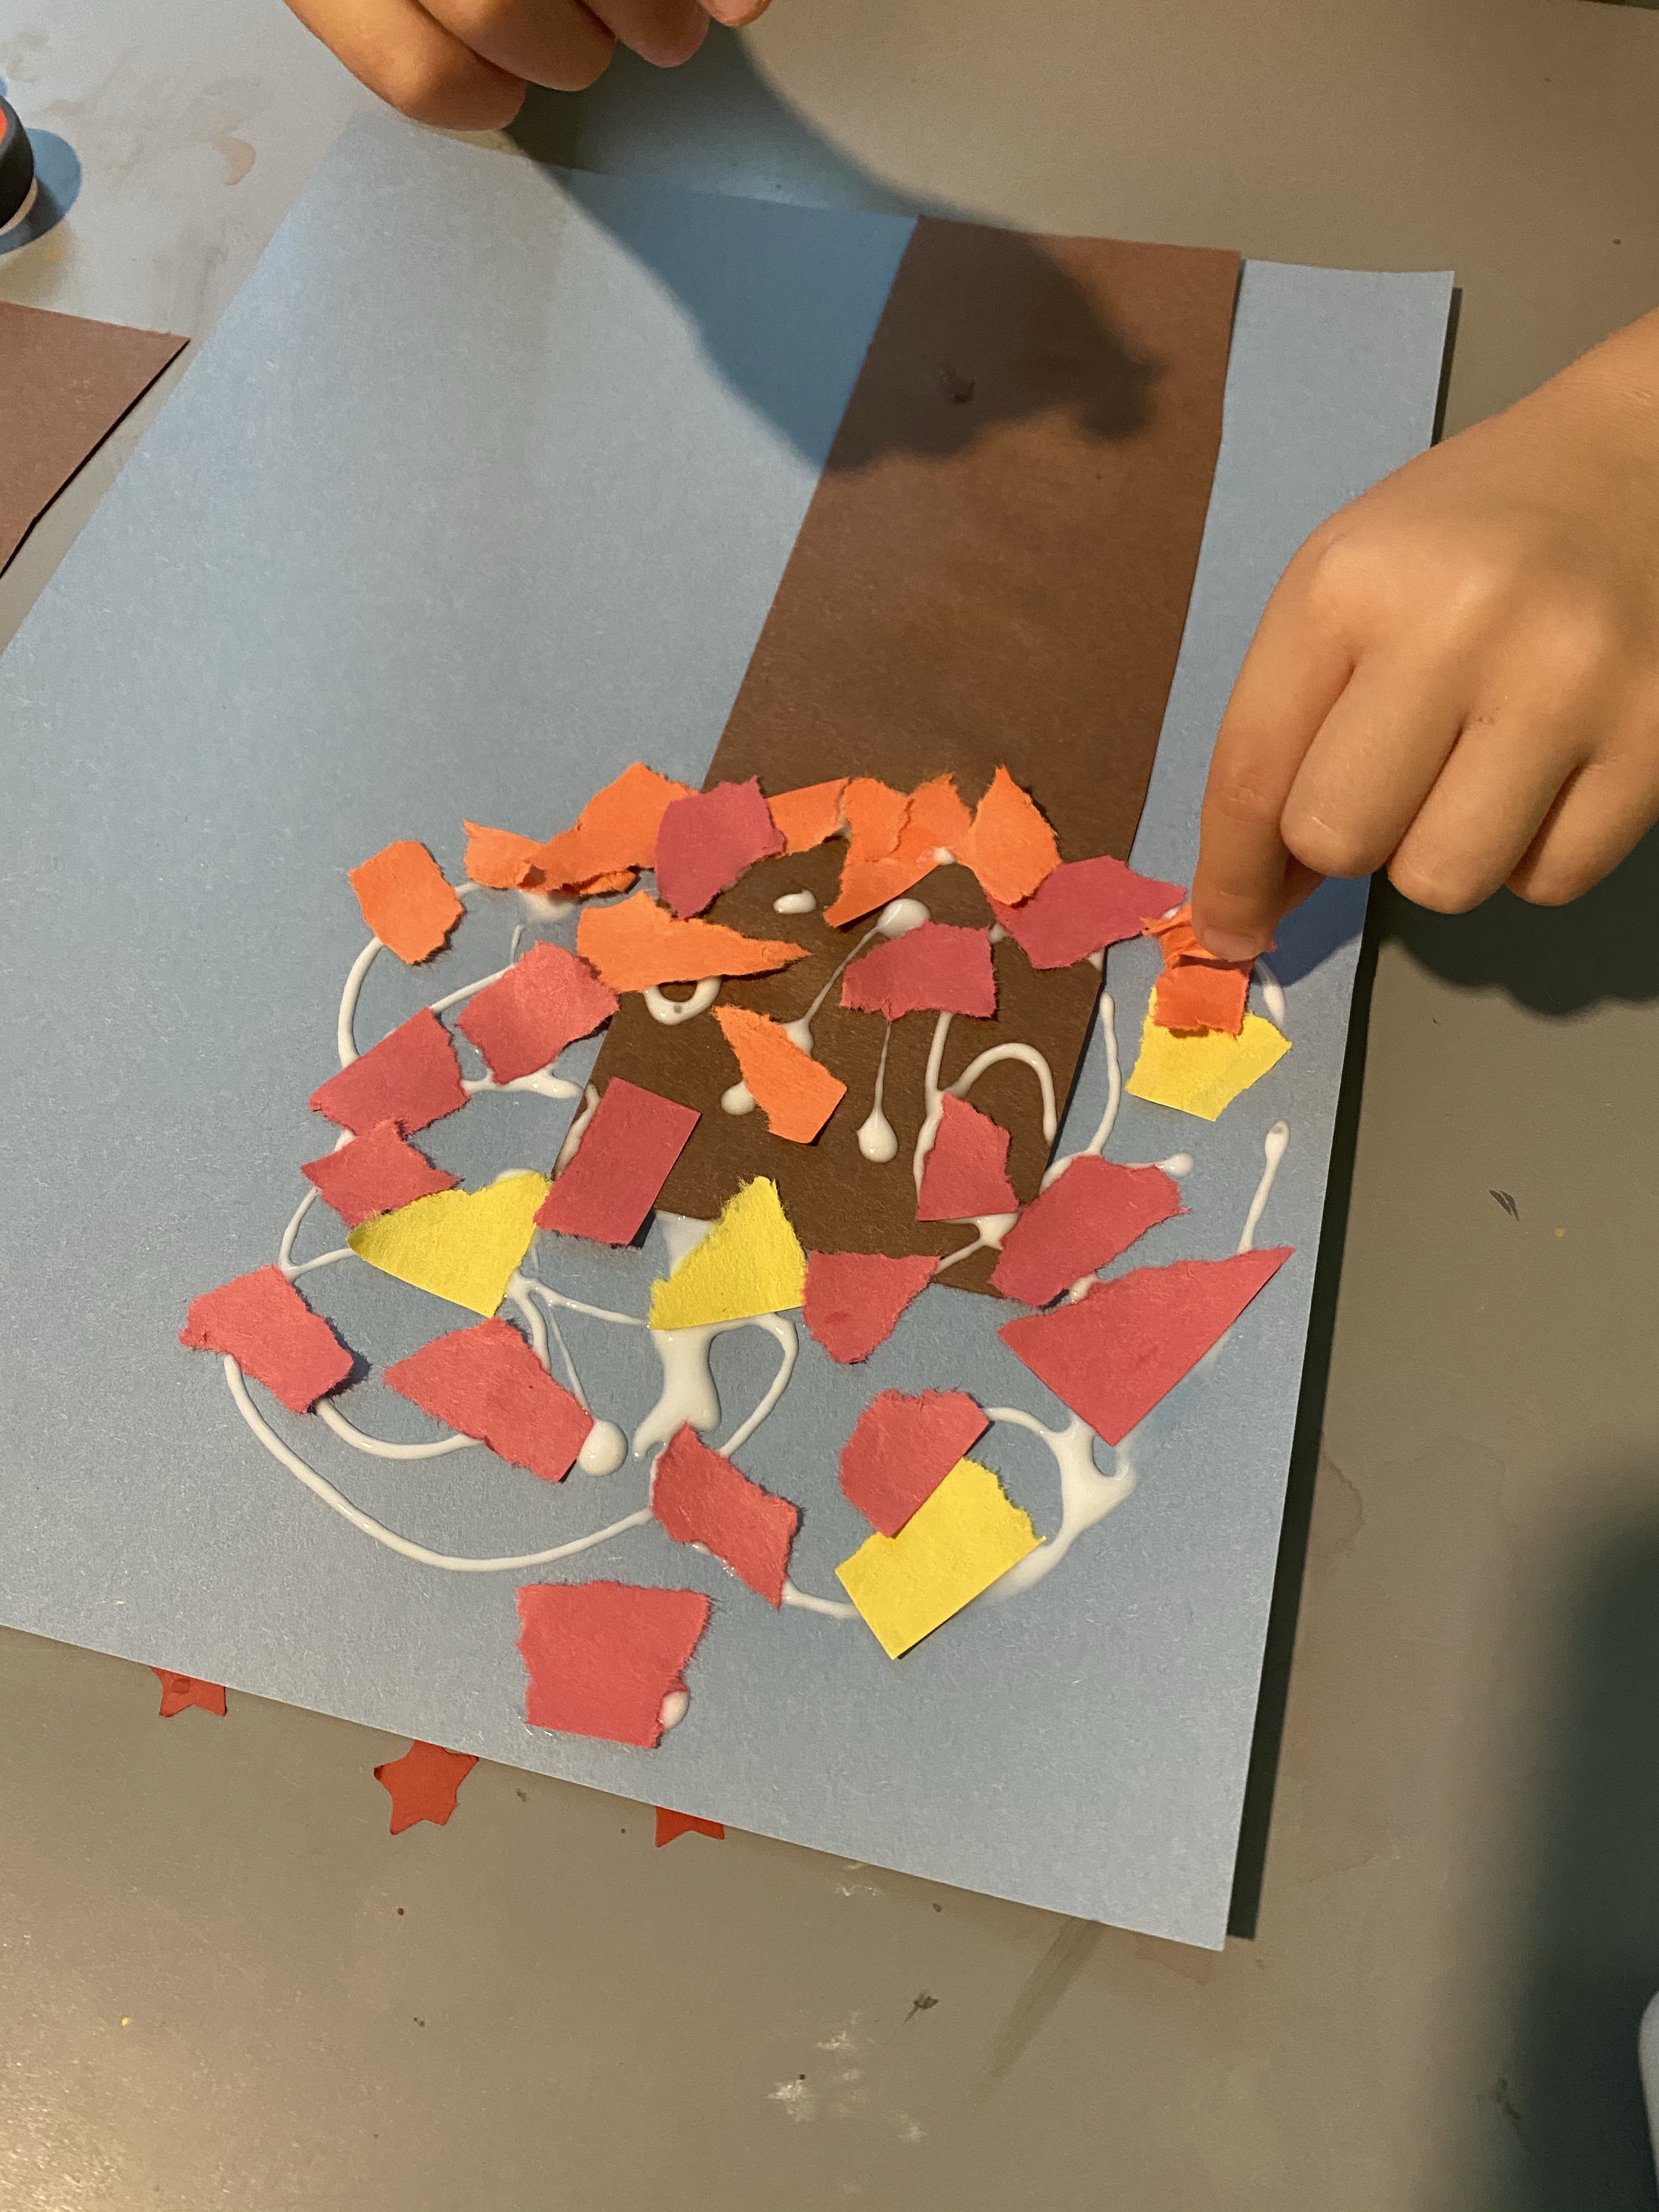
-Paper tear tree: I had my little cut out a tree trunk and glue it to a piece of blue paper. Then we tore up pieces of yellow, red and orange and glued them to the top of the tree for leaves!

-Leaf rubbings: We did this last year, but based on the look on my little’s face, he didn’t remember and was really surprised a leaf “magically” appeared on the paper! LoL You just place leaves under a sheet of white paper and use the long side of a crayon to color over it- we used our Crayola crayon eggs because I didn’t want to peel any of our new crayons from crayon week awhile back…we recycled all of our old ones! LoL Woops!


–Supply/shopping list:
- several fake or real fall leaves
- fall leaf stickers
- salt
- coffee filter
- rubbing alcohol
- penny
- unifix cubes (or a ruler)
